
Projects pause. Budgets shift. Life happens. If your vehicle is in primer and you need to delay paint or a wrap, you can park it without ruining the work—if you understand primer types, environment, and re-prep steps. This guide lays out realistic timelines for different primers, indoor vs. outdoor storage, and the exact procedures to protect the surface now and to get it ready for topcoat later with minimal backtracking.
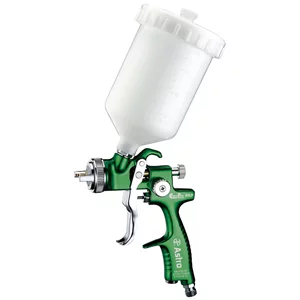
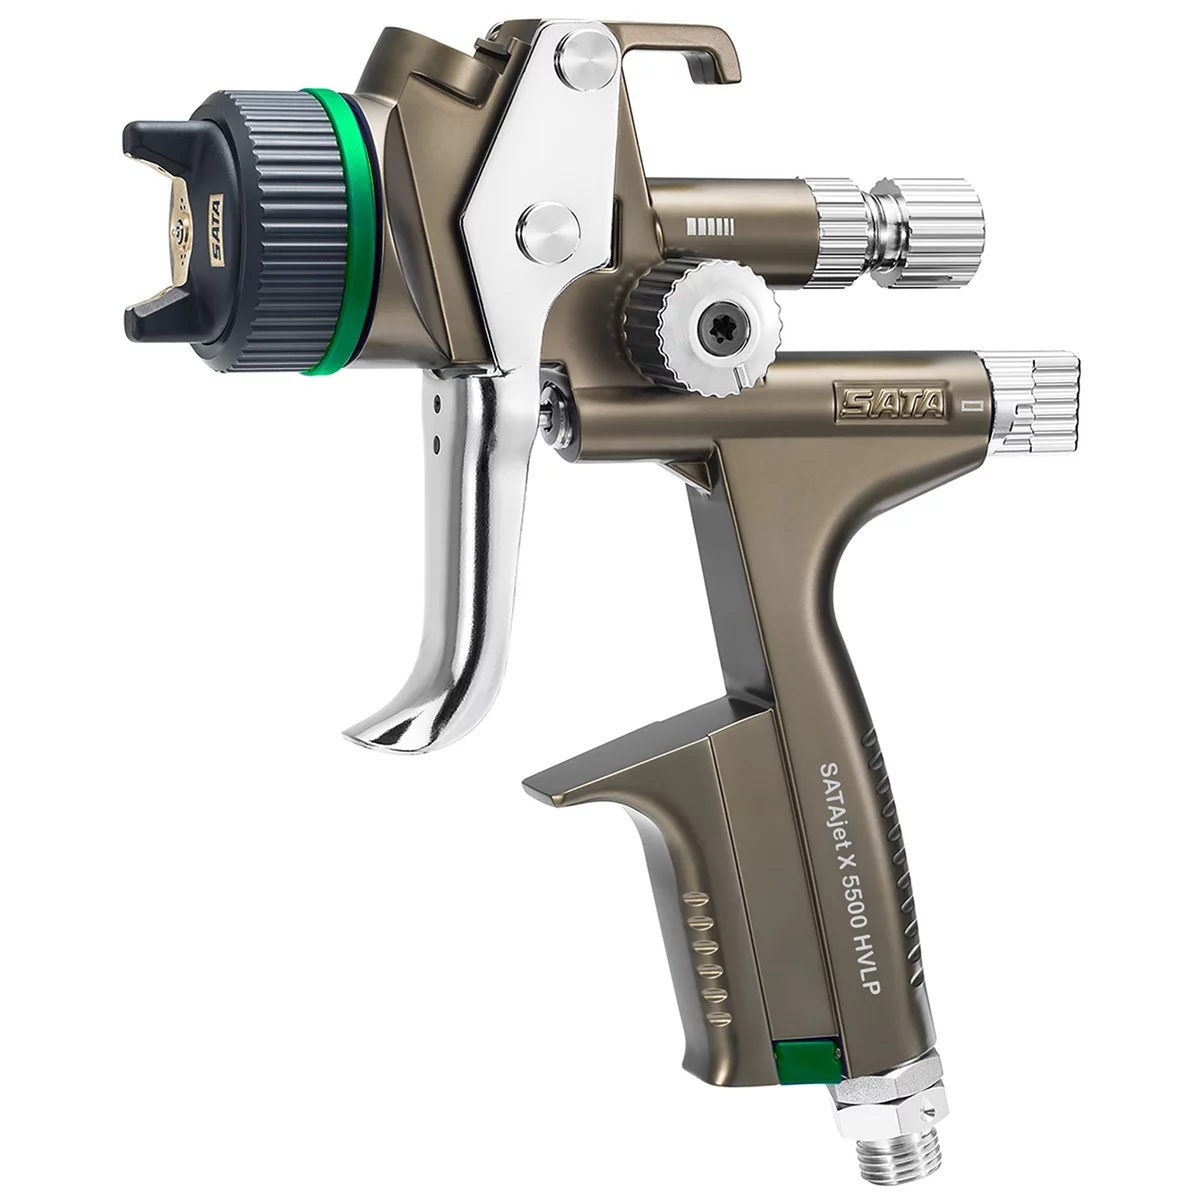
EuroTech Forged HVLP Spray Gun 1.3mm Nozzle & Plastic Cup
Mfg: Astro Pneumatic
Part #: EUROHV103

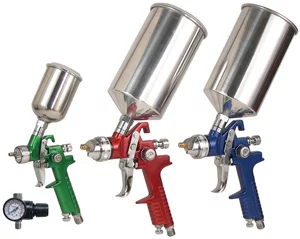
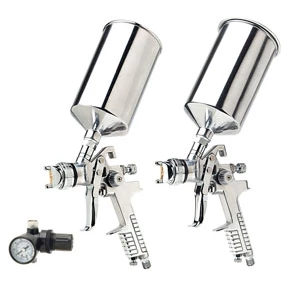
9PC GRAVITY FEED HVLP SPRAY GUN KIT
Mfg: FPX Air by Florida Pneumatic
Part #: FPX-535K
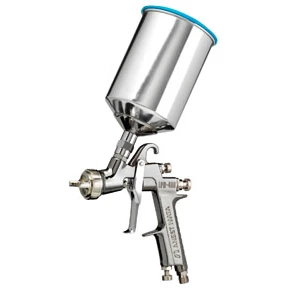
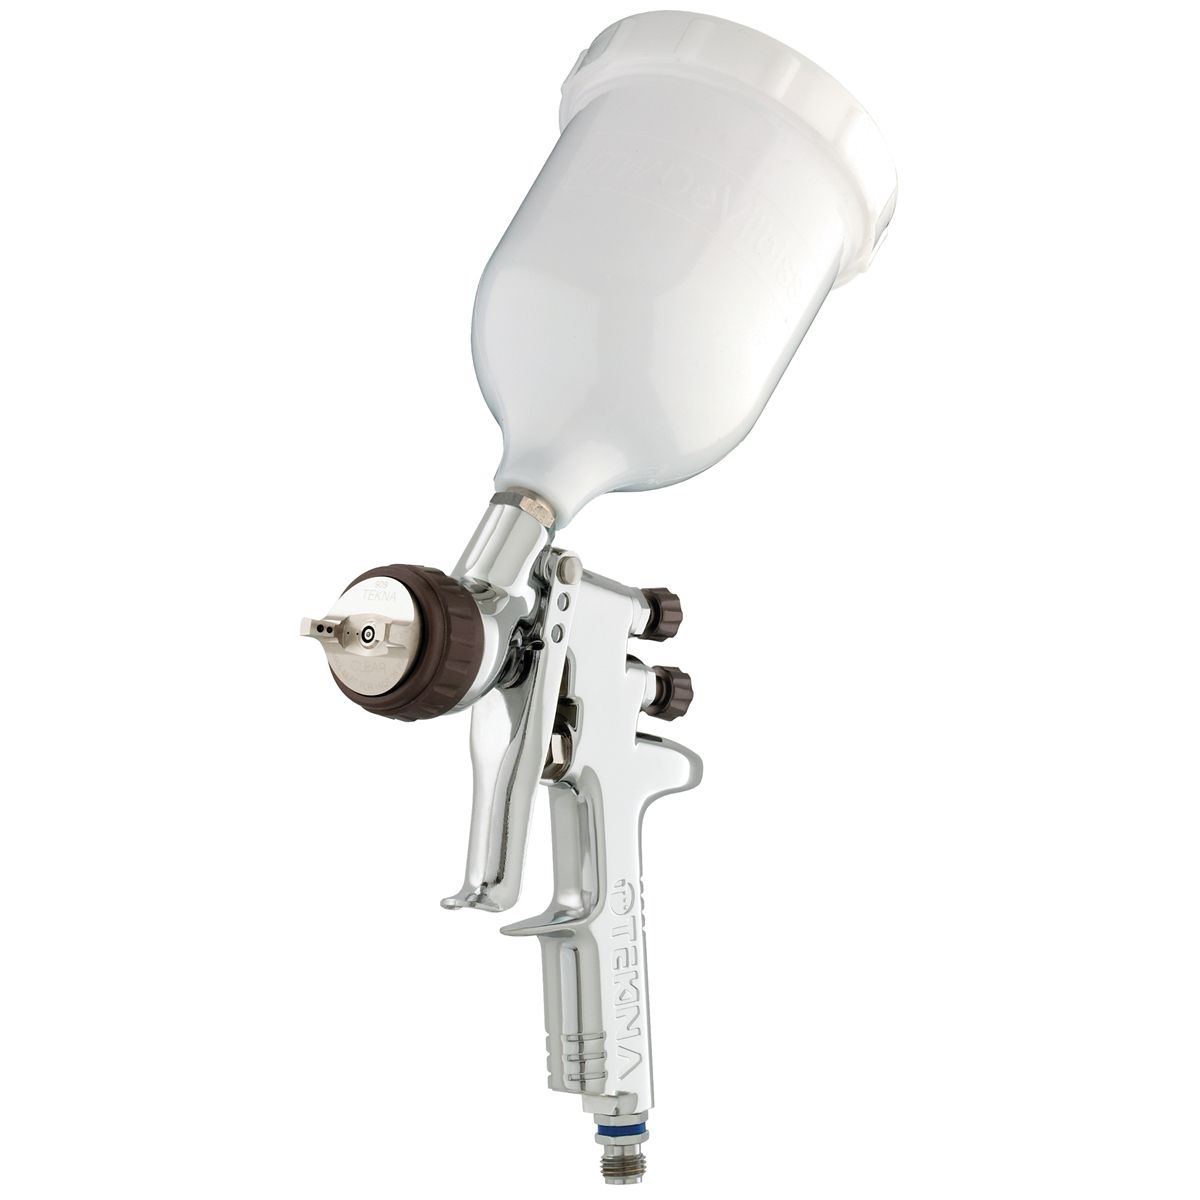
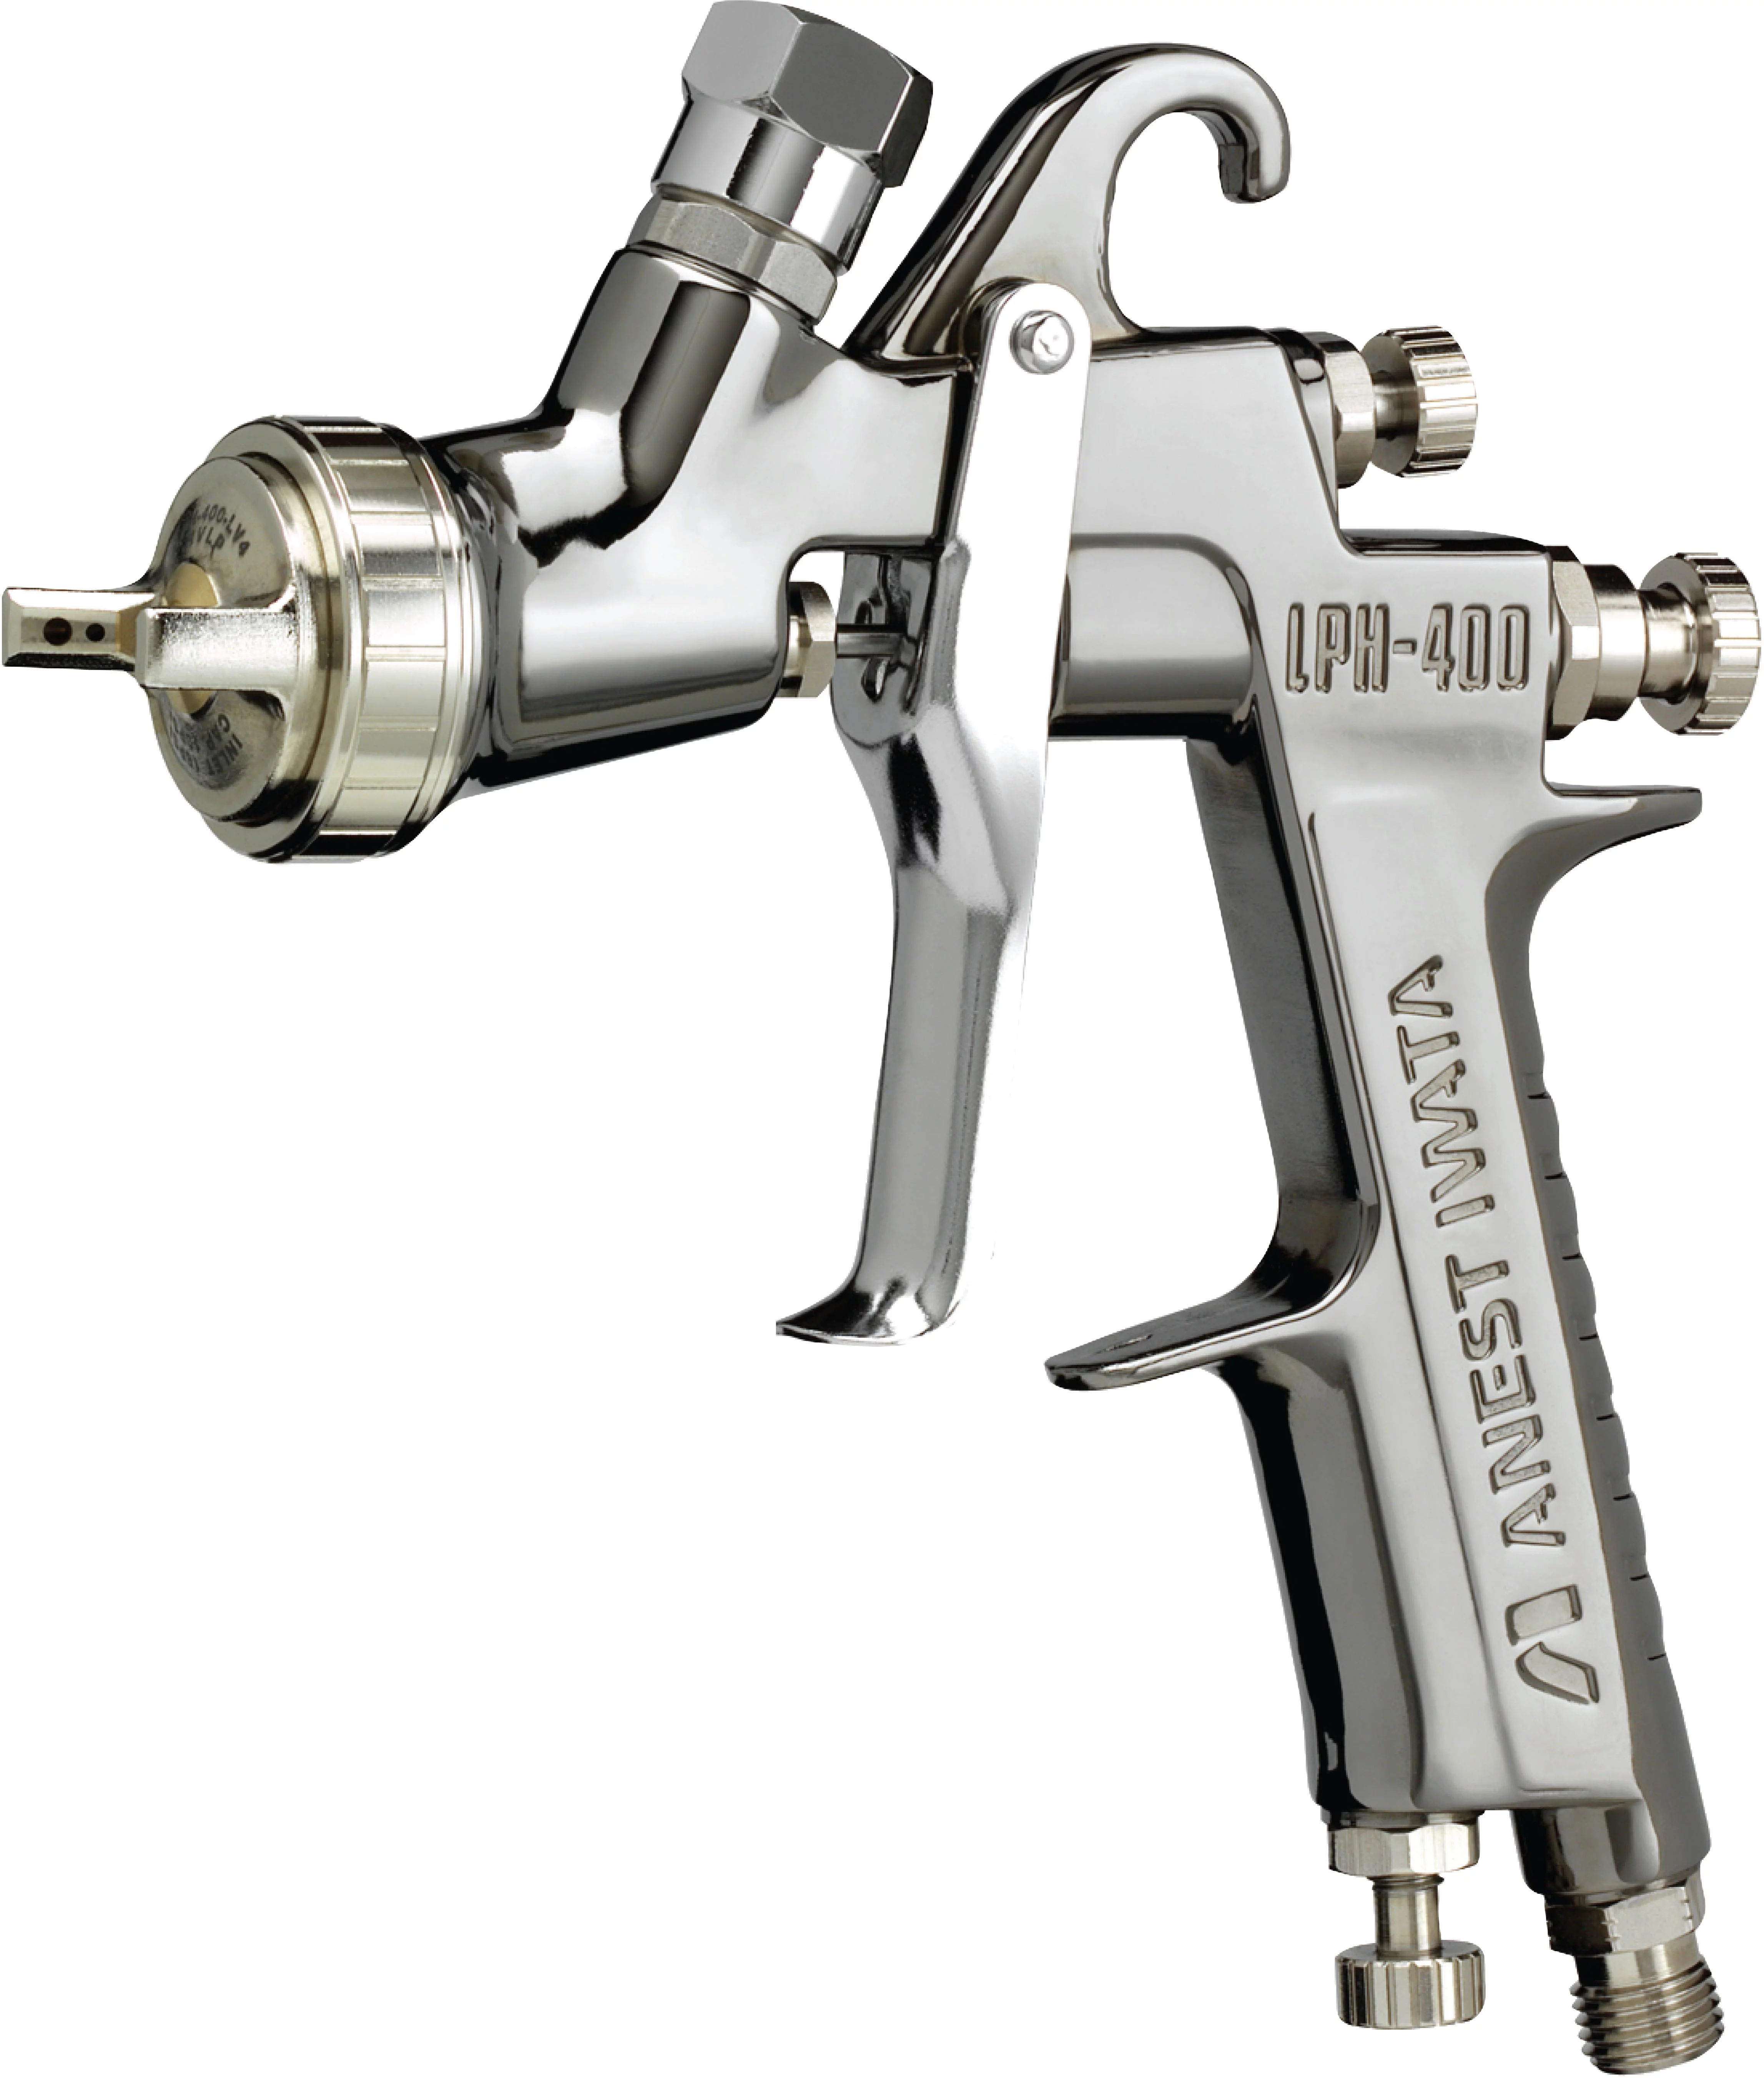
LPH400-144LV HVLP Spray Gun w/ 8005A Reg, 700 ml Aluminum Cup
Mfg: Iwata
Part #: 5552
Primer Types and Why They Matter for Storage
Not all primers behave the same during extended exposure. The big differences are moisture permeability and UV resistance.
- Epoxy primer (2K): Excellent corrosion resistance and the best for long-term storage on bare metal. Epoxies form a tight film that is far less permeable to moisture than surfacers. They will chalk under UV and still require scuffing or sealing if they sit past the manufacturer’s recoat window.
- Urethane primer-surfacer (2K): Great build for blocking and repair. Better durability than 1K aerosols but still essentially porous compared to epoxy. Prolonged exposure to moisture can creep through to metal or filler. Needs sealing before color if it sat for a while.
- Polyester primer (2K): Very high build for leveling. Porous. Not a storage coating; should be sealed or topcoated relatively soon after blocking.
- Self-etching primer (1K/2K): Thin, acidic primer for bite on bare steel/aluminum. Not a moisture barrier and not meant to be left exposed long-term. Overcoat promptly with epoxy or urethane surfacer.
- 1K aerosol primer: Convenient but the least protective. Highly permeable and prone to chalking. Acceptable for very short-term hold or small spots; avoid relying on it for months.
Rule of thumb: If storage exceeds a few weeks, epoxy is safest. Urethane surfacer can hold if kept dry and clean. Avoid long-term reliance on 1K aerosol or polyester alone.
Storage Timelines: Garage vs. Outdoors
Timelines vary by humidity, temperature swings, UV exposure, and contamination. Always confirm with the product’s technical data sheet (TDS). Typical ranges:
- Indoors, dry garage (40–55% RH, minimal dust):
- Epoxy primer: Many months to a year+ with no issues. Expect to scuff and possibly apply sealer before color once the recoat window is exceeded.
- Urethane primer-surfacer: Several months are generally fine. Keep the surface clean; plan to sand and seal before color.
- Polyester or 1K aerosol primer: Weeks to a few months. Expect to re-sand and re-prime/seal before topcoat.
- Outdoors, exposed to weather and sun:
- Epoxy primer: Weeks to a few months depending on UV intensity and rain. UV chalking accelerates and water can find pinholes or edges. Not recommended outdoors for extended periods.
- Urethane primer-surfacer: Weeks. Moisture permeation risks rust underneath, especially at bodywork edges and cut-throughs.
- Polyester or 1K aerosol primer: Days to a couple of weeks before significant degradation, staining, or corrosion risk.
If you must leave a primed vehicle outdoors, prioritize a fresh epoxy coat, meticulous edge coverage, and a breathable, clean cover. Avoid plastic tarps that trap condensation.
Prep a Primed Vehicle for Storage (Step-by-Step)
Follow these steps whether you plan to paint months from now or are considering a wrap later. The goal is to lock out moisture, avoid contamination, and make future re-prep efficient.
- Identify the primer and its recoat window: Note the brand, type (epoxy, urethane, etc.), mix ratio, and the date it was sprayed. Read the TDS for recoat and storage guidance. If unknown, assume you’ll need to scuff and seal prior to color.
- Address bare metal and thin edges: Any cut-throughs to metal, featheredges on body filler, or thin coverage around dents and panel edges should be spot-primed with epoxy. If epoxy isn’t available, apply self-etch to bare metal first, then follow with a 2K surfacer—but plan to seal later.
- Finish-block to your hold point: If blocking is mid-stream, at least get the panels to a uniform primer surface. Apply a guide coat and block as needed so you’re not leaving low spots open. Don’t leave feathered-through islands of bare metal unprotected.
- Clean properly: Blow off with filtered air, sand to the grit you’ll want for storage (typically P320–P400 for surfacer; P400–P600 on epoxy if it will be sealed later), then wipe with an automotive wax and grease remover. Avoid silicone detailers. Tack lightly only after the surface is dry.
- Seal if storage exceeds the recoat window: A catalyzed wet-on-wet sealer creates a uniform, non-porous substrate and resets the topcoat window. This is especially helpful if the vehicle will sit more than a few weeks or see intermittent outdoor exposure.
- Control the environment: Store indoors if possible. Target 40–55% RH. Use a dehumidifier if needed. Keep the floor and adjacent work surfaces clean to minimize dust and silicone contamination.
- Cover smart: Only cover once the vehicle is fully dry and clean. Use a breathable automotive cover. Avoid plastic sheeting and damp covers. Do not trap moisture after washing; let the car dry overnight before covering.
- Avoid driving on primer: Primer chips easily and absorbs contaminants. If you must move it, do so minimally and avoid wet roads. Inspect and touch up any stone chips or cut-throughs immediately with epoxy.
Bringing It Back for Paint After Months
When it’s time to resume, assume the surface needs refreshing. The exact steps depend on primer type, exposure, and contamination.
- Inspection: Look for rust halos, blisters, cracking around filler edges, and UV chalking. Pay special attention to panel edges, seams, and bodywork transitions.
- Spot repair rust or blisters: Sand back to clean metal where needed. If rust is present, remove it mechanically or with a rust converter as appropriate; then spot-prime with epoxy. Avoid burying active rust under surfacer.
- Block and refine: Apply a fresh guide coat. Block with P220–P320 to eliminate minor defects. If you break through to filler or metal, spot-prime those areas again (epoxy on metal, urethane surfacer on filler build). Feather to a uniform surface.
- Finalize grits for topcoat: For basecoat/clearcoat systems, finish sand P400–P600 depending on the paint manufacturer’s recommendation. For single-stage urethanes, P320–P400 is typical. The goal is a uniform scratch profile suited to your paint system.
- Clean and decontaminate: Blow off with filtered air. Use wax and grease remover. If silicone contamination is suspected (fish-eyes, cratered spots in past coats), use a dedicated silicone remover per TDS and consider a fish-eye eliminator additive as directed by the paint manufacturer.
- Apply wet-on-wet sealer: If the vehicle has sat for more than the primer’s recoat window or includes mixed substrates (epoxy, surfacer, spot repairs), a uniform sealer improves adhesion and color holdout. Choose a sealer shade suitable for your color to minimize basecoat consumption.
- Paint per system specs: Observe flash times, film builds, and booth conditions per the paint’s TDS. Avoid heavy first coats over aged primer to reduce solvent attack risk.
Wrapping Over Primer: What You Need to Know
Vinyl wrap adhesives bond best to smooth, non-porous, fully cured paint or sealer. Primers—especially surfacers and 1K aerosols—are porous and can outgas solvents for days to weeks.
- Porosity matters: Porous primer can absorb and later release solvents and moisture, creating bubbles under wrap. Adhesive can also pull weakly bonded primer during removal.
- Best practice base: Apply a catalyzed sealer or a stable topcoat before wrapping. Allow it to fully cure per TDS, then surface prep as the wrap manufacturer recommends (typically wash, decontaminate, and clay bar).
- Adhesion testing: If wrapping directly over primer cannot be avoided, perform a cross-hatch adhesion test in an inconspicuous area. If the primer lifts with tape, do not wrap until sealed or topcoated.
- Texture and color show-through: Mixed primer colors and texture can telegraph under thin films. A uniform sealer tone minimizes mapping under wraps.
- Installer prep: Professional wrappers will still clean and clay the surface, but they cannot fix porosity. Provide them with a sealed, smooth substrate.
Common Mistakes to Avoid
- Leaving bare metal “freckles”: Even pinholes and feathered edges can seed rust beneath the primer. Spot epoxy them.
- Using plastic tarps: They trap condensation and print into primer. Use a breathable cover.
- Assuming “dry climate” means zero risk: Even in arid regions, dew and monsoon humidity can push moisture through porous primers.
- Skipping sealer after long delays: Aged primer accumulates contamination and loses chemical recoat. Sealer resets the surface for reliable adhesion and color holdout.
- Driving extensively on primer: It chips easily and soaks up contaminants that are hard to remove later.
- Ignoring the TDS: Recoat windows, film builds, and cure times vary widely. Follow your exact product guidance.
Quick Storage Checklist
- Spot-epoxy any cut-throughs or exposed metal
- Guide coat and block to a uniform surface
- Clean with wax and grease remover; avoid silicone products
- Apply a catalyzed sealer if storage exceeds a few weeks
- Store indoors at 40–55% RH with a breathable cover
- Inspect monthly for chips, blisters, or rust halos; repair promptly
FAQs
How long can a car safely sit in primer indoors?
In a dry garage, epoxy can sit many months to a year or more with minimal risk; urethane surfacer can sit several months. Expect to scuff and apply a wet-on-wet sealer before color if you’ve exceeded the recoat window. Polyester and 1K aerosol primers should be considered short-term and refreshed sooner.
Is primer waterproof?
Most primers (especially surfacers and 1K aerosols) are porous and not waterproof. Epoxy primers offer far better moisture resistance but are not intended for permanent exterior exposure without topcoat. None of these products provide meaningful UV protection long term.
Can I drive a car that’s in primer?
Minimize driving. Primer chips easily and absorbs contaminants from road spray and oils. If you must move the vehicle, keep trips short and avoid rain and gravel. Inspect for chips and spot-epoxy any breakthroughs immediately.
Do I need sealer if I plan to paint later?
If the primer has sat beyond its chemical recoat window, or if the car has mixed substrates and spot repairs, a catalyzed sealer is strongly recommended. It improves adhesion, creates a uniform color base, and reduces the risk of mapping, dieback, or fisheyes.
Can I wrap directly over primer?
It’s not recommended. Primer porosity and outgassing can cause adhesion issues and bubbles, and removal can pull weak primer. If wrapping, apply a catalyzed sealer or a stable topcoat first, allow full cure, and prep per the wrap manufacturer.
Does mixed primer color matter?
Color differences don’t matter for protection, but they can affect basecoat coverage and show through thin wraps. A uniform sealer color helps achieve even coverage and appearance.
What grit should I sand to before sealer and paint?
Common practice is P400–P600 for basecoat/clearcoat and P320–P400 for single-stage urethane, but always follow the paint system’s TDS.
What if I only used 1K rattle-can primer?
Plan to re-sand and upgrade to a 2K epoxy or urethane system before final paint. 1K aerosols are suitable for short-term hold and small spots but aren’t robust for months of exposure.
Shop Body & Paint Prep Tools
Ready to store a primed vehicle the right way or bring it back for color? Explore our body and paint prep tools for efficient sanding, masking, sealing, and panel handling.
- Sanding blocks, long boards, and DA accessories for guide-coat blocking
- Masking tools, panel stands, and spray equipment for sealers and topcoat prep
- Surface prep essentials and mixing/measuring tools for clean, consistent results
The Toolsource Technical Team blends decades of real-world automotive service experience with up-to-date technical research. Our writers collaborate with professional mechanics, shop owners, and diagnostic specialists to deliver practical, workshop-ready guidance you can trust.

Follow us on social media