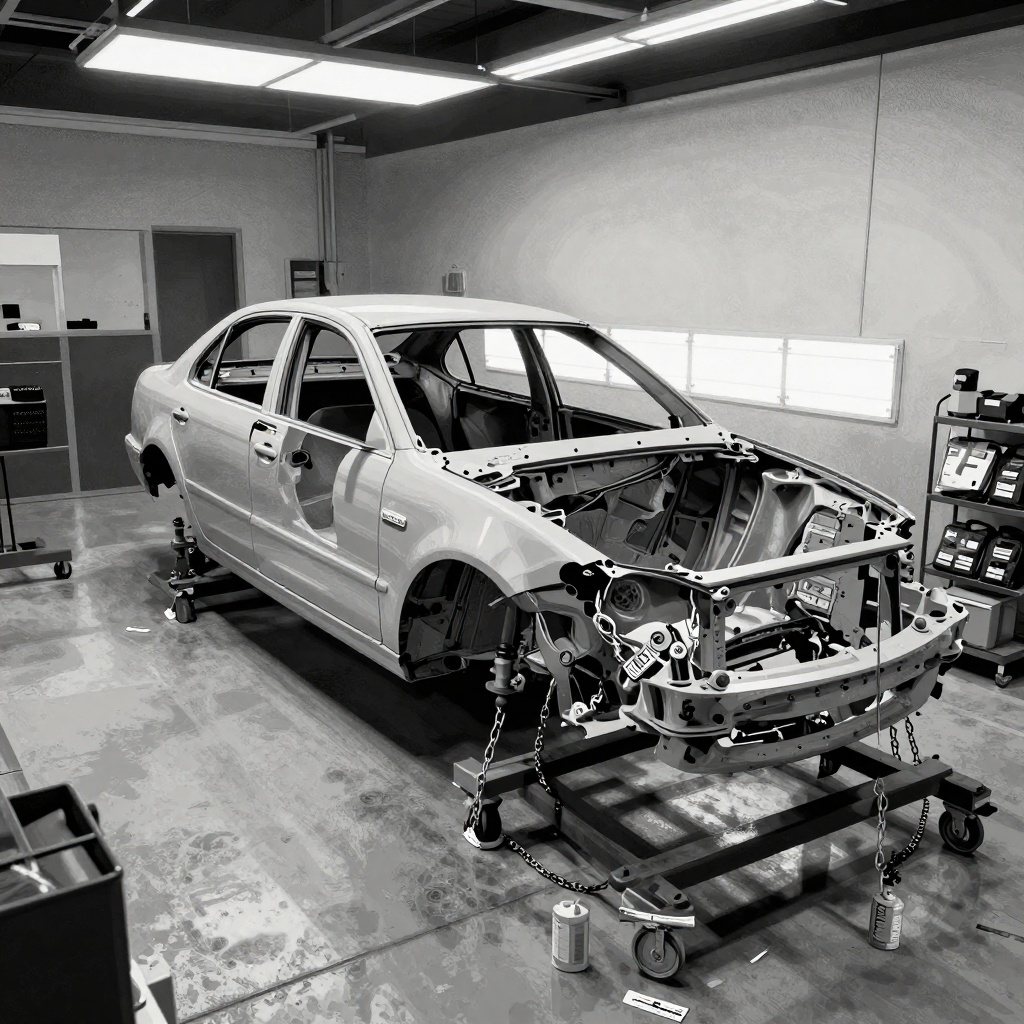
In some markets, new-car taxes, licensing quotas, or import restrictions make a complete strip-down and refurbishment of a used car more economical than buying new. In others, shops specialize in salvage or flood recoveries to meet demand. Regardless of the reason, doing a body-off or near-body-off rebuild correctly is a discipline: plan the work, control corrosion and alignment, protect the harness, and reassemble without introducing squeaks or electrical issues. This guide breaks down how to scope, quote, and execute a full tear-down the way a professional shop would.


When a full strip-down makes sense
- High-tax markets and licensing quotas: Places with high first-registration taxes or road-use certificates can push total cost of a new car up dramatically. Refreshing an existing vehicle avoids a large portion of those fees.
- Flood or biohazard remediation: If a car is otherwise sound but has flood intrusion, mold, or heavy contamination, full interior removal, harness assessment, and corrosion abatement may be justified.
- Structural repairs that touch multiple systems: Side, roof, or front-end hits that require sectioning and multiple airbag replacements often benefit from an R&I plan that treats the car as a system rather than a panel-swapping job.
- Specialized platforms: Focusing on a single model line improves parts inventory efficiency, repair speed, and quality. It is common for small crews to specialize, keep some cars, and sell others for profit.
- Customer preference and preservation: Low-mileage examples, enthusiast trims, or vehicles with known ownership history can be worth the effort if labor is affordable and parts are available.
Red flags that argue against a full rebuild include heavy saltwater immersion above dash level, kinked rails beyond spec, compromised structural adhesives throughout, or no parts support. Do not overpromise on cars with unknown flood duration, missing modules, or multiple prior repairs.
Planning and quoting: R&I everything without losing your shirt
Full tear-downs require a detailed plan and a disciplined estimate. Treat it like an assembly project with controlled inputs.
Build a scope
- Document baseline: Scan all modules, road test if safe, photograph gaps, paint meter readings, and all damage. Record key IDs and VIN labels.
- Define target condition: Agree on mechanical refresh level, paint coverage, corrosion targets, and interior refurb standard. Put exclusions in writing.
- Parts strategy: Use OEM safety components (airbags, pretensioners, seat fabric with sewn-in airbags, glass in ADAS systems). Panels may be OEM or certified aftermarket where allowed. Stock all new clips and seals; never budget to reuse brittle fasteners.
Time and cost modeling
- R&I baseline hours for a mid-size sedan: 80–140 hours to fully strip to shell and subassemblies, depending on feature content and corrosion. Reassembly 80–120 hours. Body and refinish 40–80 hours. Calibrations and QC 6–16 hours. Adjust for vehicle complexity.
- Labor rate reality: US/Europe rates make these jobs viable mainly for special cases. In lower-labor-cost markets, the economics change sharply. Price accordingly and protect margins with documented change orders.
- Sublet and equipment: Budget for frame bench time, 3D measuring, glass install, ADAS calibrations, alignment, and any seat airbag sewing certifications. Note all sublets up front.
Work breakdown and kit lists
- Bag and tag: Use color-coded bags and a label printer. One bag per discrete subassembly; include a printed photo for complex areas.
- Torque library: Build a torque spec binder or digital database for powertrain mounts, suspension, seats, airbag fasteners, steering column, and wheel hardware.
- Consumables: Plan quantities of harness tape, heat-shrink, seam sealer, panel bonding adhesives, weld-through primer, cavity wax, glass primers, and one-time-use bolts.
Disassembly best practices: protect harnesses, clips, and modules
Stripping a car quickly is easy. Stripping a car without creating future problems is a skill. The goal is zero broken clips where replacements are not immediately on hand, zero kinked harness branches, and no damaged sealing surfaces.
Power-down and airbags
- Battery disconnect: Use memory saver if needed, then disconnect negative terminal and wait the OEM-specified time before touching airbags or seat connectors.
- Module preservation: Physical remove or shield sensitive modules before welding, grinding, or excessive dust exposure. Avoid static shocks to airbag and SRS connectors.
- Pyro components: Replace any deployed pretensioners or airbags with new OEM components. If seats require replacement covers with sewn-in bags, use a certified specialist.
Interior and trim removal
- Work from clean to dirty: Remove interior prior to major body work to avoid contamination. Roll up glass or remove it entirely.
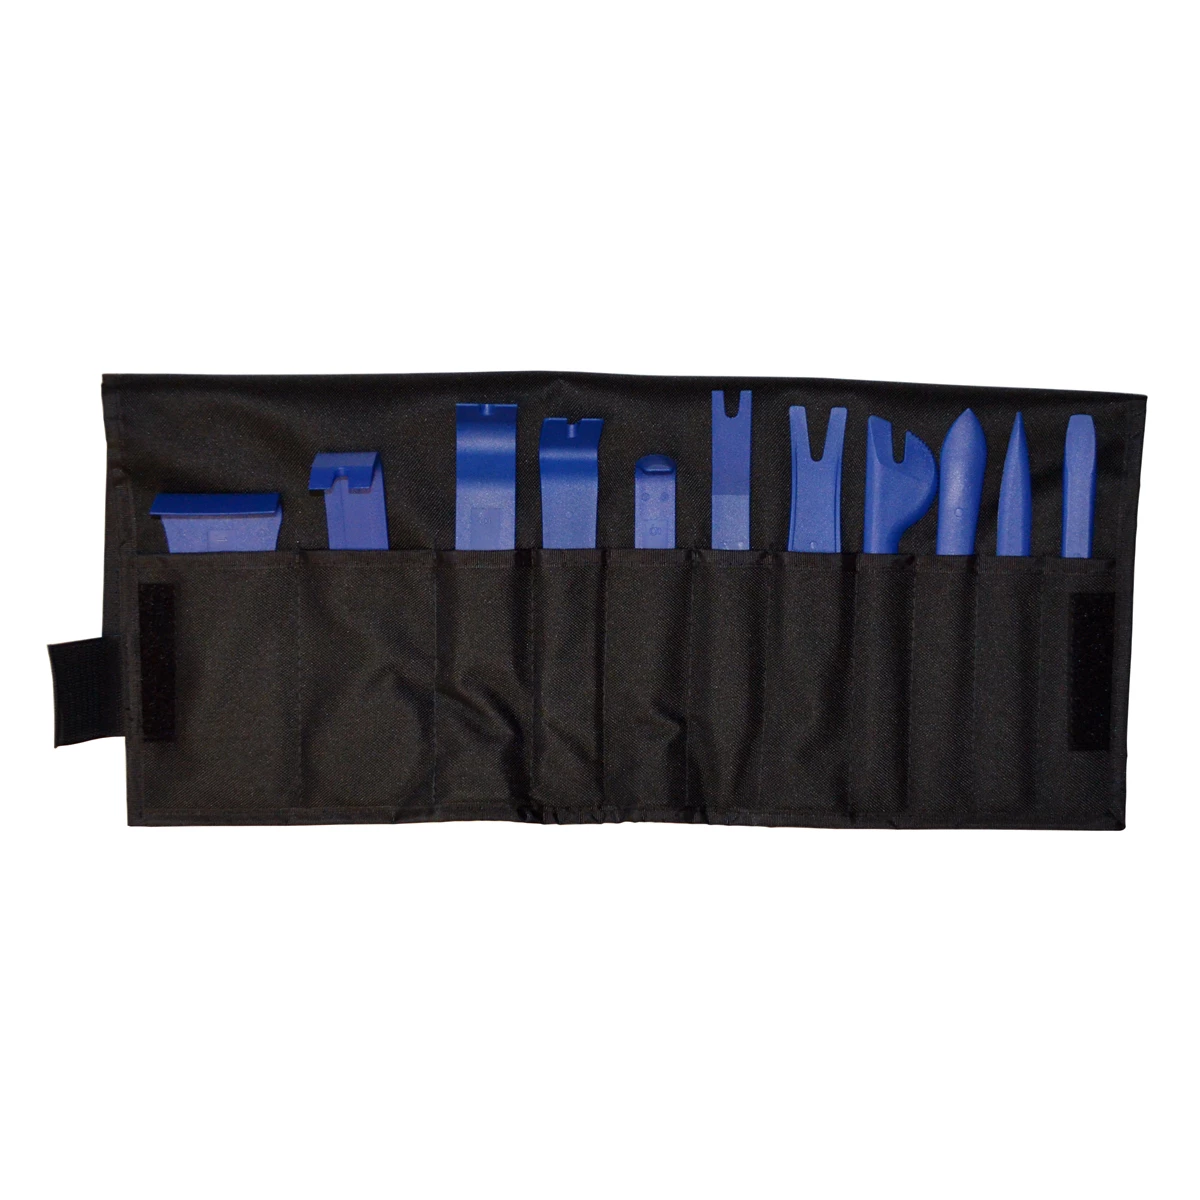
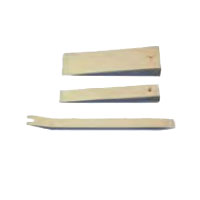
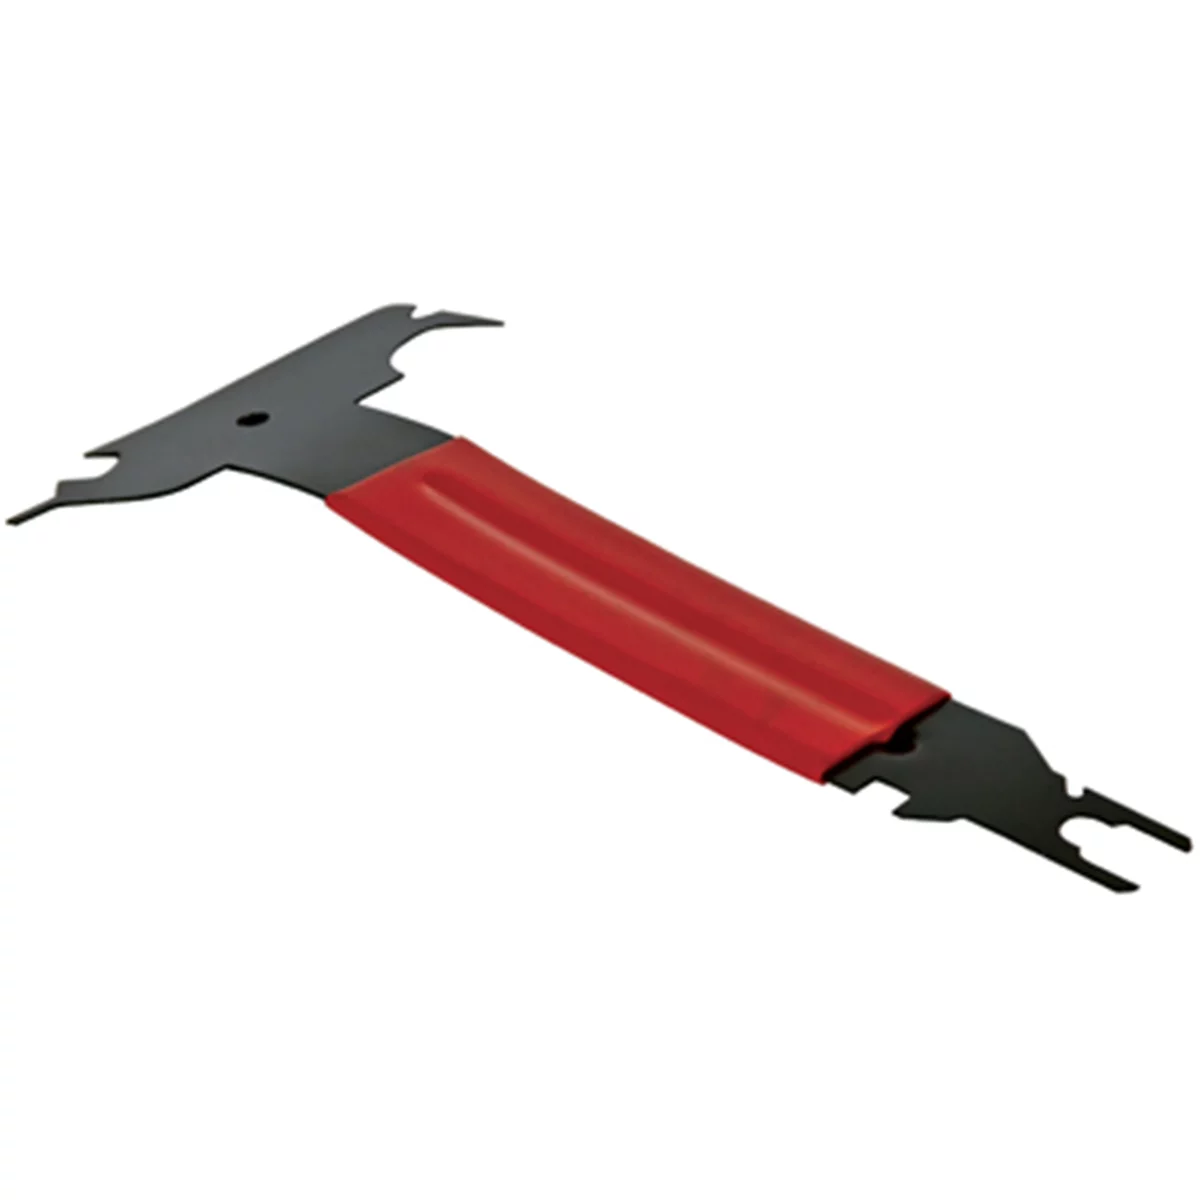
- Tools that prevent damage: Nylon trim levers, panel poppers, right-angle picks, and a suitable suction cup glass lifter. Heat stubborn clips gently with a heat gun to reduce brittleness.
- Clip discipline: Replace push pins, Christmas tree fasteners, one-time-use expanding rivets, and molded seals. Stock model-specific clip kits; do not force misfit clips.
Harness handling
- Support like a garden hose: Unroute harnesses onto lined tables or rolling harness stands. Never carry them by branches. Inspect for corrosion migration under tape, especially on floor and sill runs.
- Repair vs replace: For fresh-water floor exposure with clean terminals, a careful repair may work. For saltwater, long-duration wetting, or corroded terminals, replace affected runs. Always replace SRS connectors if damaged.
- Rewrap correctly: Use OEM-style cloth harness tape in cabin, high-temp tape in engine bay, and heat-shrink with adhesive for splices. Maintain original branch breakouts and strain reliefs.
Glass and sealing
- Cut and set glass properly: Use protected suction cups, avoid touching bond areas, apply proper glass and body primers, and follow cure times. Reprime any scratches in the pinchweld.
- Water integrity: Replace vapor barriers, door membranes, grommets, and body plugs. Water-test with controlled flow before interior goes back in.
Structure, corrosion control, and refinish: you cannot dip a car like the factory
Factory shells are e-coated by immersion. You cannot replicate this after repairs, so compensate with surface prep, primers, seam sealing, and cavity protection.
Measuring and pulls
- 3D measure first: Document datum points before any pulls. If the vehicle has ADAS, keep camera and radar mounts within spec or be prepared to replace and calibrate.
- Use a frame bench: Anchor properly, pull with load paths restored, and avoid creating heat or work-hardening in critical zones.
- Sectioning: Follow OEM procedures for panel sectioning and number of spot welds. Drill out spot welds cleanly, use weld-through primer, and match factory hem flanges where required.
Sealers and adhesives
- Seam sealing: Reproduce OEM seam sealer patterns, widths, and textures. Pay attention to wheelhouses, rocker seams, and tail lamp cavities.
- Panel bonding and rivets: Where approved, use structural adhesive with correct bond line thickness and adhesive open times. Replace self-piercing rivets with specified replacements or approved equivalents.
- NVH materials: Replace foam blocks, mastic pads, and spray-on deadeners. Missing NVH elements cause rattles and harshness later.
Corrosion protection
- Epoxy primer: Use two-part epoxy on bare metal, inside cavities where access allows, and under seam sealer. Avoid shortcuts with etch-only products on repaired zones.
- Cavity wax: Fog rockers, pillars, doors, pinch seams, and repaired chassis members with a wand. Repeat after a heat cycle for wick-in.
- Fastener hygiene: Replace plated fasteners with new. Recoat exposed bolt heads and weld nuggets.
Paint strategy
- Full respray vs blend: Full resprays deliver uniformity but cost more. Blending adjacent panels may suffice if factory paint is salvageable elsewhere.
- Substrate staging: Prime and block before reassembly or after, depending on access and dust control. Mask hidden edges properly and remove masking soon after curing to avoid hard edges.
Reassembly without rattles or electrical gremlins
Reassembly is where most comebacks are born. Treat it as precision assembly work, not simply reversing disassembly.
Hardware and fasteners
- One-time-use bolts: Replace torque-to-yield engine mounts, suspension pinch bolts, airbag and seat bolts, and axle nuts as specified.
- Torque control: Use calibrated torque wrenches and angle gauges where needed. Record torques for safety-critical joints and keep with the job file.
- Thread prep: Chase threads, use appropriate threadlocker or anti-seize per OEM notes, and replace captured nuts if distorted.
Harness and grounds
- Routing: Follow OEM clips and paths. Avoid pinch points at seat tracks, dash frame edges, and trunk hinges. Reinstall all ground straps and clean the mating surfaces.
- Connector care: Use dielectric or OEM-approved terminal protectant where specified. Never pack airbag connectors with dielectric grease.
- Module registration: Program or code modules as needed after replacement. Register battery where required, especially on vehicles with intelligent charging.
Interior and NVH
- Foams and felts: Reinstall anti-squeak felts at clip points. Add felt where trim interfaces are now refinish-on-refinish.
- Vapor barriers: Seal with butyl without gaps. Confirm cable pass-throughs and drain holes are free.
- Seat and belt checks: Verify seat track torque, belt pretensioner connectors, and seat weight sensor calibrations.
Fluids and cooling
- Refresh known weak systems: Replace brittle plastic cooling parts on platforms known for failure. Vacuum-fill coolant, bleed thoroughly, and verify electric pump duty cycles where applicable.
- Brake system: Pressure or vacuum bleed, cycle ABS if needed, and verify pedal feel after road test heat soak.
- Engine and trans: New fluids, filters, and seals at disturbed joints. Replace any aged hoses disturbed during the job.
Finalization: calibrations, QC, and road test
- Diagnostic baseline: Clear codes, perform a full vehicle scan, and resolve any permanent DTCs before release.
- ADAS calibrations: Static and dynamic calibrations for camera, radar, and steering angle sensors after windshield or structural work. Follow target placement specs.
- Alignment: Four-wheel alignment with steering angle reset. Verify subframe squareness and bushing preloads at ride height.
- Water and wind tests: Controlled leak test with water spray, then a highway wind-noise check. Address mirror whistles and door seal gaps promptly.
- NVH and squeak hunt: Use a chassis ear or squeak-and-rattle kit on a known route. Trim felts and clip replacements solve most issues.
- Documentation: Photograph finished gaps, paint readings, and keep the parts list, torque records, and calibration reports. This builds trust and resale value.
Quick checklist: full tear-down essentials
- Label and bag every fastener group; photograph routing and hidden fasteners
- Stock new clips, seals, and one-time-use bolts before reassembly
- Protect and support harnesses; rewrap with OEM-style tapes
- Use 3D measuring and a frame bench for any structural correction
- Prime bare metal with epoxy, reproduce seam sealers, and fog cavity wax
- Vacuum-fill coolant, bleed brakes, code modules, and calibrate ADAS
- Water-test, alignment, long road test, and NVH verification before delivery
FAQs
- Is a full tear-down worth it compared to buying new?
- It depends on your market and the vehicle. In high-tax or quota markets, refreshing an existing car can sidestep large registration costs. In lower-labor-cost regions, total spend can also undercut the price of new. In higher-labor-cost markets, it is usually viable for special cases only: desirable trims, low mileage, or high resale after documentation.
- How long does a full strip and rebuild take?
- A well-coordinated two-person crew typically spends 80–140 hours on disassembly, 40–80 hours on structure and paint, and 80–120 hours on reassembly, plus calibrations and QC. Complex vehicles, flood remediation, or parts delays stretch timelines.
- Should I replace the wiring harness on a flood car?
- Light, short-duration fresh-water exposure confined to the floor can sometimes be remediated with disassembly, cleaning, and terminal service. Saltwater, long-duration immersion, or any corrosion at terminals warrants replacing the affected harness runs. Do not risk intermittent faults from hidden wick-in.
- Can a rebuilt car match factory quality?
- You cannot replicate factory dip e-coat or robot welds, but you can meet OEM structural specs, sealing performance, and drivability by using correct procedures, adhesives, fasteners, and calibrations. Where possible, replace panels rather than extensive filler work, and restore corrosion protection aggressively.
- How do I prevent rattles after reassembly?
- Replace all clips and seals, reinstall NVH foams and mastic pads, apply felt between hard plastic interfaces, torque interior fasteners properly, and water-test doors before trim goes on. A controlled road test with a squeak-and-rattle kit catches the rest.
- What special tools do I really need for this level of work?
- Beyond basic hand tools: nylon trim tools and clip kits, suction cup glass lifter, torque wrenches with angle gauge, E-Torx and triple-square sockets, spot weld cutters, MIG welder and weld-through primer, panel bonding adhesive and seam sealer guns, cavity wax wands, coolant vacuum filler, pressure brake bleeder, professional scan tool with coding and battery registration, smoke machine, and access to a frame bench with 3D measuring and ADAS calibration equipment or sublet partners.
Shop Trim & Panel Removal Tools
For clean R&I on interiors, glass, and exterior trims, see our Trim & Panel Removal Tools to prevent broken clips, marred surfaces, and kinked harnesses.
- Nylon trim levers, panel poppers, and right-angle picks
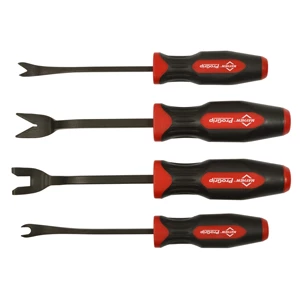
- Clip pliers, fastener kits, and rivet replacements
- Suction cup glass lifters for safe glass handling

The Toolsource Technical Team blends decades of real-world automotive service experience with up-to-date technical research. Our writers collaborate with professional mechanics, shop owners, and diagnostic specialists to deliver practical, workshop-ready guidance you can trust.


Follow us on social media