
Plenty of GM trucks and SUVs rack up 200k–300k+ miles with the original powertrain, but by then the dash may light up like a tree and chassis parts will be tired. This guide distills field-proven, technician‑oriented steps to triage dash lights, fix the common TPMS/EVAP/SIR faults, and keep LS/3800 engines and 6L80/4L60E transmissions alive. Use a methodical approach, the right tools, and OEM‑quality parts to avoid comebacks.
Stop guessing at dash lights: triage by severity

93252 3354 OTC OTC3354 2002 Monitor Elite Deluxe OBD2 Scan Tool Kit
Mfg: OTC Tools and Equipment
Part #: 3354


OBD2 Scan Tool \- ABS, Air Bag and CodeConnect
Mfg: OTC Tools and Equipment
Part #: 3210
Not all warning lamps are equal. Prioritize by failure impact and diagnostic data, not by how long the lamp has been on.
- Check engine light (MIL)
- Flashing = active misfire severe enough to damage the catalytic converter. Reduce load immediately, diagnose ignition/fuel/compression before further driving.
- Steady = emissions fault. It may feel fine, but continued operation can foul O2 sensors/cats or cause poor fuel economy. Scan before parts-swapping.
- Airbag/SIR lamp = safety system disabled. Diagnose before returning the vehicle to service.
- Oil pressure lamp or zero gauge reading = stop and verify with a mechanical gauge. Confirm pressure before further running.
- Charging system lamp = test battery/alternator/grounds. Low system voltage causes module communication faults and false DTCs.
- TPMS lamp = typically low tire or sensor battery end‑of‑life. Not immediately hazardous if pressures are verified, but repair promptly.
Initial diagnostic steps:
- Hook a scan tool capable of Global OBD‑II and GM Enhanced (ECM/TCM/ABS/SRS). Pull codes and freeze frame; save a pre‑repair report.
- If a basic scanner shows no codes but the MIL is on, switch to Enhanced manufacturer‑specific menus. Check pending codes (Mode $07) and misfire/catalyst monitors (Mode $06).
- If the scan tool won’t connect, check DLC power/ground: Pin 16 (B+), Pins 4/5 (ground). On many GMs, the cigarette lighter/OBD power share a fuse; verify that fuse. Inspect for bent pins or aftermarket accessories interfering with CAN.
- Confirm battery state of health and charging output under load. Weak voltage will skew diagnostics.
- Address the most severe lamp first (oil, charging, SIR, flashing MIL), then work down the list.
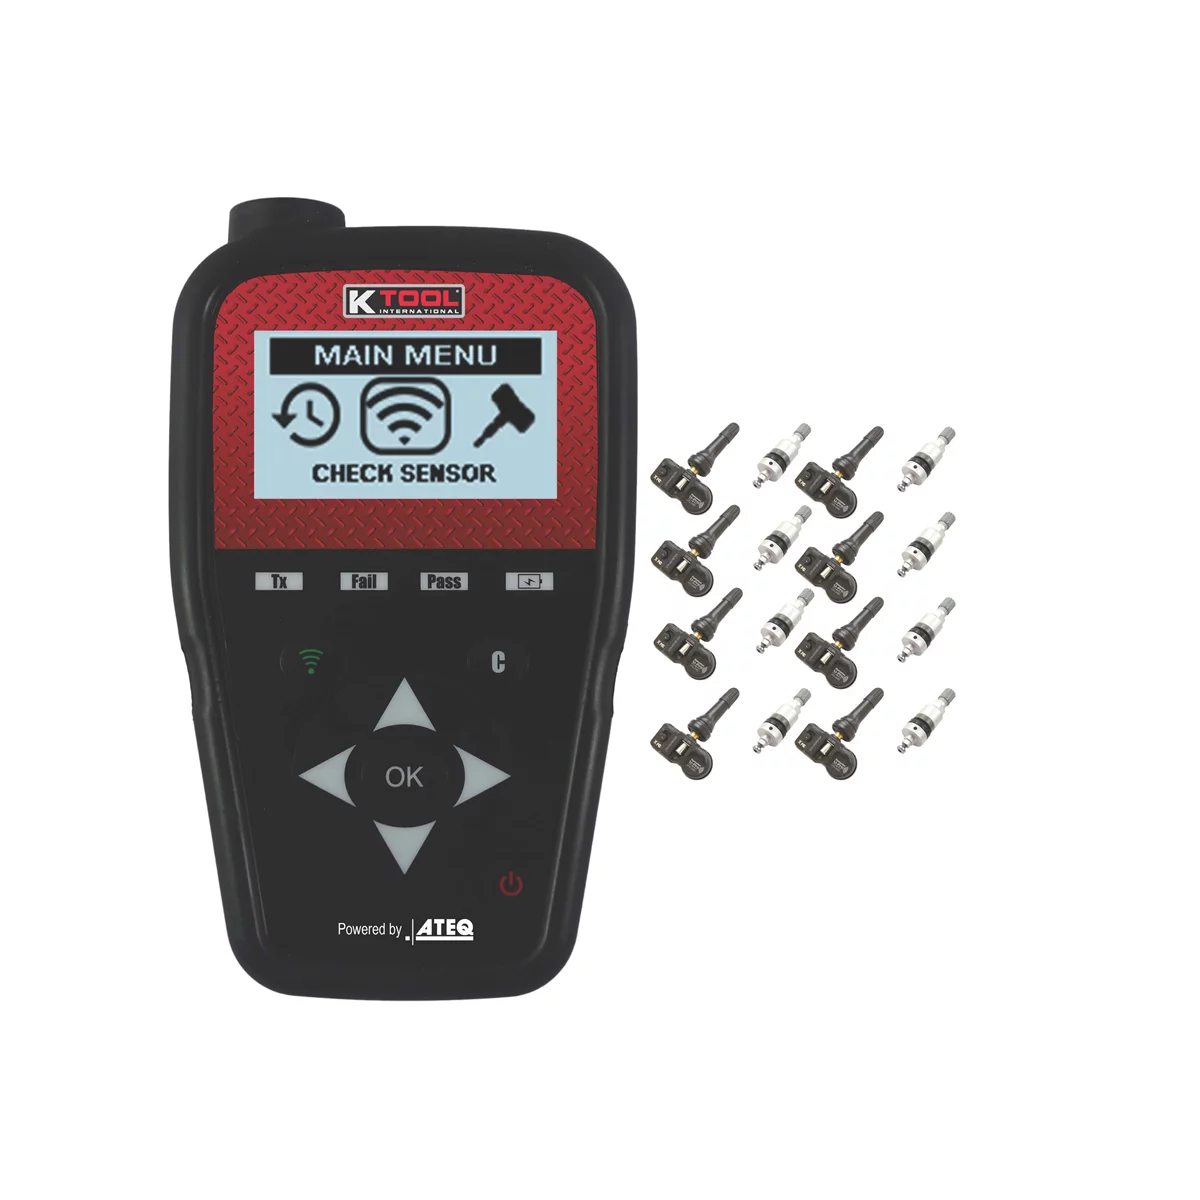
TPMS sensors at end of life: diagnose, replace, and relearn correctly
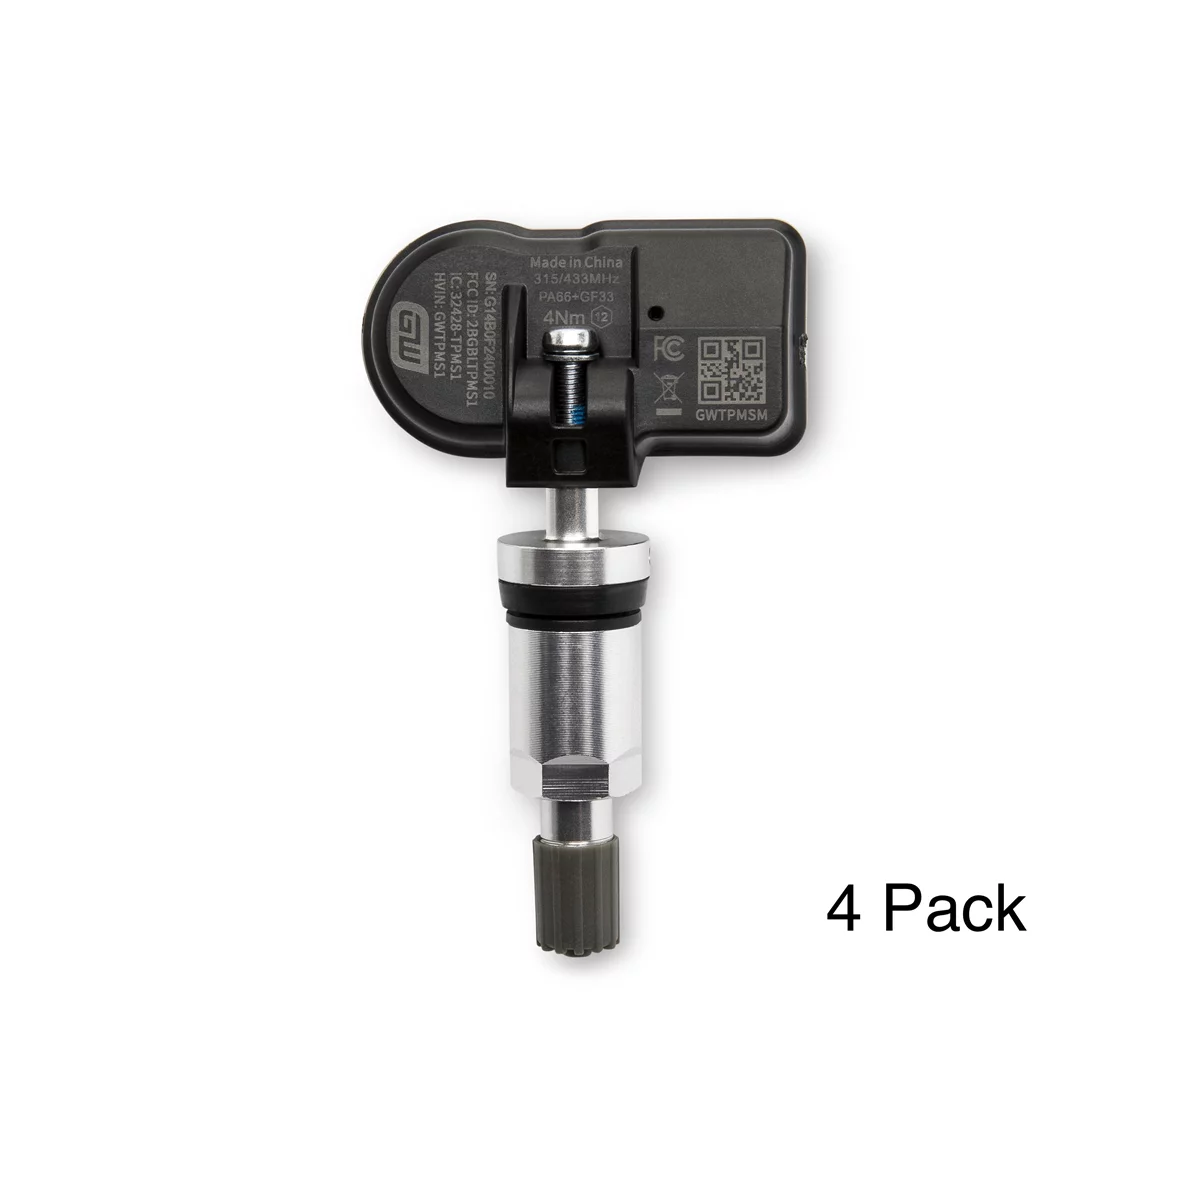
GearWrench Universal Programmable Metal TPMS Sensor - 4 Pack
Mfg: GearWrench
Part #: GWTPMSM4PK
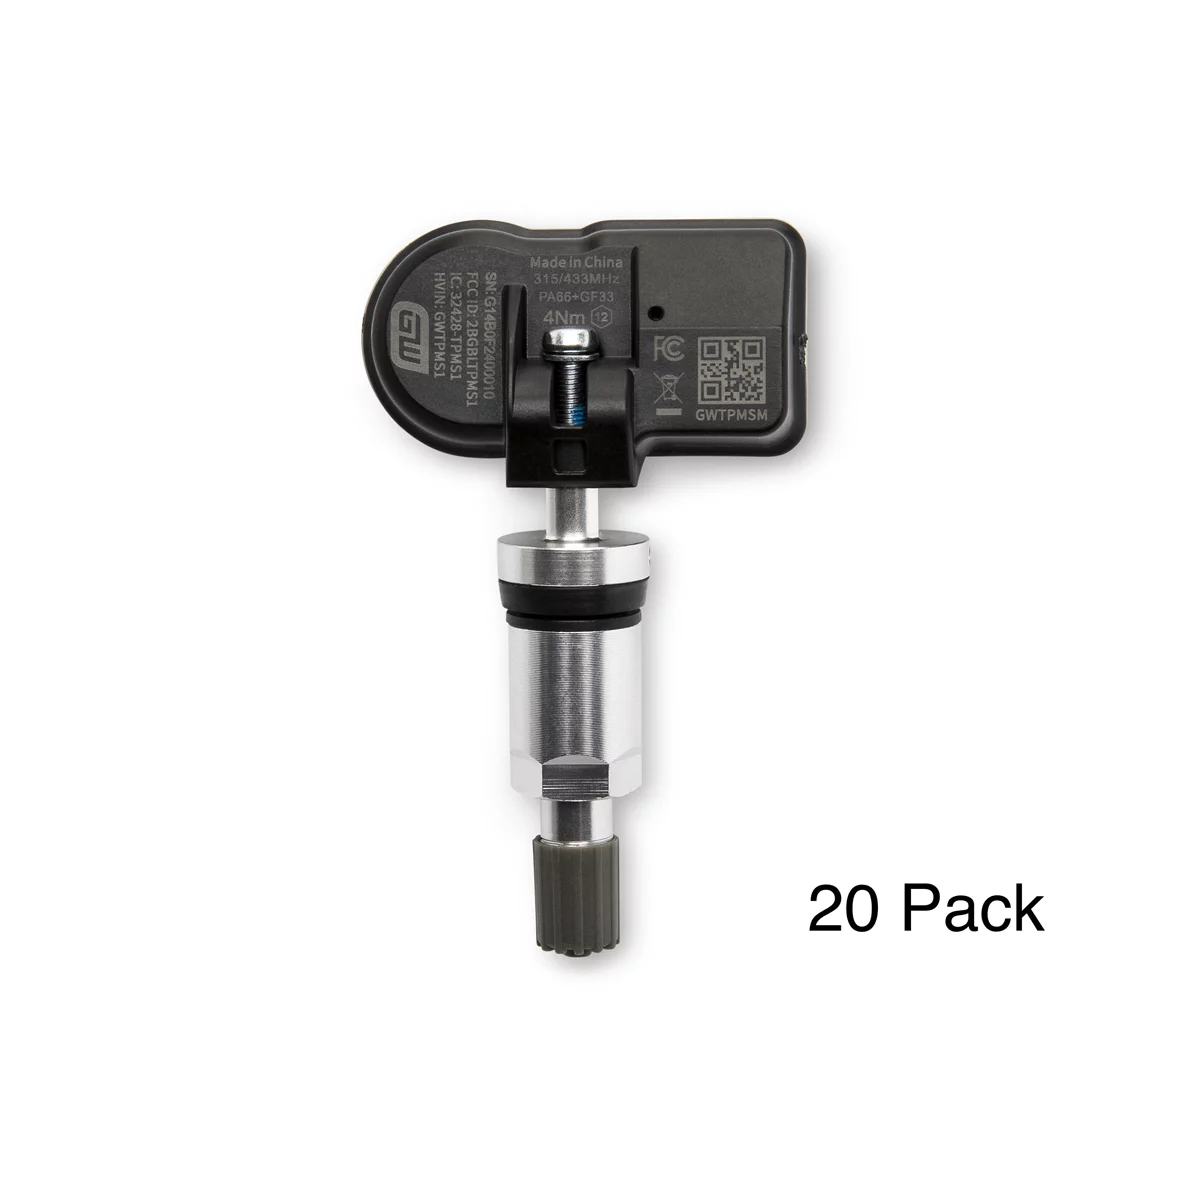
GearWrench Universal Programmable Metal TPMS Sensor - 20 Pack
Mfg: GearWrench
Part #: GWTPMSM20PK
Factory TPMS sensors are battery‑powered and commonly time out around 7–10 years. High‑mileage trucks often have one or more dead sensors. Replace proactively during tire service to avoid repeated demounting.
Tools and supplies:
- TPMS activation/relearn tool or a bidirectional scan tool
- Valve stem torque tool/rebuild kits (seals, cores, caps)
- Correct‑frequency sensors (GM applications use 315 MHz or 433 MHz depending on model year)
- Tire machine and torque wrench
Procedure:
- Verify pressures cold to placard spec. Correct any underinflation. If the lamp clears, road test. If not, proceed.
- Use a TPMS tool to ping each wheel sensor. Record ID, pressure, temperature, and battery status. A sensor that won’t wake up or shows low battery should be replaced.
- When fitting new tires, replace all sensors if they are aged; otherwise, replace failed units individually. Use new seal kits and cores every time a tire is demounted.
- Program or clone multi‑protocol universal sensors if used. Verify the correct protocol for the year/application.
- Perform GM relearn:
- Most models: Key ON/engine OFF, enter relearn mode via driver information center or scan tool. Horn chirp confirms mode.
- Trigger LF, RF, RR, LR in order with the TPMS tool at the valve stem until each horn chirps. Exit mode; road test to confirm.
- Torque aluminum valve nuts per the sensor manufacturer spec. Do not overtighten or use impact tools on valve hardware.
Notes:
- Always match sensor frequency to the vehicle. Mixing 315/433 MHz will fail the relearn.
- Rubber stem sensors require new grommets; aluminum stems need correct conical washers and anti‑corrosion practices appropriate for dissimilar metals.
- If the lamp returns after a successful relearn, look for a weak sensor, a spare tire with TPMS that was not relearned, or module/network faults.
EVAP leaks on GM trucks/SUVs: smoke testing and common failure points
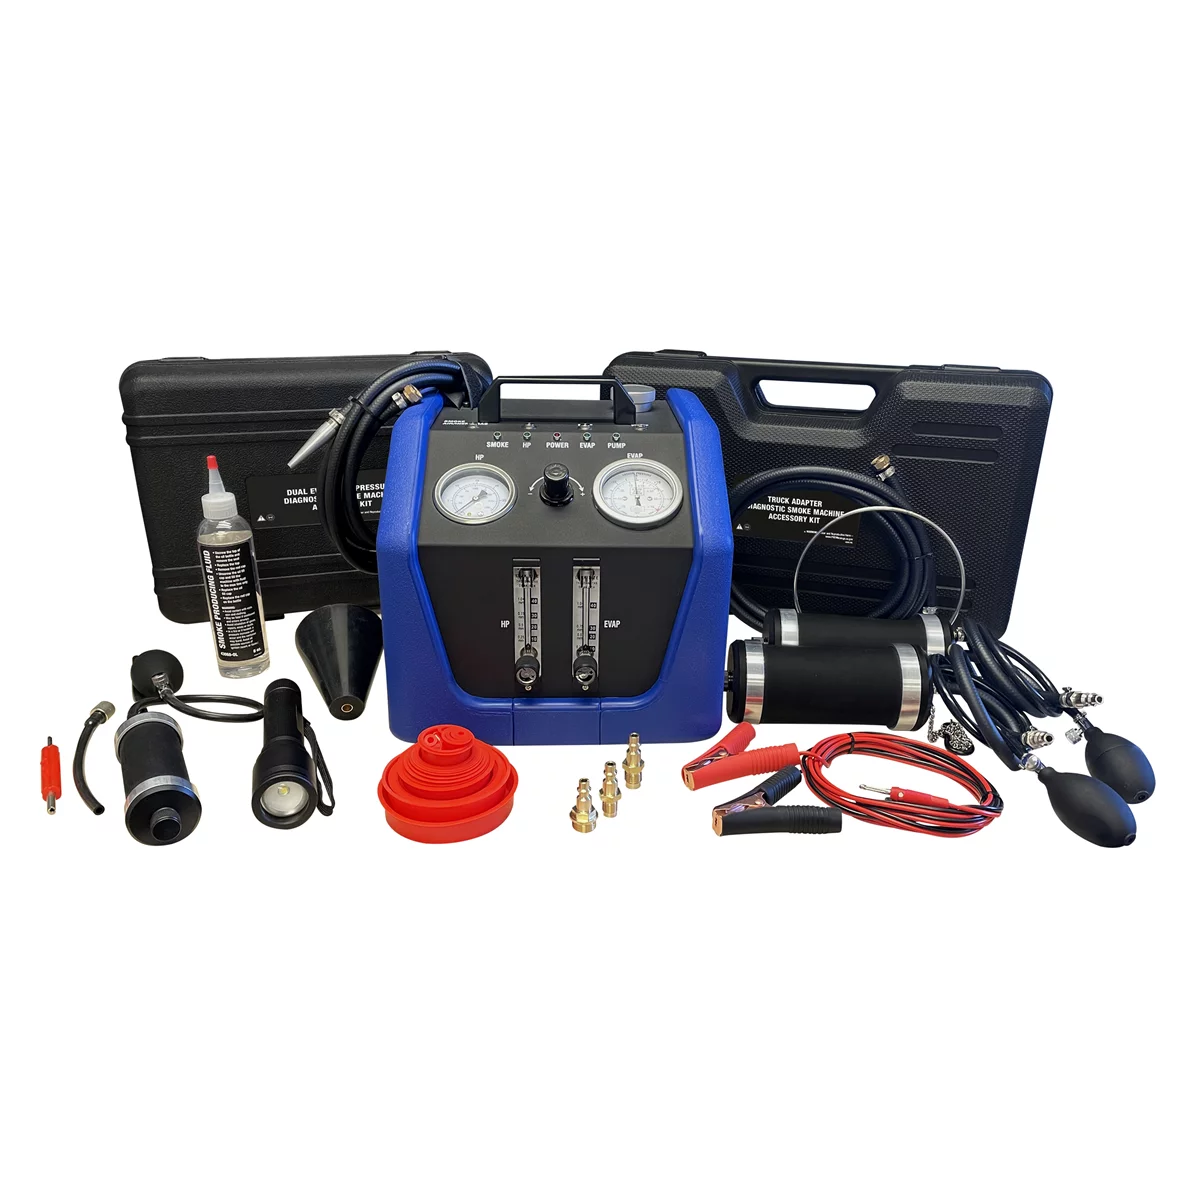
Dual Evap/High Pressure Diagnostic Smoke Machine w/ Truck Adapter Kit
Mfg: Mastercool
Part #: 43070
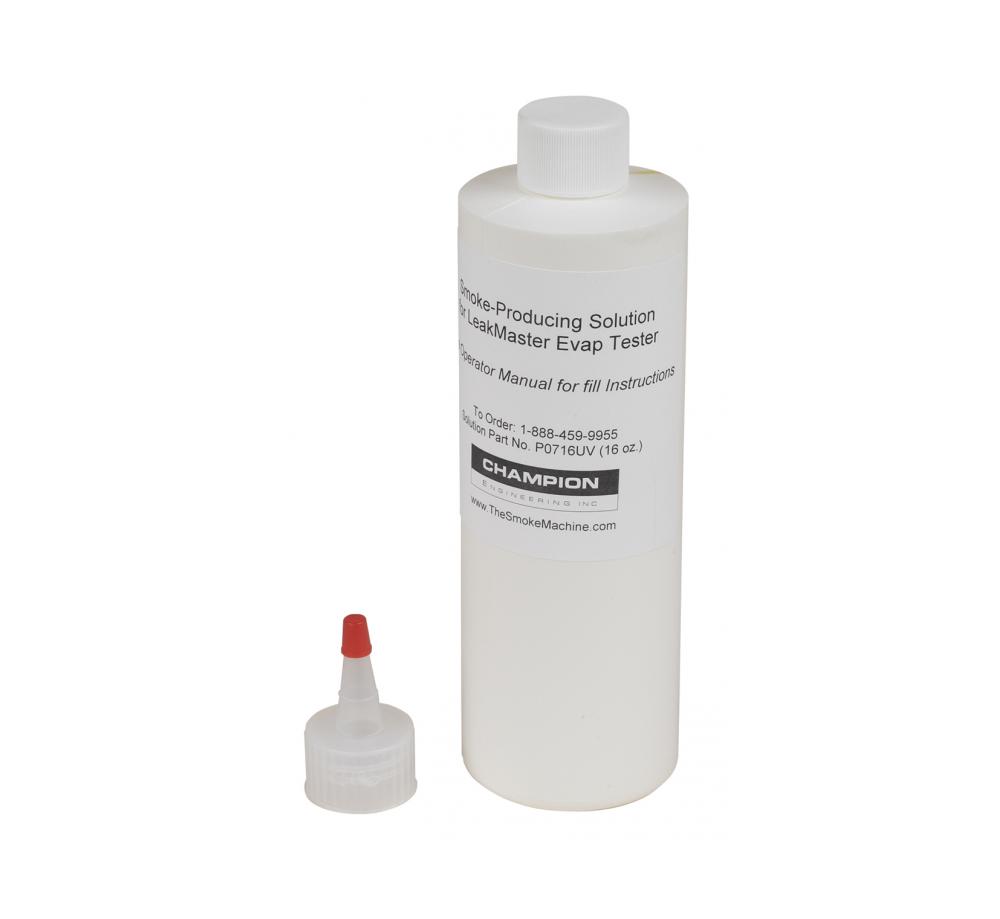
UltraTraceUV Dye Solution Smoke Compound for Smoke Machine
Mfg: OTC Tools and Equipment
Part #: P-0716-UV
Small EVAP leaks (P0442, P0456), large leaks (P0455), and purge/flow codes (P0496) are common on aging GM vehicles. Guessing at caps and valves wastes time; isolate with smoke and control tests.
Tools and supplies:
- Bidirectional scan tool (command purge/vent, run EVAP tests)
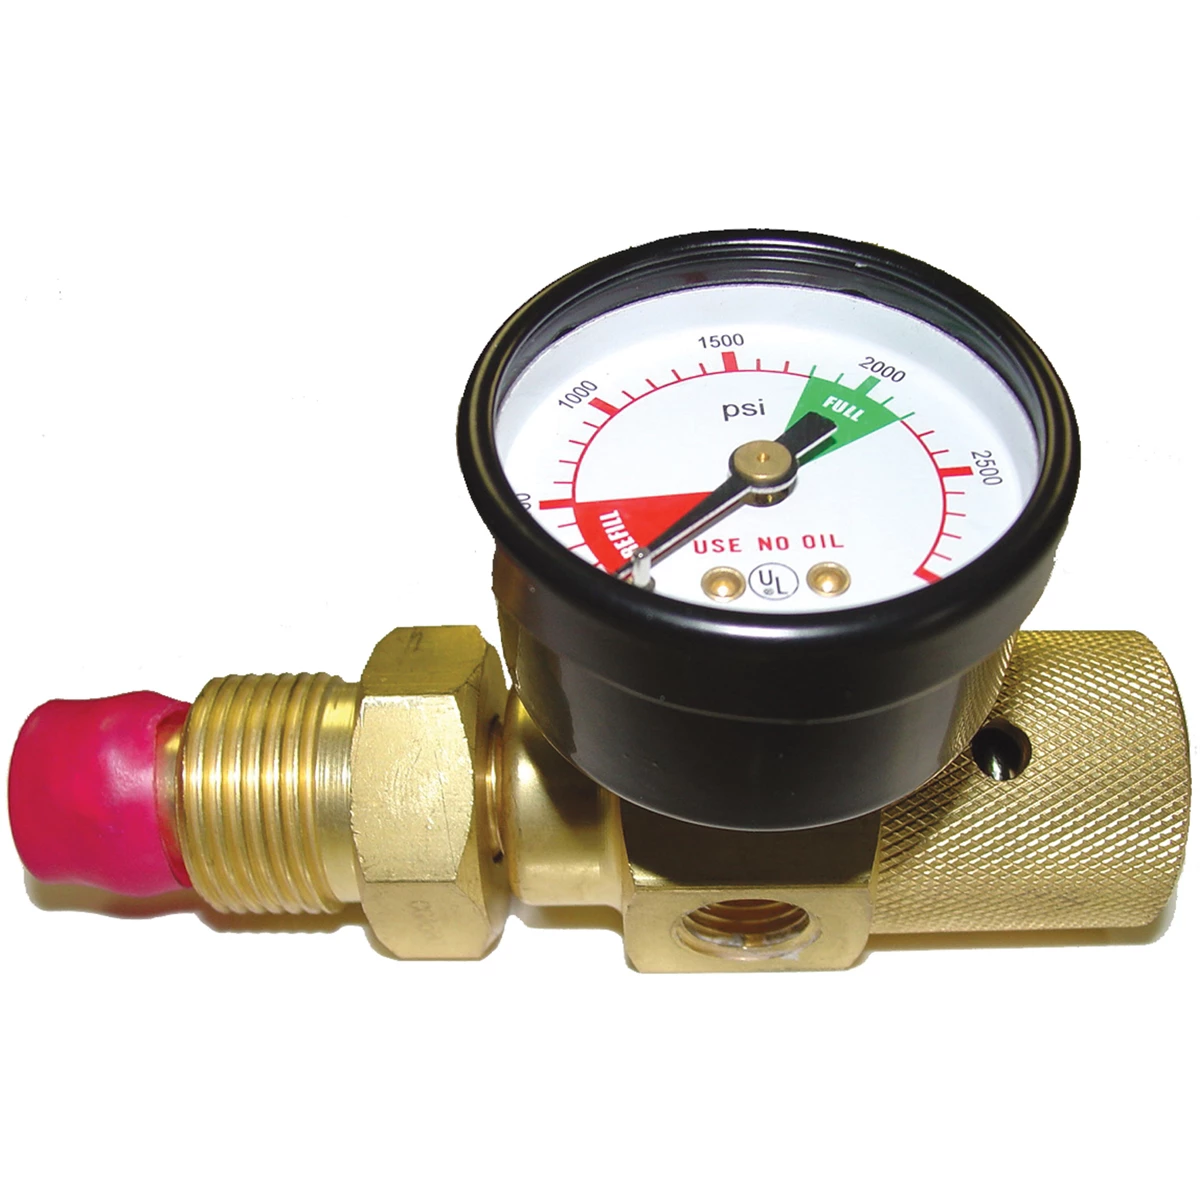
- EVAP smoke machine with low‑pressure regulator
- Assorted EVAP line adapters
- Replacement gas cap, purge solenoid, vent valve, canister as needed
Procedure:
- Scan and document EVAP codes and fuel level (most EVAP tests require ~15–85% level). Clear only after testing if needed.
- Visual inspection: check gas cap seal and filler neck corrosion. Inspect EVAP hoses and quick‑connects along the frame rails and the top of the tank. In rust‑belt trucks, look near the spare tire and rear crossmember for cracked lines and corroded vent valves.
- Isolate with smoke:
- Cap the purge line at the engine. Introduce smoke at the service port or a disconnected line.
- With a scan tool, command the vent valve closed to seal the system. Watch for smoke at the cap, filler neck, canister, vent valve, rollover valve grommet, and tank sender seal.
- If smoke exits the purge solenoid, it’s leaking; replace it.
- On many GM trucks, the canister vent valve sits low and ingests dust/water. An updated vent relocation kit improves reliability; install high and away from splash.
- After repairs, run the EVAP service bay test (if supported) or complete a drive cycle with steady cruise and cool‑down to set the monitor.
Notes:
- Do not exceed the smoke machine’s recommended EVAP pressure (typically under 1 psi). Excessive pressure can damage the tank or FTP sensor.
- Replace brittle plastic lines with OE‑equivalent or approved vapor hose; avoid generic fuel hose that can collapse under vacuum.
Airbag/SIR front impact sensor corrosion: safe repair on GM trucks
Front impact (crash) sensors on many GM trucks/sUVs are mounted low on the core support/bumper reinforcement and can corrode, setting SIR codes and illuminating the airbag lamp. Treat SIR service as safety‑critical.
Safety and tools:
- Follow OEM SIR disable procedure. Disconnect the negative battery cable and wait the specified time for reserve energy to discharge.
- Service information with wiring diagrams and torque specs
- Scan tool that can read/clear SIR codes and perform module setup if required
- DVOM with high impedance; no test lights on SIR circuits
Procedure:
- Disable SIR per service manual. Wait the minimum time before touching yellow SIR connectors.
- Inspect sensor mounting and harness. Look for green corrosion, water intrusion, or broken CPA locks. Clean mounting pad corrosion to ensure proper grounding if the sensor grounds through the case.
- Replace the failed sensor with an OE‑quality unit. Torque to spec. Do not apply lubricants or dielectric grease to SIR terminals; assemble dry and ensure CPA locks are fully seated.
- Inspect and repair any damaged wiring using approved SIR repair pigtails and procedures. Avoid solder joints where not specified by OEM; use proper splice kits.
- Reconnect battery, clear SIR codes, and perform any required setup. Conduct a SIR lamp check per manual. If codes return, diagnose for module or circuit faults.
Powertrain longevity: LC9/LS engines, 3800 V6, 6L80 and 4L60E transmissions
Many GM engines outlast the body with routine service; others need known repairs as miles climb. Here’s what typically shows up and how to handle it.
LS‑based 5.3L (e.g., LC9) and similar
- Oil pressure and AFM: Active Fuel Management lifter collapse/misfire is a known issue on some 5.3L applications. Misfires at idle, tick, or low oil pressure readings warrant verification with a mechanical gauge. Inspect/replace the oil pressure sensor and the screen beneath it when pressure data is suspect.
- Oil choice: Use the specified dexos‑approved oil and maintain consistent intervals (often 5k–7.5k miles, or severe service sooner). Clean oil is critical for lifter health and variable cam timing.
- Cooling system: Maintain Dex‑Cool concentration, replace hoses and the thermostat proactively, and flush on schedule. Overheating accelerates lifter/valvetrain issues a nd can stress head gaskets.
- Air/fuel: Clean the throttle body, verify MAF readings, and replace upstream O2 sensors when response slows. Keep the PCV system clear to prevent oil consumption and trims drift.
3800 Series engines
- Intake/plenum: Earlier 3800 Series II engines can suffer upper intake/plenum EGR tube melt‑through and lower intake gasket leaks leading to coolant loss. Inspect for coolant in the oil, unexplained coolant loss, or misfires. Updated parts resolve the failure mode.
- Cooling system: Use the correct coolant and keep it fresh; neglected systems sludge and eat gaskets. Pressure test and block‑test if combustion leak is suspected.
6L80/6L90 transmissions
- Service intervals: Fluid and filter every 50k–75k miles in mixed use; sooner for towing. Use Dexron VI. Consider a deep pan with a drain for easier future service.
- Temperature management: Keep trans temps under 200–210°F under load. Add/upgrade a cooler if necessary.
- Adapt relearn: After major service, perform a shift adapts reset/relearn with a capable scan tool and follow the drive procedure to avoid harsh shifts.
- Diagnosis: Address TCC shudder with fluid exchange and updated calibrations when applicable. Check for debris in the pan as a wear indicator before committing to rebuild.
4L60E/4L65E transmissions
- Service intervals: 30k–50k miles with pan drop, filter, and Dexron VI fluid.
- Common wear: 3–4 clutch burn, TCC apply issues, and valve body wear. A pressure test and pan inspection inform whether a solenoid/valve body repair is viable versus a rebuild.
Driveline and fluids often overlooked
- Transfer case: Use the specified AutoTrak II (where applicable). Service around 50k–75k miles; check for pump rub on certain cases.
- Front/rear differentials: Change gear oil; inspect for metal and verify backlash/noise.
Chassis and brakes at 150k–250k+: what to expect and how to service
By 150k–250k miles, plan on chassis refreshes. Addressing these items restores safety and feel.
- Ball joints and tie rods: Inspect for play under load with the suspension properly unloaded (upper/lower ball joint methods vary). Replace in pairs where practical and align afterward.
- Idler/pitman and center link: Check steering slop; replace worn components and re‑center the wheel. Use the proper pullers to avoid damage.
- Wheel hub/bearings: Listen for growl with speed that changes in turns. Verify with on‑vehicle NVH or hub play checks. Use quality hub assemblies.
- Shocks/struts: Cracked bushings, leaks, and poor damping increase stopping distance and tire wear. Replace and torque with the suspension at ride height.
- Sway bar links/bushings: Cheap to replace; big improvement in stability.
- Brake lines/hoses: In salt regions, inspect steel lines along frame rails; many GM trucks need line kits by 10–15 years. Replace flex hoses that crack or swell. Bleed with quality fluid.
- Parking brake hardware: Often seized or worn; service for proper hold especially on trucks with drum‑in‑hat style rears.
- Steering intermediate shaft: Clunks are common; lube/replace with updated shaft as needed.
- Power steering: Whine and assist loss may point to aeration or pump wear. Flush with correct fluid; inspect return hoses and reservoir filters where applicable.
Quick pre‑trip checklist for a 200k‑mile GM truck/SUV
- Scan all modules; resolve any SIR or ABS faults and verify no flashing MIL.
- Confirm oil pressure with a mechanical gauge; check for leaks.
- Verify coolant level, pressure test, and inspect hoses/belts.
- Check trans fluid level/condition; verify cooler line integrity.
- Inspect ball joints, tie rods, hubs, and brake lines; correct any play or corrosion.
- Set tire pressures and complete TPMS relearn; inspect spare.
- Test battery and charging; clean/tighten grounds.
- Confirm lights, wipers, horn, and washer operation.
- Top off diffs and transfer case; check for leaks.
- Torque lug nuts and road test for NVH.
FAQs
Is it safe to drive with a steady check engine light for months or years?
It may feel fine, but a steady MIL indicates an emissions control fault that can increase fuel consumption, shorten catalytic converter life, and mask new problems. Scan the vehicle, record freeze frame, and address the underlying cause. A flashing MIL requires immediate attention to prevent catalyst damage.
Why does my basic scanner show no codes even though the MIL is on?
Some generic tools only read Global OBD‑II powertrain codes and miss manufacturer‑specific or pending faults. Use a scan tool with GM Enhanced access, check pending (Mode $07) and on‑board monitoring (Mode $06), and ensure the tool can communicate with all modules. If the tool can’t connect at all, verify DLC power/ground and the appropriate fuse (often shared with the cigar lighter circuit).
Do I need to replace all TPMS sensors at once?
Not strictly, but if the set is over 7–10 years old, replacing all four during tire service is cost‑effective and avoids repeat demounting. Always perform a relearn and verify IDs and pressures after installation.
How often should I service a 6L80 transmission?
In mixed use, plan fluid and filter every 50k–75k miles with Dexron VI. Towing and high heat require shorter intervals. Keep temperatures under control, and perform an adapts reset/relearn after major service with a capable scan tool.
Can a small EVAP leak hurt drivability or MPG?
EVAP leaks are primarily emissions issues, but some purge/flow faults can cause hard starts or rough idle. Repairing leaks prevents evaporative emissions, clears the MIL for inspection readiness, and prevents fuel odors or dust ingestion into the vent system.
My truck doesn’t have a real oil pressure gauge. How do I verify engine health?
Use a mechanical oil pressure test kit to confirm hot idle and cruise pressure against spec. Many scan tools can display the oil pressure PID where available. If readings are suspect, test at the engine port; do not rely solely on the cluster indicator or a possibly faulty sensor and screen.
High‑mileage GM trucks and SUVs reward methodical maintenance. Prioritize safety‑critical lamps, use proper diagnostic tools, and refresh predictable wear items. With clean fluids and timely repairs, these platforms routinely deliver reliable service well past 200k miles.
Shop Automotive Paint & Finishing Tools
Refreshing a high-mileage GM truck often includes cosmetic repairs; explore our Automotive Paint & Finishing Tools to prep, spray, and finish panels and trim.
- Surface prep: sanding blocks, DA sanders, abrasives, and dust management.
- Spray equipment: HVLP guns, cups, regulators, and masking/mixing tools.
- Finishing: polishers, compounds, pads, and detail tools for final gloss.
Essential Tools for GM Diagnostics
The diagnostic challenges covered in this guide—from TPMS issues to EVAP system failures—require professional-grade equipment. Our Automotive Diagnostic Tools category offers the scanners, code readers, and specialized instruments needed to accurately diagnose and resolve these complex GM truck and SUV issues.
- Advanced OBD2 scanners with GM-specific protocols for reading all fault codes and live data streams
- TPMS diagnostic tools and sensors for accurate tire pressure monitoring system troubleshooting
- Multi-function diagnostic platforms supporting airbag, powertrain, and emissions system analysis
The Toolsource Technical Team blends decades of real-world automotive service experience with up-to-date technical research. Our writers collaborate with professional mechanics, shop owners, and diagnostic specialists to deliver practical, workshop-ready guidance you can trust.


Follow us on social media