
Rodent activity in vehicles is more common than most owners realize. Warm, sheltered engine bays and bio-based plastics on newer cars are an attractive combination for mice, rats, chipmunks, and squirrels. Chewed hood insulation is often the first visible clue—but the real risks are hidden: wiring harness shorts, fuel or vacuum leaks, damaged brake or coolant lines, and biohazards that can make customers sick. This guide gives technicians a structured approach to stabilize, inspect, clean, repair, and prevent repeat incursions.
Why This Matters: Risks and Root Causes
Rodents chew to keep their teeth in check and to access nesting fibers. Many modern vehicles use wire insulation and foams with plant-based plasticizers that can smell like food to pests. Hood liners, engine covers, air filter elements, and cabin filters are common targets. Beyond the mess, the hazards are serious:
- Electrical: Chewed ignition coil wires, injector leads, knock sensor harnesses, power steering wiring, ground splices, and CAN lines lead to misfires, no-starts, intermittent codes, and expensive module damage.
- Fluids and fire: Fuel vapor lines, soft fuel hoses, coolant hoses, and vacuum lines can be chewed—creating leaks, evap faults, overheating, or fire hazards.
- Biohazards: Urine and droppings carry pathogens. Dead rodents in HVAC plenums or blower boxes create persistent odor and health risk.
Bottom line: visible chewed insulation is your red flag to perform a thorough inspection before handing the vehicle back.
Rapid Response: Stabilize, Inspect, Document
Before cleaning, stabilize the situation and record everything for the customer and (if applicable) insurance. Many comprehensive auto policies cover rodent damage; documentation helps approvals.
Quick checklist
- Disconnect battery (12V) and verify no active fuel leaks or shorting.
- Photograph all damage: hood liner, nests, chewed wires/hoses, droppings.
- Scan for DTCs and freeze-frame data; save a report.
- Place snap traps outside the vehicle (not inside HVAC plenum) to reduce immediate re-entry while you work.
- PPE on: gloves, eye protection, and P100/HEPA respirator for droppings/urine cleanup.
Do not use poison baits in or near the vehicle. Poisoned rodents can die inside hard-to-reach cavities, causing severe odor, and pose secondary poisoning risks to pets and wildlife.
Deep Inspection Map: Where Rodents Hide and What to Check
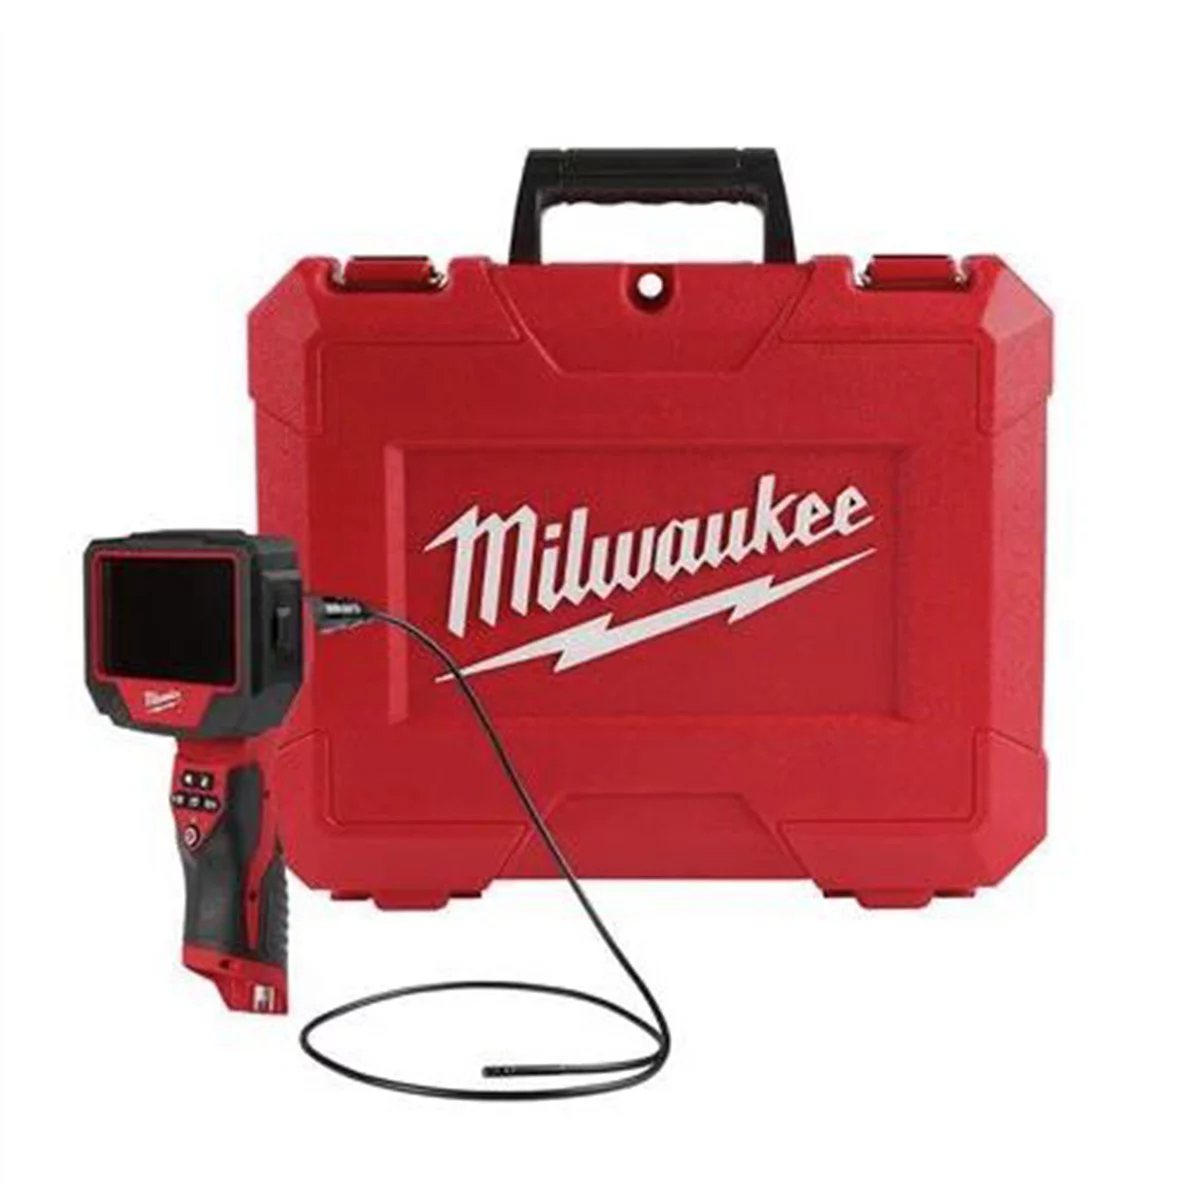
Milwaukee Tool M12 Auto Technician Borescope with 2.0 Starter Kit
Mfg: Milwaukee Electric Tools
Part #: TECHBORESCOPEKIT

Use methodical zones and a bright inspection light or borescope. A UV flashlight will highlight urine trails; a sweet or ammoniac smell is also a clue. Look for shredded fiber, leaves, pet food kernels, acorn shells, nesting fluff, and tiny gnaw marks.
Engine bay
- Hood liner and support ribs: Check for chewed felt and tunneling. Remove loose fibers that can fall onto hot components.
- Under the engine cover: Pull plastic engine covers; check valleys between cylinder banks or around coil packs (common nesting area). Inspect coil connectors and harness runs for tooth marks.
- Air intake path: Open engine air filter housing; look for nests or packed debris. Inspect MAF harness, intake boots, and vacuum nipples.
- Fuel and vapor lines: Inspect soft fuel hoses, EVAP lines, and quick-connect areas for gnawing. Smell for fuel; use a smoke machine to test EVAP integrity if codes are present.
- Coolant and vacuum hoses: Look for scalloped edges or pinholes. Pressurize cooling system to confirm integrity if suspect.
- Main harness routes: Follow along cowl, firewall pass-through, and down to alternator, knock sensor sub-harness, and O2 sensor leads. Check loom tape for frays and copper exposure.
- Grounds and junctions: Verify clean, intact ground straps and splices; rodents favor softer insulation and loom padding around junctions.
- Splash shields and undertrays: Rodents enter from below; inspect for nesting behind splash guards. Consider temporarily dropping the undertray to inspect.
HVAC and cabin
- Cowl intake and cabin air filter: Pull the cabin filter; nests and droppings are common. Inspect the blower motor housing for foreign matter and odor.
- Glovebox and footwells: Look for shredded paper, fabric, or food storage.
Trunk and spare tire well
- Spare well and side bins: Rodents like quiet, insulated cavities. Check for stored pet food or seeds in corners.
Exterior approach paths
- Wheel wells and tires: Rodents often climb up tires. Look for greasy rub marks or urine trails on sidewalls and struts.
- Parking area: Leaf piles, cardboard, stored pet food, or bird seed near the vehicle increase risk.
As you find damage, tag each area with colored tape and log it. If the car is driveable, set expectations that underlying electrical faults may surface shortly after cleaning as corroded conductors are disturbed.
Clean and Decontaminate Safely
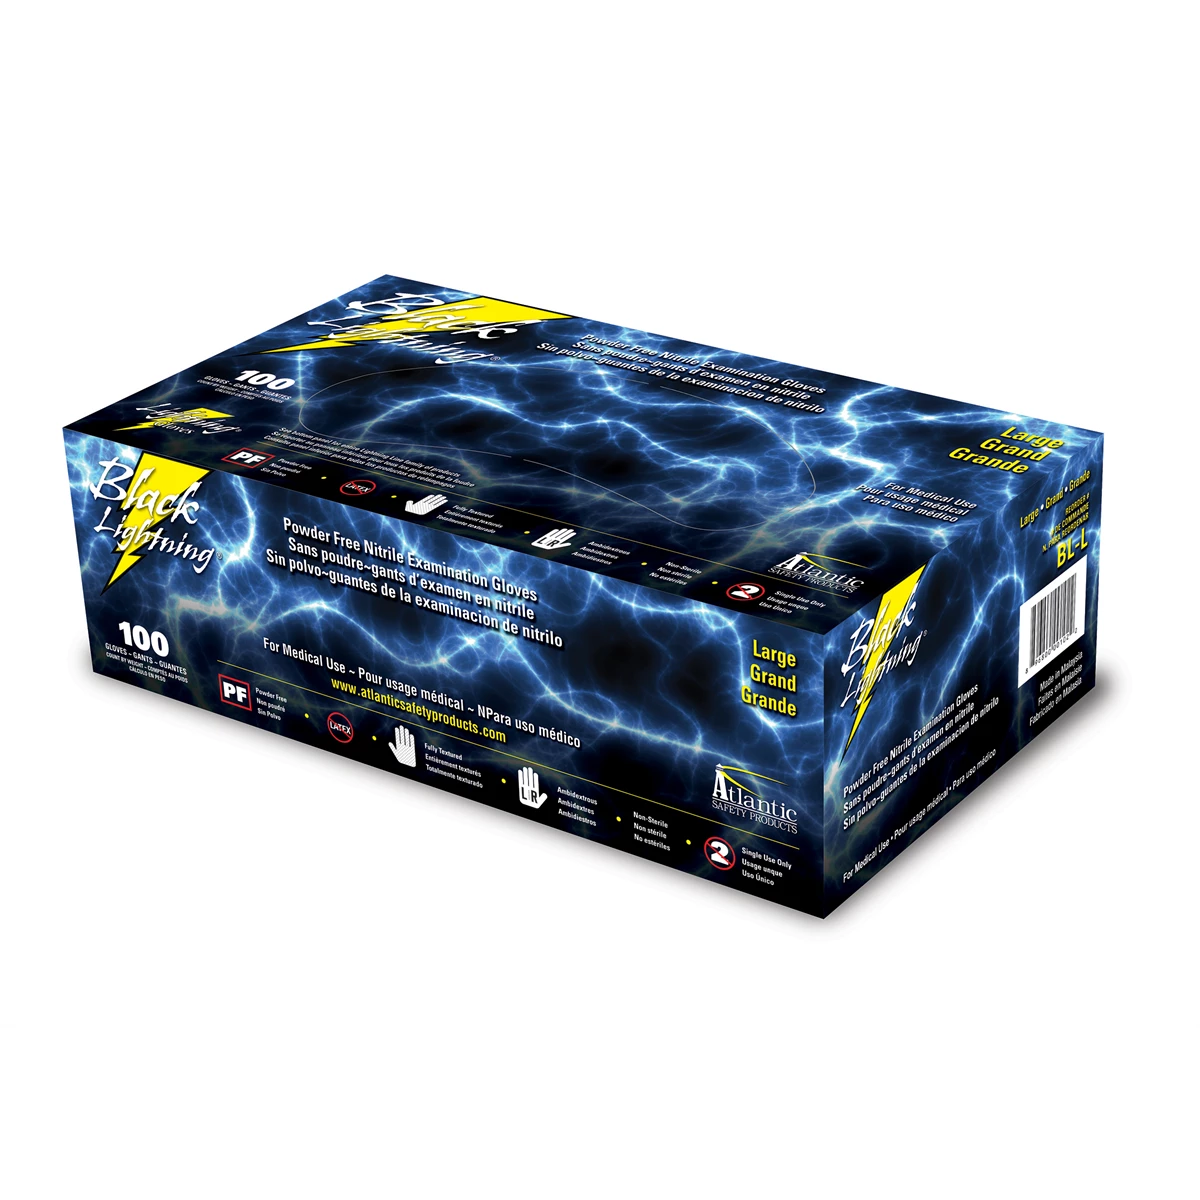
Atlantic Safety Products BL-M Black Lightning Powder Free Nitrile Gloves 100/Box - Medium
Mfg: Atlantic Safety Products
Part #: BL-M
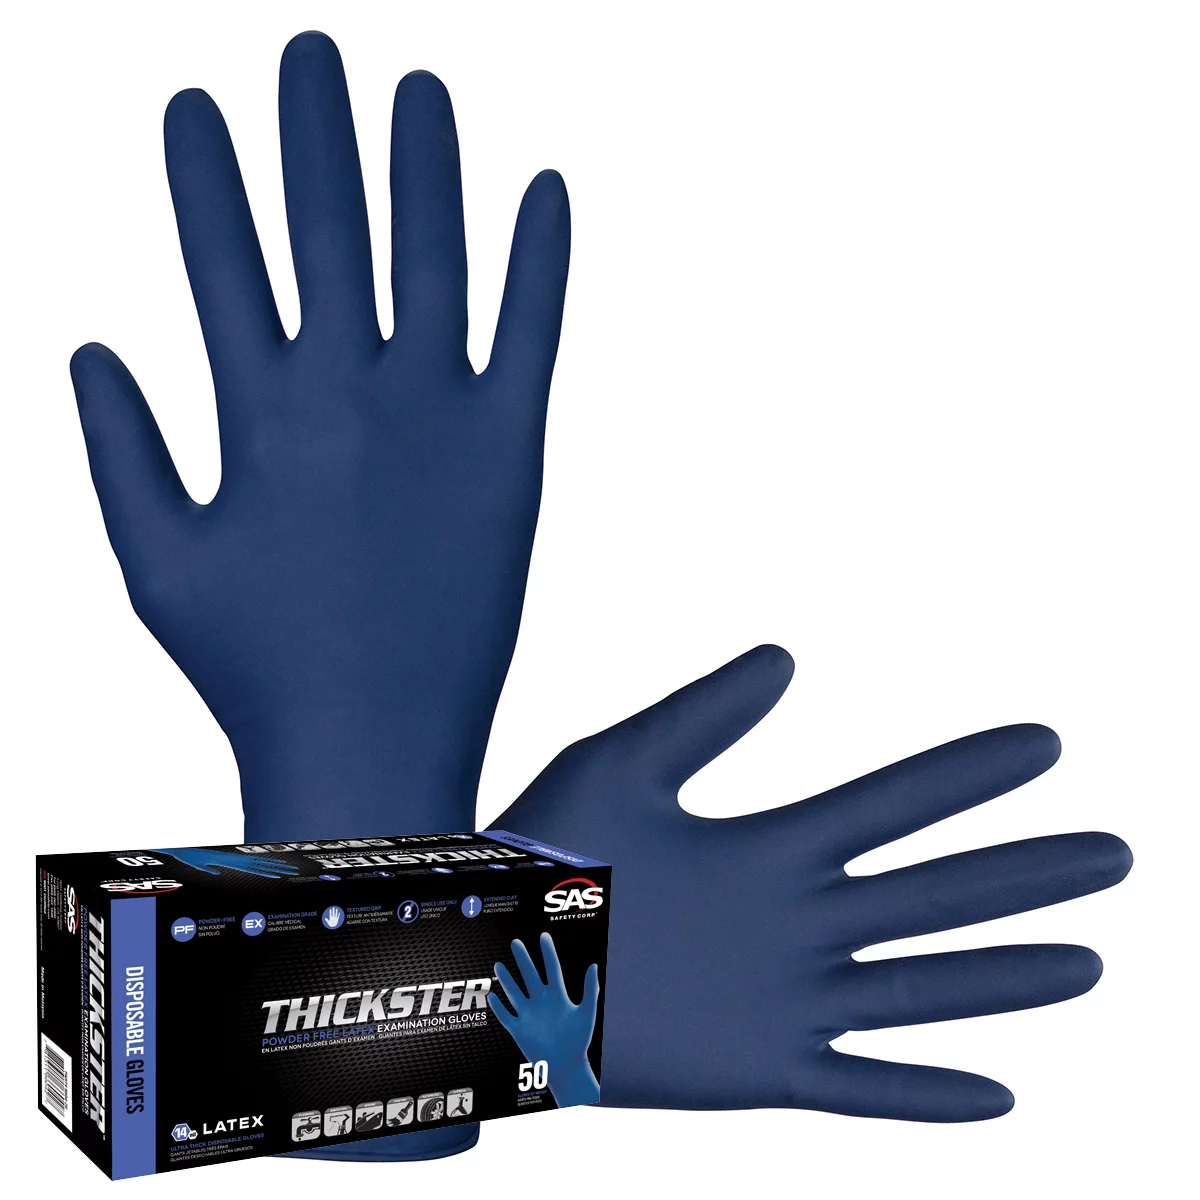
Assume droppings and urine may contain pathogens. Avoid dry sweeping or blowing with compressed air.
- PPE: Nitrile gloves, eye protection, and a P100/HEPA respirator. Disposable coveralls are recommended.
- HEPA vacuum: Remove loose nesting materials and debris using a HEPA-rated shop vac. Do not aerosolize dust.
- Disinfect: Apply an enzyme-based bio-cleaner or EPA-registered disinfectant to affected hard surfaces; allow full dwell time (typically 10 minutes). Wipe with disposable towels.
- Soft materials: If the hood liner is heavily chewed or saturated, replacement is preferable. For minor contamination, spot extract with enzyme solution and an upholstery extractor, then dry thoroughly.
- HVAC: Replace the cabin air filter. If odor persists, remove the blower motor and inspect/clean the housing. Fog the intake with an HVAC-safe enzymatic odor neutralizer; run the system through recirc and fresh-air modes to treat ducts.
- Odor control: Use a non-masking odor neutralizer. Avoid heavy fragrances that just cover smells; they won’t fix underlying bio-contamination.
Dispose of contaminated materials per local regulations. Seal debris in thick trash bags before discard.
Repair and Verify: Electrical, Fluids, and Function

Upfront Anvil-Type Crimpers - Spark Plug Wire Crimper/Stripper
Mfg: Imperial
Part #: IE-145
Once clean, address safety-critical repairs first.
- Wiring: Repair with OEM-spec terminals and heat-shrink. Avoid twist-and-tape. If multiple splices exist in a short run or insulation is widely compromised, recommend harness replacement.
- Coil and sensor circuits: Pay special attention to ignition coils, knock sensor sub-harnesses, and injector pigtails. Use wiring diagrams and perform continuity and insulation resistance checks before reassembly.
- Lines and hoses: Replace any chewed vacuum, coolant, or fuel hoses. Pressure test cooling system; run an EVAP smoke test if codes are present.
- Modules: Inspect for signs of shorting or burn marks near junction boxes where nesting materials may have bridged contacts.
- Road test and rescan: Clear codes, perform a drive cycle, and rescan. Monitor misfire counters and fuel trims.
Protect and Deter: A Multi-Layer Plan That Works
No single deterrent is foolproof. Combine barriers, repellents, traps, and environment changes for best results.
Physical barriers and alterations
- Remove or modify engine covers: If a cover traps warmth and creates a nesting cavity, consider leaving it off (if acceptable to the owner) or adding vented screens to reduce sheltered space.
- Harness protection: Wrap vulnerable runs with rodent-deterrent tape (capsaicin-infused). Add split loom plus deterrent tape where abrasion and chewing are likely.
- Hardware cloth (“rat wire”): Form 1/4-inch galvanized mesh as a temporary belly screen spanning common entry gaps when the vehicle is parked for long periods. Secure with reusable clips or zip ties. Remove or secure properly before driving if there’s any risk of interference.
- Seal HVAC intake: Install a mesh screen over the cowl intake (ensure water drainage remains unobstructed and the mesh is corrosion-resistant).
Repellents
- Essential oil sprays: Peppermint, balsam fir, or similar oil-based repellents can discourage activity. Apply lightly in the engine bay per label directions, avoiding belts, brakes, and intakes. Reapply weekly at first, then monthly.
- Rodent undercarriage sprays: Purpose-formulated repellents for wheel wells and underbodies can help; follow reapplication intervals.
- Oil-based coatings: Some techs report fewer incursions on surfaces treated with lanolin-based rustproofing. Treat this as supplemental; it is not a dedicated rodent control solution.
Trapping
- Snap traps: Place along walls and travel paths outside the vehicle, near tires (rodent on-ramps), and in the garage. Bait with peanut butter or an oat/seed mix. Check daily.
- Multi-catch traps: Useful for heavy activity; place near known entry points. Avoid glue traps due to non-target animal risks.
- Do not place traps inside the HVAC plenum or deep interior cavities; retrieval is difficult and can cause odor problems.
Electronic deterrents (supplemental)
- Ultrasonic/strobe devices: Mixed results in the field. If used, mount securely in the engine bay (battery-powered models) and treat as one layer, not a sole solution.
Environment and habits
- Eliminate attractants: Store pet food, bird seed, and trash in sealed containers. Clear leaf piles and cardboard near the car.
- Lighting and activity: Motion lights and regular vehicle use help. Long-term storage increases risk—consider periodic start/drives and hood-up parking when safe to do so.
- Garage sealing: Close gaps larger than 1/4 inch with steel wool and sealant or hardware cloth. Weatherstrip doors.
What to avoid
- Rodenticide baits near the car: Leads to dead rodents in inaccessible areas and secondary poisoning.
- Mothballs: These are regulated pesticides; off-label use in vehicles is unsafe and often illegal. Odor contaminates interiors and HVAC.
- Gasoline or harsh solvents as repellents: Fire hazard and component damage.
When to Call Pros (and Insurance)
If you discover extensive electrical damage, multiple chewed harnesses, or evidence of rodents throughout HVAC and interior cavities, involve specialists:
- Professional pest control: To break the infestation cycle in the building/lot.
- Detailing with biohazard protocols: For full HVAC box removal/cleaning and deep odor remediation.
- Insurance: Comprehensive auto coverage often includes rodent damage. Provide your inspection report, photos, DTC logs, and repair estimate. Note that warranties typically exclude pest damage.
FAQs
Do essential oil sprays really work?
They can help as part of a layered approach but rarely solve a significant infestation alone. Reapply on a schedule (weekly initially) and combine with traps, barriers, and environmental controls.
Are ultrasonic repellers effective?
Results vary. Some customers report success, others none. If you use one, treat it as a supplemental layer and mount it securely away from heat and splash. Do not rely on it alone.
Will my car insurance cover rodent damage?
In many regions, comprehensive auto policies cover it. Document everything and submit photos and scan reports. Warranty coverage is unlikely for pest-related damage.
Is it safe to use poison baits or glue traps?
Avoid both near vehicles. Poisoned rodents often die in inaccessible cavities and create severe odor; there’s also risk to pets and wildlife. Glue traps frequently harm non-target animals. Use snap or multi-catch traps and check them frequently.
How do I know if rodents are still active?
Look for fresh droppings, new nesting material, or new bite marks. UV light can reveal fresh urine trails. Untouched traps for two weeks and no new signs usually indicate activity has stopped.
How often should deterrents be renewed?
Essential oil repellents: weekly at first, then monthly. Rodent-deterrent sprays: per label (often every 30–60 days). Re-wrap deterrent tape if abraded or oil-soaked.
Addressing rodent activity promptly protects your customer’s vehicle from expensive failures and safety hazards. Use a structured inspection, clean with the right PPE and methods, repair correctly, and install a layered prevention plan. The combination is what keeps critters out—and cars on the road.
Essential Tools for Vehicle Diagnostics
Properly diagnosing rodent damage requires the right equipment. Our Automotive Diagnostic Tools category features professional-grade instruments to inspect wiring, connectors, and hidden damage throughout your engine bay.
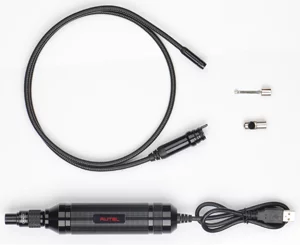
- Borescope Cameras: Visual inspection tools to examine tight spaces and wiring harnesses for rodent chewing damage
- Digital Multimeters: Test electrical circuits and wiring integrity after rodent damage assessment
- Thermal Imaging Cameras: Detect electrical shorts and overheating in damaged wiring systems
The Toolsource Technical Team blends decades of real-world automotive service experience with up-to-date technical research. Our writers collaborate with professional mechanics, shop owners, and diagnostic specialists to deliver practical, workshop-ready guidance you can trust.


Follow us on social media