
Enthusiasts often keep both ends of the automotive spectrum in one garage: a classic Mini for lightweight fun and a modern half-ton truck for utility. For technicians, these vehicles demand different planning, tooling, and service procedures. This guide compiles practical steps to receive, inspect, set up, and road-verify a classic Mini (1959–2000, with final production in 2000) alongside a current half-ton pickup, including best practices for wheel/tire choices, geometry, brake balance, and structural service. The focus is safe, repeatable workshop processes that reduce comebacks.
1) Plan the Bay: Dimensions, Lift Strategy, and Safety
- Measure and map footprint.
- Classic Mini: approx. 3050–3055 mm (120 in) long, 1410 mm (55.5 in) wide, low ride height.
- Half-ton pickup (current gen): length 5200–6100+ mm (205–240 in), width 2000–2100+ mm (79–83 in), significantly taller.
Allocate lift bays so door swing and hood opening of the truck do not foul posts, and ensure the Mini isn’t under high-shelf overhangs that block bonnet access.
- Choose the right lift type.
- Mini: two-post asymmetric lift works well; arm reach is short. Use low-profile pads and rubber blocks to avoid sill damage. Verify pinch-weld vs subframe lift points by model/year and subframe condition.
- Half-ton: two-post with appropriate capacity (≥4.5 t/10,000 lb typical). For long-wheelbase trucks with add-on equipment, consider a four-post or drive-on for stability during alignment/setup.
- Pad and adapter selection. Keep low-profile adapters for the Mini’s underbody and taller frame adapters for truck boxed rails. Use manufacturer lift-point diagrams when available; if unknown, support the Mini’s subframes, not floorpans or sills.
- Weight and balance verification. Trucks may carry toolboxes or bed racks; weigh the vehicle on corner scales when diagnosing brake pull/suspension height. Minis with fiberglass flip-fronts can shift weight forward/back depending on bracing; confirm before alignment.
- Battery safety and scan readiness.
- Mini: carb or SPI/MPI depending on year. Disable ignition during cranking compression tests. Protect classic electrics from overcurrent with a fused jump pack.
- Half-ton: maintain stable system voltage (power supply 13.5–14.5 V) during module programming. Confirm ADAS camera/radar calibration needs after ride-height changes.

MaxiSYS MS909 Tablet with ADAS Calibration Software
Mfg: Autel.us
Part #: MS909ADAS

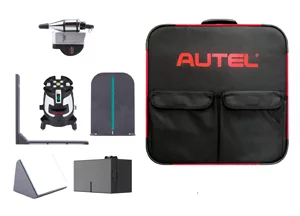
ADAS Accessory Kit for Autel sae standard ADAS Frame
Mfg: Autel.us
Part #: ADASACCESSORY
2) Wheel and Tire Fitment: Size, Offset, Load Rating, and Calibration
Both extremes—tiny wheels on a Mini and oversized wheels on a truck—can degrade safety and handling if chosen poorly. Prioritize load ratings, scrub radius, and geometry preservation.
- Establish OEM baselines.
- Classic Mini: commonly 10-inch OEM; later cars 12-inch; some 13-inch kits exist. Smaller diameters keep gearing/acceleration and steering feel; larger diameters risk rubbing and reduced lock.
- Half-ton: OEM typically 17–20 inches with load-rated tires. 22–24+ inch upsizing increases rotational inertia and can compromise braking/ride on rough surfaces.
- Check tire load and speed ratings.
- Mini: choose tires equal or better than OEM load index; performance compounds can be soft—inform owners about reduced tread life.
- Truck: use LT-spec (e.g., Load Range E or per door placard) when required. Never downgrade load capacity for aesthetics.
- Calculate rolling diameter and speedometer error. Keep overall diameter within ±3% of OEM for ABS, speedo, and gear-shift logic (truck). If exceeding, plan to reprogram tire circumference via scan tool; verify actual speed with GPS during road test.
- Mind offset and scrub radius. Excessive poke or deep tuck alters steering effort and bump steer.
- Mini: negative camber kits with wide wheels can contact arches; roll lips or fit arch extensions where legal.
- Truck: wide-offset wheels load wheel bearings and ball joints; inspect bearing preload and joint play sooner than normal service intervals.
- Hub-centric fitment and hardware. Use hub-centric rings when needed; confirm proper shank/seat type (cone, ball, mag). Torque in star pattern with a calibrated wrench; re-torque after 80–160 km (50–100 miles).
- TPMS and balancing. Program or clone TPMS sensors on the truck; the Mini may not have TPMS. Use road-force balancing for large-diameter truck assemblies to minimize vibration. For Minis, ensure dynamic balance as light wheels are sensitive to small imbalances.
3) Suspension and Steering Geometry: Low Mini vs Tall Truck
Geometry defines stability. The Mini rewards precise toe/camber settings. Lifted or leveled trucks require driveline and steering corrections to avoid instability and component wear.
- Baseline inspection first.
- Mini: inspect rubber cones (suspension springs), trumpet/Hi-Lo adjusters, ball joints, tie-rod ends, rack play, and subframe mounts. Check for floor/sill rust near mounting points.
- Truck: inspect control arms, bushings, tie rods, ball joints, track bar/panhard rod (if solid axle), shocks/struts, and wheel bearings. Measure ride height at specified datum points.
- Set ride height correctly.
- Mini: if fitted with Hi-Lo, set corner heights to spec; aim for even cross-weight before alignment.
- Truck: after any lift/level kit, measure rake. Leveling reduces front caster on many platforms; target the high end of caster spec to improve on-center stability.
- Align to usage, not just book values.
- Mini: slight negative camber (front) and minimal toe-in can sharpen response on quality tires; keep within safe tire wear limits. Rear tracking shims may be required.
- Truck: maximize caster within spec, correct camber, and set toe appropriate to tire size and load. With oversized tires, a touch more toe-in can stabilize wander, but monitor wear.
- Address bump steer and roll control.
- Mini: worn rack or incorrect tie-rod geometry produces darting; verify rack centering and arm lengths. Upgrade to quality dampers and fresh bushings.
- Truck: add a drop pitman arm/track bar relocation bracket where needed to restore drag link angle (solid axle). For IFS, use proper knuckle/spindle geometry from reputable kits. Upgrade sway bars or links to control body roll.
- Driveline angles (truck). After lift, measure front and rear shaft operating angles with an inclinometer. U-joints should run within recommended angles; address with shims/carrier drop to avoid vibration and premature wear.
- Fastener torque and retention. Replace single-use nuts/bolts as required. Use thread locker where specified. Torque control arm, bushing, and leaf spring hardware at ride height to prevent bushing wind-up.
4) Brakes, Stability, and Safe Cornering Basics
Lightweight Minis and tall pickups behave differently at the limit. Set expectations with owners and ensure systems support the intended use.


- Assess brake condition and bias.
- Mini: many run front disc conversions; verify rear cylinder size to prevent premature rear lock. Consider an adjustable proportioning valve for performance builds; set bias on a test pad, not public roads.
- Truck: upsized tires increase stopping distances; consider higher-friction pads or rotor upgrades within OEM system limits. Check booster and vacuum/assist integrity; confirm ABS/ESC DTC-free before release.
- Fluid and line integrity.
- Mini: replace aged rubber hoses; DOT 4 fluid at correct boil rating. Inspect steel lines for corrosion; re-flare with correct tooling if replacing.
- Truck: inspect flexible lines for stretch or kinks after lifts; extend brackets/lines as needed. Bleed systems with scan-tool actuated ABS where specified.
- Tire pressures and load. Set pressures by placard for stock sizes. For non-stock, calculate using load tables to match OEM axle load. Underinflation increases rollover risk; overinflation reduces grip.
- Cornering and stability fundamentals.
- Mini: low center of gravity and narrow tires can give high apparent grip at sane speeds; still align properly and keep suspension in good order. Never exceed safe/legal speeds.
- Truck: higher center of gravity and soft sidewalls (on large A/T or M/T tires) increase body roll and emergency maneuver risk. Ensure ESC is operational, sway bars are connected (unless off-road), and load is secured.
- Post-mod calibration (truck). Recalibrate steering angle sensor and, if applicable, yaw/ACC modules after alignment or ride-height changes. Verify driver-assistance functions with a road test.
5) Body and Chassis Work: Flip-Front Minis, Rust, and Frame Checks
- Classic Mini flip-front considerations.
- Types: steel or fiberglass one-piece front opening forward for access.
- Structure: do not remove critical front bulkhead/suspension pickup integrity. If original inner wings are modified, add proper bracing/subframe retention.
- Fastening: use secure hinges and captured fasteners; safety latches or pins to prevent unlatching at speed. Ensure headlamp and indicator earths have solid return paths.
- Rust inspection on Minis. Focus on sills, floor pans, heel board, subframe mounting points, A-panels, scuttle, and rear arch seams. Probe with a pick; if perforation is found at subframe mounts, address before alignment. Treat with rust converter and seam sealer after repair.
- Truck frame and bed checks. Inspect boxed rails for impact, kinks, and corrosion (especially northern climates). Check bed mounts, tow hitch integrity, and aftermarket bumper install quality. Measure frame diagonals if steering thrust angle is abnormal.
- Electrical integrity.
- Mini: check for brittle wiring, corroded bullet connectors, and poor grounds. Upgrade grounds in a reversible, tidy manner.
- Truck: verify trailer wiring splices; repair with sealed butt connectors/adhesive-lined heat shrink. Avoid Scotchlocks on CAN lines.
- Lighting and legalities.
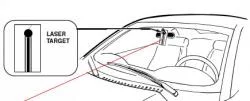
- Mini: ensure headlamp aim and conversion to halogen/LED (if fitted) complies with local beam pattern standards.
- Truck: oversized wheels/tires may require fender coverage; ensure mudguards and side markers meet regulations. Calibrate headlamp aim after suspension changes.
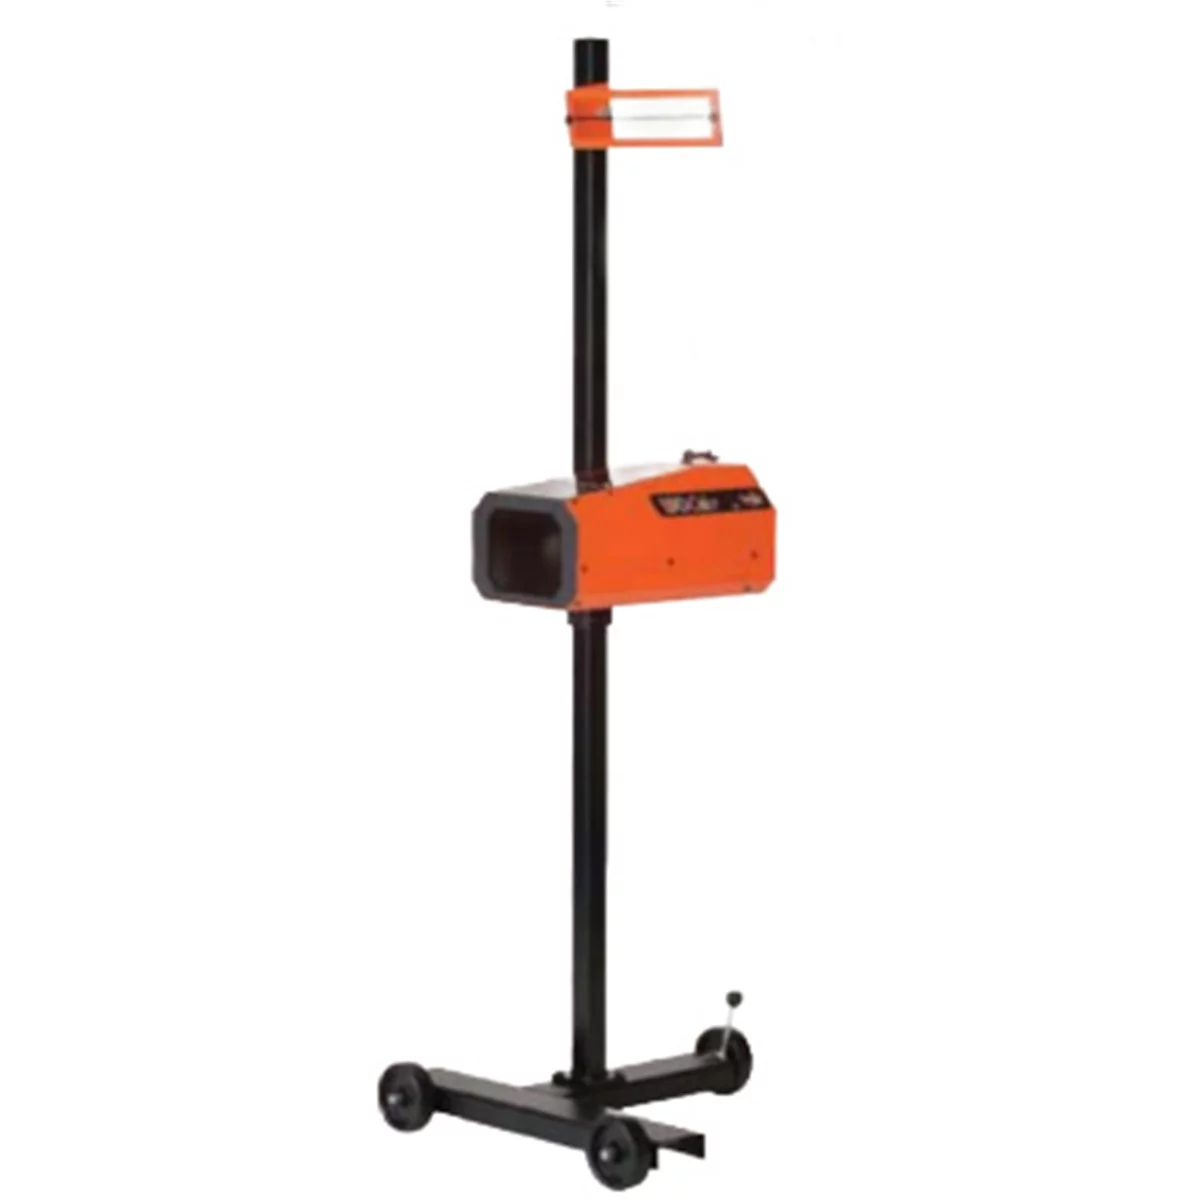
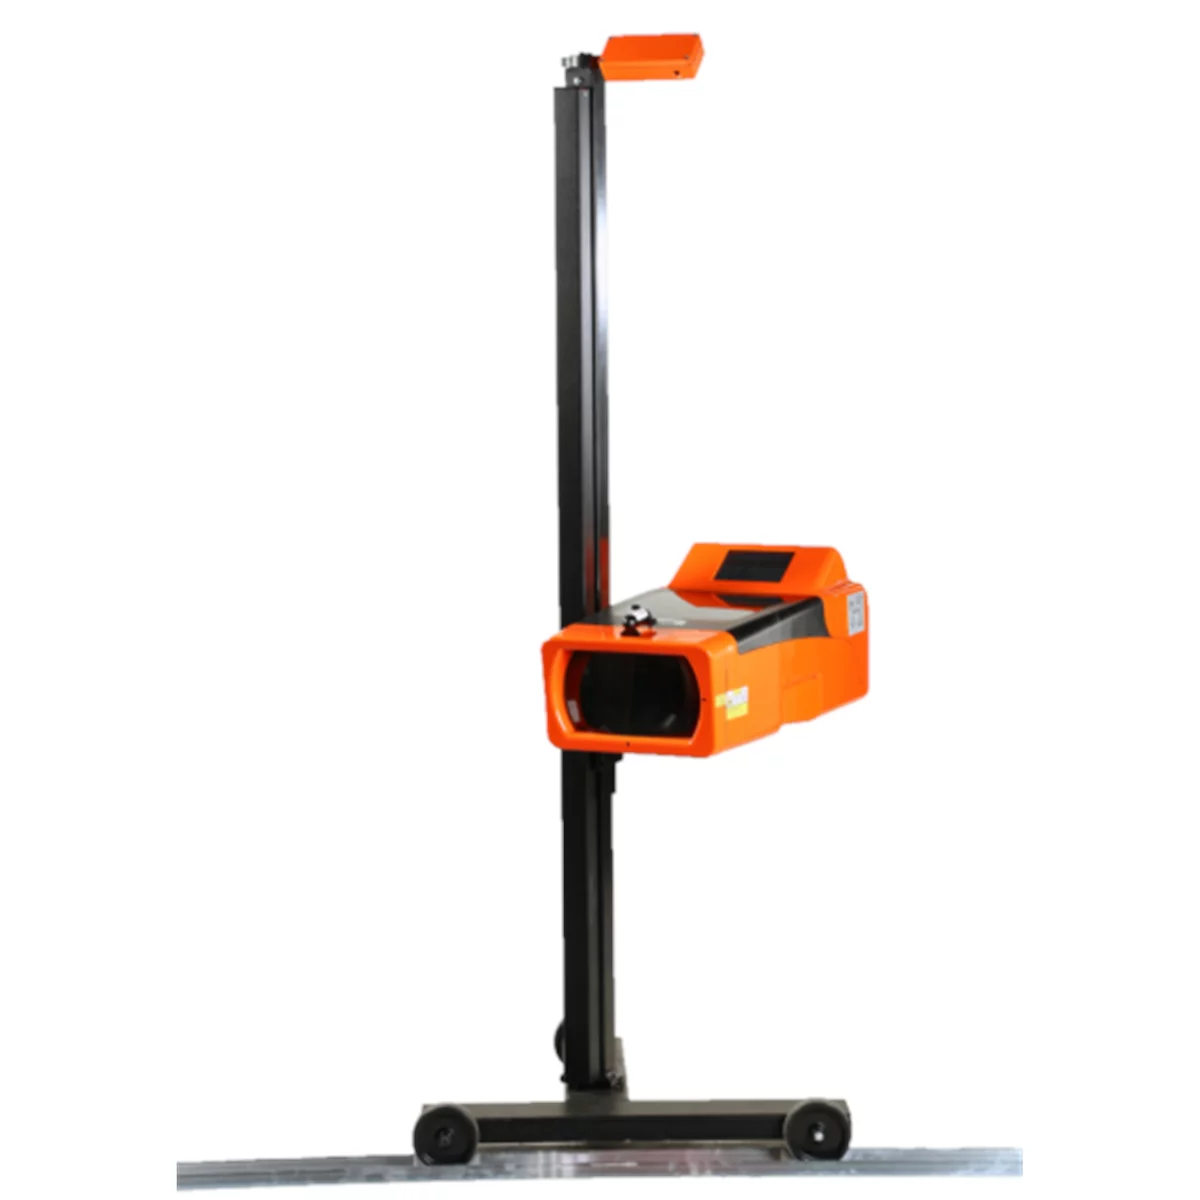
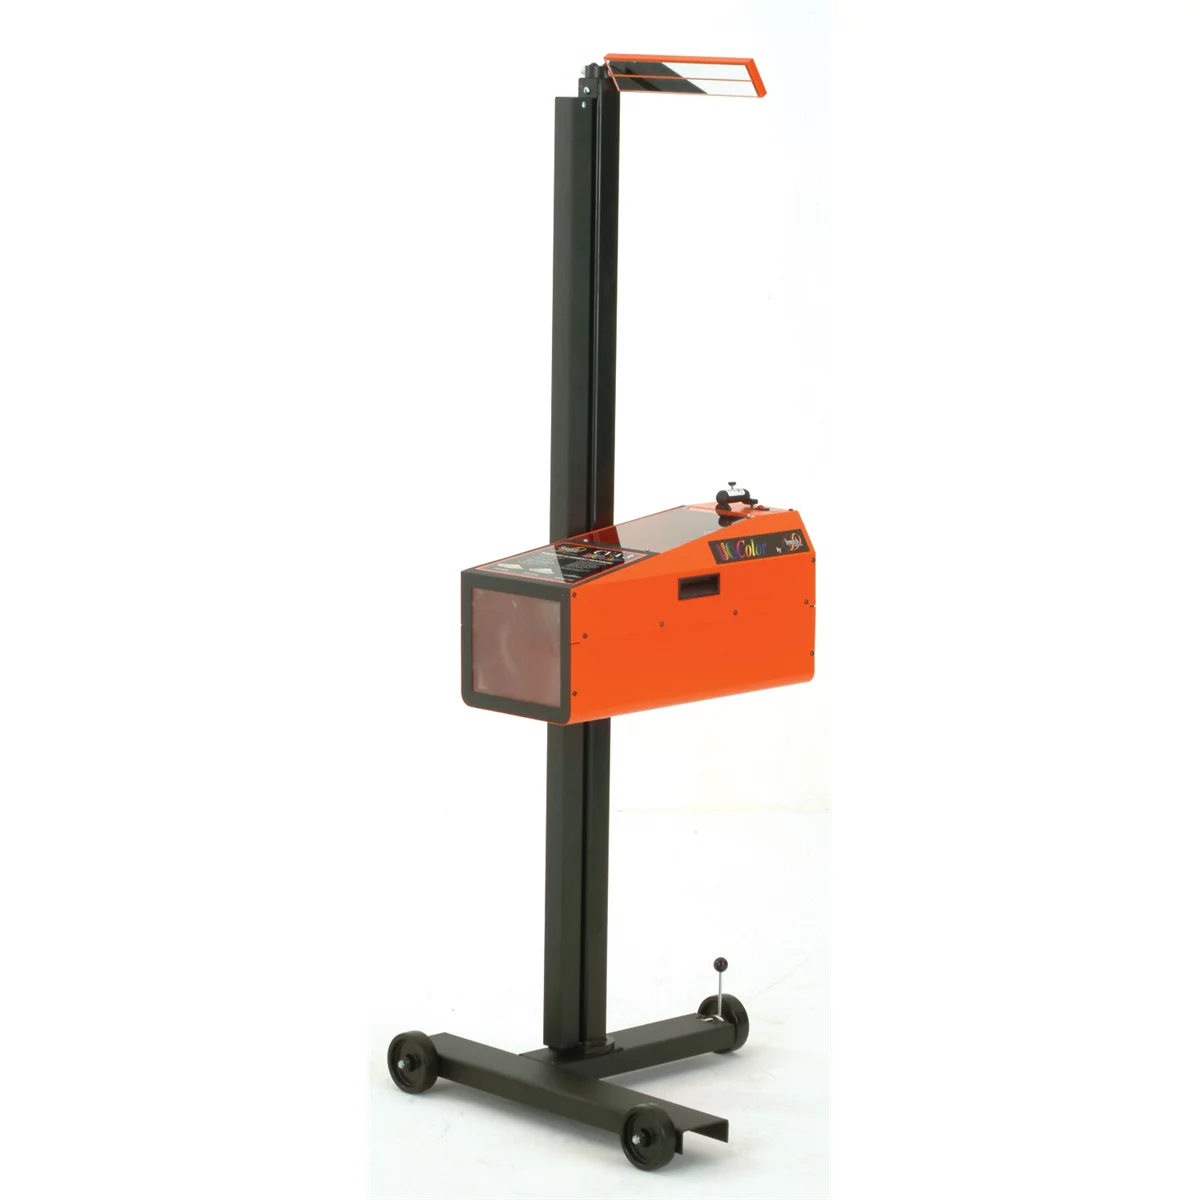
SCA 1 Optical Headlamp Aligner with ISOColor Lamp Pattern Definition
Mfg: Symtech Corporation
Part #: 01010000


6) Road-Test and Alignment Validation
- Pre-drive checks. Verify fluid levels, wheel torque, brake pedal feel, steering free play, TPMS status (truck), and that no tools remain in the bay.
- Instrumented alignment check. Use an alignment rack with before/after printouts. For Minis, measure rear thrust and set steering rack centered. For trucks, confirm steering angle sensor is zeroed post-alignment.
- Progressive road test.
- Mini: start with slow-speed steering inputs, brake bedding as required, then moderate-speed sweepers to verify stability. Listen for subframe clunks.
- Truck: test straight-line tracking, brake stops from varying speeds, and lane changes at safe, legal speeds. Validate no vibration at highway speed; if present, re-check balance and driveline angles.
- Post-drive inspection. Re-torque suspension fasteners where specified (particularly after new kits), inspect for fluid weeping, and check tire witness marks for rubbing.
- Owner briefing. Document non-stock effects: longer stopping distances (large truck tires), reduced steering lock (wide Mini wheels), and maintenance intervals (ball joints/bearings under heavy wheel loads). Provide re-torque appointment for wheels after initial miles.
Quick Fitment and Safety Checklist
- Correct lift points used; pads/adapters matched to vehicle
- Tire load index ≥ required; pressures set per load
- Wheel hardware seat type correct; torqued with calibrated wrench
- Alignment printout saved; steering angle sensor calibrated (truck)
- Brake system free of leaks; proper bias and ABS/ESC DTC-free
- No rubbing at full lock/full bump; fender/arch clearance verified
- Driveline angles within spec (truck); no vibration on test
- Flip-front fasteners secure; headlamp/indicator grounds verified (Mini)
FAQs
When were classic Minis built, and what should I know about late models?
The classic Mini was produced from 1959 through 2000, with final cars built in 2000. Late-1990s Minis can have single-point or multi-point injection, front disc brakes, and updated electrics. Always verify parts by VIN as brake and hub configurations vary.
How big can I go on Mini wheels or truck wheels without issues?
On Minis, 10–12 inches generally maintain geometry and steering clearance; 13-inch setups often require arch mods and careful offset. On half-ton trucks, staying near OEM diameter (±3%) helps preserve braking and drivetrain calibration. Extreme upsizing increases unsprung mass and can degrade safety and component life.
Do I need to recalibrate systems after changing tire size on a truck?
Yes. Reprogram tire circumference to correct speedometer/odometer and shift/ABS logic. After alignment, calibrate the steering angle sensor and verify ADAS functions. Some platforms also require yaw rate or radar alignment after ride-height changes.
Is a flip-front Mini safe and legal?
It can be when engineered properly. The front subframe and structural bulkhead must remain intact or be properly braced. Use secure latches and maintain correct lighting and wiring. Check local regulations regarding body modifications and sharp-edge/fender coverage rules.
What alignment targets reduce wander on a leveled truck?
Maximize caster within spec, set camber to the center of spec, and use slight toe-in. Ensure tie-rod/drag link geometry is corrected with proper components to minimize bump steer. Confirm tire pressures and steering gear lash.
What tools help avoid comebacks on these vehicles?
Use a calibrated torque wrench, digital camber/caster gauge, toe plates, road-force wheel balancer, TPMS/scan tool, driveline angle gauge, brake pressure gauge/bleeder with ABS actuations, and corner scales for accurate setup.
Shop Paint & Finishing Tools
After structural and mechanical work on the Mini or half-ton, finish the job with Paint & Body for efficient prep and refinishing.
- Spray guns and accessories for primer, base, and clear
- DA sanders, sanding blocks, and abrasives
- Buffers, compounds, masking, mixing, and filtration supplies
The Toolsource Technical Team blends decades of real-world automotive service experience with up-to-date technical research. Our writers collaborate with professional mechanics, shop owners, and diagnostic specialists to deliver practical, workshop-ready guidance you can trust.


Follow us on social media