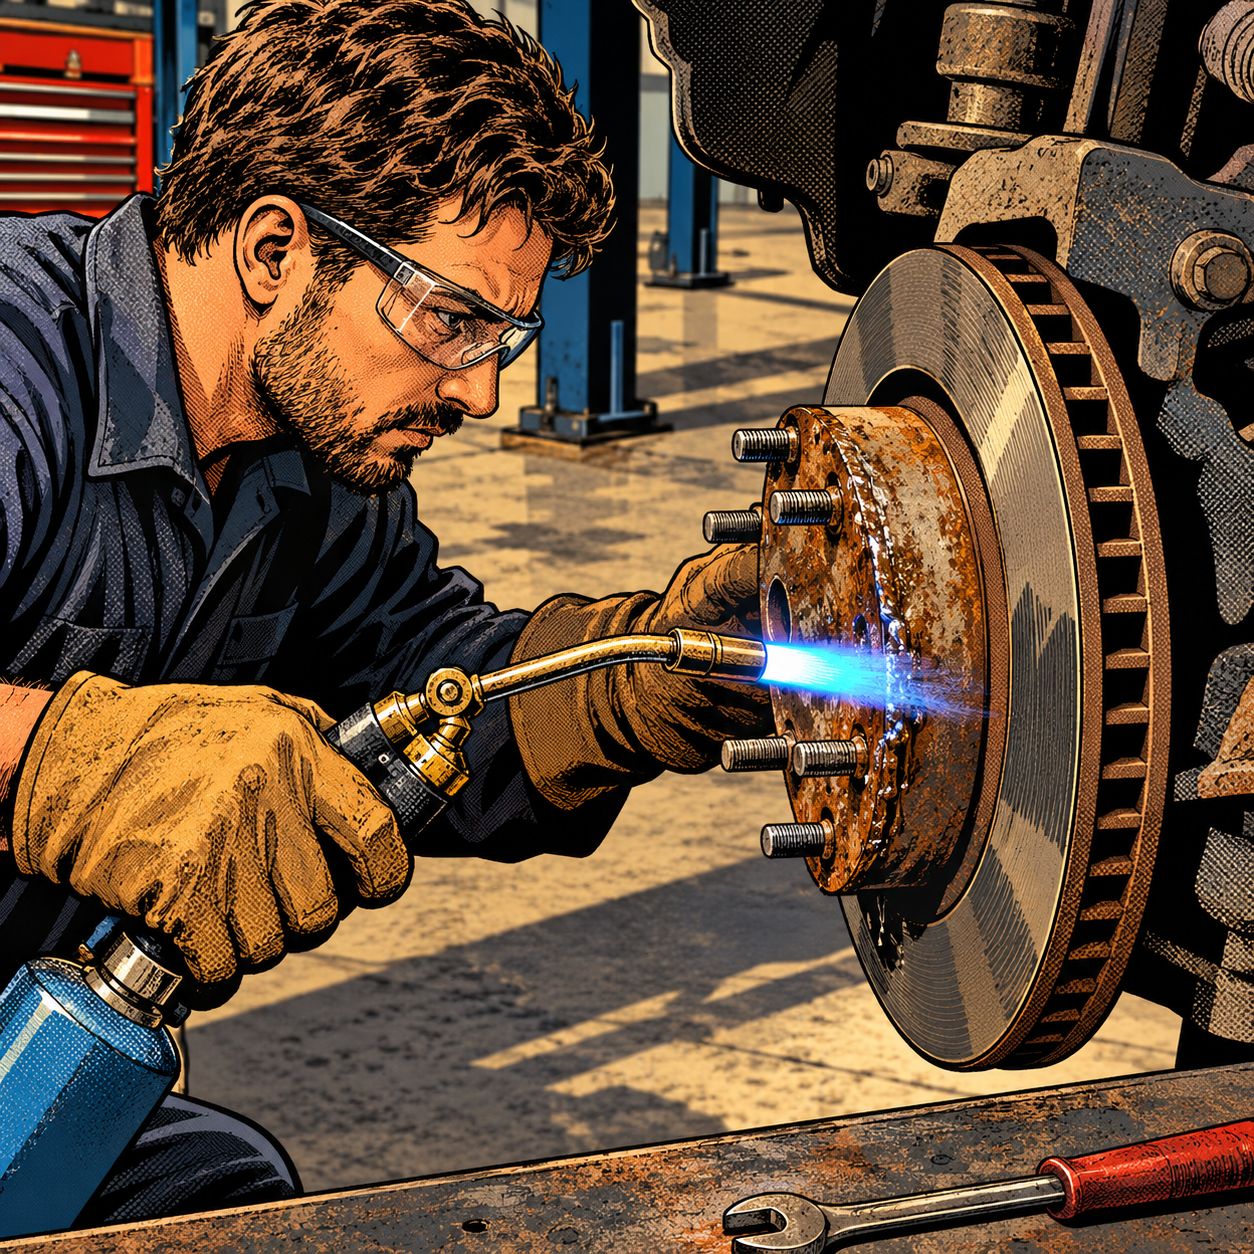
Ask any technician who’s worked outside the Sun Belt and they’ll tell you: the brake job isn’t the hard part, the rust is. A rotor that should pop off in two minutes can turn into a twenty-minute fight with a hammer, a torch, and a can of penetrating oil, and the hardware holding the caliper bracket on isn’t much better. Where you work determines how often you’re dealing with this. Techs in the desert Southwest sometimes go a whole career barely touching a torch, while shops in the Rust Belt and coastal salt-spray regions build rust removal into every single brake quote. Here’s a practical walkthrough of what actually works, what to watch out for, and how to keep a stuck rotor from turning into a comeback.
Why Corrosion Severity Depends on Where the Car Lives
Rust-seized rotors aren’t random bad luck — they’re a predictable function of climate and road treatment. Vehicles that spend winters on salted roads develop a layer of iron oxide between the rotor hat and the hub flange that effectively welds the two together. The same happens at the rotor-to-caliper-bracket slide pins, at banjo bolts, and at every exposed fastener behind the wheel. In dry climates like the desert Southwest, that same car might fight you on rotor removal only because of baked-on brake dust and heat-cycled corrosion, not years of chloride exposure — a very different (and usually faster) problem to solve.
The practical takeaway: before you quote a job, ask where the vehicle has spent most of its life, not just where it’s being serviced today. A truck titled in Colorado or Pennsylvania before being sold into a dry climate can still have rotor hats and bracket pins rusted solid underneath surface-level cleanliness. Don’t let a clean-looking car fool you into underestimating labor time.
Freeing a Seized Rotor Without Cracking a Hub or Bearing
When a rotor won’t slide off the hub after the retaining screws (if equipped) are removed and the caliper/bracket are off, resist the urge to go straight to maximum force. Work through these steps in order:
- Soak it first. Apply a penetrating oil (PB Blaster or equivalent) to the hub-to-rotor interface and let it sit. Even five minutes helps; longer is better if the job allows it.
- Heat the hat, not the hub. A propane or MAP torch applied to the rotor hat causes it to expand away from the hub, breaking the rust bond through differential expansion. Keep the flame moving and avoid prolonged direct heat on the bearing or hub assembly — that’s where damage starts.
- Strike correctly. Use a hammer directly on the rotor face (between the vanes on vented rotors) or alternate blows at the hub-to-rotor junction, rotating around the hat. Striking in one spot repeatedly is what cracks hubs or knocks bearing preload out of spec.
- Reapply penetrant between rounds. Heat-oil-strike is a cycle, not a one-shot fix. Most stubborn rotors take two or three passes.
- Know when to stop swinging. If a rotor isn’t moving after a reasonable number of cycles, a hub-mounted puller or a three-jaw puller against the rotor hat gives you controlled force instead of repeated impact — much safer for the bearing.
Budget real time for this. Ten minutes per side is a realistic average for a genuinely rusted rotor, and that’s before you’ve touched the hardware.
PRODUCT_SEARCH_PLACEHOLDER_1

Caliper Bracket Hardware and Slide Pins Deserve Just as Much Attention
Rotors get the attention, but caliper bracket slide pins and their bushings corrode just as aggressively — and a seized slide pin causes drag, uneven pad wear, and comebacks far more often than a rotor that was simply hard to remove. When you pull the bracket:
- Inspect pins for pitting, not just surface rust. Pitted pins should be replaced, not just cleaned and greased — they’ll bind again within a season.
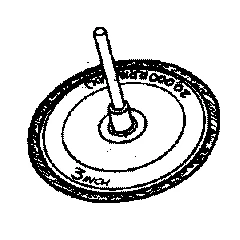
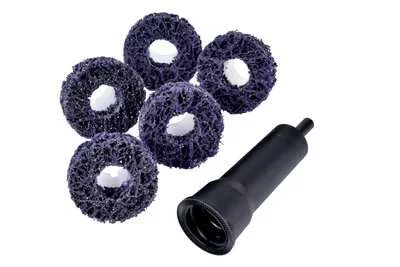
- Clean bushing bores with a wire brush or hardware-specific cleaning tool before reinstalling anything. Caked rust left in the bore defeats fresh grease almost immediately.
- Don’t reuse hardware clips that show rust creep or distortion. They’re cheap, and a loose or corroded pad clip is a common source of brake noise complaints after the job.
- If the bracket itself is heavily pitted at the pin bores, resurfacing or cutting new seating edges is sometimes required to get smooth pin travel back — budget shop time for that step rather than forcing worn hardware back together.
In heavy corrosion regions, many shops simply quote full hardware kits — pins, bushings, clips, and boots — as a default line item on every rust-belt brake job rather than inspecting and hoping. It’s often cheaper for the customer than a return comeback visit, and it’s cheaper for the shop in diagnostic time.
Protect the Wheel Bearing — It’s the Expensive Mistake
The real risk in a rusted rotor job isn’t losing time, it’s cracking a wheel bearing or knocking it out of spec while trying to free the rotor. This happens most often when:
- Impact is applied radially against the bearing flange instead of the rotor hat.
- Heat is concentrated on the hub/bearing area instead of the rotor itself.
- A puller is seated against the bearing seal rather than against the rotor or hub flange it’s designed to pull against.
If you feel roughness, play, or hear grinding in the hub after a stubborn rotor finally comes free, don’t assume it was already bad — check it against pre-job notes or a quick pre-inspection spin test before you started. Catching bearing damage you caused versus damage that was pre-existing is a conversation worth having with the customer before the job, not after.
Flat-Rate Book Time Doesn’t Account for Rust
Labor guides are written assuming average conditions, and average conditions assume a rotor that slides off cleanly. Techs in high-corrosion regions consistently report that rust-belt rotor and hardware work runs well past book time, sometimes doubling it on bad examples. A few ways shops handle this gap:
- Build a regional labor multiplier into estimates for vehicles with visible undercarriage corrosion, rather than quoting straight book time.
- Default to quoting full parts replacement (rotors, pads, and hardware together) rather than itemizing and hoping old hardware survives disassembly — it’s frequently the better value for the customer anyway once labor is factored in.
- Document corrosion condition with photos before starting, both to justify time overages and to protect against disputes if something (like a bearing) is damaged during a difficult removal.
Quick Checklist for Rust-Seized Brake Jobs
- Confirm the vehicle’s corrosion history, not just its current location
- Soak hub-to-rotor interface with penetrant before applying force
- Heat the rotor hat, not the hub or bearing
- Strike the rotor face/vanes evenly, never hammer directly on the bearing
- Inspect and likely replace pitted slide pins, bushings, and clips
- Pre-check bearing condition before and after rotor removal
- Adjust labor quotes for visible corrosion before starting, not after
PRODUCT_SEARCH_PLACEHOLDER_2


M18 FUEL? 3/8 Mid-Torque Impact Wrench w/ Friction Ring Kit
Mfg: Milwaukee Electric Tools
Part #: 2960-22R
Frequently Asked Questions
Is it safe to use a torch on a rotor near the wheel bearing?
Yes, as long as the heat is concentrated on the rotor hat itself and kept moving. Prolonged, direct heat on the hub or bearing housing can damage seals and grease, so treat the torch as a tool for expanding the rotor, not for cooking the whole assembly.
Why does my rotor still stick after soaking in penetrating oil?
Heavy rust bonds often need the heat-oil-strike cycle repeated two or three times. A single application rarely fully breaks a years-old rust bond; treat it as an iterative process rather than a one-shot fix.
Should I always replace caliper bracket hardware during a brake job?
In high-corrosion regions, yes — pitted pins and clips rarely survive cleaning and regreasing for long. In dry climates, hardware in good visual condition can often be cleaned and reused, but inspect bushing bores closely either way.
How do I know if I damaged a wheel bearing while removing a stuck rotor?
Spin and wiggle-test the hub before and after rotor removal if possible. New roughness, play, or noise that wasn’t present before strongly suggests the removal process affected the bearing, and it should be addressed before the vehicle leaves the shop.
Why does the same brake job take so much longer in some regions than others?
Road salt and chloride exposure accelerate corrosion at the rotor hat and caliper hardware far beyond what flat-rate labor guides assume. Shops in heavy winter-maintenance regions routinely build extra time into quotes to account for this.
Is it worth quoting full replacement instead of itemized rotor/pad/hardware work on rusty vehicles?
Often, yes. Once labor for cleaning, inspecting, and reusing questionable hardware is factored in, a full parts replacement can be comparable in price and far more reliable, reducing the chance of a comeback.
Shop Brake System Tools
Removing seized rotors and corroded hardware requires the right tools and replacement parts. Browse the Brake System category for specialized equipment.
- Pullers and spreaders for removing stuck rotors and brake components
- Replacement hardware including slide pins, bushings, and clips
- Brake service and cleaning supplies

The Toolsource Technical Team blends decades of real-world automotive service experience with up-to-date technical research. Our writers collaborate with professional mechanics, shop owners, and diagnostic specialists to deliver practical, workshop-ready guidance you can trust.


Follow us on social media