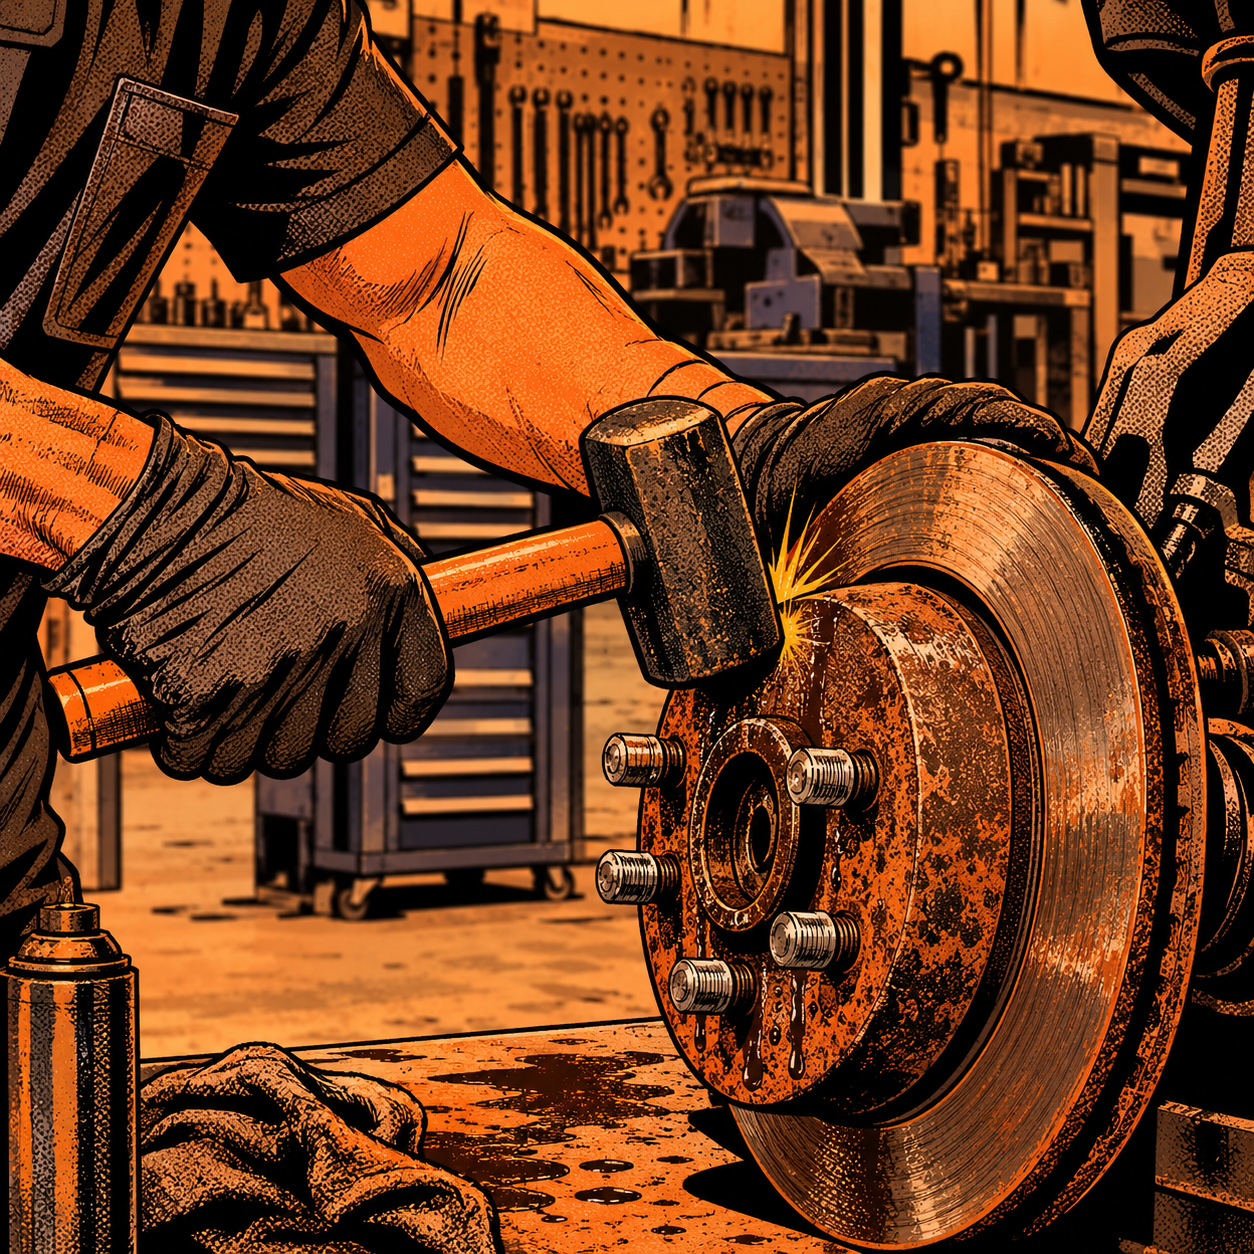
A rotor that won’t budge off the hub is one of the most common frustrations in brake service, and it’s almost never caused by a hidden fastener. In the vast majority of cases it’s rust jacking — corrosion that builds up between the rotor hat and the hub flange until the two parts are effectively welded together. The fix isn’t exotic, but it does require the right sequence of penetrating oil, mechanical shock, and patience. Skip a step and you’ll either waste an hour swinging a hammer at nothing or crack a rotor you were planning to reuse. This guide covers the diagnostic checks, the tools that actually move stuck rotors, and the technique that keeps you from damaging the hub, wheel studs, or CV axle in the process.
Confirm What’s Actually Holding the Rotor
Before you touch a hammer, rule out the two things that mimic a rust-frozen rotor but need a different fix entirely:
Retaining screws. Many rotors use one or two small Torx or Phillips screws to hold them to the hub during assembly. These are not structural and are often rusted solid themselves. If you see small screw heads near the center bore, remove or break them loose first — stripped heads can usually be drilled out, but don’t mistake these for lug studs.
Lug stud holes vs. threaded jack-bolt holes. Some rotors have two small threaded holes in the hat specifically designed for jack bolts — you thread in bolts of the correct pitch and alternate tightening each one, which pushes the rotor off the hub evenly. If your rotor has these, use them; it’s cleaner than hammering. If the holes you see are just the lug stud pattern, there’s nothing to bolt into and you’re dealing with straight rust.
Rear axle, parking brake engaged. On rear rotors, check whether the parking brake is fully released before assuming it’s rust. A rotor that spins freely but won’t slide off the hub is rust. A rotor that won’t even rotate is likely still gripped by the parking brake shoes or cable, which is a separate adjustment issue (covered below).
Soak It — Then Walk Away
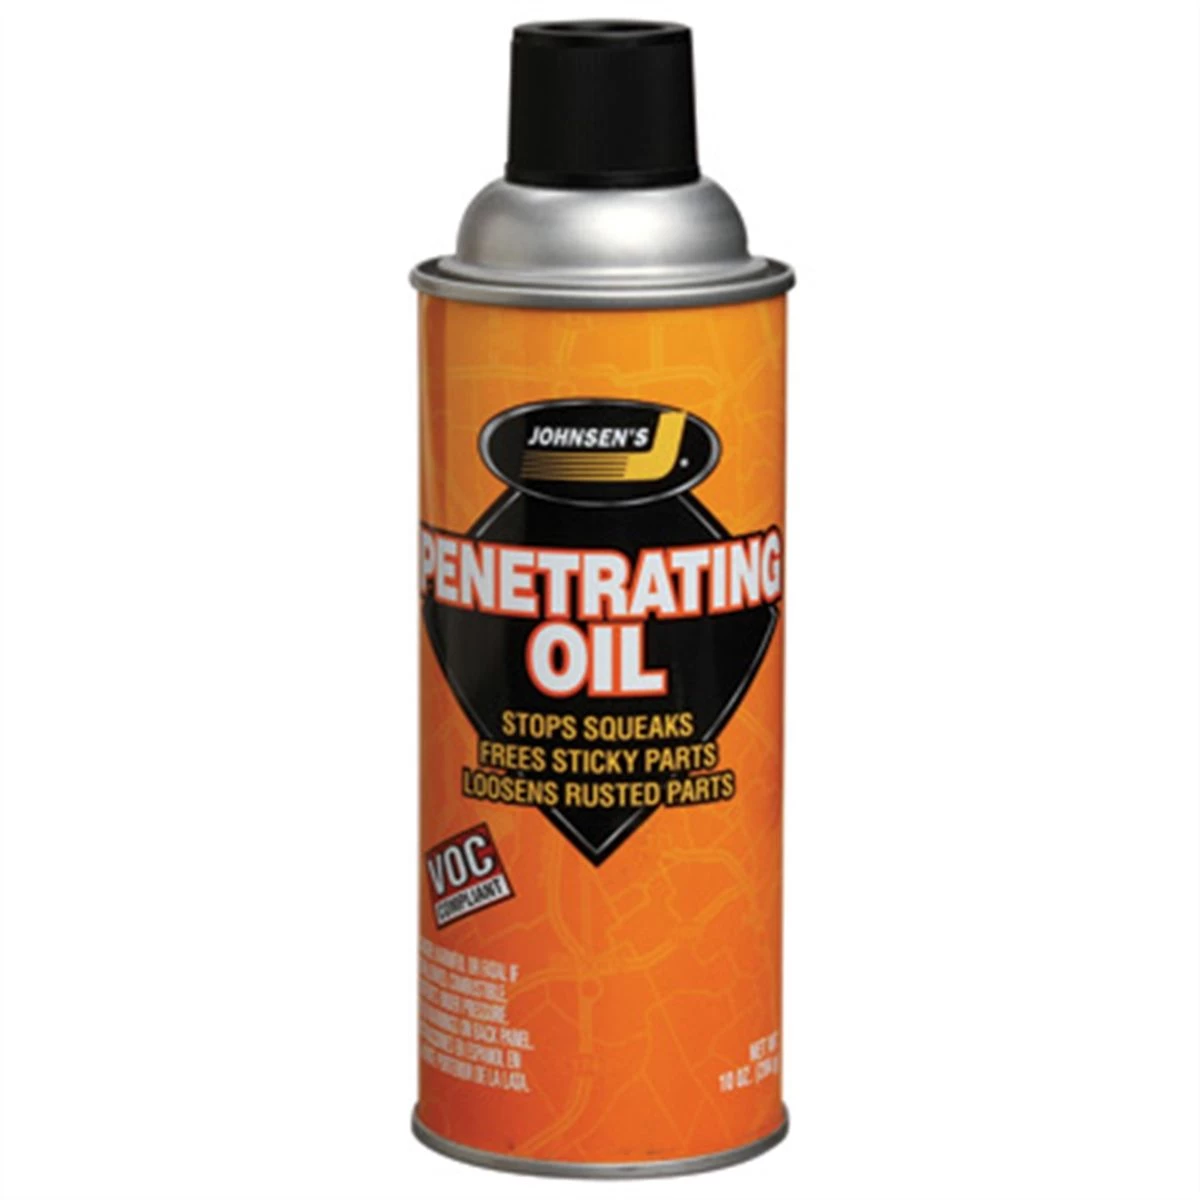
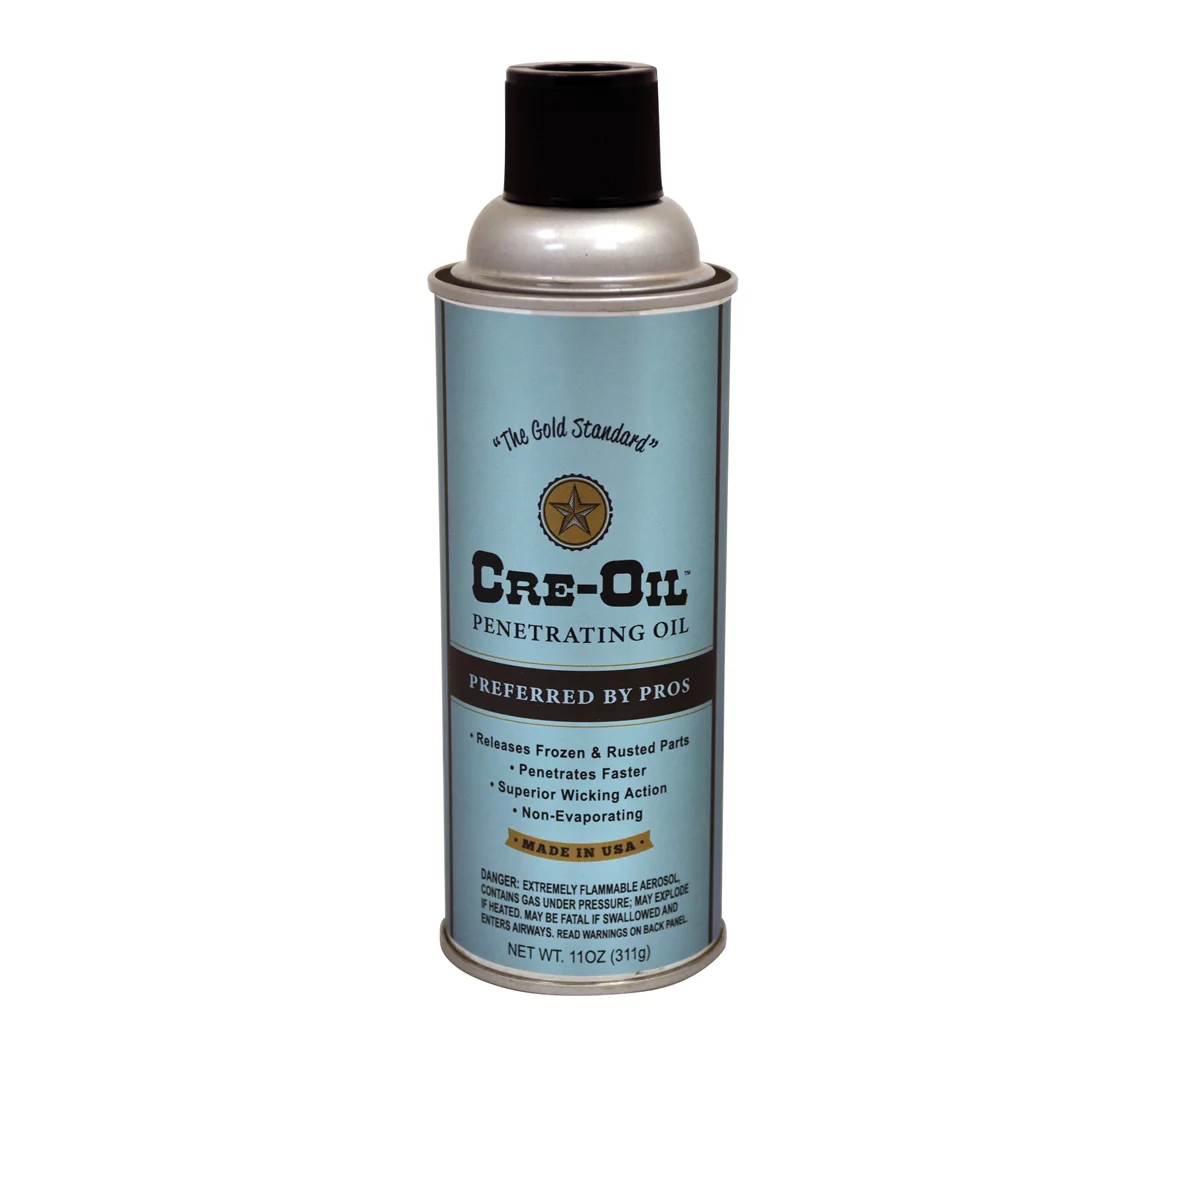
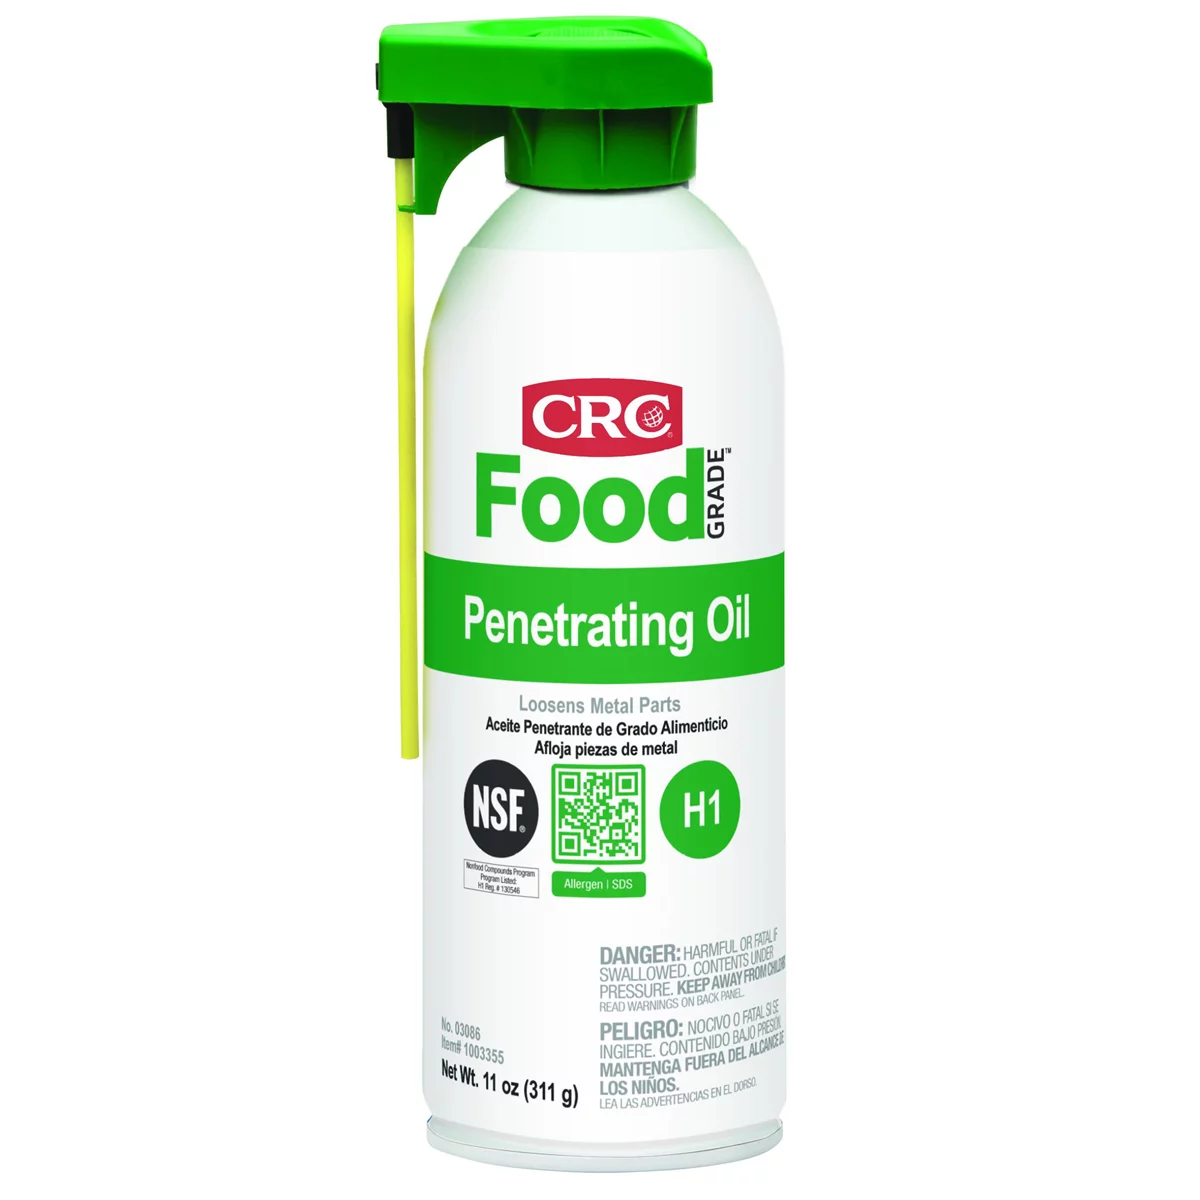
Penetrating oil is not optional, and it’s not instant. Spray a quality penetrant (products marketed specifically as penetrating oil outperform general-purpose lubricants here) generously around the center hub bore where it meets the rotor hat, into any retaining screw holes, and around the wheel studs. Let it sit for at least 30-60 minutes. For rotors that have clearly been rusted for years, letting it soak overnight produces dramatically better results than any amount of extra hammering on a dry joint. Reapply once partway through the soak if the metal looks dry.
While it soaks, thread the lug nuts back on a few turns (not tight) to protect the stud threads from accidental hammer strikes, and to keep the rotor from flying off once it breaks free.
===FYP-PRODUCT-SEARCH-1===
The Striking Technique That Actually Works
Once the penetrant has had time to work, the removal technique matters more than raw force. A few guidelines that separate a clean removal from a damaged hub:
- Use a dead blow hammer or a 2-4 lb hammer rather than a light mallet — the mass and controlled rebound of a dead blow reduces bounce-back and transmits more energy into the joint.
- Strike the back face of the rotor near the hat, not the braking surface, and work concentrically around the hub rather than hammering one spot repeatedly.
- Rotate the rotor slightly between strikes so you’re breaking the rust bond at a new point each time rather than just deforming one section.
- Alternate sides — strike, move to roughly the opposite point on the hat, strike again. This flexes the rust bond symmetrically instead of cocking the rotor on the hub.
- Expect this to take multiple hits. Technicians commonly report anywhere from 8 to 15+ solid strikes before a badly rusted rotor lets go — it rarely pops free on the first swing.
If you have access to an air hammer or impact chisel, running it lightly around the hub-to-rotor interface (never against the hub itself) can break the bond faster than hand striking, especially combined with fresh penetrant.
Add Heat for Severely Corroded Joints
If penetrant and striking aren’t moving the rotor after a reasonable effort, heat is the next escalation. A heat gun applied to the rotor hat (avoiding the rubber CV boot, ABS sensor, and any brake lines) causes the rotor to expand slightly relative to the hub, which can break the rust grip on its own or make the next hammer strike far more effective. Avoid an open flame near fuel lines, boots, or wiring. Heat-then-strike, repeated once or twice, resolves most rotors that pure force didn’t.
A technique worth knowing for front hubs with a knuckle and CV axle in the center: wedging a suitable tool between the strut/knuckle and the rotor and using it as a lever (or using the vehicle’s own steering/suspension geometry as light leverage) can supplement hammer strikes, but go slowly — excessive leverage against the CV joint or ABS sensor wiring can cause more expensive damage than the stuck rotor itself.
Rear Rotors: Rule Out the Parking Brake First
If the rotor spins but won’t slide axially off the hub, it’s rust — proceed as above. If it won’t even rotate, the parking brake shoes (on rotors with an internal drum-style parking brake) are likely over-adjusted and gripping the hat from the inside. To release:
Locate the adjustment slot — usually a small hole near a wheel stud or in the backing plate. Insert a thin screwdriver or brake adjustment tool and turn the star wheel to back off the shoes. Turn one direction and check if the rotor loosens; if it tightens instead, reverse direction. Once the rotor spins freely, remove it, then address the rust bond separately if needed.
When reinstalling new or refinished rotors, re-adjust the parking brake shoes outward until there’s a very faint drag on rotation, then back off slightly — this prevents both an ineffective parking brake and a rotor that seizes again prematurely.
===FYP-PRODUCT-SEARCH-2===
Quick Reference Checklist
- Rule out retaining screws and jack-bolt holes before assuming it’s pure rust
- Confirm rear parking brake is released (and shoes aren’t over-adjusted) before hammering
- Soak hub/rotor interface with penetrating oil 30+ minutes, ideally overnight for bad cases
- Thread lug nuts on loosely to protect studs and catch the rotor when it releases
- Strike the hat’s back face concentrically with a dead blow or 2-4 lb hammer, rotating between hits
- Add heat (heat gun, not open flame) if penetrant plus striking isn’t enough
- Apply anti-seize to the hub face on reinstall to prevent recurrence


Frequently Asked Questions
Why do brake rotors get stuck to the hub in the first place?
Moisture gets between the rotor hat and hub flange and oxidizes the mating surfaces. As rust forms, it expands and mechanically interlocks the two parts — a process called rust jacking. It’s most severe in regions that use road salt and on vehicles that sit for long periods without being driven.
Is it safe to hit a rotor I’m planning to reuse?
Striking the hat (the center mounting area) is generally safe since that section gets replaced in function by the hub contact patch, not the braking surface. Avoid hitting the rotor’s friction surface directly, and inspect for cracks around the hat afterward. If you’re unsure, budget for a new rotor — they’re inexpensive compared to a damaged hub.
How long should I let penetrating oil soak before trying again?
A minimum of 30-60 minutes for moderate rust; overnight for rotors that have clearly been seized for years. Reapplying the penetrant once or twice during a long soak improves results.
Can I use an angle grinder to cut a stuck rotor off?
Yes, as a last resort. Cutting a relief slot through the rotor hat (not into the hub) can relieve the rust grip enough to pull it free, but work carefully to avoid contacting the hub, wheel studs, or ABS sensor. This is destructive to the rotor, so only use it if you’re replacing it anyway.
What size hammer do I actually need?
Most technicians report success with a 2-4 lb hammer or a dead blow hammer of similar mass. A full-size sledge is sometimes used for extreme cases but increases the risk of missing and damaging the hub, caliper bracket, or CV boot — control matters more than raw weight.
How do I keep the next rotor from rusting onto the hub?
Clean the hub face to bare metal before installing a new rotor, then apply a thin layer of anti-seize or high-temp brake lubricant to the hub flange only (never on the rotor’s friction surface). This simple step prevents most future rust-jacking seizures.
Recommended Brake Tools & Equipment
The specialized tools and penetrants covered in this guide are essential for brake system service. Browse our Brake System category for the supplies and equipment needed to handle stuck rotors and routine brake maintenance.
- Penetrating oils and rust-relief lubricants
- Dead blow hammers and striking tools
- Heat guns, anti-seize compounds, and thermal solutions

The Toolsource Technical Team blends decades of real-world automotive service experience with up-to-date technical research. Our writers collaborate with professional mechanics, shop owners, and diagnostic specialists to deliver practical, workshop-ready guidance you can trust.


Follow us on social media