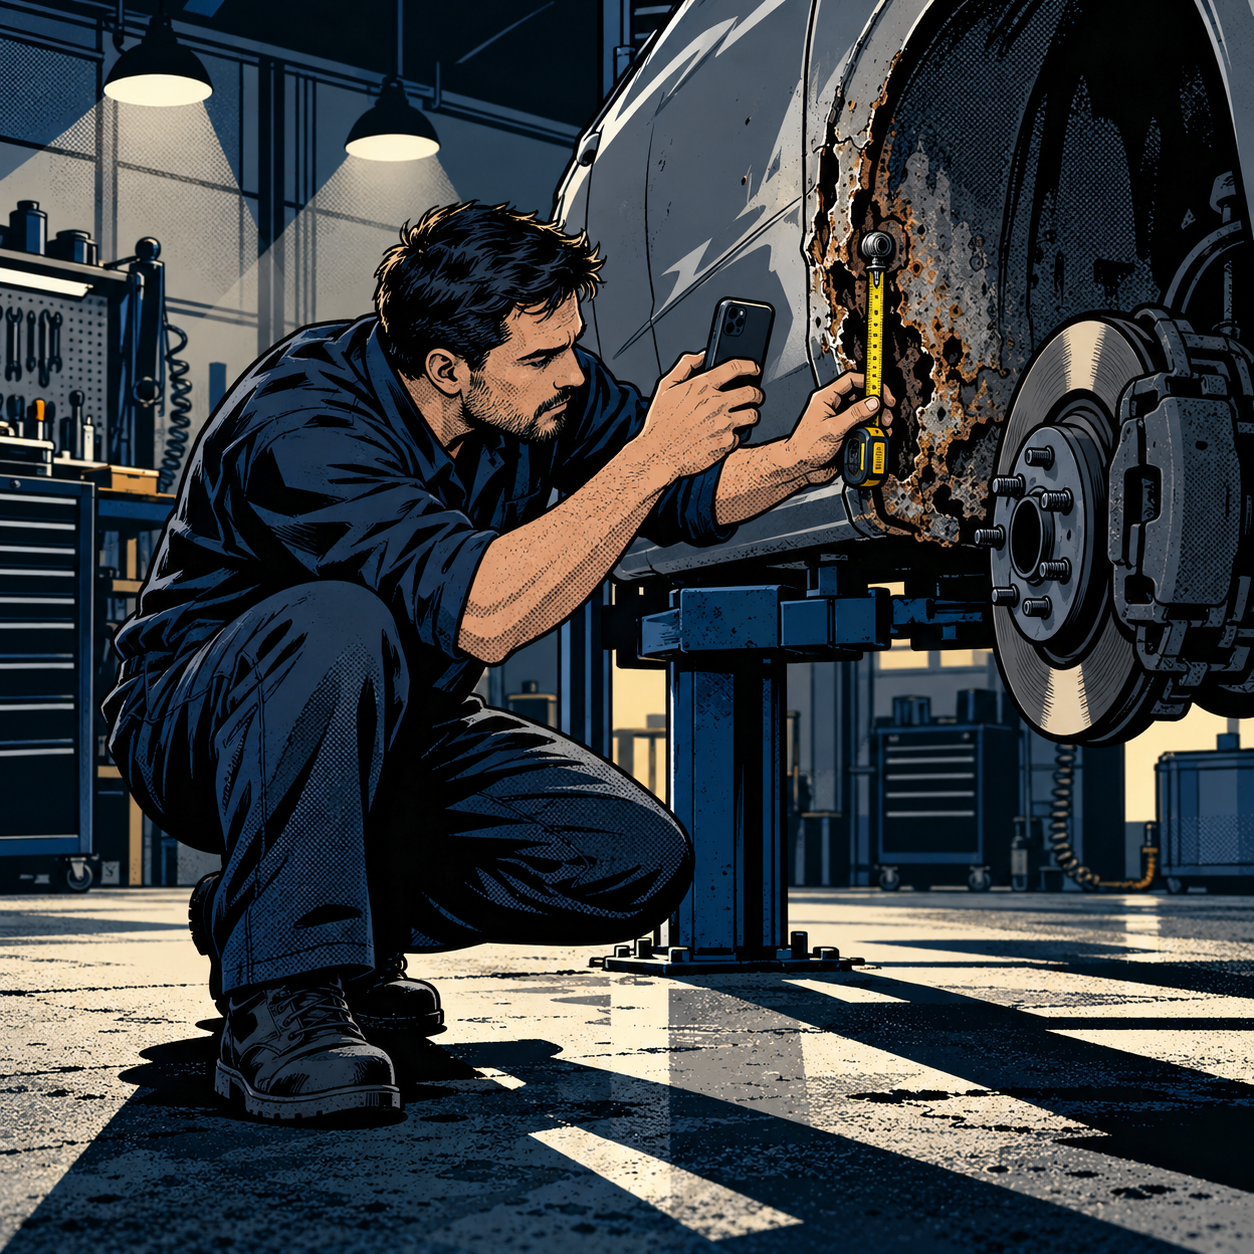
A customer pulls in with a vehicle that was “just fixed” somewhere else, and within five minutes on the lift you can tell the job was rushed, wrong, or incomplete. These comeback situations are common, and how you handle the first twenty minutes matters almost as much as the actual repair. Get the diagnosis and documentation right, and you protect your shop, give the customer solid ground to stand on with the previous shop, and avoid becoming the one who gets blamed for damage you didn’t cause.
Why Comeback Vehicles Need a Different Workflow
A normal repair starts with a complaint and ends with a fix. A comeback vehicle starts with a complaint, a history, and usually some frustration — and it ends with a fix plus a record of what you found and why. The extra step is documentation, and it’s not optional. If you skip it and just start wrenching, you’ve got no way to prove what was already wrong versus what happened on your watch. That exposes you to a liability argument later, even if you did everything right.
Treat every comeback as two jobs running in parallel: the mechanical diagnosis, and the evidence trail. Slow down slightly on intake so you don’t have to slow down later explaining yourself to an insurance adjuster, a BBB complaint, or a chargeback dispute.
Document Everything Before You Touch the Vehicle
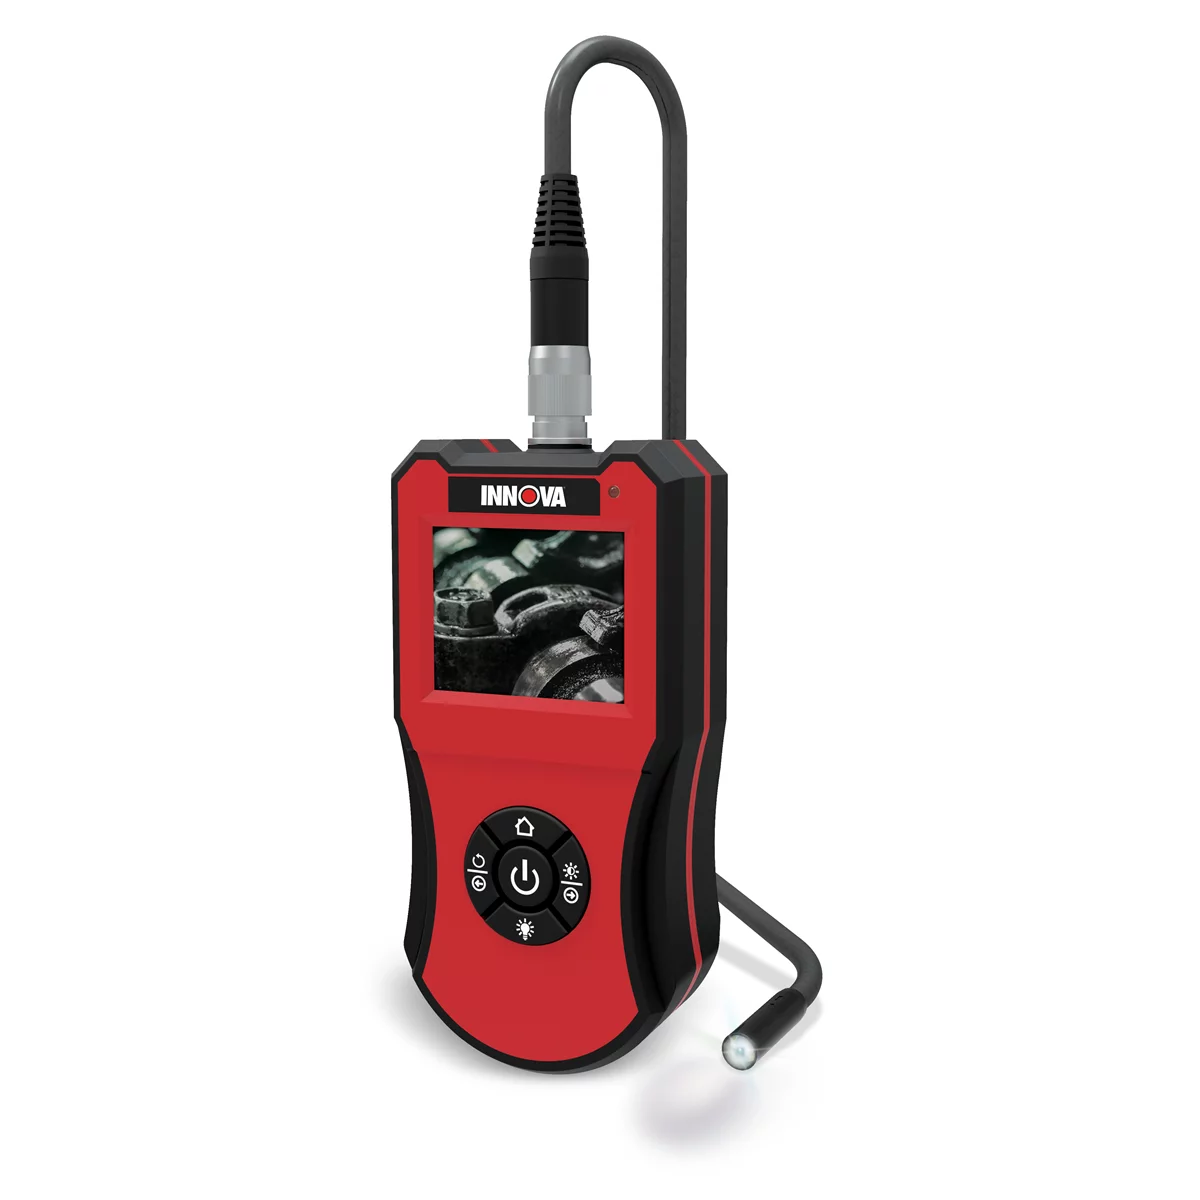
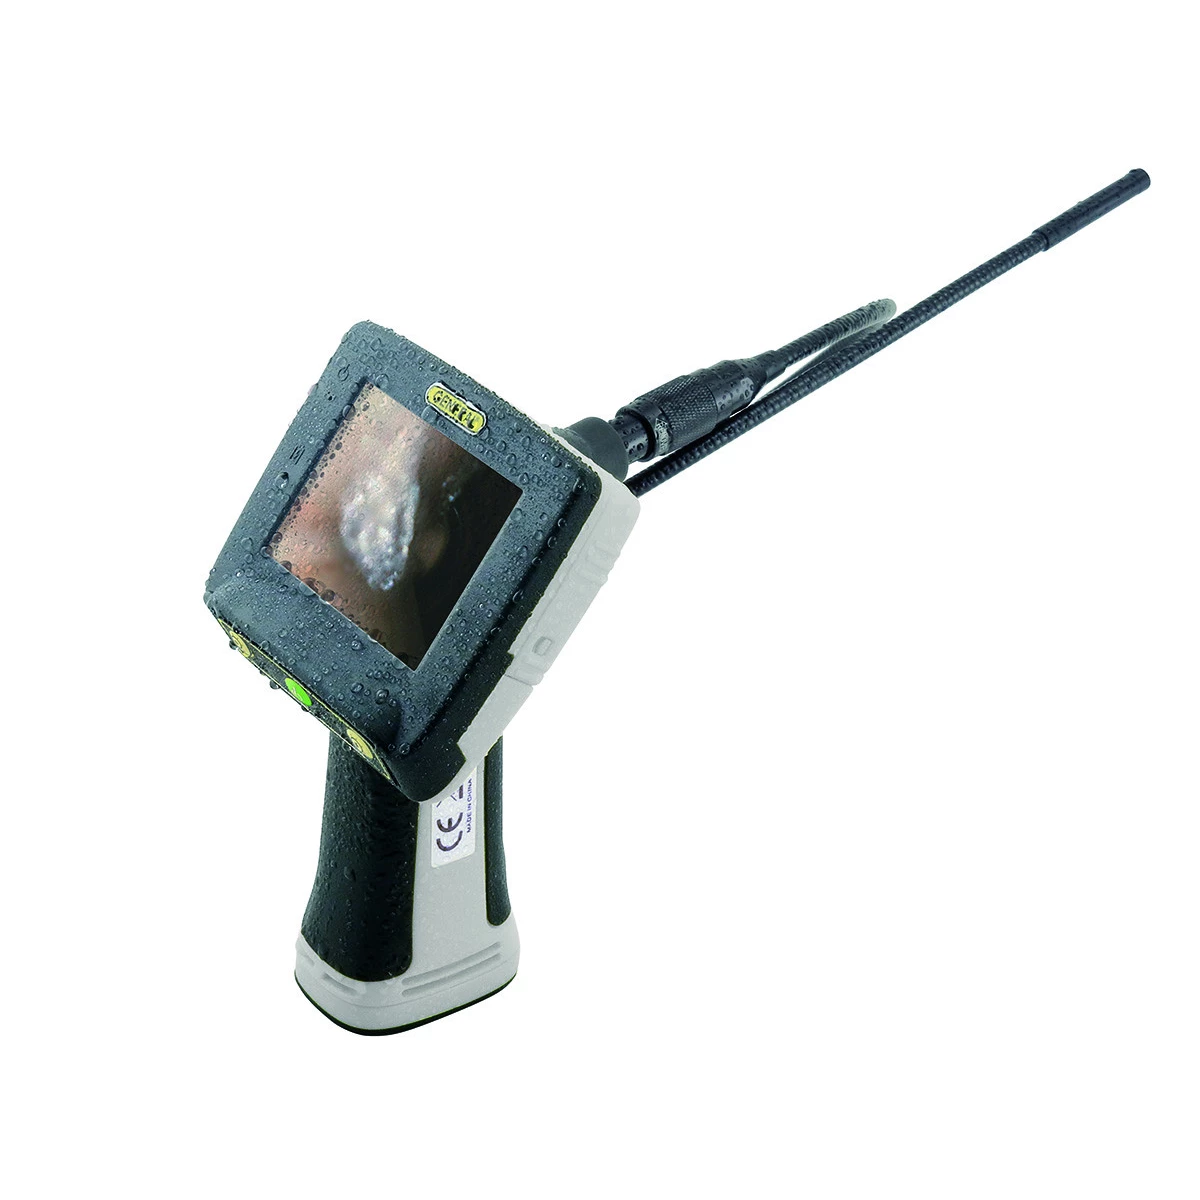
Waterproof Video Inspection Camera/Borescope with 8mm Probe
Mfg: General Tools & Instruments
Part #: DCS600A
Before a single bolt comes off, walk the car and record what you see. This step is what separates “my shop found more damage” from “my shop caused more damage” in the customer’s mind and in any paper trail that follows.
- Photograph the vehicle from all four corners, the VIN plate, odometer, and any existing damage — dents, fluid stains, mismatched fasteners, broken clips.
- Photograph the specific area related to the complaint before disassembly, then again after each major step.
- Note the original shop’s invoice or work order if the customer has it. Compare what was billed against what you actually find on the car.
- Write a timestamped intake note in the repair order: date, mileage, customer’s description of the problem, and any paperwork from the prior repair.
- If damage looks pre-existing (rust at a fresh fastener, old grease on a “new” part), photograph it close-up with something for scale, like a tape measure or ruler in frame.
A borescope or inspection camera is useful here for areas you can’t easily photograph with a phone — inside a wheel well, behind a heat shield, or up into a bumper cavity where a shop might have left damage hidden.
Recommended Tools for Comeback Documentation
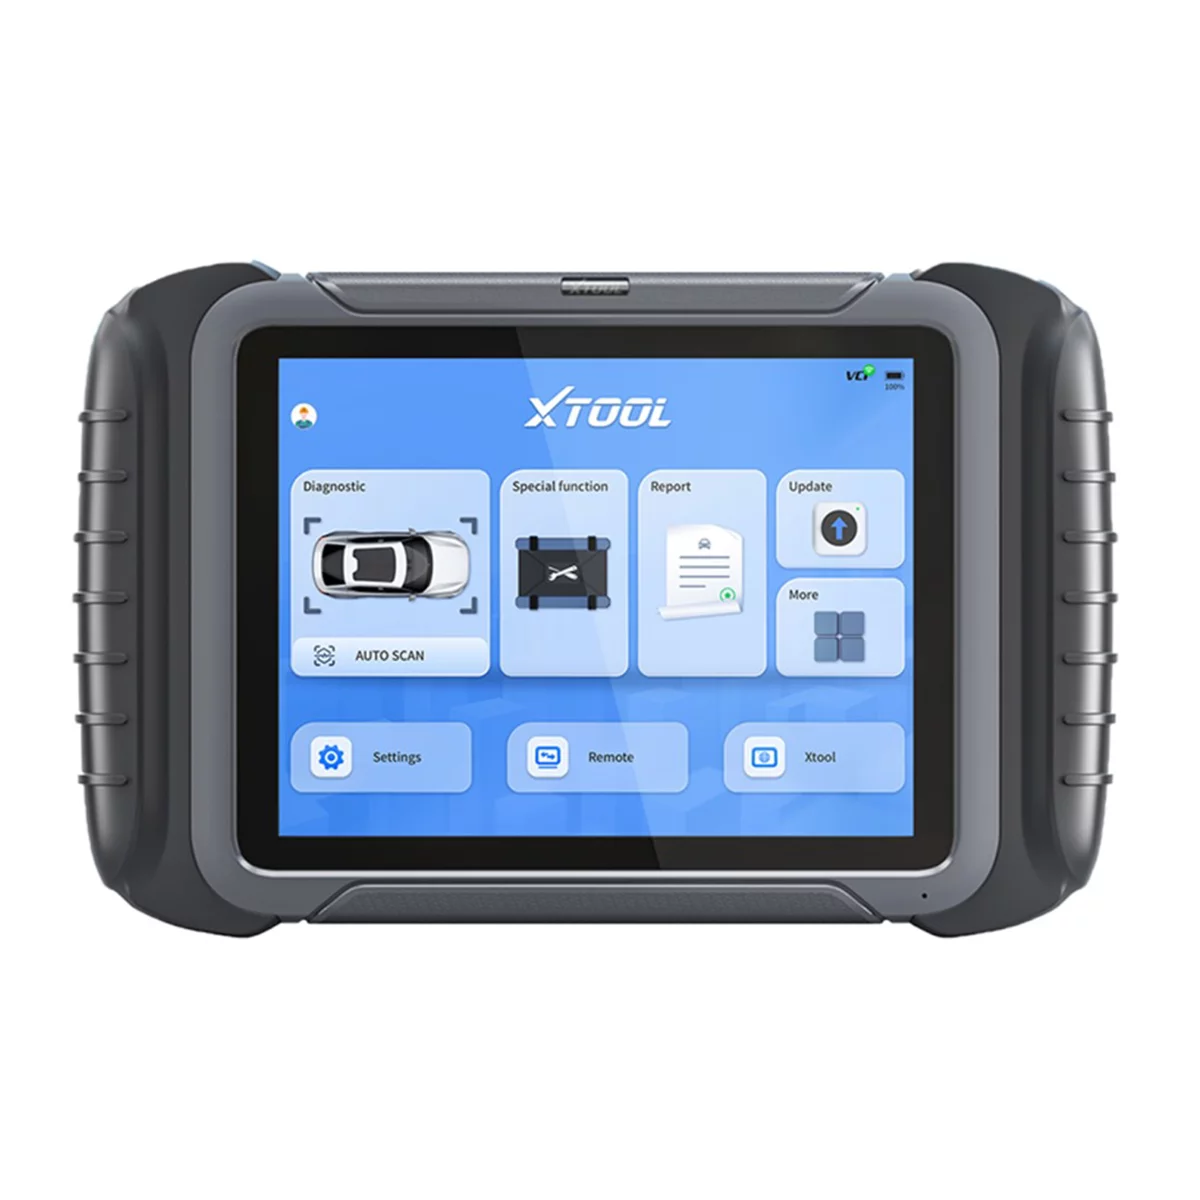
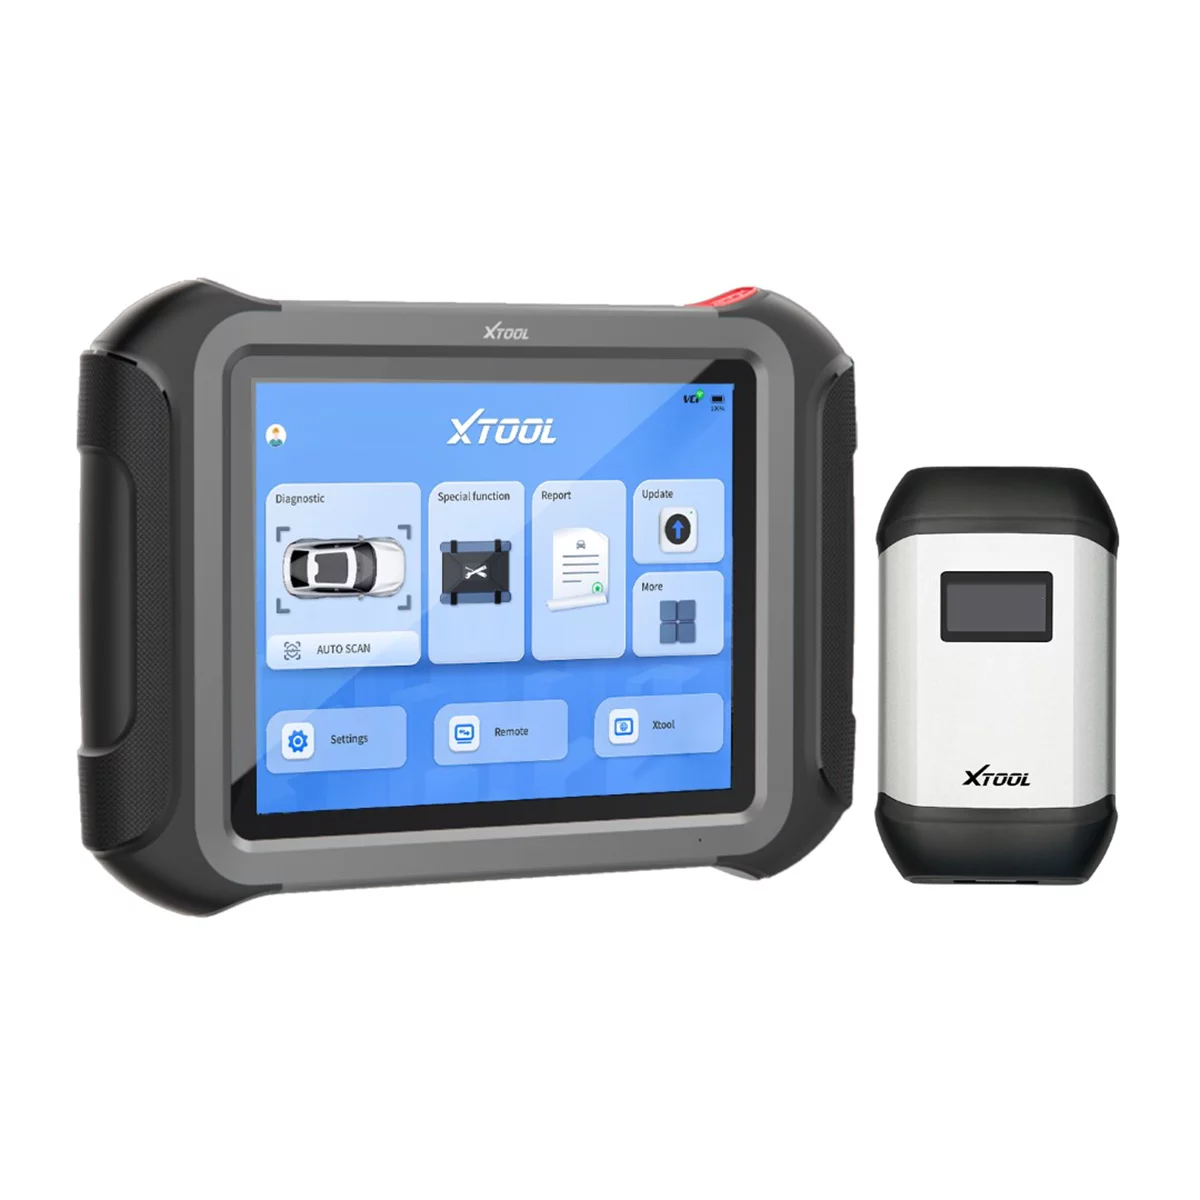
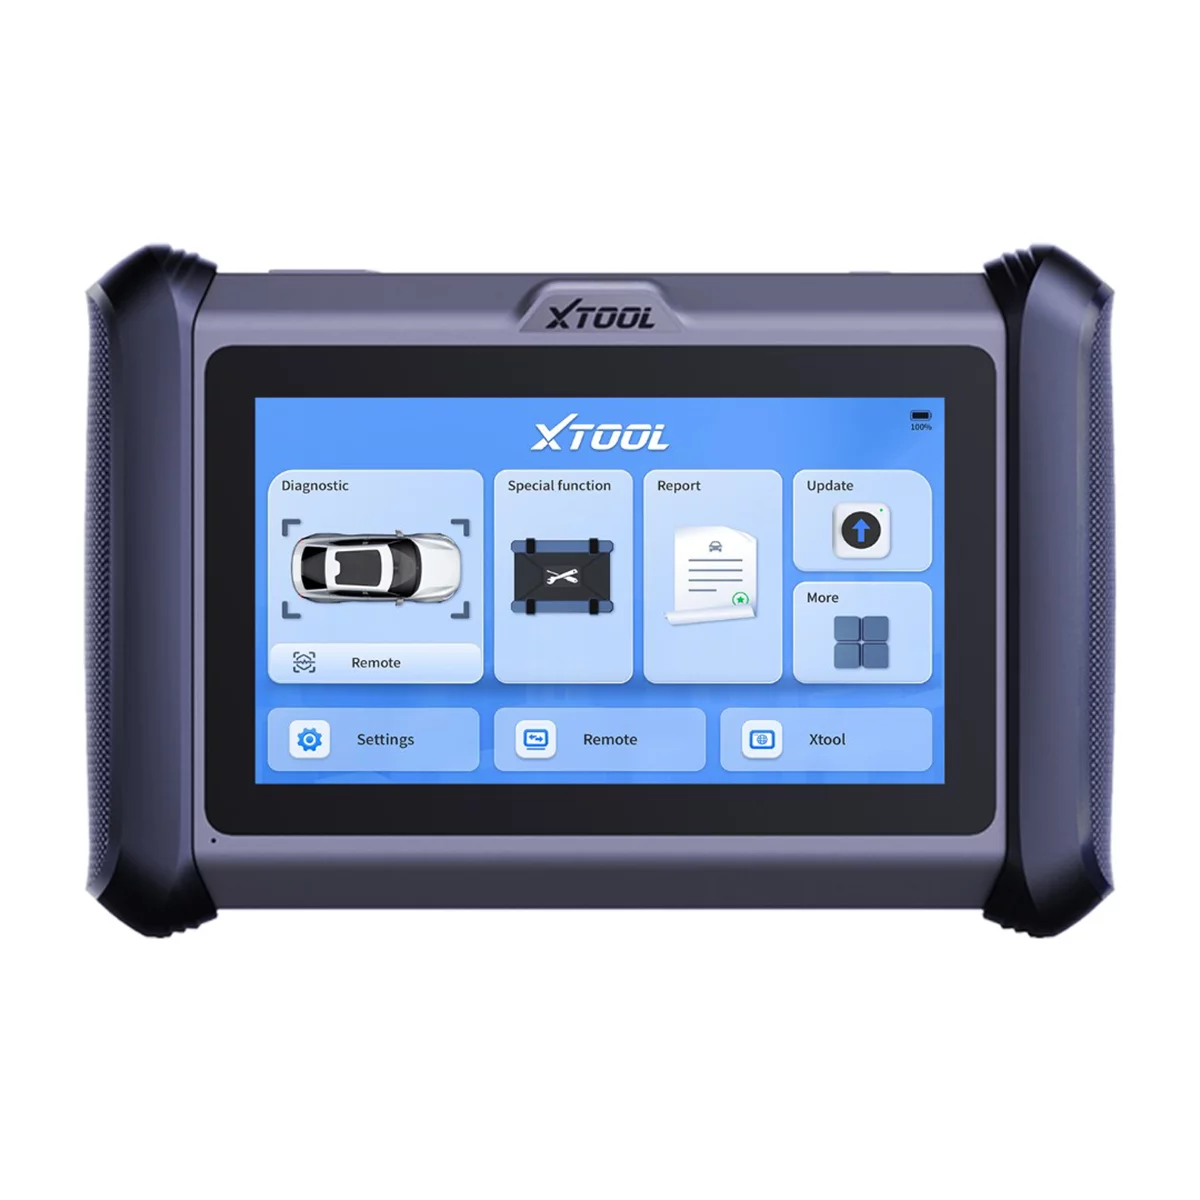
Proper documentation in a comeback situation starts with the right inspection and measurement tools. Our Measurement Tools and Inspection selection includes everything you need to capture a clear record.
- Borescopes and inspection cameras for damage in hard-to-reach areas.
- Rulers, tape measures, and scales to include as photo references.
- Precision calipers and gauges for accurate measurements.
Essential Tools for Diagnosing Repair Issues
When investigating prior repairs, precision measurement tools are critical for identifying what went wrong. The right inspection equipment helps you document problems, verify specifications, and communicate findings clearly to customers or supervisors.
- Digital Calipers & Micrometers – Measure component dimensions and tolerances to identify undersized or oversized parts from botched work
- Compression Testers & Leak-Down Tools – Diagnose engine performance issues caused by improper repair procedures
- Bore Gauges & Depth Gauges – Verify proper boring, honing, and machining work before recommending rework

The Toolsource Technical Team blends decades of real-world automotive service experience with up-to-date technical research. Our writers collaborate with professional mechanics, shop owners, and diagnostic specialists to deliver practical, workshop-ready guidance you can trust.


Follow us on social media