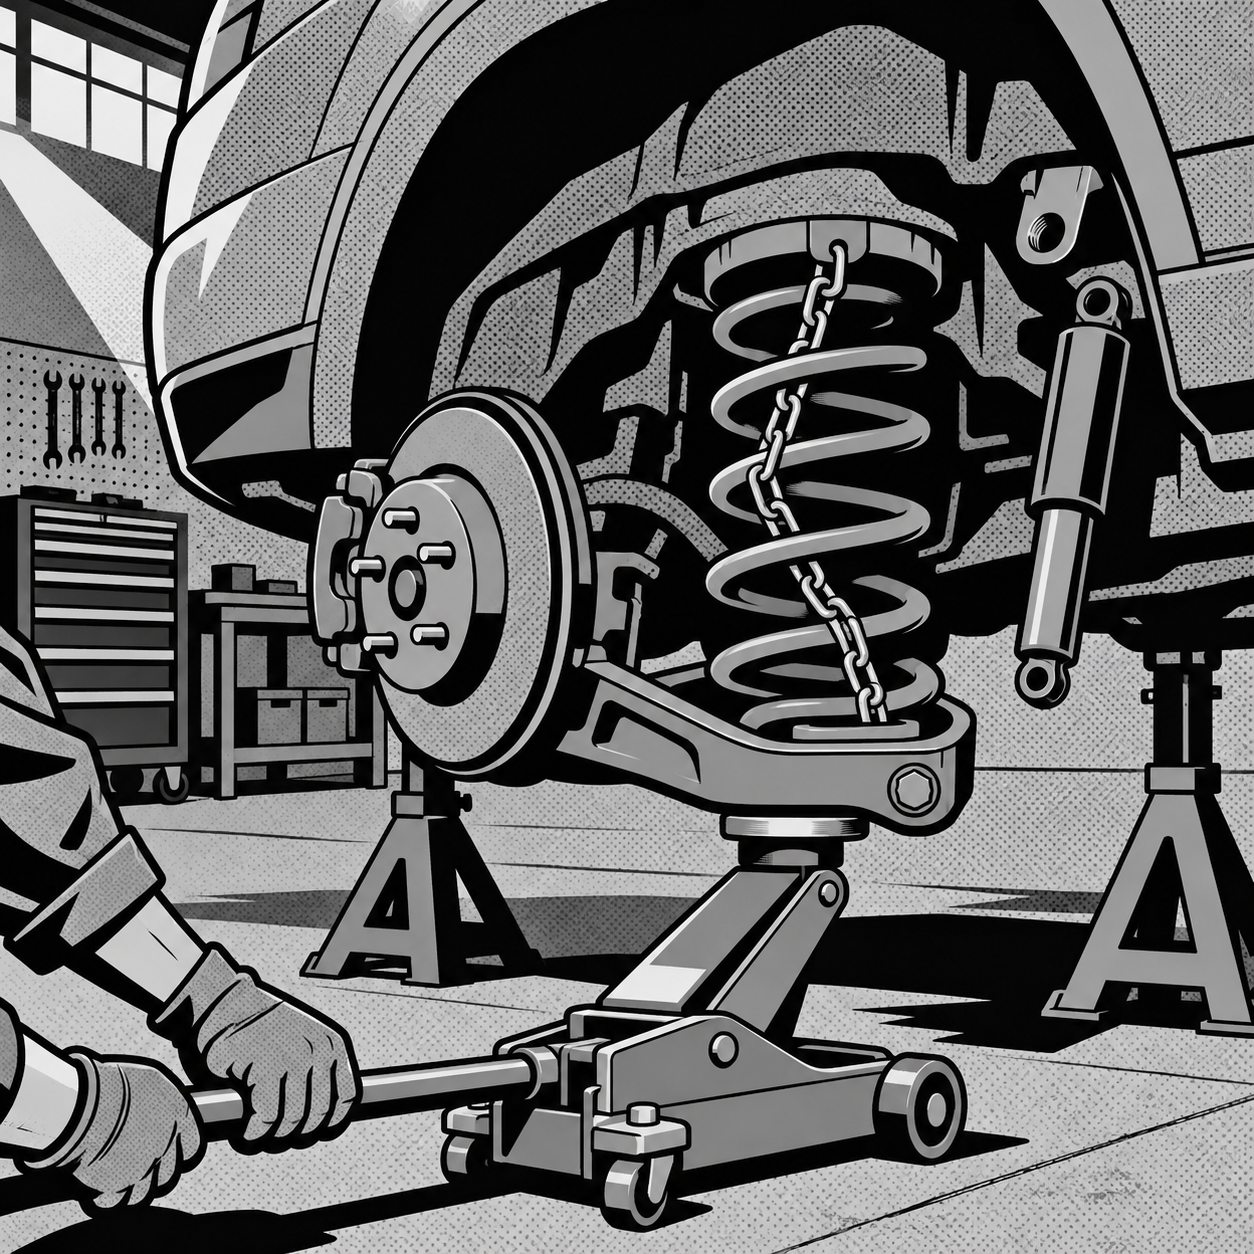
A cracked or snapped rear coil spring is one of those failures that looks cosmetic from the driveway and turns dangerous the moment the car is loaded up and pointed down the highway. It’s also a repair that regularly injures the people doing it — not because the job is technically hard, but because a compressed spring stores a surprising amount of energy and shadetree methods routinely skip the one step that keeps that energy under control. This guide covers how to tell if a spring is actually broken, what the real risk is if you keep driving on it, how to replace it without a traditional spring compressor, and the mistakes that put people in the ER.
Is It Safe to Drive on a Broken Rear Spring?
Short answer: no, not beyond getting the car off the road and into a garage or shop. A broken coil spring means that corner of the suspension has lost its primary support. In most cases the shock absorber becomes the only thing limiting how far that wheel can travel upward and downward, and shocks aren’t designed to carry static vehicle weight — they’re designed to dampen motion. The practical failure modes are:
- The broken coil section works its way loose and gets ejected from the spring perch, sometimes through a wheel well, sometimes through glass if it’s riding high enough.
- The ride height on that corner drops enough that the tire contacts the fender or wheel liner under cornering or braking load, which can shred the tire or lock up the wheel unexpectedly.
- Uneven spring height changes alignment geometry and load distribution, accelerating wear on tires, bushings, and the opposite side’s suspension components.
None of that is likely to happen on a slow trip around the block. All of it becomes plausible on a highway on-ramp, in a hard turn, or hitting a pothole at speed. Treat a confirmed broken spring as “drive it straight to the shop, nowhere else” — not as a problem that can wait for payday.
How to Diagnose a Broken Coil Spring
Before assuming the worst, confirm the diagnosis with a visual and physical inspection:
- Visual check: With the vehicle on a lift or safely supported on stands, look at each coil from end to end. A broken spring usually shows a clean or jagged separation near the bottom coil, where stress concentration is highest.
- Ride height comparison: Measure from a fixed point on the body to the ground on both rear corners. A lean or a noticeably lower corner is a strong indicator even before you spot the break visually.
- Clunking or rattling: A broken spring section can shift and knock against the control arm or shock body over bumps — this is often the symptom that gets a car into the bay in the first place.
- Tire wear and rubbing marks: Check for scuffing on the inside of the fender liner or uneven wear on the affected tire’s shoulder, which points to the corner riding lower than spec.
Also inspect the shock/strut on that corner while you’re under there. A spring breaks from fatigue and corrosion over time, and a worn or leaking shock on the same corner is common — it’s a reasonable opportunity to replace both at once rather than open the suspension twice.
[PRODUCT_SEARCH: rear coil spring compressor tool]


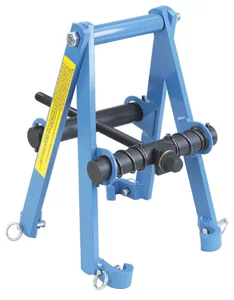
MacPherson Clamshell Strut Spring Compressor Tool
Mfg: OTC Tools and Equipment
Part #: 6494
Tools and Safety Precautions Before You Start
Rear coil springs on most unibody and many body-on-frame vehicles do not require a traditional strut-style spring compressor. The spring sits between the lower control arm (or axle) and the body, held in only by the arm’s position — which means you can often remove it by controlling that arm’s travel instead of compressing the coil directly. That said, get the safety basics right before touching a bolt:
- Vehicle on a lift or jack stands rated for the vehicle’s weight — never on a jack alone.
- Floor jack under the lower control arm or axle to control its descent, independent of whatever is holding the body up.
- Eye protection and gloves, always — a spring under even partial load can move faster than you can react.
- If a chain, strap, or secondary restraint is available to loop through the coils as a backup, use it. It costs nothing and it’s the difference between “the spring shifted an inch” and “the spring went through a window.”
- Know the specific geometry of the suspension you’re working on. Multi-link, leaf-sprung, and solid-axle rear ends all release spring tension differently, and assuming one method works everywhere is how people get hurt.
Step-by-Step: Replacing a Rear Coil Spring
This sequence covers the common independent rear suspension case where the coil sits over or beside the control arm:
- Support the vehicle. Lift the rear, support the frame on stands, and place a floor jack under the lower control arm or axle housing on the affected side.
- Remove the wheel for clearance and a clear view of the spring perch.
- Disconnect the shock’s lower mount. With the shock no longer limiting travel, the control arm or axle can now drop further than normal — this is what relieves spring preload without compressing the coil by force.
- Lower the control arm slowly with the floor jack until the spring tension releases and the coil can be angled out of its perch. Watch brake lines, ABS wiring, and flexible hoses as the arm drops — they’re the most common thing accidentally torn in this step.
- Remove the old spring (or the broken pieces) and inspect the upper and lower isolators/pads for cracking or wear; replace them if they’re degraded.
- Set the new spring into the lower perch, seated correctly against any locating tab, then raise the control arm with the jack to compress it back into position under the upper mount.
- Reconnect the shock once the arm is high enough to line up the mounting bolt, then torque to spec.
- Reinstall the wheel, lower the vehicle, and torque the lug nuts to spec in the proper sequence.
- Check ride height and do a test drive at low speed first, listening for clunks or rubbing before taking it on the road.
Always replace springs in pairs on the same axle. A new spring on one side and a fatigued, sagging spring on the other creates a height mismatch that affects handling and accelerates wear on the side you just didn’t touch.
Common Mistakes That Cause Injuries
Most spring-related injuries in the trade trace back to one of these:
- Using a pry bar to force a spring out instead of controlling it with the control arm or a proper compressor. A pry bar gives you leverage to move the spring, not a controlled release — if it slips, the stored energy goes wherever the bar was pointed.
- Skipping a safety chain or strap because “it’s just a rear spring” or “I’ve done this a hundred times.” Confidence doesn’t change the physics.
- Not re-centering a jack or compressor after it shifts even slightly. A small misalignment under load can let a spring kick sideways rather than release straight down.
- Working under a vehicle supported only by a jack with no stands. Unrelated to spring energy, but it’s the other way this job goes wrong fast.
- Treating every vehicle’s rear suspension as identical. A method that’s genuinely low-risk on a solid rear axle can be the wrong approach on a multi-link independent rear, and vice versa.
Checklist: Rear Spring Replacement
- Confirm the break visually and by ride-height comparison
- Inspect the shock/strut and isolators on the same corner
- Support the vehicle on stands, control the arm with a floor jack
- Disconnect the shock before lowering the control arm
- Use a safety chain/strap through the coils as backup restraint
- Replace springs in pairs, never one side alone
- Torque all fasteners to spec and test-drive at low speed first
[PRODUCT_SEARCH: rear suspension replacement parts shocks springs]


Automotive Strut Spring Coil Compressor T81P-5310-A
Mfg: OTC Tools and Equipment
Part #: 204-076

FAQs
Can I drive a short distance with a broken rear spring?
Only far enough to get the car into a garage or shop bay, at low speed, with no passengers or cargo load if possible. It is not safe for regular driving, highway speeds, or any load beyond that.
Do I need a spring compressor for a rear coil spring?
On most independent rear suspensions, no — disconnecting the shock and lowering the control arm with a floor jack releases the spring without compressing it directly. Some designs still benefit from a compressor or a secondary restraint for extra control; check the service procedure for your specific vehicle.
Is replacing a rear coil spring expensive?
The parts themselves are usually inexpensive, and labor is moderate if the fasteners come apart cleanly. The real cost driver is neglect — rusted shock bolts, torn brake lines, or a spring that fully lets go and damages the fender or tire turn a cheap job into an expensive one.
Should I replace both rear springs even if only one is broken?
Yes. Springs on the same axle should be replaced as a pair to keep ride height and handling balanced side to side. A sagging original spring next to a new one causes uneven wear going forward.
What causes a coil spring to break in the first place?
Fatigue from repeated flexing, corrosion at stress points (especially near the bottom coil), and road salt exposure are the main causes. Overloading a vehicle beyond its rated capacity accelerates the process.
Is it safe to reuse the old shock when replacing a broken spring?
Only if it’s in good condition with no leaks, dents, or excessive play. Since the shock was likely carrying unintended static load while the spring was broken, inspect it closely — this is a common point where a second part turns out to need replacement too.
Recommended Tools
This work requires proper support equipment and precision tools, available in the Tire Tools, Wheels & Suspension category.
- Floor jacks and jack stands rated for vehicle weight
- Spring compressors and coil spring removal tools
- Replacement springs, shocks, and suspension components

The Toolsource Technical Team blends decades of real-world automotive service experience with up-to-date technical research. Our writers collaborate with professional mechanics, shop owners, and diagnostic specialists to deliver practical, workshop-ready guidance you can trust.


Follow us on social media