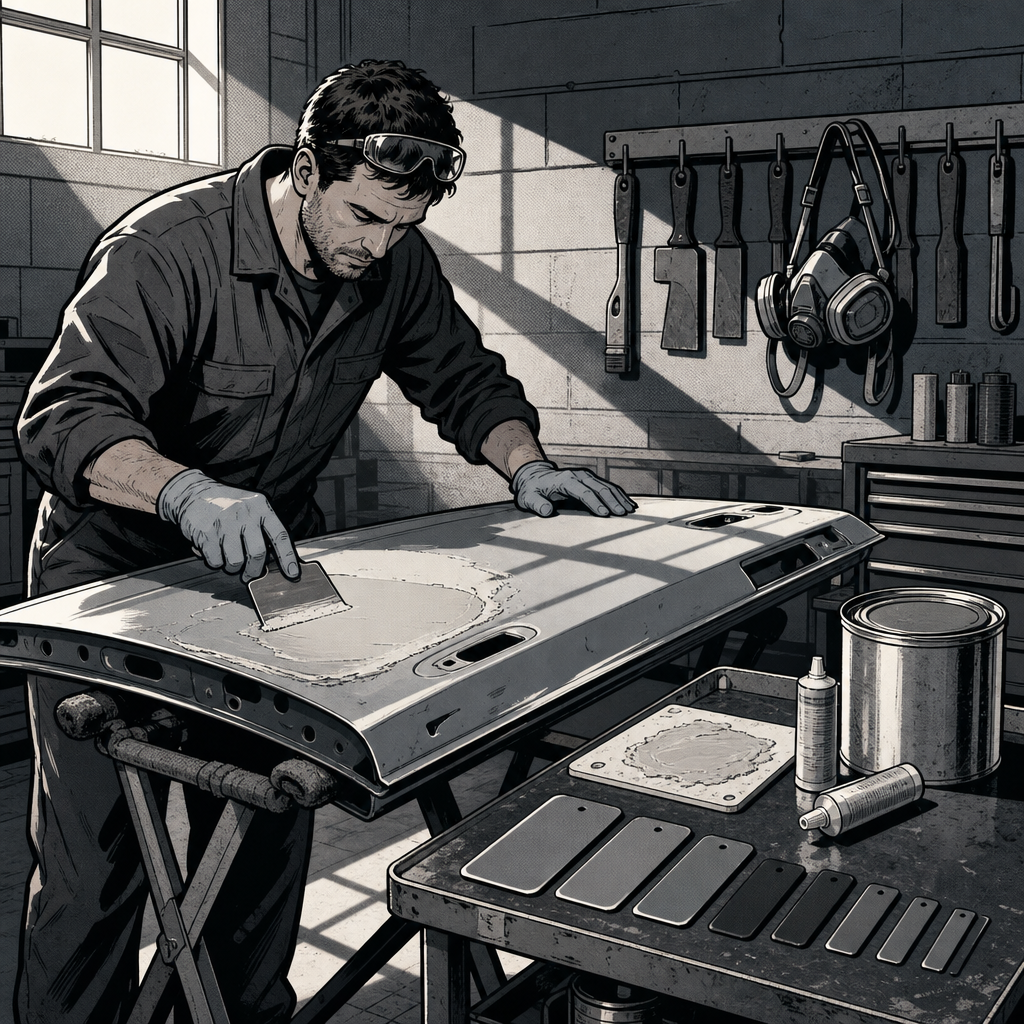
Ask any body tech what they underestimated when they started, and a lot of them will say body filler exposure. It’s not dramatic — no sparks, no loud noise — but between the resin, the hardener, and the dust that follows, a spreader is one of the more consistently underprotected tools on the bench. A few minutes of setup before you crack open a can of filler saves a lot of skin irritation, eye flushing, and lung aggravation down the line. Here’s a practical rundown of the PPE and technique choices that actually hold up in daily shop use.
Why Body Filler Exposure Adds Up
Polyester body filler resin and its cream hardener are mild irritants on their own, but the real problem is repetition. A tech mixing and spreading filler five or six times a day, five days a week, is getting far more cumulative skin contact than a DIYer doing one panel a year. The hardener (benzoyl peroxide paste) is the more aggressive of the two — it can cause contact dermatitis, and it’s genuinely nasty if it gets in your eyes. Once you move into sanding, you add fine particulate to the mix, which is a respiratory concern on top of the skin contact issue.
None of this requires a hazmat suit. It requires consistent, low-friction habits: the right gloves on before you touch the can, glasses on before you mix, and a respirator on before you sand. The techs who skip PPE usually aren’t being reckless — they just don’t have the right gear within arm’s reach, so it becomes a “next time” habit that never happens.
Gloves: What Actually Holds Up to Filler and Resin
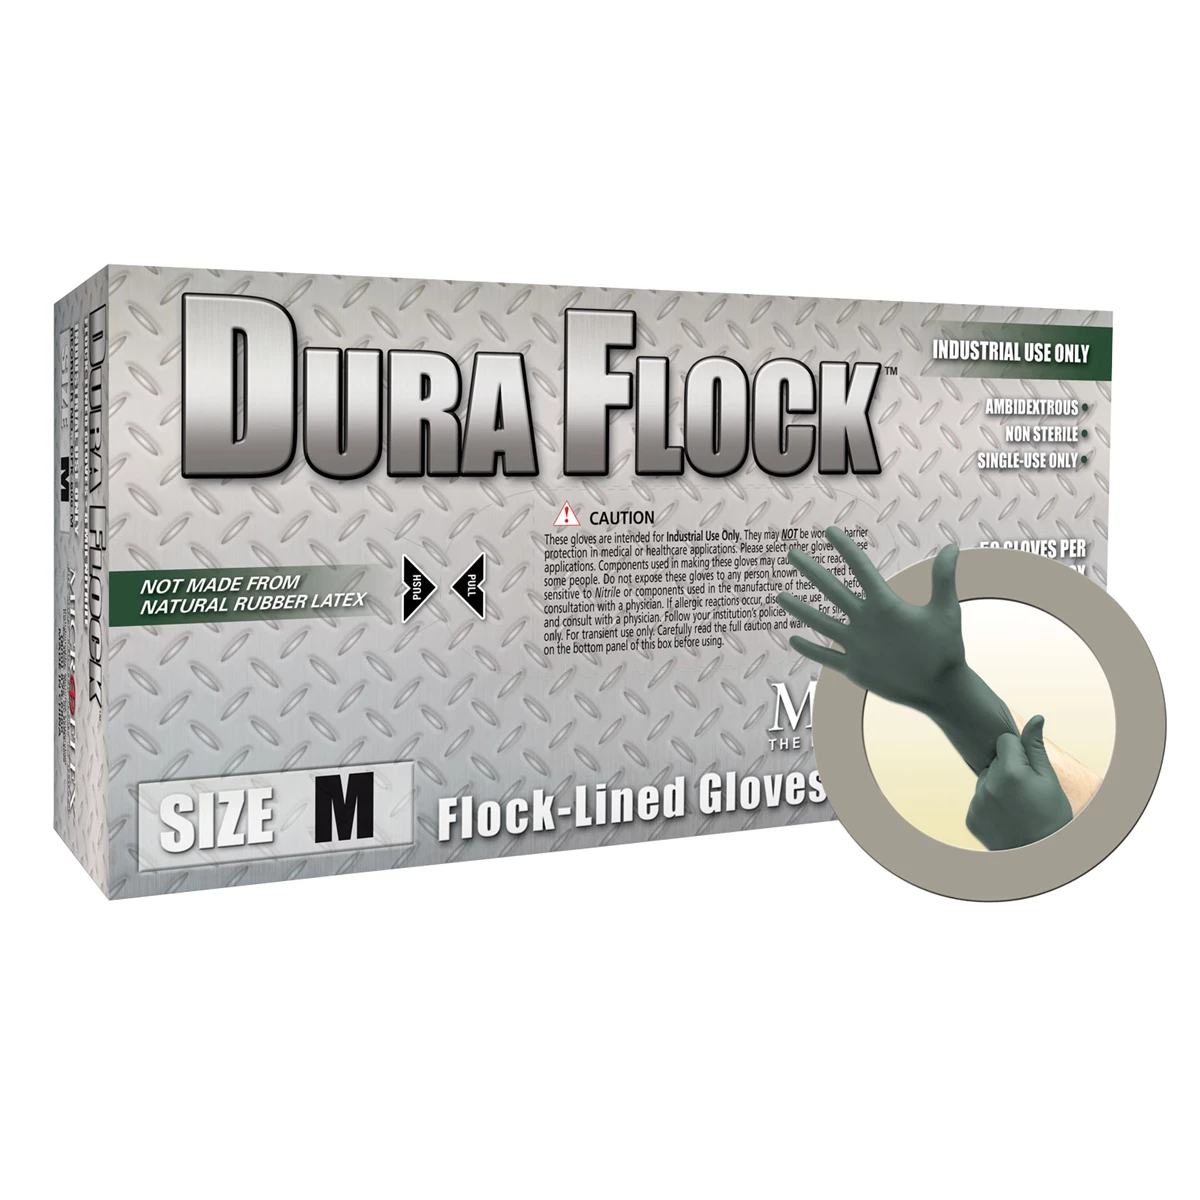
Bare-hand mixing is still common in shops, and it’s the single easiest habit to fix. Standard exam-grade nitrile gloves are fine for mixing and spreading filler — they’re resistant enough to the resin and hardener for the short contact time involved, and they’re cheap enough to go through a box a week without thinking about it. Avoid latex; some techs develop sensitivities over time, and nitrile has better chemical resistance anyway.
A few practical notes from shop floors:
- Go up a thickness grade (6-8 mil) if you’re doing heavy volume — thin 3-4 mil gloves tear at the fingertips from spreader pressure faster than you’d expect.
- Keep a second pair nearby for hardener specifically if you’re catalyzing a large batch by hand — cross-contaminating your glove with hardener before you’ve finished mixing can shorten working time unpredictably.
- Double-gloving isn’t necessary for filler work under normal conditions, but if you have any open cuts or dermatitis-prone skin, it’s a reasonable extra step rather than an overreaction.
- Wash and dry hands after glove removal — resin residue can transfer from the glove cuff to skin during removal.
Skip barrier creams as a substitute for gloves. They reduce contact but don’t stop it, and they can make it harder to get a clean grip on a plastic spreader.
[PRODUCT_SEARCH: nitrile chemical resistant gloves box]
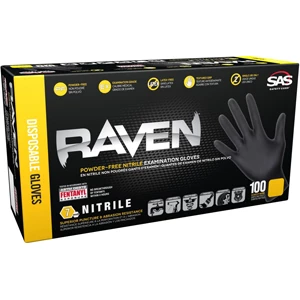
Raven Powder Free Nitrile Latex Free Gloves 50/Box Large
Mfg: SAS Safety Corp
Part #: 66518
Eye and Respiratory Protection During Mixing and Sanding
Safety glasses should go on before the can opens, not after the first splash. Hardener paste is concentrated and stings badly if flicked into an eye during mixing — a quick swipe with a putty knife or spreader edge is enough to send a fleck airborne. Standard ANSI-rated safety glasses are sufficient for mixing and spreading; you don’t need a full face shield unless you’re working overhead or mixing large batches at odd angles.
Respiratory protection matters more once sanding starts. Fresh, uncured filler dust from initial shaping is mostly inert but still shouldn’t be inhaled regularly — a properly fitted N95 or P100 half-mask respirator is the baseline for block sanding sessions. If you’re working in a poorly ventilated bay or doing extended DA sanding on larger panels, step up to a cartridge respirator rated for particulates and step up your dust extraction at the source rather than relying on the mask alone. A shop vac or DA sander with integrated dust collection cuts the ambient particulate load significantly and reduces how hard your PPE has to work.
Don’t reuse a disposable dust mask across multiple days — the seal degrades and the filter media loads up with dust, both of which reduce protection without any obvious sign that it’s happening.
Choosing and Using the Right Spreader for the Job
Spreader selection affects both the finish quality and how much cleanup and rework you’re doing later, which indirectly affects how much filler exposure you’re getting overall. A few practical guidelines:
- Plastic spreaders (3″, 4″, 6″ widths) are the standard for most panel work — flexible enough to follow body contours, cheap enough to be disposable.
- Rigid spreaders or metal-edged squeegees work better for larger flat panels like doors and quarter panels where you want a flatter, more consistent skim coat.
- Keep a range of widths on hand — a 6″ spreader on a small dent wastes material and control; a 3″ spreader on a large panel means more strokes, more seams, and more sanding to blend them out.
- Never scrape hardened filler off a spreader and reuse it mid-mix — cured flecks embedded in fresh filler create pinholes that show up after paint.
- Mix on a non-porous surface (a mixing board or scrap panel, not cardboard) so you’re not fighting contamination from the mixing surface itself.
Work in small batches you can spread within the working time listed on the can — usually 3-5 minutes before gel-up in shop temperatures. Rushing a large batch to beat gel time is a common way gloves get torn and hands get more contact than planned.
Cleanup, Disposal, and Cross-Contamination
Cured filler waste isn’t hazardous in the way wet resin and hardener are, but shops still generate a fair amount of it, and mixing boards, spreaders, and gloves all need a consistent disposal routine rather than getting tossed wherever’s convenient. Let scraped-off excess cure fully on the mixing board before disposal — it’s far easier to handle solid than wet. Wipe down cans and hardener tubes after each use so the threads don’t gum up and become a mess the next tech has to fight with bare hands.
Cross-contamination is the quieter issue: hardener residue on a glove that then touches a clean spreader, a shared mixing stick left in the resin can, or a dirty rag used across multiple jobs. Keeping dedicated mixing sticks per job and wiping tool handles between uses avoids a lot of unnecessary exposure that has nothing to do with the actual repair.
Quick Pre-Application Checklist
- Nitrile gloves on before opening resin or hardener cans
- Safety glasses on before mixing
- Correct spreader width selected for the panel
- Mixing board or scrap panel ready, not cardboard
- N95/P100 respirator staged for the sanding phase
- Dust extraction or shop vac connected before block sanding
- Fresh gloves swapped in if torn or hardener-contaminated
[PRODUCT_SEARCH: auto body filler application and PPE kit]

FAQs
Do I need a respirator just for mixing and spreading filler, or only for sanding?
Mixing and spreading generate minimal airborne particulate, so safety glasses and gloves are the priority there. Respiratory protection becomes necessary once you start sanding, when dust becomes airborne.
Are nitrile gloves really enough, or should I use heavier chemical gloves?
For normal mixing and application contact times, nitrile exam gloves provide adequate resistance. Heavier chemical-resistant gloves are more relevant for prolonged exposure to solvents or strippers, not standard filler work.
What should I do if hardener gets on my skin?
Wash the area with soap and water promptly. It’s a mild irritant for most people rather than a severe hazard, but prompt washing prevents it from sitting on skin during the rest of a shift.
Can I reuse a spreader between jobs?
Plastic spreaders are cheap enough to be treated as disposable per job. Reusing one with cured filler residue risks contaminating a fresh mix and creating surface defects.
How long is body filler’s working time once mixed?
Typically 3-5 minutes at normal shop temperatures, though it varies by brand and hardener ratio. Mixing smaller batches you can fully spread within that window beats rushing a large batch.
Does dust extraction actually reduce how much PPE I need?
It reduces ambient particulate load significantly, which lowers respirator strain and makes mask filters last longer, but it doesn’t replace a properly fitted respirator during active sanding.
Essential PPE for Filler Work
Nitrile gloves, safety glasses, and respiratory protection are the core items covered in this guide. See what’s available in Shop Safety and Apparel.
- Chemical-resistant nitrile gloves in multiple thicknesses
- ANSI-rated safety glasses and full face shields
- N95, P100, and cartridge respirators for particulate and vapor protection

The Toolsource Technical Team blends decades of real-world automotive service experience with up-to-date technical research. Our writers collaborate with professional mechanics, shop owners, and diagnostic specialists to deliver practical, workshop-ready guidance you can trust.


Follow us on social media