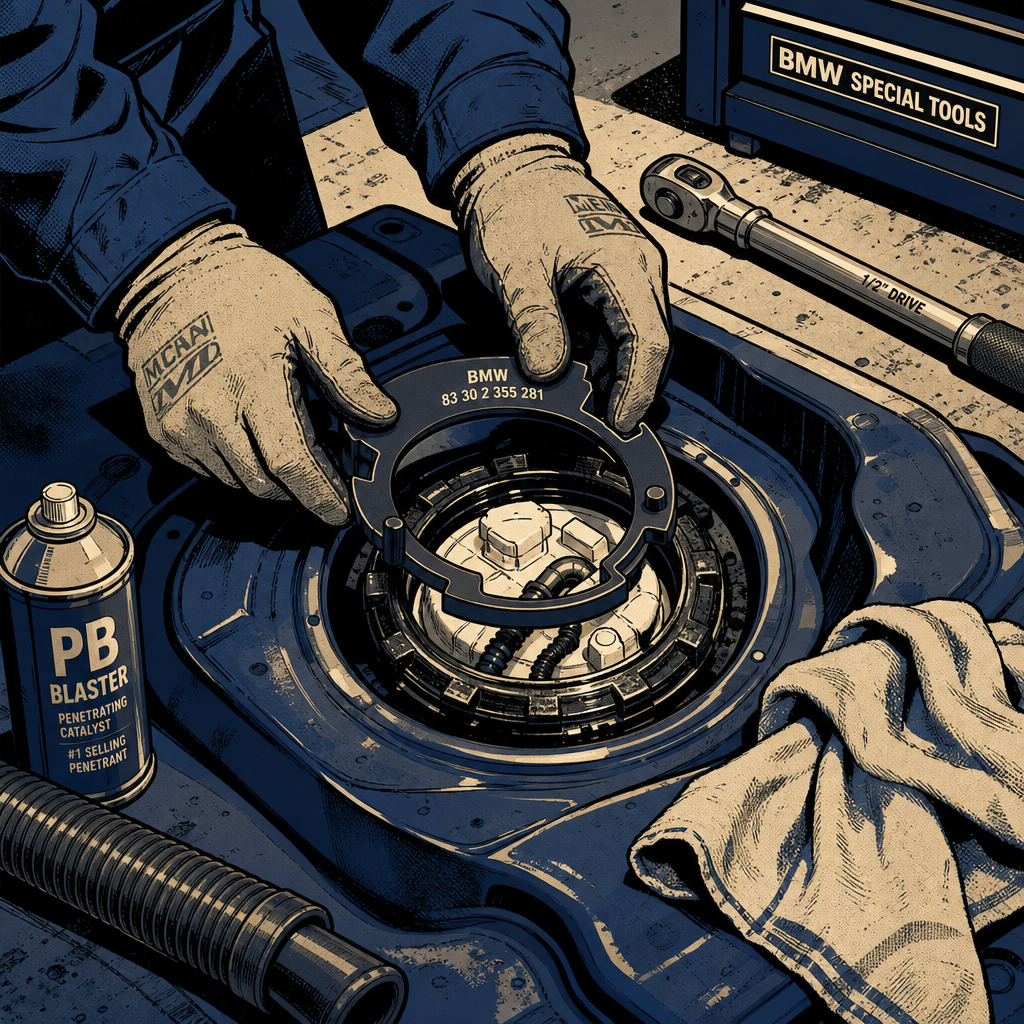
The BMW fuel pump replacement job has earned a reputation among technicians, but much of the difficulty comes down to preparation and tool selection rather than inherent design flaws. A properly executed lock ring removal takes 10-15 minutes. The two-hour version happens when debris, corrosion, and improvised tools turn a straightforward task into a frustrating battle. This guide breaks down the critical prep steps and techniques that experienced technicians use to remove fuel pump lock rings cleanly on the first attempt.
Why BMW Fuel Pump Lock Rings Seize and Fail
BMW transitioned from bolted fuel pump covers with steel tanks to plastic tanks with threaded lock rings starting after the E38 generation. The plastic ring design accounts for varying fuel tank pressure and eliminates the rust-belt problem of broken studs that once totaled vehicles when replacement tanks became unavailable. However, the plastic ring system introduces its own challenges.
The lock ring sits exposed to road debris, moisture, and temperature cycles. Over years of service, dirt packs into the threads and around the ring’s castellated edges. The six to eight small tabs that accept removal tools become brittle. When penetrating oil isn’t applied or debris isn’t cleared, even the correct tool can shear off these tabs, forcing technicians to resort to hammers and chisels.
The ring itself operates dry—there’s no oil bath or sealed environment protecting the threads. This means that whatever road grime settles around the fuel filler area works its way into the interface between ring and tank. Combined with the thermal expansion and contraction of plastic components, you get a mechanical bond that resists removal without proper preparation.
Critical Preparation Before Touching the Lock Ring
The difference between a clean removal and a damaged ring comes down to preparation work that happens before any tool contacts the lock ring. Experienced technicians spend more time on prep than on actual removal.
Start by thoroughly cleaning the entire area around the lock ring. Use a shop vacuum to remove loose debris from the cavity and around all electrical connectors and fuel lines. A quality vacuum is essential here—if your shop vac is struggling, address that before starting the job. After vacuuming, blow out the area with compressed air, paying special attention to the space between the lock ring teeth and the recessed areas where debris accumulates.
Once the visible debris is cleared, inspect the lock ring for the small notched tabs that the removal tool engages. Count them and verify they’re intact. Apply penetrating oil generously to the entire ring interface, focusing on the threads. Let it sit for at least 30 minutes—experienced techs often apply penetrating oil at the end of one day and return to the job the next morning. For severely corroded rings, multiple applications over several days may be necessary.
Before any fuel line disconnection, spray all electrical connectors and hose fittings with lubricant. These connections, particularly the fuel line quick-disconnect at the pump, become brittle and prone to breaking. The plastic nipple on the pump assembly is a known failure point, and replacements aren’t always on hand. Taking five minutes to lubricate and gently work these connections can save hours of waiting for parts.


Selecting the Correct Fuel Pump Lock Ring Tool
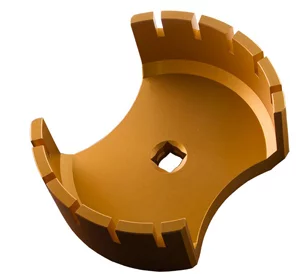
The most common mistake is attempting removal without the manufacturer-specific tool. Generic options exist in the $16-80 range, and the investment pays for itself on the first use. The correct tool engages six of the lock ring’s castellated tabs and features a center hole for a half-inch drive ratchet or breaker bar.
When selecting a tool, verify it matches your specific BMW model and year. Fuel pump assemblies vary across the lineup, and ring dimensions aren’t universal. Some technicians keep multiple sizes in their toolkit, particularly in shops that service a range of BMW models.
Avoid makeshift solutions. Long screwdrivers and hammers can work on rings that haven’t seized, but they concentrate force on individual tabs rather than distributing it across multiple engagement points. This increases the likelihood of shearing tabs and creating the exact situation you’re trying to avoid. Brass punches and wooden blocks similarly focus impact force rather than applying even rotational torque.
For the initial break-free moment, a breaker bar provides better control than an impact wrench. Once the ring moves, switch to a ratchet for controlled removal. Some technicians report success with gentle heat application using a heat gun—never an open flame near fuel vapors—to expand the plastic ring slightly before attempting removal.
Step-by-Step Lock Ring Removal Technique
With preparation complete and the correct tool in hand, the actual removal follows a specific sequence. First, relieve fuel system pressure according to BMW service procedures—typically by removing the fuel pump fuse and running the engine until it stalls. Disconnect the battery negative terminal to eliminate any spark risk.
Position the lock ring tool so it engages all available tabs evenly. Visual confirmation of engagement prevents the tool from slipping and damaging tabs mid-rotation. Attach your breaker bar or ratchet and apply steady counterclockwise pressure. The initial break-free requires firm pressure, but if you’re approaching the point of tool flexion or tab deformation, stop and reapply penetrating oil.
Once the ring breaks free, remove the breaker bar and switch to a ratchet for controlled rotation. Keep one hand on the ring itself to feel for binding or cross-threading. If rotation becomes difficult, stop and check for debris in the threads or incomplete penetrating oil saturation. The ring should turn smoothly once the initial seal breaks.
As the ring lifts free, watch for the fuel pump assembly rising with it. Some designs have the pump attached to the ring assembly, while others separate. Have a clean rag ready to catch any fuel spillage and immediately cover the open tank to minimize vapor exposure. Inspect the ring threads and the tank threads for damage, debris, or deformation that could complicate reinstallation.
Quick Pre-Job Checklist for Fuel Pump Lock Ring Removal
- Shop vacuum in working condition for debris removal
- Compressed air gun for thorough cavity cleaning
- Penetrating oil applied 30+ minutes before removal (overnight preferred)
- Correct lock ring tool verified for specific BMW model
- Breaker bar and ratchet with half-inch drive
- Lubricant for electrical connectors and fuel line fittings
- Spare fuel pump assembly or fuel line nipple on hand
- Fuel system pressure relieved per service manual
- Battery negative terminal disconnected
- Clean rags and appropriate fuel spill containment
Common Mistakes and How to Avoid Them
The most frequent error is underestimating preparation time. Technicians familiar with other manufacturers’ bolt-down pump covers often expect BMW’s ring system to behave similarly. Rushing into removal without adequate cleaning and penetrating oil application leads directly to sheared tabs and damaged rings.
Using spark-producing tools near fuel vapors represents a serious safety violation. Hammers, steel chisels, and any impact tool that could generate sparks should never contact the lock ring while fuel vapors are present. Even with the pump removed and the tank open to atmosphere, vapor concentration in the work area remains a hazard. Brass tools reduce spark risk, but proper ventilation and vapor control are non-negotiable.
Another common issue is forcing stuck fuel line connections. The quick-disconnect fittings and the pump’s fuel nipple both fail frequently when forced. If a connection doesn’t release with moderate pressure after lubrication, additional penetrating oil and time are required. Having a spare pump assembly or at minimum a replacement nipple prevents the job from extending by days while waiting for parts.
Failing to clean debris from the tank cavity before reinstallation introduces contamination directly into the fuel system. After removing the old pump, vacuum the tank opening thoroughly and inspect for sediment or rust particles. This is also the time to check the tank itself for damage, particularly on plastic tanks where impact or age-related cracking can occur.
When to Consider Alternative Approaches
Some vehicles present access challenges that make the standard top-down removal difficult. While many BMW models allow fuel pump service without dropping the tank—a significant advantage over designs that require full tank removal—clearance issues with seats, interior panels, or body structure can complicate access.
In cases where the lock ring tabs are already damaged from a previous repair attempt, you face a decision point. Technicians have reported success carefully applying heat to expand the ring while using modified tools to grip the ring body rather than the tabs. This requires extreme caution to avoid fuel vapor ignition and plastic deformation that prevents proper resealing.
For severely compromised rings, replacement is the only safe option. Operating a fuel system with a damaged or improperly sealed lock ring creates leak paths and potential fire hazards. When parts availability or cost becomes a factor in the repair decision, document the condition thoroughly and present options to the customer with clear safety implications.
If you encounter a ring that won’t budge despite proper preparation and tooling, stop and reassess. Additional penetrating oil time, careful inspection for hidden fasteners or retention features, and consultation with model-specific service information can reveal details that aren’t obvious from general BMW experience.

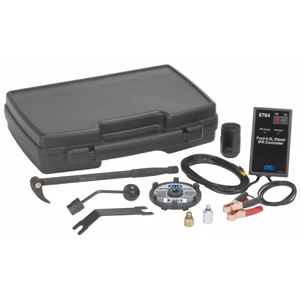
Ford 6.0L Diesel Service Tool Kit - OTC 6770
Mfg: OTC Tools and Equipment
Part #: 6770
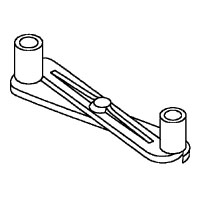
Ford Fuel Line Disconnect Tool T93T-9550-AH
Mfg: OTC Tools and Equipment
Part #: 310-052
Frequently Asked Questions
Can I remove a BMW fuel pump lock ring without the special tool?
While technically possible using screwdrivers or punches, it significantly increases the risk of damaging the plastic tabs on the ring. The special tool distributes force across multiple engagement points and typically costs $16-80, making it a worthwhile investment that pays for itself in time saved and parts not broken.
How long should I let penetrating oil sit before attempting removal?
Minimum 30 minutes for light corrosion, but overnight soaking produces better results on vehicles with years of debris accumulation. For severely seized rings, multiple applications over 2-3 days may be necessary. The prep time investment prevents damaged rings and sheared tabs.
Why did BMW switch from bolted covers to lock rings?
The lock ring design eliminates the rust-belt problem where frozen studs would break during removal, sometimes totaling vehicles when replacement tanks became unavailable. The plastic tank and ring system also better accommodates fuel tank pressure variations and reduces manufacturing cost compared to the older steel tank designs.
What’s the most common part that breaks during BMW fuel pump removal?
The plastic fuel line nipple on the pump assembly itself frequently breaks when removing the quick-disconnect fuel line. Always lubricate this connection and work it gently. Many experienced technicians keep a spare pump assembly on hand specifically because of this failure point.
Is it safe to use heat on a plastic fuel pump lock ring?
A heat gun (not torch or open flame) can be used carefully to expand the plastic ring slightly, but only with proper vapor control and ventilation. Never use open flame or spark-producing tools near fuel system components. Most technicians find that proper penetrating oil application eliminates the need for heat.
How do I know if my lock ring is too damaged to reuse?
Inspect the tabs for cracks or missing sections, check the threads for stripping or deformation, and verify the sealing surface is flat and undamaged. Any compromise to the structural integrity or sealing capability requires replacement. An improperly sealed fuel pump creates leak and fire hazards that aren’t worth the cost savings of reusing a damaged ring.
Recommended Tools
A properly equipped fuel system toolkit makes the difference between a clean 15-minute removal and a two-hour ordeal. The Automotive Fuel System Tools category stocks the specialized equipment needed for BMW fuel pump service and similar precision fuel system work.
- Lock ring removal tools sized for your BMW model
- Penetrating oils and lubrication products for stubborn connections
- Fuel system pressure gauges and diagnostic equipment

The Toolsource Technical Team blends decades of real-world automotive service experience with up-to-date technical research. Our writers collaborate with professional mechanics, shop owners, and diagnostic specialists to deliver practical, workshop-ready guidance you can trust.


Follow us on social media