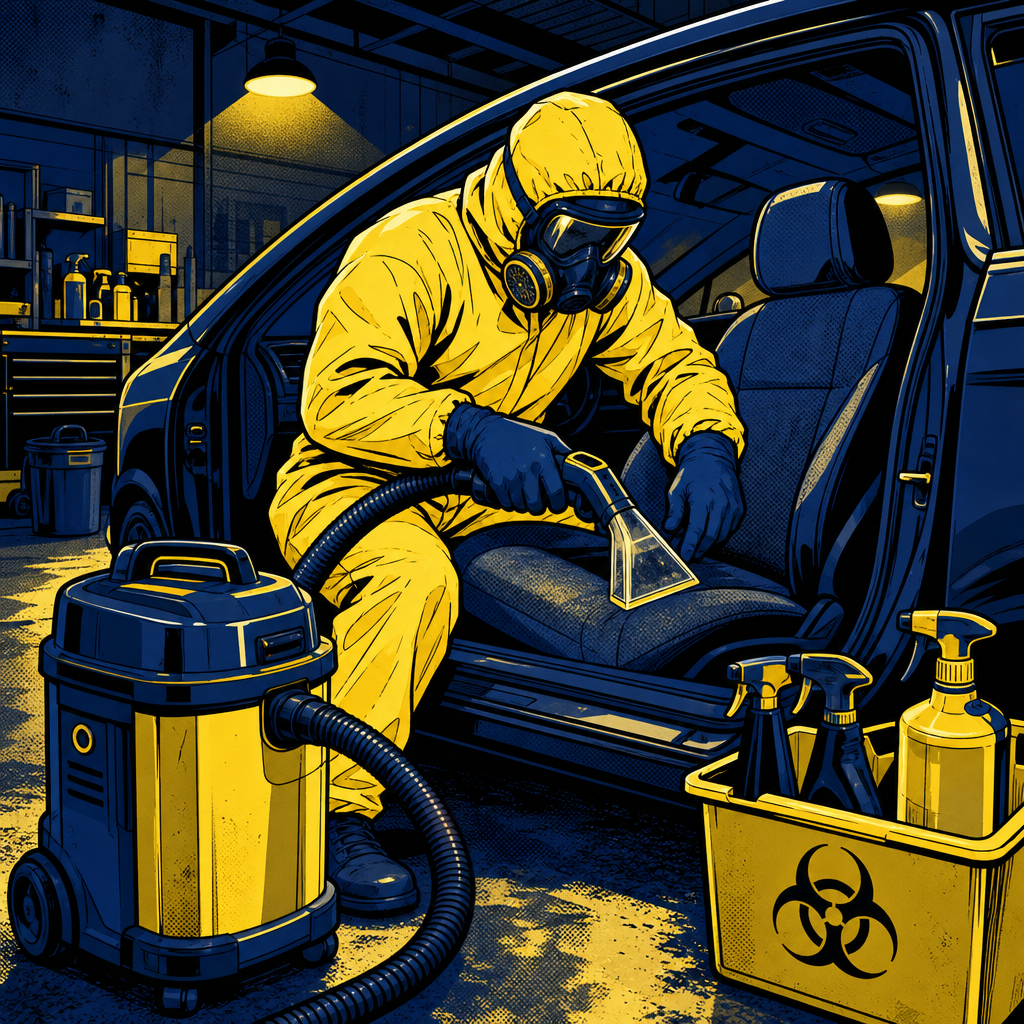
Every professional detailer eventually faces a job that tests their resolve: a vehicle interior contaminated with vomit, blood, or other bodily fluids. These biohazard situations require a completely different approach than standard detailing work. Whether the contamination resulted from a medical emergency, chemotherapy side effects, or simple overindulgence, the cleanup demands proper protective equipment, specialized cleaning agents, and a realistic assessment of whether the job is even salvageable. This guide covers the technical protocols, safety requirements, and business considerations for handling biohazard vehicle detailing—including when it’s appropriate to refuse the work entirely.
Recognizing Biohazard Contamination and Safety Risks
Biohazard contamination in vehicles falls into distinct categories that determine your approach and risk level. Vomit represents the most common scenario, ranging from isolated incidents to complete interior saturation across multiple seats and surfaces. Blood and bodily fluids present higher infection risks, particularly when the source is unknown. Urine and feces, often found in vehicles used by elderly or ill individuals, create persistent odor challenges beyond the visible contamination.
Before accepting any biohazard job, conduct a thorough initial assessment. Document the extent of contamination with photographs from multiple angles—this protects you legally and justifies your pricing. Identify all affected surfaces including seats, carpets, headliners, door panels, center consoles, and HVAC vents. Check whether fluids have penetrated into seat foam, carpet padding, or the vehicle’s subflooring. Once contamination reaches these layers, successful remediation becomes exponentially more difficult.
Understand the health risks you’re accepting. Vomit can contain infectious agents including norovirus, hepatitis A, and various bacterial pathogens. If the contamination is more than 48 hours old, bacterial growth accelerates significantly. Dried vomit becomes airborne when disturbed, creating inhalation risks. Blood can transmit bloodborne pathogens including hepatitis B, hepatitis C, and HIV. Never assume a biohazard job is safe simply because it looks manageable—the microscopic threats are what matter.
Essential PPE and Workspace Preparation
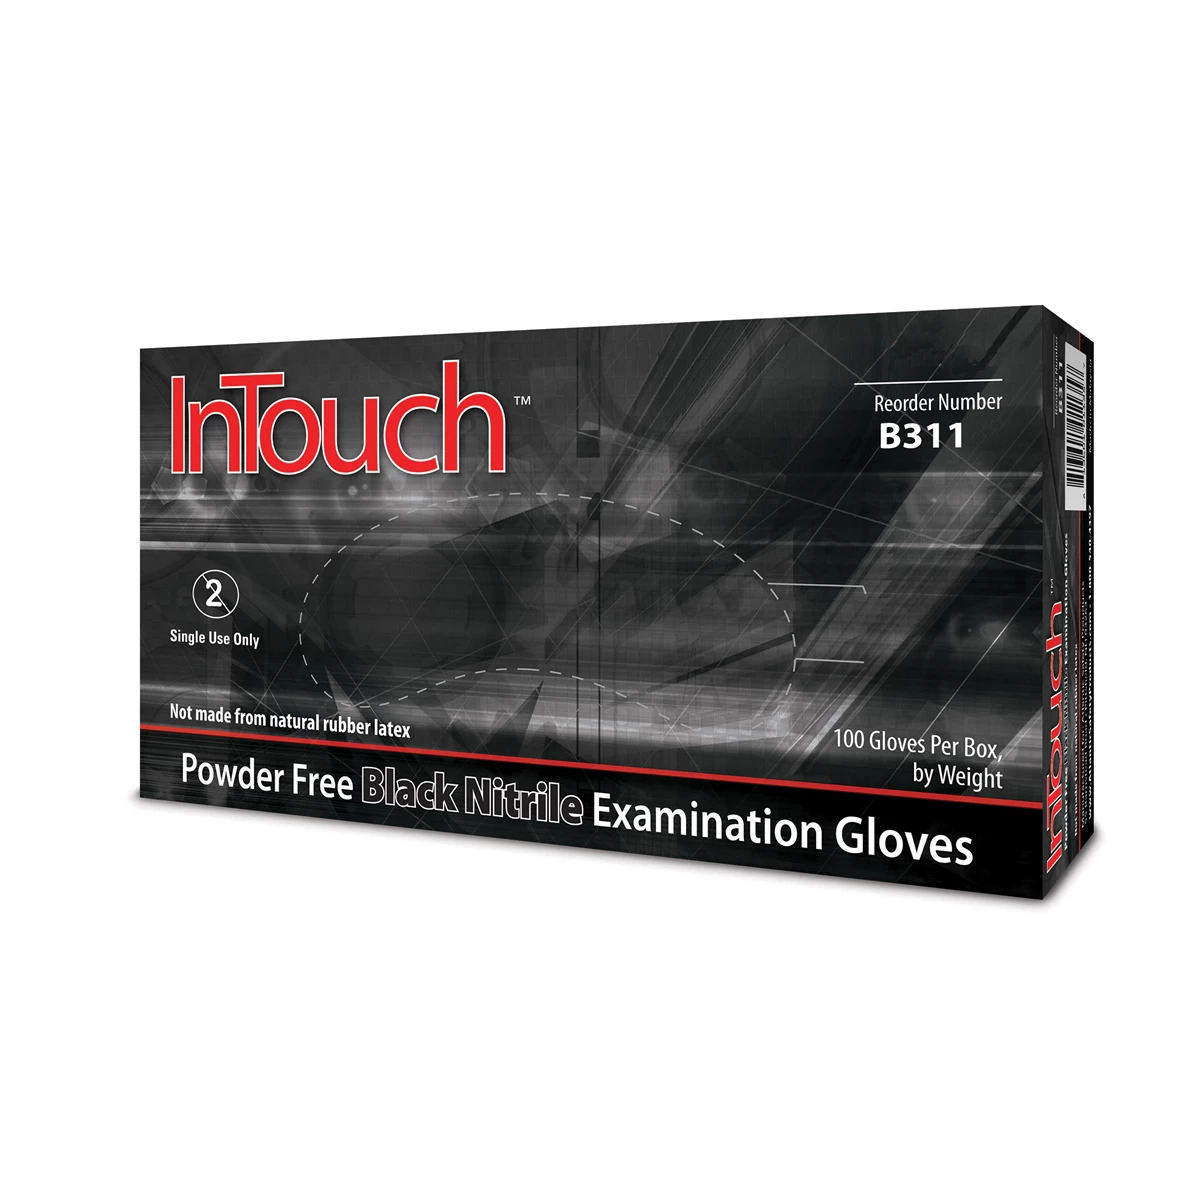
Small Intouch black nitrile glove Powder Free Exam 6MIL
Mfg: Atlantic Safety Products
Part #: B311-S
XL Intouch black nitrile glove Powder Free Exam 6MIL
Mfg: Atlantic Safety Products
Part #: B311-XL
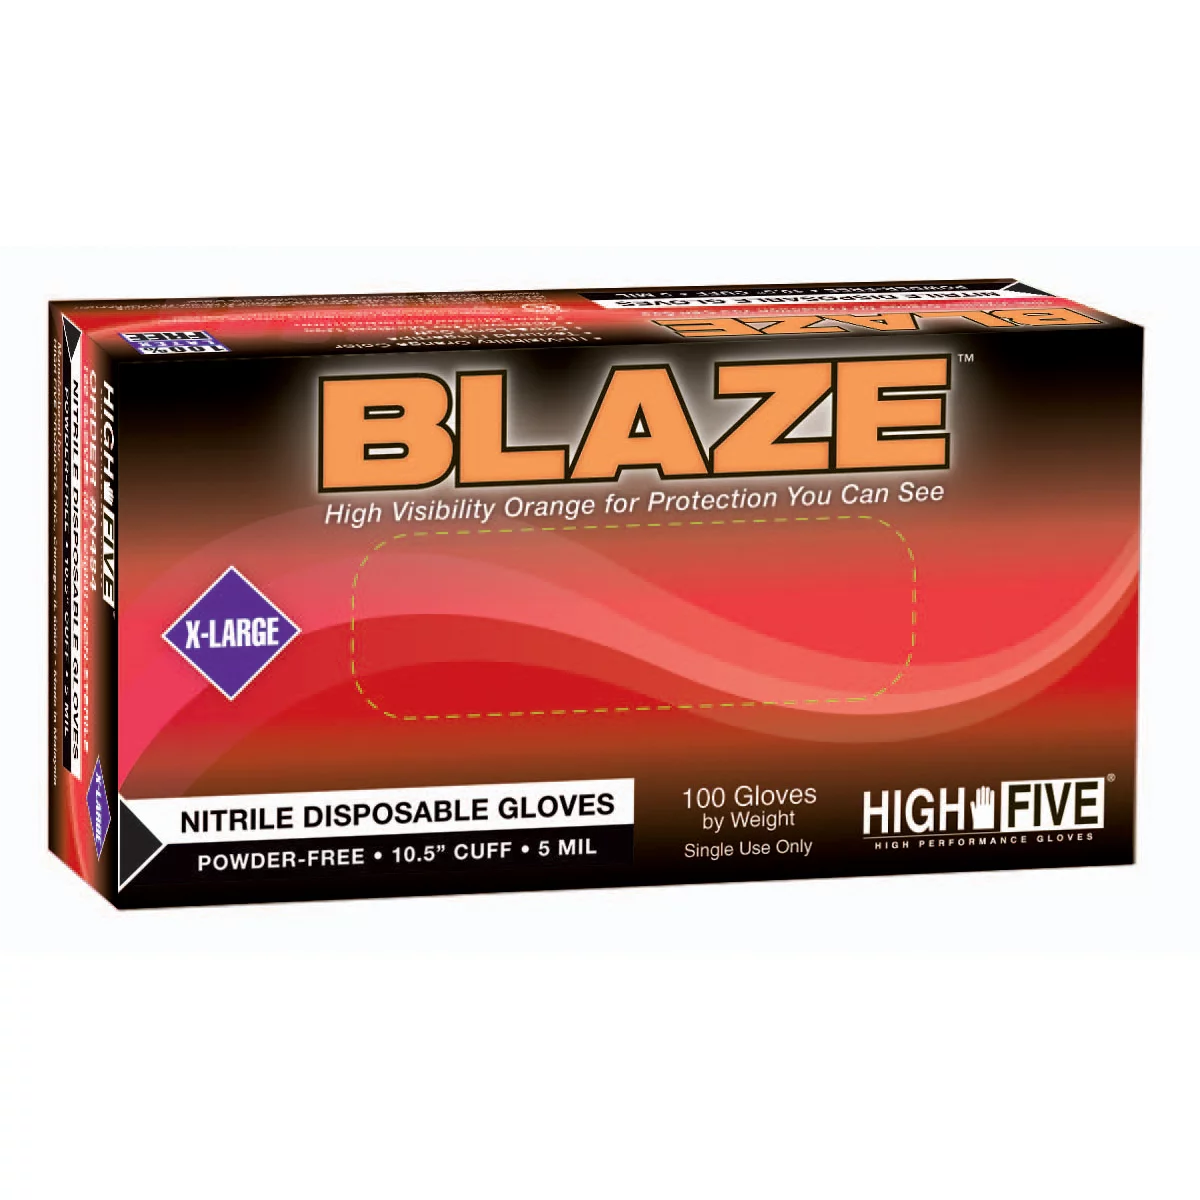
Personal protective equipment is non-negotiable for biohazard work. Start with nitrile gloves rated for chemical resistance—standard latex gloves offer insufficient protection against cleaning agents and potential punctures. Double-gloving provides an additional safety margin, allowing you to remove the outer contaminated layer without complete re-gloving. Use disposable Tyvek coveralls or a dedicated work apron that you can disinfect or discard after the job. Footwear should be rubber boots that can be thoroughly sanitized, not your regular shop shoes.
Respiratory protection depends on contamination severity. For fresh vomit in well-ventilated areas, an N95 respirator provides adequate protection against airborne particles and reduces odor exposure. For dried contamination that will become airborne during removal, or for jobs in enclosed spaces, upgrade to a half-face respirator with P100 filters and organic vapor cartridges. The combination filters protect against both particulates and the chemical vapors from your cleaning agents. Safety goggles or a full face shield prevent splashes from reaching your eyes and face during pressure washing or extraction.
Prepare your workspace to contain contamination and facilitate disposal. Work outdoors or in a well-ventilated bay with floor drains whenever possible. Place plastic sheeting under and around the vehicle to catch runoff and debris. Set up a dedicated staging area for contaminated materials separate from your clean equipment. Prepare multiple heavy-duty biohazard disposal bags before you begin—once you start the job, you don’t want to be searching for bags with contaminated gloves. Have a handwashing station or sanitizer readily accessible, and establish a clear protocol for removing PPE to avoid cross-contamination.
Removal and Initial Decontamination Process
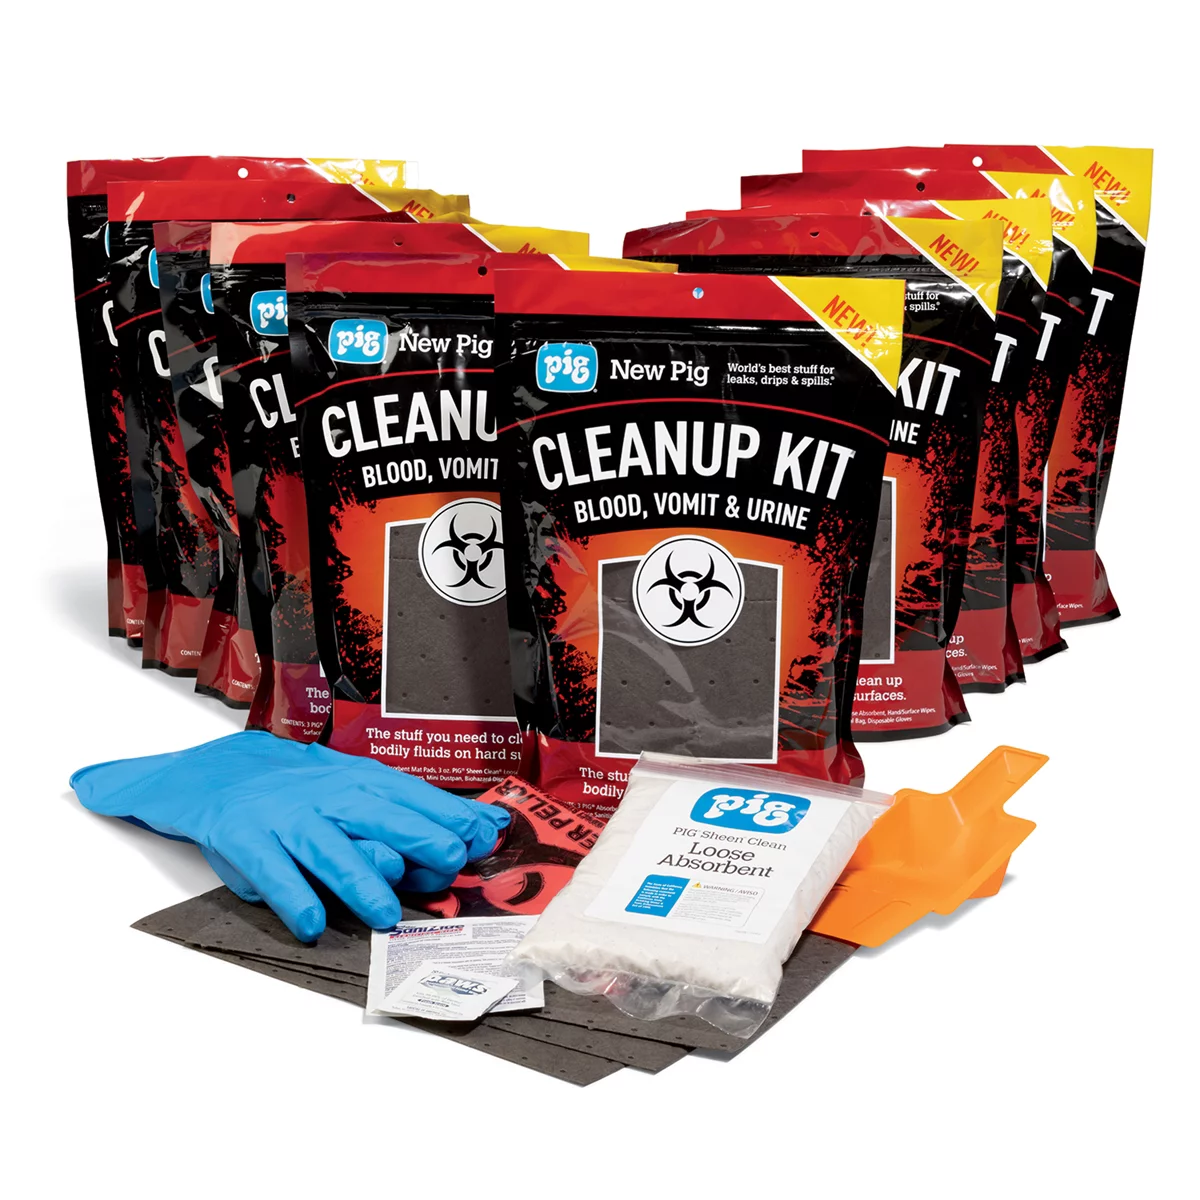
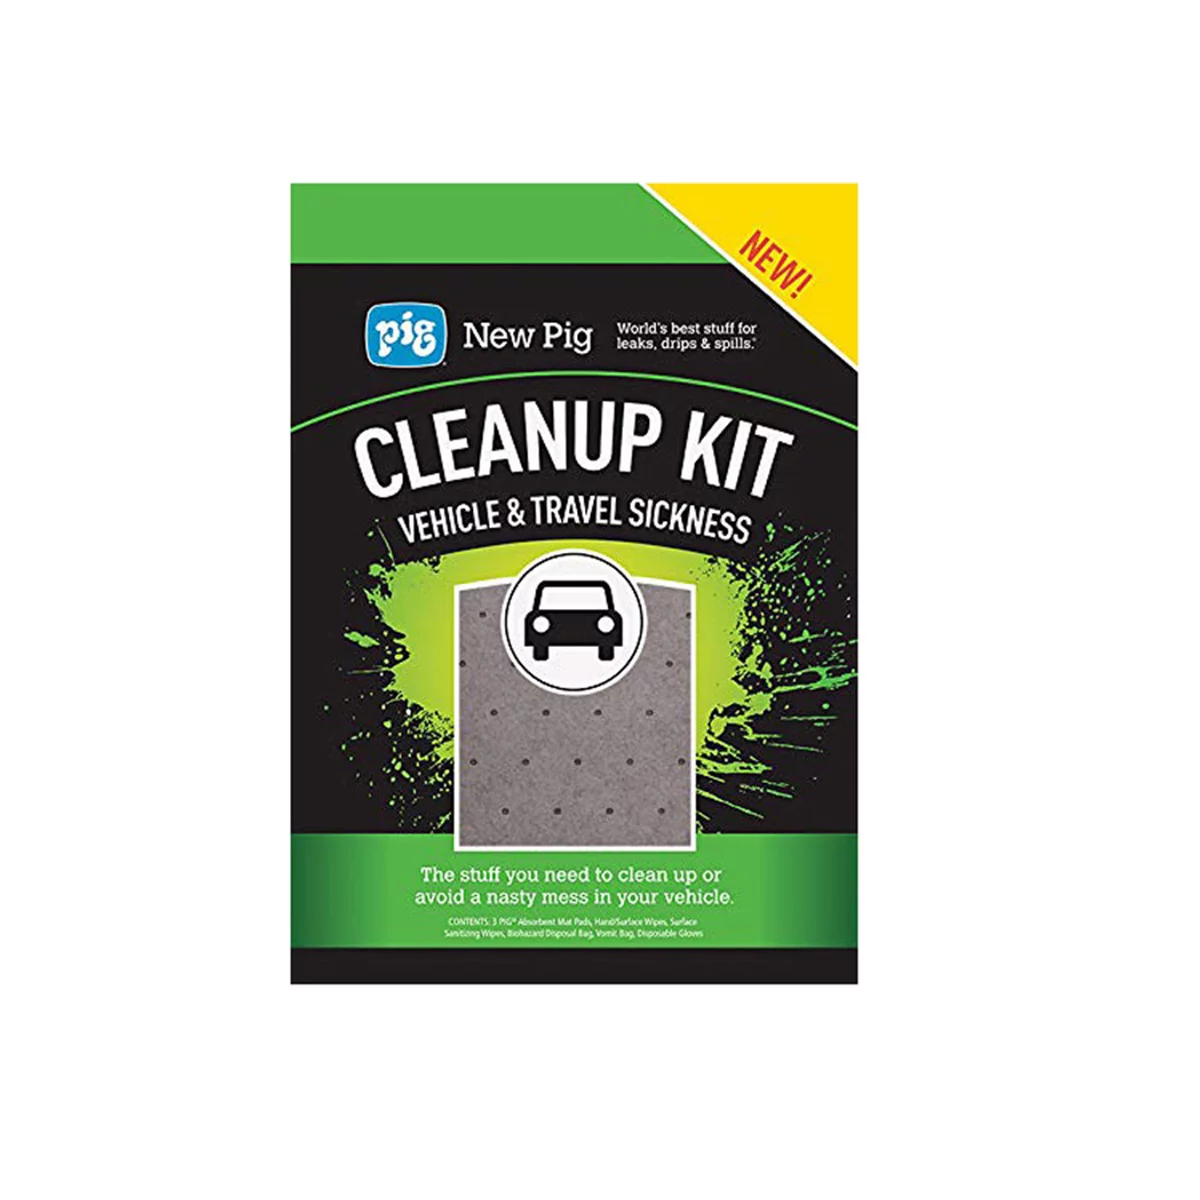
Begin with gross contamination removal before introducing any liquids. Use disposable scrapers, putty knives, or gloved hands to remove solid matter and deposit it directly into biohazard bags. For dried vomit, avoid aggressive scraping that creates airborne particles—instead, mist the area lightly with water to rehydrate the material enough for safer removal. Remove floor mats entirely and assess whether they’re salvageable; severely contaminated mats often cost less to replace than to remediate properly.
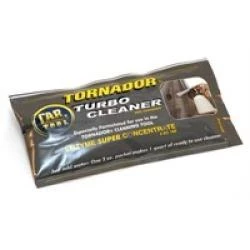
Apply an enzyme-based cleaner immediately after gross removal. Enzymatic cleaners break down organic proteins in vomit, blood, and other bodily fluids at a molecular level—standard all-purpose cleaners merely move contamination around. Saturate all affected areas thoroughly, ensuring the enzyme solution penetrates into seams, stitching, and any porous materials. Allow the enzyme cleaner to dwell for the manufacturer’s recommended time, typically 10-15 minutes. For contamination that has penetrated into foam or padding, injection through the upholstery fabric ensures the enzyme reaches the source of the odor.
Extract the enzyme solution using a hot water extractor with strong suction capability. Make multiple passes, working from the least contaminated areas toward the most heavily soiled sections to avoid spreading contamination. Use clean water for rinsing passes, continuing until the extracted water runs clear. For seats with extensive foam contamination, consider drilling small holes in the seat bottom to allow trapped fluids to drain—this technique is invasive but sometimes necessary for complete remediation. After extraction, use high-velocity air movers to accelerate drying and prevent mold growth in damp foam and padding.
Sanitization and Odor Elimination Strategies
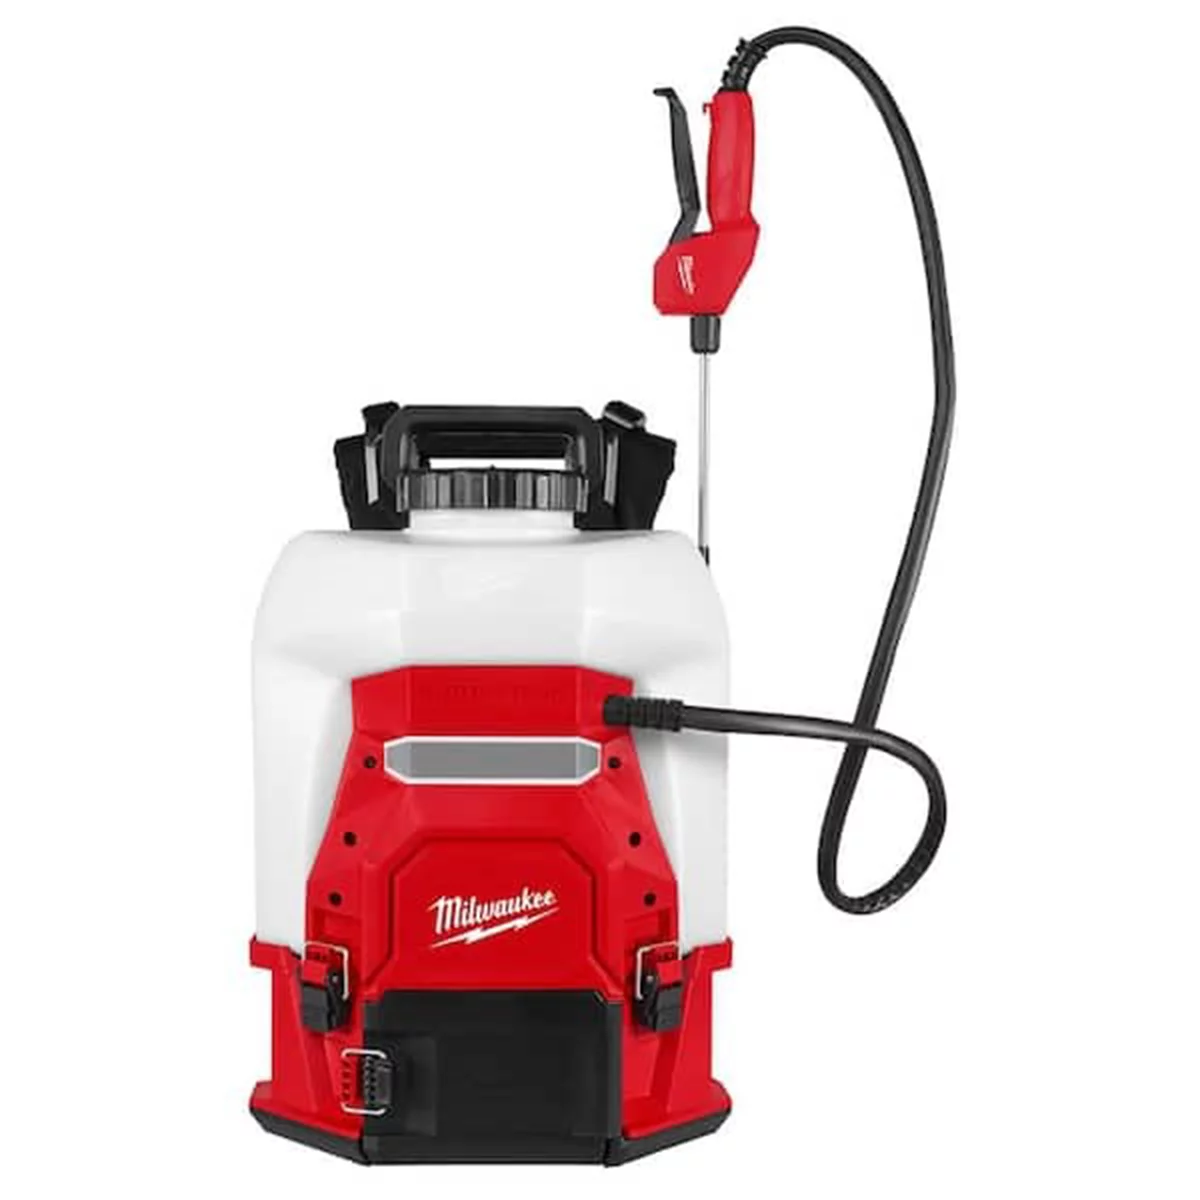
Milwaukee Tool M18 4-Gallon Backpack Sprayer w/ SWITCH TANK
Mfg: Milwaukee Electric Tools
Part #: 3019-20PS

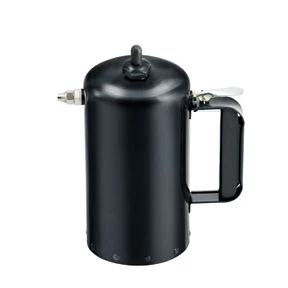
Milwaukee Sprayer® B8000PL - Sure Shot™ 16 oz. Aluminum Atomizer
Mfg: Milwaukee Sprayer - Sure Shot
Part #: B8000PL
After removing visible contamination, the sanitization phase begins. Apply a hospital-grade disinfectant approved for automotive interiors, ensuring compatibility with your upholstery materials. Quaternary ammonium compounds provide broad-spectrum antimicrobial action without the corrosiveness of bleach-based products. Spray all hard surfaces including plastic trim, seatbelt buckles, center consoles, and door handles. For fabric surfaces, choose a disinfectant specifically formulated for porous materials that won’t leave residue or cause discoloration.
Address odor at the molecular level using multiple technologies. Ozone generators effectively eliminate organic odors by oxidizing odor molecules, but require removing the vehicle from your workspace and allowing the ozone to dissipate completely before re-entry. Run the ozone generator for 30 minutes to 2 hours depending on contamination severity, then ventilate thoroughly for at least 2 hours. Chlorine dioxide is an alternative oxidizing treatment that doesn’t require vacating the space and penetrates materials more effectively than ozone. Follow manufacturer protocols precisely—these are powerful oxidizers that require careful handling.
Use activated charcoal or baking soda for passive odor absorption during the drying phase. Place open containers of either material inside the vehicle overnight, allowing them to absorb remaining odor molecules. Replace the cabin air filter as a final step—contaminated HVAC systems often reintroduce odors even after thorough interior cleaning. If vomit entered the HVAC system, use a fogger designed for automotive air conditioning systems to treat the evaporator core and ducting. Some odors, particularly from contamination that reached subflooring or seat frame structures, may never fully resolve—be honest with customers about this possibility before accepting payment.
Equipment Decontamination and Disposal Protocols
Your extraction machine, hoses, and tools become contaminated during biohazard work and require thorough decontamination before use on another vehicle. Flush your extractor’s entire system with hot water containing enzymatic cleaner, running it through the pump, hoses, and wand. Follow with a disinfectant rinse, then a final clear water flush. Remove and disinfect the recovery tank separately, scrubbing all internal surfaces. Extractor heads and upholstery tools should be soaked in disinfectant solution for the manufacturer’s recommended contact time, typically 10 minutes minimum.
Brushes, scrapers, and other hand tools require individual attention. Disposable items like plastic scrapers and cheap brushes should be bagged and thrown away rather than attempting to sanitize them—the cost of replacement is minimal compared to the time investment in cleaning. For reusable tools, scrub thoroughly with hot soapy water, then disinfect with quaternary ammonium solution. Air dry completely before returning tools to your clean equipment area. Segregate biohazard job tools from your primary detailing equipment if you handle these jobs frequently.
Dispose of contaminated materials according to local regulations. Biohazard waste regulations vary by jurisdiction—some areas allow bagged biohazard materials in regular trash if properly contained, while others require certified biohazard waste pickup. Contact your local waste management authority or health department for specific requirements. Never dump contaminated wash water into storm drains; if your facility lacks proper drainage, you may need to capture and dispose of wash water separately. Document your disposal methods as part of your business records in case questions arise later.
Pricing Biohazard Work and Setting Boundaries
Biohazard detailing commands premium pricing reflecting the health risks, specialized equipment, additional time requirements, and equipment decontamination overhead. Calculate your base rate, then apply multipliers based on contamination severity. Minor isolated incidents might warrant a 50-100% premium over standard interior detailing. Moderate contamination affecting multiple surfaces typically justifies 2-3 times your standard rate. Severe cases like the entire interior examples detailers encounter should start at $1,000-$2,000 minimum, with some jobs reaching $3,000-$5,000 depending on your market and the work required.
Consider implementing a non-refundable assessment fee for biohazard consultations. Charge $50-$100 to evaluate the vehicle and provide a written estimate, then credit this toward the final price if the customer proceeds. This fee compensates you for the time spent on assessment and deters customers who are merely price shopping without serious intent. Include clear disclaimers in your estimate: specify that pricing assumes contamination hasn’t penetrated structural areas, note that some odors may persist despite best efforts, and outline what results you can reasonably guarantee versus what remains uncertain until work begins.
Establish clear policies on which jobs you’ll refuse. Some situations aren’t worth the money, health risk, or reputational exposure. Vehicles with contamination that has reached subflooring or structural components often require professional remediation beyond detailing scope—refer these to dedicated biohazard cleanup companies. Jobs where the customer shows no willingness to pay appropriate rates should be declined immediately. If a customer becomes hostile about pricing or tries to downplay obvious biohazard conditions, that’s a red flag. You have the absolute right to refuse service, and sometimes that’s the most professional choice you can make.
Biohazard Detailing Checklist
- Photograph entire interior from multiple angles before beginning work
- Don full PPE: double nitrile gloves, Tyvek coveralls, N95 or P100 respirator, safety goggles
- Set up plastic sheeting and biohazard disposal bags in work area
- Remove gross contamination with scrapers and disposable tools
- Apply enzymatic cleaner to all affected surfaces; allow 10-15 minute dwell time
- Extract thoroughly with hot water extractor until water runs clear
- Apply hospital-grade disinfectant to all surfaces
- Deploy air movers for accelerated drying
- Run ozone generator or chlorine dioxide treatment for odor elimination
- Replace cabin air filter
- Decontaminate all equipment with enzymatic cleaner followed by disinfectant
- Dispose of contaminated materials according to local regulations
- Document completed work with after photos
Frequently Asked Questions
Can I use bleach to disinfect vomit-contaminated upholstery?
Bleach is an effective disinfectant but typically too harsh for automotive upholstery. It can cause discoloration, weaken fabric fibers, and damage foam backing. Use quaternary ammonium disinfectants or hydrogen peroxide-based cleaners formulated for automotive use instead. These provide adequate antimicrobial action without the material damage risks bleach presents.
How long does vomit odor typically persist after professional cleaning?
With proper enzymatic cleaning, extraction, and oxidizing treatment, most vomit odors resolve within 48-72 hours as the vehicle fully dries. However, contamination that penetrated seat foam, carpet padding, or subflooring may produce intermittent odors for weeks or months, particularly in hot weather. Setting realistic expectations with customers before beginning work protects you from disputes over results.
What should I charge for cleaning a vehicle with extensive vomit contamination?
Pricing depends on your market and contamination severity, but $1,000-$2,000 represents a reasonable starting point for extensive multi-surface contamination. Factor in 4-8 hours of labor, specialized cleaning agents, PPE costs, equipment decontamination time, and the health risks you’re accepting. Don’t underprice biohazard work—customers who won’t pay appropriate rates should be referred elsewhere.
Is special licensing required to perform biohazard vehicle cleaning?
Requirements vary by jurisdiction. Some areas classify vehicle biohazard cleaning as a detailing service requiring only standard business licensing. Others mandate bloodborne pathogen training, biohazard certification, or specific waste handling permits. Contact your local health department and business licensing office to determine your area’s requirements. Even where not legally required, bloodborne pathogen training through OSHA or similar programs provides valuable knowledge and demonstrates professionalism.
When should I refuse a biohazard detailing job?
Refuse jobs where contamination has penetrated to subflooring or structural components, as these require professional remediation beyond detailing scope. Decline work where the customer won’t pay appropriate rates or shows hostile behavior about pricing. If you lack proper PPE, adequate ventilation, or experience with similar contamination levels, referring the customer to a more qualified provider is the ethical choice. You have the right to refuse any job that exceeds your capabilities or comfort level.
How do I prevent cross-contamination between biohazard jobs and regular detailing work?
Maintain separate tools and equipment for biohazard work when possible, or implement rigorous decontamination protocols after every biohazard job. Flush extractors completely with enzymatic cleaner and disinfectant before returning them to general use. Schedule biohazard work at the end of your day so you can thoroughly clean your workspace and equipment before handling other vehicles. Never reuse shop towels, pads, or brushes from biohazard jobs on subsequent vehicles—the contamination risk isn’t worth the savings.
Recommended Safety Equipment
Biohazard vehicle detailing demands proper personal protective equipment to manage health risks safely. Invest in quality Shop Safety and Apparel designed for contamination work, including chemical-resistant nitrile gloves, Tyvek coveralls, respirators, and safety goggles.
- Double-gloving and disposable coveralls for contamination control
- N95 and P100 respirators for airborne particle and vapor protection
- Face shields and safety goggles to prevent splashes and direct contact
Recommended Safety Products for Biohazard Cleaning
When dealing with biohazard cleanup, having the right protective equipment is essential. Our Shop Safety and Apparel category offers professional-grade gear designed to keep you safe during challenging cleaning tasks.
- Heavy-Duty Protective Gloves: Nitrile and latex options rated for hazardous material handling
- Respiratory Protection: N95 masks, respirators, and cartridge filters to minimize exposure
- Full-Body Protective Apparel: Disposable coveralls, aprons, and protective suits for comprehensive coverage

The Toolsource Technical Team blends decades of real-world automotive service experience with up-to-date technical research. Our writers collaborate with professional mechanics, shop owners, and diagnostic specialists to deliver practical, workshop-ready guidance you can trust.


Follow us on social media