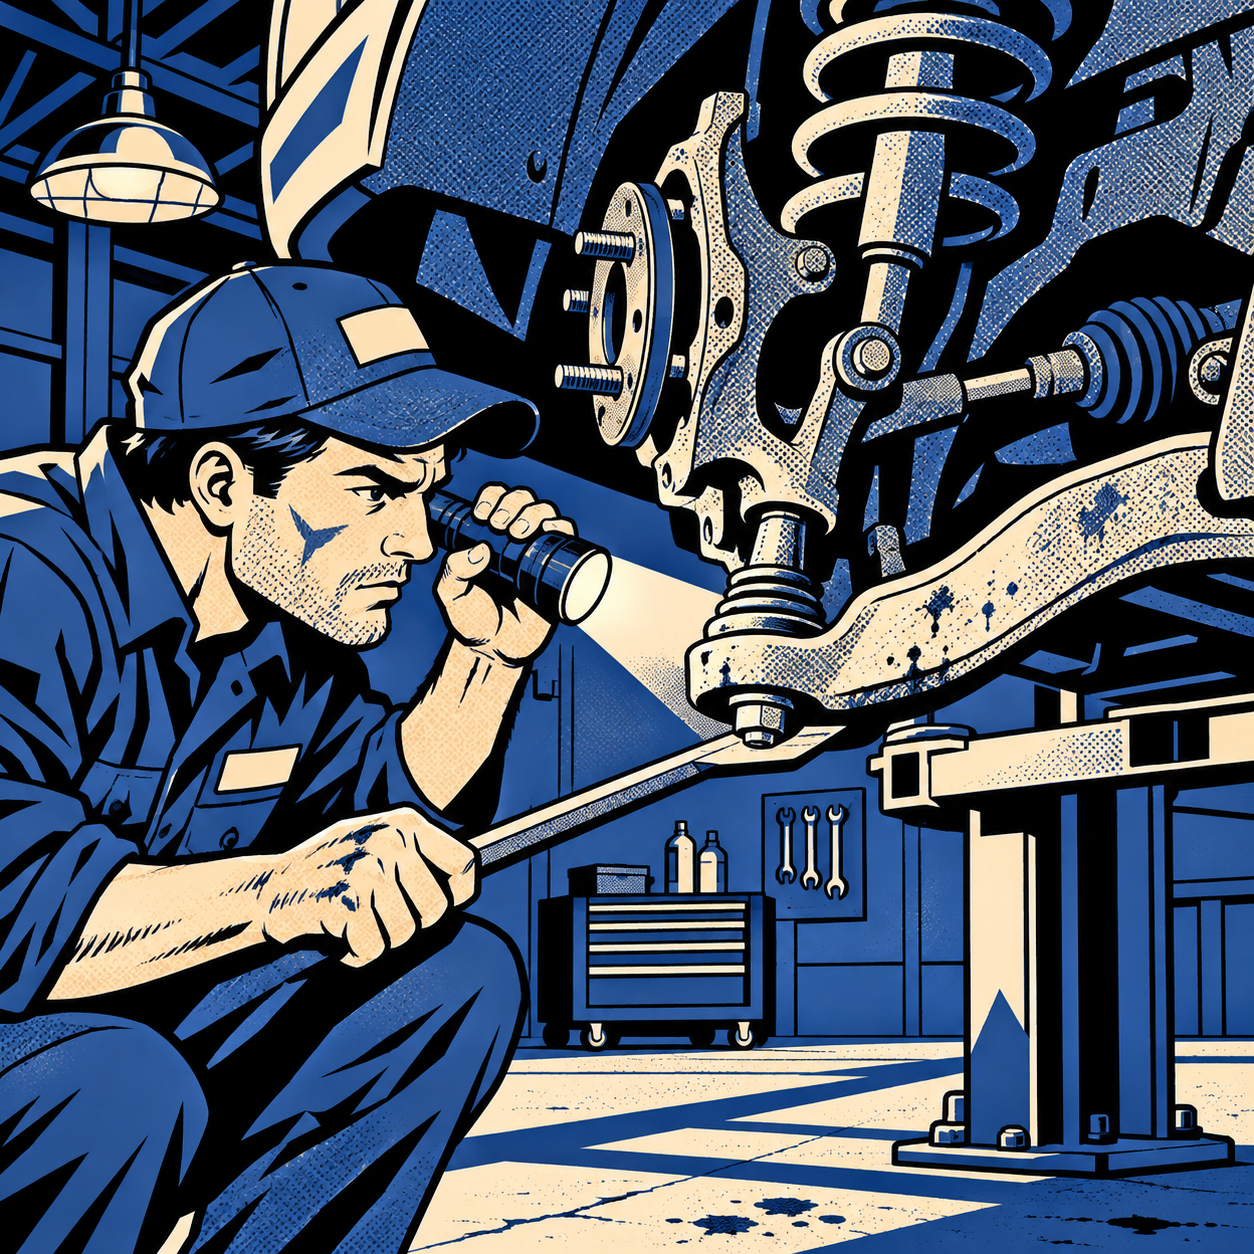
A car rolls in on a flatbed or limps onto the lot with a shredded tire and a gouge in the rim, and the customer’s request is simple: “just the tire, please.” Any tech who’s been around a curb-strike case knows that request is usually the start of a much longer conversation. A tire and wheel absorb the first hit, but the impact travels straight up through the suspension and steering, and what looks like cosmetic curb rash can be hiding a torn ball joint, a snapped control arm, or a bent knuckle. This guide covers how to inspect for that hidden damage systematically, which components fail most often, and how to document and communicate findings so the repair order matches the actual problem instead of the customer’s wish list.
Why the Tire Is Rarely the Whole Story
A hard curb or K-rail strike loads the wheel assembly sideways and vertically at the same time, which is a loading direction none of the suspension components are designed for. The tire and rim take the visible abuse—sidewall tears, bead damage, gouged rim flanges—but the energy doesn’t stop there. It transfers through the hub, into the lower control arm and ball joint, up through the strut or shock, and often into the tie rod and rack. On a vehicle with aluminum or composite control arms, a strike that only scuffs the rim can still snap an arm at its weakest casting point. On trucks and SUVs with heavier unsprung mass, the same hit can tear a ball joint stud out of the knuckle or crack the knuckle itself.
The practical takeaway: treat every curb strike, pothole impact, or “I hit something” complaint as a full front-end inspection, not a tire swap. Set that expectation with the customer before you even get the car on the lift.
Running a Systematic Post-Impact Inspection
Work from the ground up and outside in so nothing gets skipped:
Tire and wheel: Check for sidewall bulges, bead separation, and rim flange gouges. A wheel that “held air” after a hit isn’t necessarily safe—check it for out-of-round and cracks, and don’t reuse a wheel with visible bead damage.
Ball joints: With the suspension unloaded (or loaded, depending on design—check service info for upper vs. lower load-carrying joints), check for play by hand and with a pry bar. Listen for clicking during a dry-park test with the wheels turned lock to lock. A joint that’s been impacted can look intact but have a cracked boot or a stud that’s already partially pulled from its taper.
Control arms: Visually inspect bushings, the arm casting itself, and mounting points for cracks or deformation. Aluminum and composite arms don’t bend like steel—they crack or snap, and a hairline crack near a bushing eye or ball joint boss is easy to miss without good lighting and a flashlight at a low angle.
Steering components: Check tie rod ends for torn boots and play, and inspect the rack for leaks or a bent inner tie rod, which shows up as uneven steering feel or a clunk on turn-in.
Struts/shocks and mounts: Look for a bent shock body, a leaking seal, or a damaged upper mount—these get overlooked because they don’t fail catastrophically on the spot.
Subframe and knuckle: On a hard enough hit, check the knuckle for cracks around the ball joint boss and the subframe for creases or shifted mounting bolts.
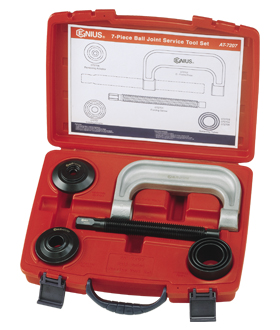
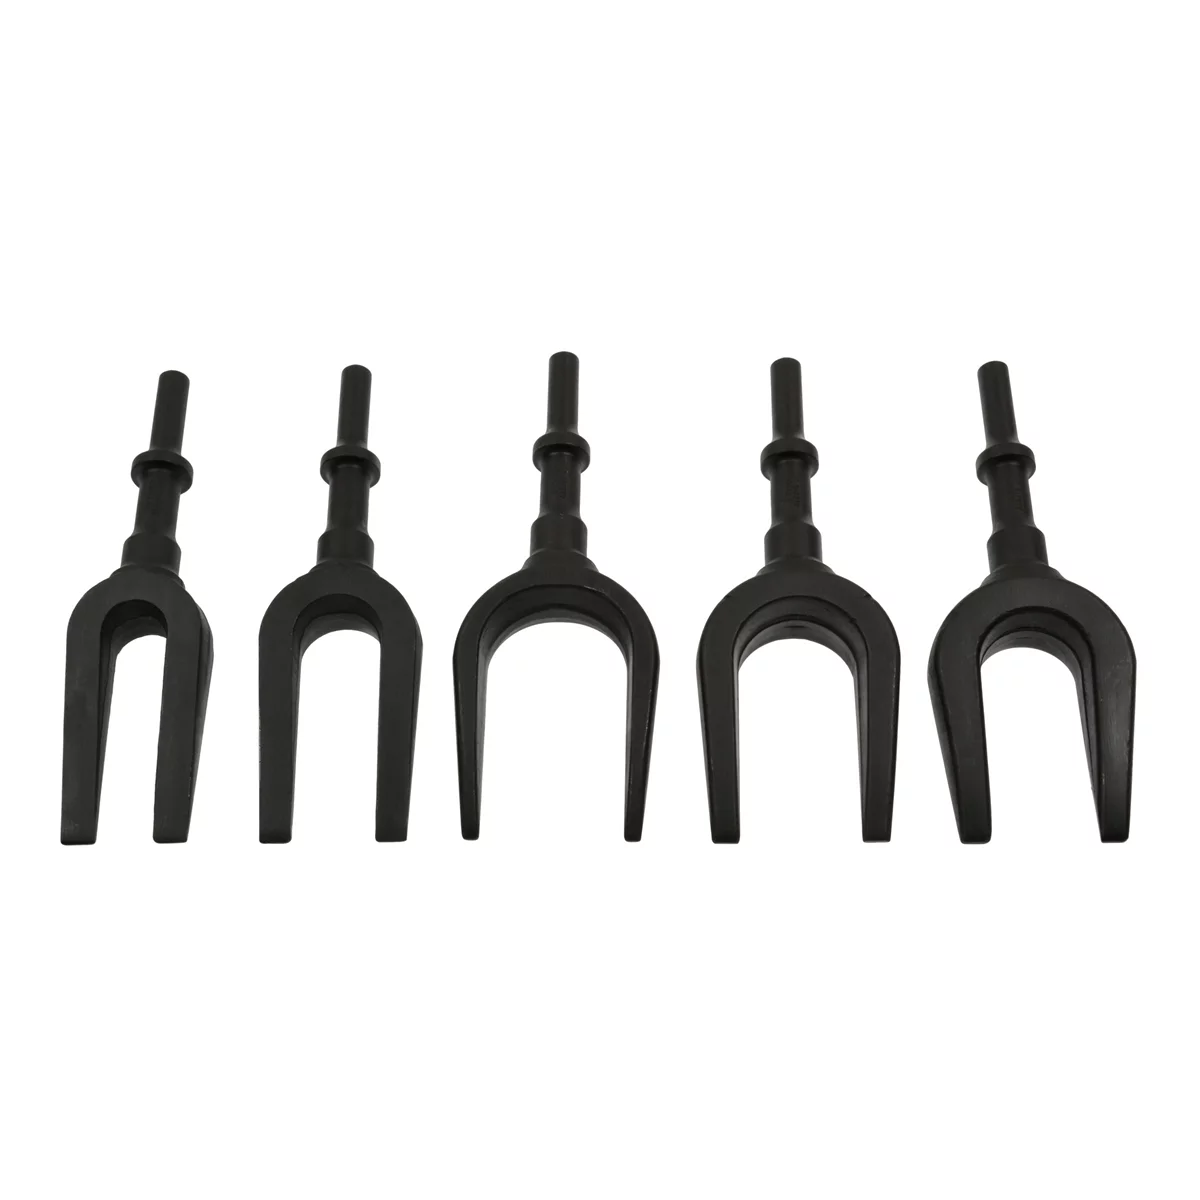
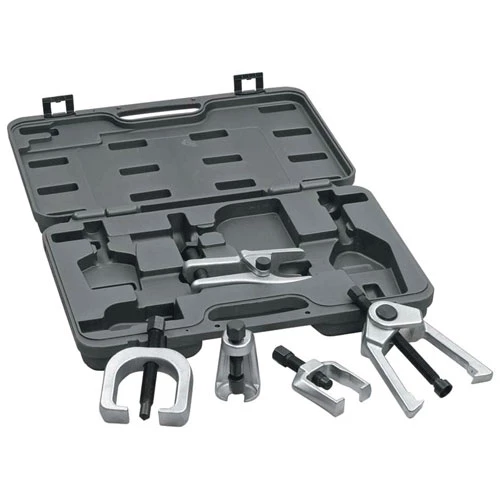
[PRODUCT_SEARCH: ball joint press and separator tool set]

The Components That Fail Most Often—and Why
Lower control arms and lower ball joints take the brunt of a curb strike because they’re closest to the point of impact and carry the vehicle’s weight. On many modern crossovers and trucks, the lower control arm is a single-piece stamped or cast unit with the ball joint pressed or molded in, so damage to one often means replacing the whole arm rather than just the joint. Sway bar end links are a common secondary casualty—cheap to replace but easy to miss because the symptom (a clunk over bumps) can be dismissed as “normal road noise.”
On vehicles with independent rear suspension, don’t assume the damage is strictly front-end if the impact had any lateral component, such as sliding sideways into a curb rather than hitting it head-on. A full walk-around and a test drive (when safe) listening for clunks on turns, bumps, and braking will catch issues a static inspection misses.
Brake components deserve a specific check too: a control arm failure or ball joint separation can drop the rotor onto the caliper or stretch the brake hose, and a torn CV boot or damaged axle is common on the same side as the impact.
Quick Post-Impact Inspection Checklist
- Tire/wheel: sidewall, bead, and rim flange damage; wheel runout check
- Ball joints: play check, boot condition, dry-park clunk test
- Control arms: visual crack/deformation check at bushing eyes and ball joint bosses
- Tie rods and rack: boot condition, play, leaks, bent inner rod
- Struts/shocks: bent body, leaking seal, mount condition
- Knuckle and subframe: cracks, creases, shifted bolts
- Brake lines, hoses, and rotor/caliper clearance on the impacted side
- CV axle and boot on the impacted side
- Post-repair: four-wheel alignment before the car leaves the lot
Documenting Damage and Managing the Conversation
The gap between what a customer wants and what the vehicle needs is where most disputes start. Photograph everything before touching the car—wide shots of the damage location, close-ups of each failed or suspect component, and anything pre-existing (like a spare tire with old damage) so it’s not attributed to the current incident. Write the estimate in plain language tied to safety: “lower control arm is fractured at the ball joint boss—this is a load-bearing part and the wheel can separate from the vehicle while driving” lands differently than a parts list.
When a customer pushes back and insists on “just the tire,” put the refusal or acknowledgment in writing. A signed waiver that documents the diagnosed safety issue, the recommended repair, and the customer’s decision to decline protects the shop and makes clear this isn’t a judgment call—it’s a documented hazard. Many shops will still refuse to release a vehicle that’s unsafe to drive regardless of what’s signed; know your shop’s policy and your state’s regulations on this before the conversation happens, not during it.
For the technician, the goal isn’t to upsell—it’s to make sure the diagnosis matches the actual condition of the vehicle. A full inspection report with photos turns “the shop is trying to get more money out of me” into “here’s exactly what’s broken and why it matters.”
When to Involve Insurance or Decline the Repair
If the damage resulted from a collision—hitting a curb, K-rail, or pothole hard enough to cause structural suspension failure—this is often an insurance claim, not an out-of-pocket repair, especially when the repair estimate starts climbing past a couple thousand dollars across control arms, tie rods, a knuckle, and an alignment. Flag this for the customer early; a documented estimate with photos is exactly what an adjuster needs.
Decline the repair, or at minimum refuse to release the vehicle without a signed waiver, when the damage directly threatens wheel retention or steering control and the customer only wants a partial fix. A tire that’s structurally fine mounted on a vehicle with a cracked control arm is not a vehicle any shop should feel good about handing back the keys to.
[PRODUCT_SEARCH: front end suspension and steering repair tools]
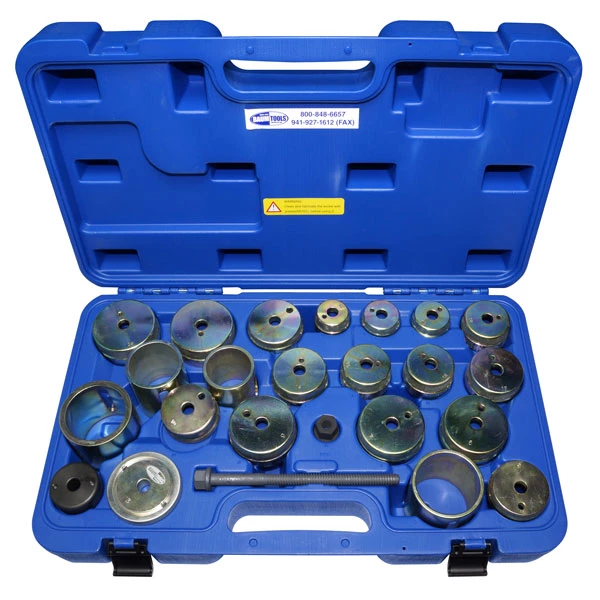
Mercedes Front Lower Control Arm Bushing Kit PLUS
Mfg: Baum Tools
Part #: B220-0643PLUS

FAQs
Can a vehicle really drive on a torn ball joint or cracked control arm for a while before failing completely?
Sometimes, yes—brake lines and other components can temporarily hold a hub in place even after a ball joint separates—but this is unpredictable and can fail suddenly, often with total loss of steering or wheel separation. It should never be treated as a safe interim condition.
How can I tell the difference between a bent rim from a pothole and curb-strike suspension damage?
Pothole impacts are usually vertical and tend to bend the rim or damage the sidewall without much lateral loading. Curb strikes add a lateral component that stresses control arms and ball joints sideways—check for play and cracking even if the rim damage looks minor.
Do aluminum or composite control arms fail differently than steel ones?
Yes. Steel arms tend to bend before breaking, which can be visually obvious. Aluminum and composite arms are more likely to crack or snap cleanly at a casting’s weak point, sometimes with little visible deformation, so a careful visual and tactile inspection matters more.
Is an alignment enough after replacing a damaged control arm or ball joint?
An alignment is necessary but not sufficient on its own—it should follow, not substitute for, a full inspection of every component in the load path (knuckle, tie rods, subframe mounts). Skipping straight to alignment without checking for cracks elsewhere risks missing a second failure point.
What’s the best way to protect the shop if a customer insists on a partial repair?
Document the diagnosis with photos, write the safety concern in plain language on the estimate, and get a signed acknowledgment or waiver if your shop’s policy allows release of the vehicle. Some shops choose not to release a vehicle at all when a safety-critical component is confirmed failed.
Should curb-strike suspension damage go through insurance?
Often yes, particularly when multiple front-end components are involved. A documented estimate with photos supports a claim; let the customer know this is an option early so they’re not deciding under financial pressure to accept a partial, unsafe repair.
Recommended Tools for Suspension Inspection
A thorough post-impact inspection requires the right diagnostic and service tools. Our Tire Tools, Wheels & Suspension selection includes ball joint separators, suspension service tools, and tire equipment for proper diagnosis and repair.
- Ball joint presses and separators for diagnostic work
- Control arm and tie rod service tools
- Tire and wheel inspection and service equipment

The Toolsource Technical Team blends decades of real-world automotive service experience with up-to-date technical research. Our writers collaborate with professional mechanics, shop owners, and diagnostic specialists to deliver practical, workshop-ready guidance you can trust.


Follow us on social media