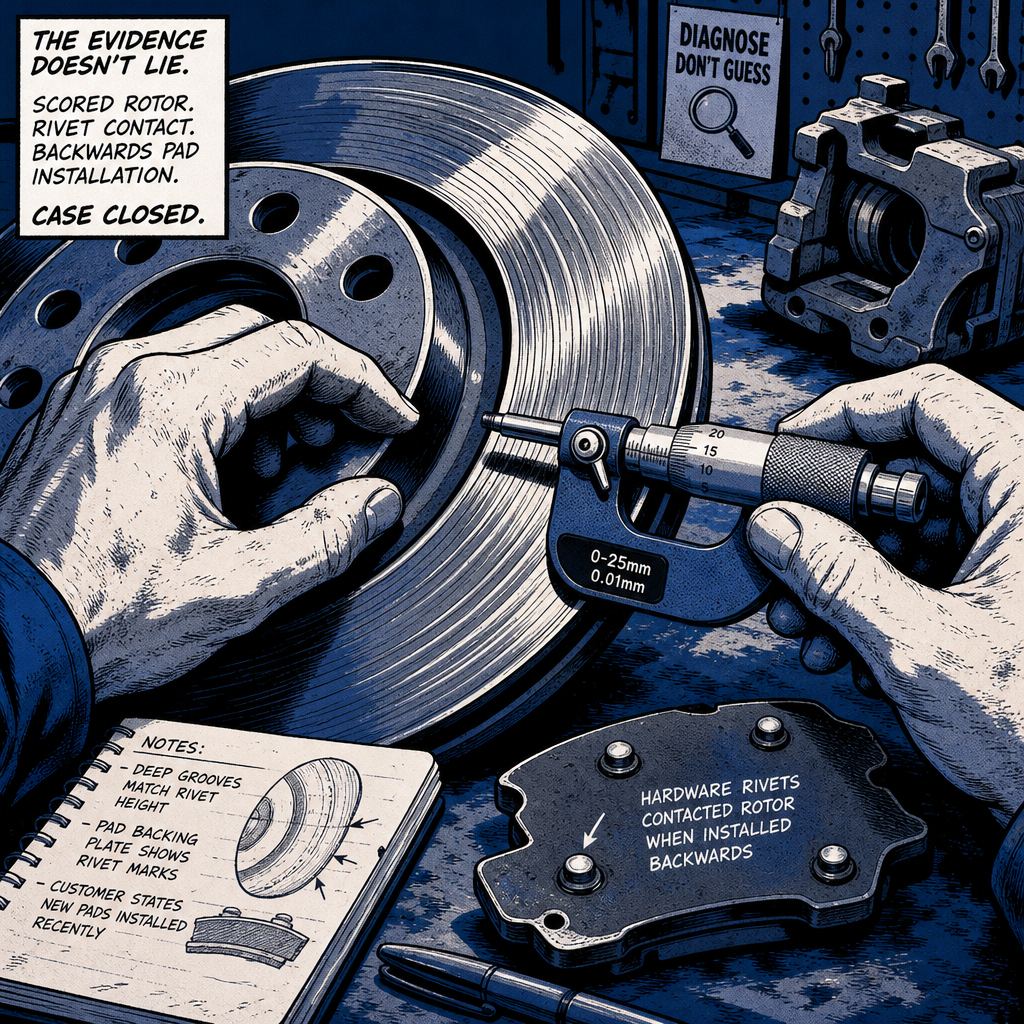
A brake job that comes back with a grinding noise or a grooved rotor almost always has a story behind it, and one of the more common culprits is a pad installed backwards, then quietly flipped without anyone documenting what happened. The evidence doesn’t lie even when the paperwork does — piston imprints on the wrong side of a pad, ground-down wear tabs, and rotor grooves that line up perfectly with a backing plate’s rivets or nubs. Whether you’re diagnosing a customer’s comeback, defending your own shop’s work, or training a new tech on pad orientation, knowing how to read this evidence matters. Here’s how to confirm what happened, communicate it clearly, and prevent it from happening on your bay again.
How a Backwards Pad Gets Installed in the First Place
Every pad has a front and a back. The friction material faces the rotor; the backing plate — with its wear indicator tabs, rivets, or shims — faces the caliper piston or the caliper bracket’s fingers, depending on which side of the rotor it sits on. On most floating-caliper designs, the inboard pad (closest to the piston) gets pushed directly by the piston, while the outboard pad (closest to the wheel) is pulled in by the caliper body itself when the bracket clamps down.
If a tech grabs the pad set and swaps sides, or flips a single pad end-for-end, the backing plate hardware that’s supposed to ride quietly against the caliper finger or piston face instead makes direct metal-to-metal contact with the rotor. That happens fast — often within the first mile or two of driving — and it’s loud. A tech under time pressure who hears that grinding will sometimes swap the pad back to the correct orientation and send the car down the road without flagging the rotor, assuming the noise stopped and the problem is solved. It isn’t. The rotor is now scored, and depending on depth, that surface may be out of spec.
Reading the Evidence: Piston Marks, Grooves, and Rust
When you suspect a backwards install happened and was corrected, three things confirm it:
Piston or bracket-finger imprints in the wrong location. An inboard pad that shows a circular piston imprint is expected — but if that same imprint shows up on what is now the outboard pad, it was on the piston side at some point. Pads don’t move themselves between sides during normal use, so this is strong evidence of a swap.
Grooves in the rotor that match the backing plate’s hardware spacing. Wear indicator tabs, rivet heads, or the nubs on a backing plate leave a very specific, evenly spaced groove pattern if they contact the rotor face under clamping load. Compare the spacing on the pad’s backing plate to the spacing of the grooves — if they line up, that’s not a coincidence and it’s not a manufacturing defect. No lathe or manufacturing process produces evenly spaced parallel grooves that match a pad’s hardware layout.
Rust condition inside the grooves. This is the detail that separates “still happening” from “already corrected.” If the grooves are surface-rusted while the rest of the rotor’s fresh cross-hatch or machining marks are still bright, the contact stopped some time ago and the vehicle has since been driven or sat long enough for oxidation to set in — consistent with a mistake made and fixed on the same visit. If the grooves are shiny and bare metal, something is still actively rubbing and the vehicle needs to come off the road immediately.
Confirming Correct Pad Orientation Before Reinstall
Before condemning a rotor or reinstalling any pad, verify orientation against the OEM service reference for that platform — don’t rely on memory, especially across brands where wear indicator placement (leading vs. trailing edge, driver vs. passenger side) varies. A few checks that apply broadly:
- Dry-fit the pad against the caliper bracket before it goes near the rotor. The backing plate’s tabs or ears should seat into the bracket’s fingers without forcing, gap, or rocking.
- Confirm the wear sensor (if equipped) is on the correct pad and facing the correct rotation direction — installing it on the wrong pad defeats the warning entirely.
- Check that chamfered edges and directional arrows printed on the friction material (if present) match rotor rotation.
- On GM-style bracket designs, note that the bracket “ears” only protrude on specific sides — if a pad doesn’t sit flush and square, don’t force it or hammer it into place. Binding hardware is a sign something’s oriented wrong, not a sign to apply more pressure.
- After clamping the caliper down, spin the rotor by hand before lowering the vehicle off the lift. Any drag, grinding, or uneven resistance means stop and recheck before road test.
Assessing Rotor Damage: Resurface, Replace, or Leave It
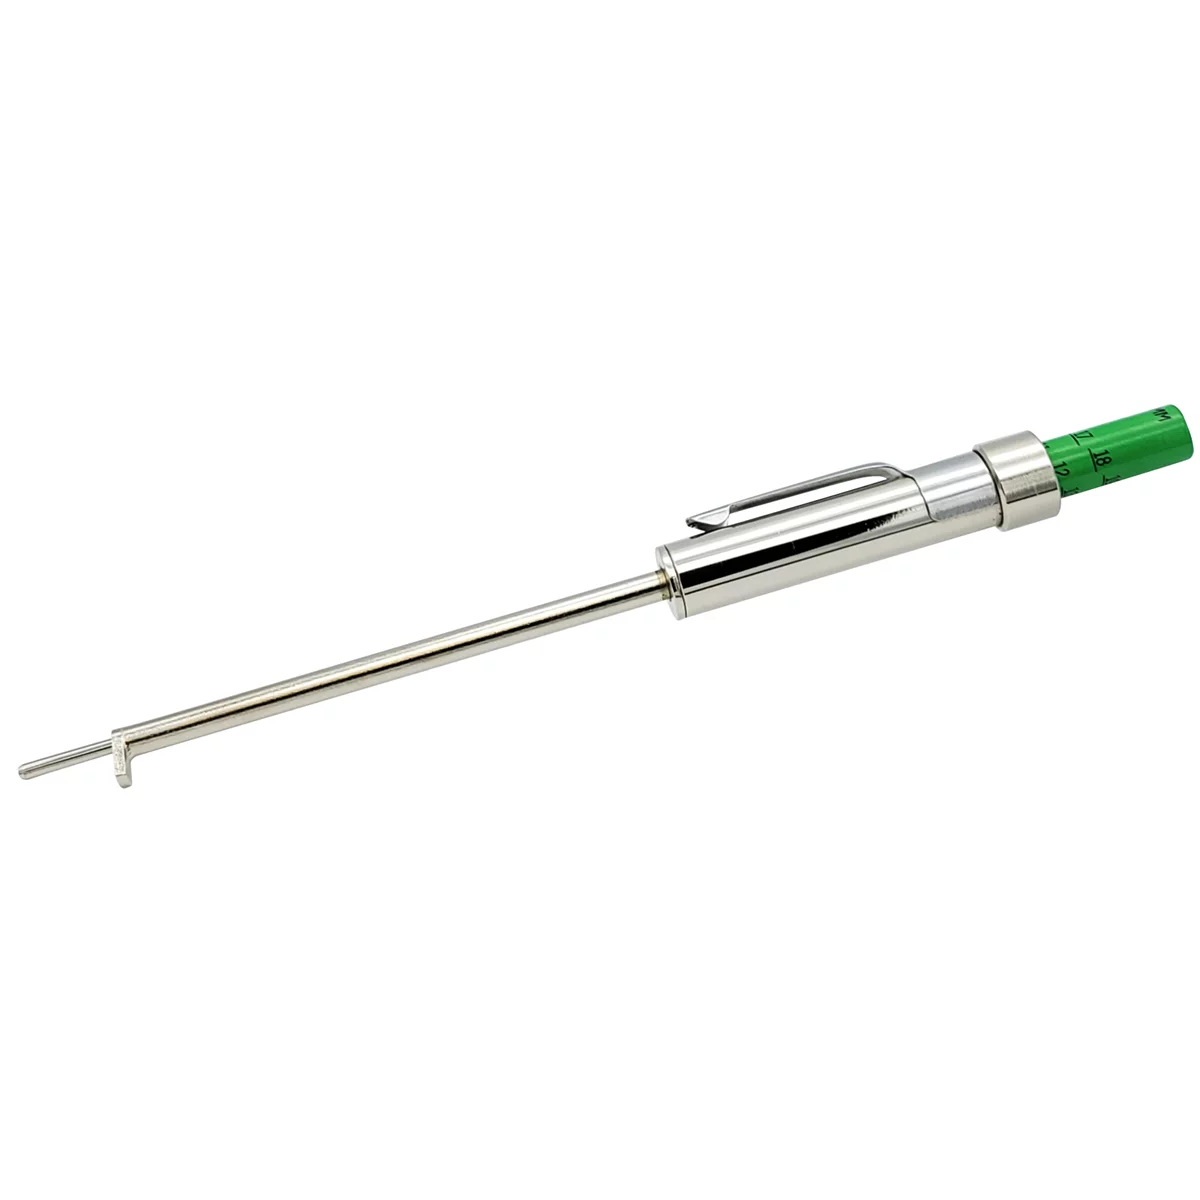
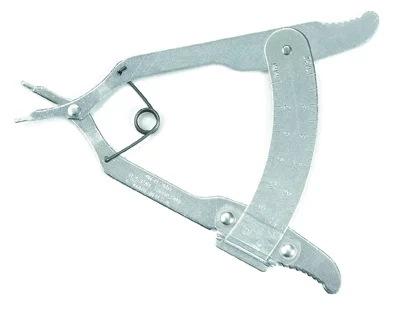
Once you’ve confirmed contact occurred, the rotor needs a real inspection, not a visual pass. Measure groove depth with a micrometer or dial indicator against the rotor’s minimum thickness spec, not just “how it looks.” Shallow, hairline witness marks that don’t approach minimum thickness may be within tolerance and won’t meaningfully affect pad contact or noise. Deeper, uniform grooves that reduce swept-surface flatness will cause pulsation, uneven pad wear, and reduced effective contact area even if they’re not an immediate structural failure risk — and on a rotor with only a few thousand miles on it, resurfacing rarely makes sense once you’re this far into machining material off a rotor that should have plenty of life left. In most of these cases, replacement is the right call, both for pad life and for the customer’s confidence in the repair. If the rotor is anywhere near minimum thickness already, don’t resurface — replace it outright.
Documenting the Damage for a Comeback or Warranty Claim
If you’re inspecting another shop’s work — whether for a customer disputing a repair or for your own quality control — documentation is what turns “he said, she said” into a resolved claim. Photograph both pad faces, the backing plate hardware straight-on with a scale reference, and the rotor groove pattern in raking light so the depth is visible. Take a photo showing the caliper, piston, and pad together, in position, before anything is disassembled further — this is what confirms which pad was in contact with the piston. Note the rust condition in writing, since photos alone can be ambiguous about texture. If you’re the shop that made the mistake, the better move is to own it immediately: replace the rotor, document why, and communicate it to the customer rather than sending the vehicle out and hoping nobody looks closely. A tech who flags their own error to a service writer costs the shop one rotor; a tech who hides it and gets caught costs the shop a customer and a reputation.
Brake Pad Installation Checklist
- Confirm inboard/outboard orientation against OEM reference before removing old pads
- Dry-fit backing plate against caliper bracket — no forcing, no gaps
- Verify wear sensor placement and rotation direction
- Spin rotor by hand after caliper is torqued, before road test
- Road test at low speed first, listening for any contact noise
- If noise occurs, stop and re-inspect — don’t just flip and drive


FAQs
Can a backwards-installed brake pad really damage a rotor that fast?
Yes. Under normal clamping load, backing plate hardware pressed directly against a spinning rotor can score visible grooves within a mile or two of driving — it doesn’t take extended mileage to leave a permanent mark.
Is a scored rotor from a backwards pad unsafe to drive on?
It depends on groove depth relative to minimum thickness spec. Shallow marks may not affect braking performance meaningfully, but they should still be measured, not assumed safe. Deeper scoring warrants replacement rather than continued use.
How do I know if a pad was installed wrong and then corrected, versus never having an issue?
Look for piston or bracket-finger imprints on the wrong pad face, groove spacing on the rotor that matches the backing plate hardware, and rust forming inside the grooves while the rest of the rotor shows fresh machining marks.
Do all brake pads have the same wear indicator placement?
No. Placement varies by manufacturer and platform — some use a tab on the leading edge, others on the trailing edge, and side-specific (driver vs. passenger) parts are common. Always check the OEM service reference rather than assuming symmetry.
Should a grooved rotor be resurfaced or replaced?
On a rotor with significant remaining life, replacement is usually the better call rather than machining material off a near-new rotor. If the rotor is already close to minimum thickness, resurfacing isn’t an option and replacement is required.
How quickly does rust form on a freshly scored rotor?
Surface rust can appear within hours to a day or two depending on humidity and whether the vehicle sits or is driven. Its presence in grooves, contrasted against unrusted surrounding rotor surface, is a useful timeline indicator during diagnosis.
Recommended Tools & Parts
When a backwards pad installation leaves rotor scoring or requires replacement components, our brake system selection includes OEM-spec pads, rotors, and diagnostic tools needed for repair.
- Replacement brake pads and rotors for all platforms
- Wear indicator hardware and backing plate assemblies
- Measurement and diagnostic equipment

The Toolsource Technical Team blends decades of real-world automotive service experience with up-to-date technical research. Our writers collaborate with professional mechanics, shop owners, and diagnostic specialists to deliver practical, workshop-ready guidance you can trust.


Follow us on social media