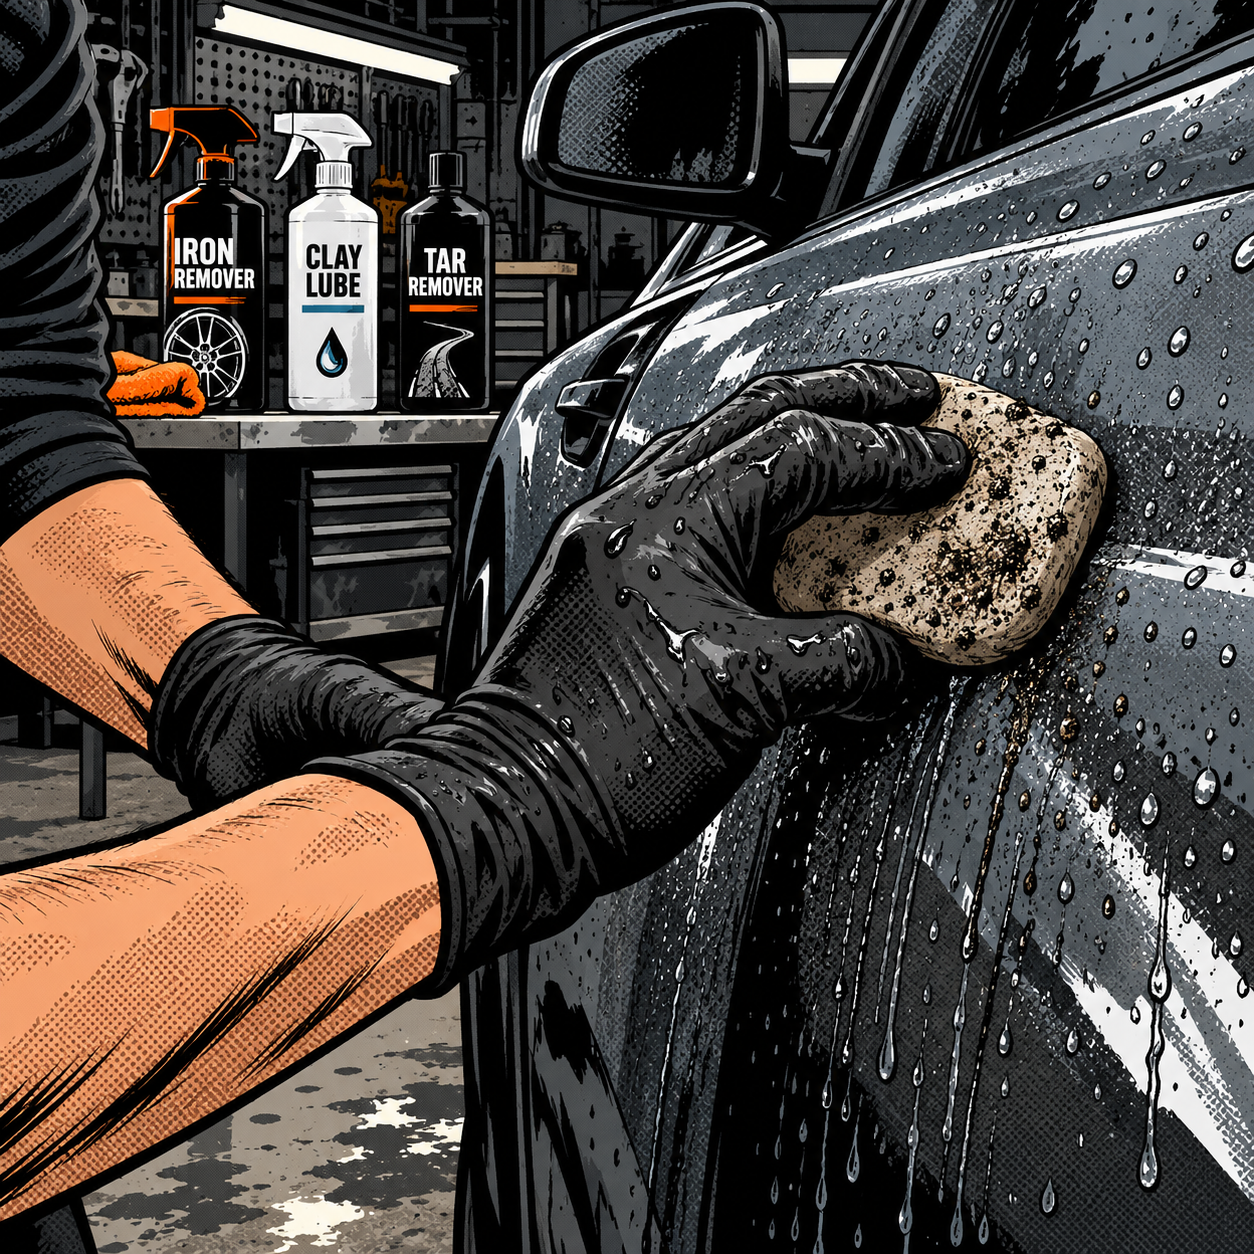
A customer or weekend detailer drags a clay bar across a panel that hasn’t seen a decontamination treatment in years, and the clay comes back looking like it rolled through a gravel driveway. The paint underneath doesn’t look better — it looks hazed, marred, and in bad cases, genuinely scratched. This isn’t a clay bar defect or bad luck. Clay is a mechanical abrasive by design, and when it’s used as the first and only decontamination step on paint loaded with years of brake dust, rail dust, and tar, it behaves exactly like sandpaper. The fix isn’t a gentler clay bar — it’s a correct prep sequence that removes most of the contamination chemically before anything physical touches the paint.
Understand What Clay Bar Actually Does
Clay bar (and synthetic alternatives like clay mitts and towels) works by physically shearing off bonded surface contamination — overspray, industrial fallout, embedded brake dust — that a wash alone can’t lift. The clay lubricant lets the bar glide, and the clay itself grabs and pulls contaminants off the clearcoat as it passes over the surface. That’s the entire mechanism: mechanical removal via light abrasion.
The problem is that clay doesn’t discriminate. It picks up whatever is on the paint and immediately starts dragging it across the next section. If that contamination load is heavy — years of baked-on brake dust is a common offender — the clay bar becomes loaded with embedded grit within half a panel. At that point, every subsequent pass is dragging sandpaper-grade debris across the clearcoat. The technician doesn’t feel it happening because clay lube masks the drag, but the paint shows it immediately as fine marring or, in worse cases, visible scratches.
This is why kneading the clay frequently helps but doesn’t fully solve the problem. Kneading exposes a cleaner face of clay, but it does nothing about the volume of contamination still bonded to the paint. The real fix happens before the clay ever touches the surface.
Run the Full Decon Sequence Before Clay Touches Paint
The order matters, and skipping steps is the single most common cause of clay-induced marring. The sequence a shop or serious DIYer should follow is:
- Wash. A proper two-bucket or foam cannon wash first. This isn’t optional — it’s step one, and skipping it loads the clay with loose dirt before it ever gets to the bonded contamination.
- Iron decontamination. An iron remover (sold as “iron out,” “fallout remover,” or similar) chemically dissolves ferrous metal particles — brake dust, rail dust, industrial fallout — that are bonded to the clearcoat. These products typically turn purple or bleed red as they react, which is the visual confirmation they’re working. Spray, dwell per label instructions (usually a few minutes, never let it dry on the panel), and rinse thoroughly.
- Tar and adhesive remover. Run a dedicated tar remover on the lower panels, wheel wells, and rocker areas where road tar and adhesive residue accumulate. This is a separate chemistry from iron removers and targets organic/petroleum-based contamination, not metallic particles.
- Clay bar. Only after the chemical steps above should clay go on the paint. At this point it’s removing the small remainder of bonded contamination that chemicals can’t fully lift — not acting as the primary decontamination method.
- Polish. Clay, even done correctly, leaves some level of fine marring. A machine or hand polish afterward restores clarity and levels out any marks from the clay pass.
Technicians who’ve clayed neglected daily drivers — a decade-old commuter car that’s never seen anything beyond a drive-through wash — consistently report the same thing: heavy iron decon and tar removal before claying cuts the contamination load dramatically, and the clay comes away far cleaner with far less resistance. Vehicles that skip straight from “wash” to “clay” are the ones that come back looking like they were dragged through a parking lot.
[PRODUCT_SEARCH: iron decontamination spray for clearcoat paint]

FC750-1 High Solid 2.1 VOC Clearcoat, 1 gal Can, Satin, 4:1
Mfg: Martin Senour Paints
Part #: FC750-1


Lubricate Generously and Don’t Skimp
Clay lubricant (dedicated clay lube or a quick detailer formulated for clay use) isn’t optional and isn’t something to ration. Dry-clay or under-lubricated passes are a direct path to scratching, because the clay has nothing to glide on and instead drags whatever grit it’s carrying straight across the surface. A heavy, wet coat of lube on every section before the clay touches it keeps the bar floating rather than grinding.
Work in small sections — roughly one to two square feet at a time — and keep the surface wet throughout the pass. If the lube starts to dry or the clay starts to drag, stop, re-lube, and reassess rather than pushing through. Panels with heavier contamination (lower rockers, around wheel wells, rear quarter panels that catch more road spray) often need a second pass with fresh lube rather than more pressure.
Inspect and Knead the Clay Constantly
Even with a full decon sequence done correctly, clay will pick up some debris — that’s its job. The critical habit is checking the clay face after every section, not every panel. Flip and knead the clay to expose a clean surface as soon as the working face shows embedded grit, discoloration, or a gritty feel when squeezed. If a piece of debris is stuck hard and won’t knead out, discard that chunk of clay rather than continuing to drag it across paint.
A standard clay bar (roughly 100-200g) should realistically cover a few panels on a moderately dirty car before it’s spent. On a vehicle with heavy, long-term buildup, expect to go through multiple bars for a full exterior — needing a fresh bar partway around the car is a sign the prep steps did their job by surfacing just how much contamination was present, not a sign of wasted product.
Correct a Botched Clay Job Before It Gets Worse
If a clay pass was done without proper decon first and the paint shows haze or marring afterward, the vehicle isn’t ruined — but it needs a specific follow-up, not just a wax layer slapped over the damage. The sequence to correct it:
- Re-wash to remove any remaining clay lube residue.
- Run the iron decon and tar removal steps that were skipped, even after the fact — there’s often still bonded contamination left.
- Machine polish (or a thorough hand polish with a cutting compound for light marring) to level out the clay-induced marks. A single-stage polish resolves most of this; heavier marring may need a compound step before polish.
- Follow with wax, sealant, or ceramic coating to protect the now-corrected surface.
Waxing directly over marred paint without polishing first just locks a layer of protection over visible damage — it doesn’t fix anything underneath.
Consider Clay Alternatives for Maintenance Details
For vehicles that are already reasonably well maintained, a synthetic clay mitt or clay-infused microfiber towel is a lower-risk option than a traditional clay bar. These tools use embedded abrasive particles in a mitt or towel form factor, generally with less aggressive cut than bar clay, and they’re easier to rinse clean mid-panel instead of kneading. They’re not a substitute for proper decon chemistry on heavily contaminated paint, but for regular maintenance details on a car that gets iron decon treatments every few months, they reduce the risk of dragging grit across the surface.
Quick Decon Checklist
- Wash thoroughly (two-bucket method or foam cannon) before anything else
- Apply iron remover, let it dwell per label, rinse fully
- Treat lower panels and wheel wells with a dedicated tar remover
- Clay in small sections with generous lube, kneading or flipping after every section
- Inspect clay face constantly; discard any piece embedded with hard debris
- Polish after claying to remove residual fine marring before wax, sealant, or coating
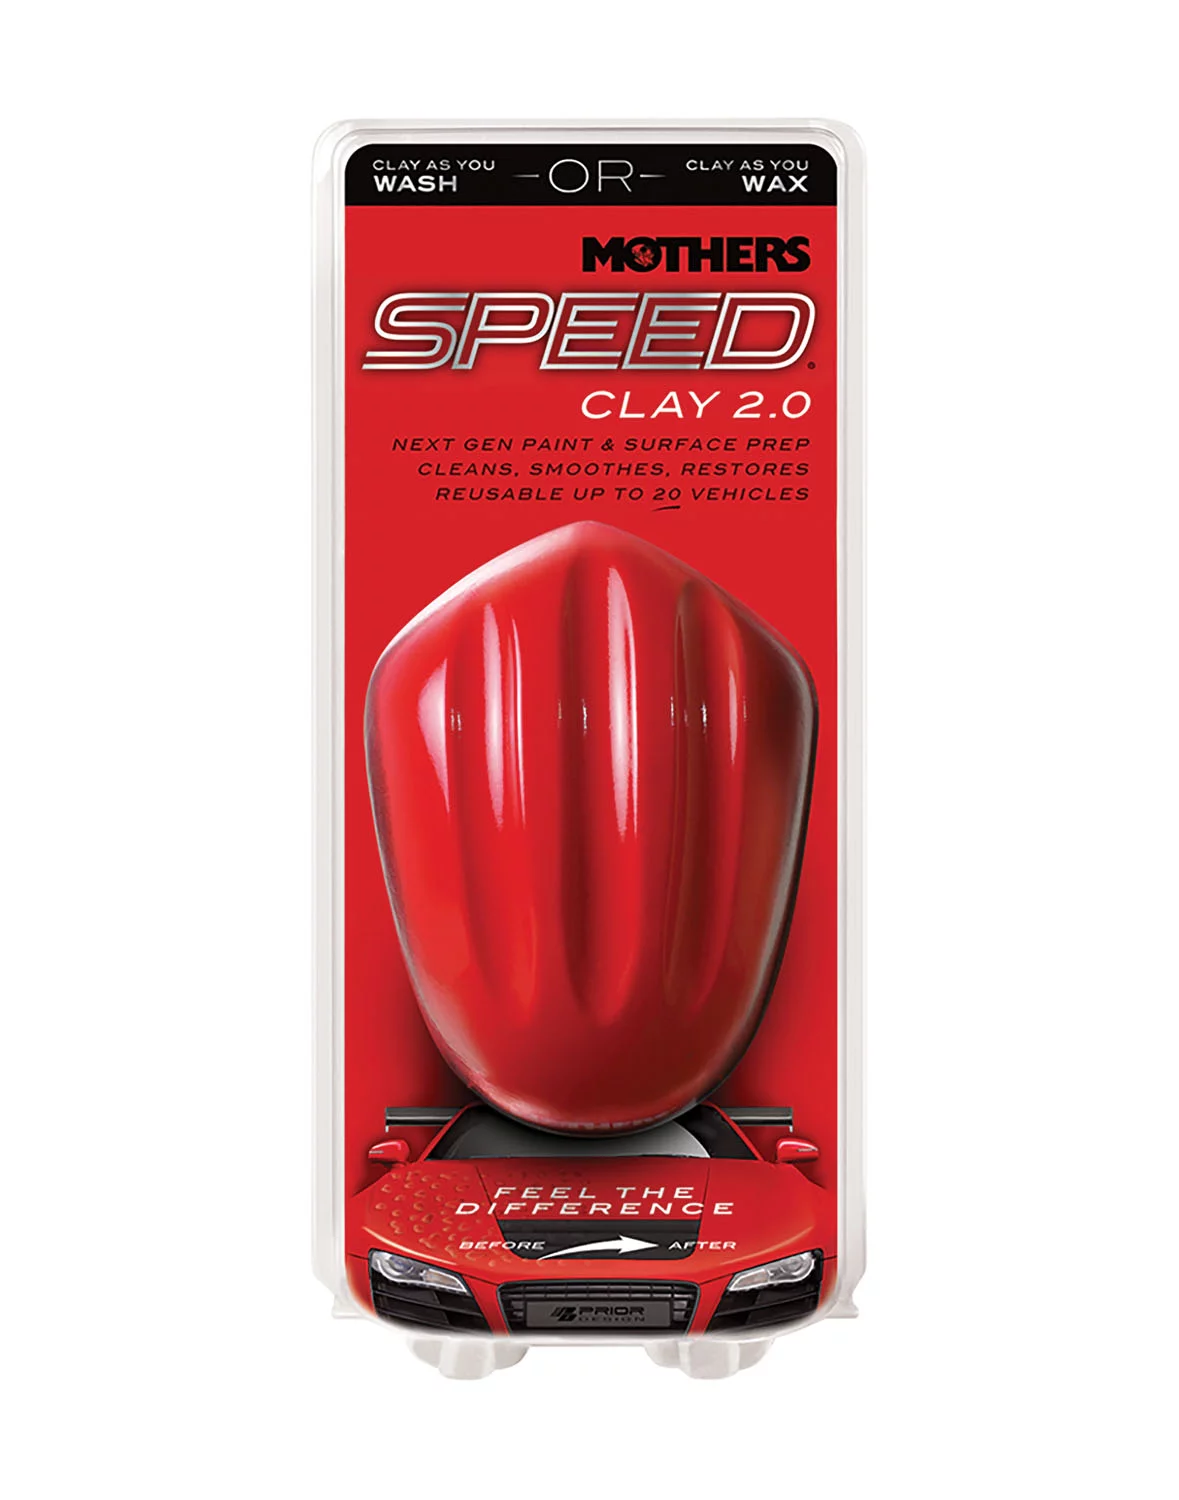
[PRODUCT_SEARCH: car detailing clay bar decontamination kit]

Frequently Asked Questions
Do I need iron decon every time I clay a car?
Not every wash, but it should precede any clay session on a vehicle that hasn’t been treated in the last few months, especially if it’s parked outdoors or driven near brake dust-heavy conditions (city stop-and-go, rail crossings).
Can I skip clay entirely if I use iron remover and tar remover?
On lightly contaminated paint, chemical decon alone sometimes gets the surface feeling smooth. Running a hand over the paint after washing (the standard “baggie test” with a plastic bag over your hand) will tell you if texture remains — if it still feels rough, clay is still needed.
How often should a daily driver be clayed?
Roughly every 6-12 months for most daily drivers, more often for vehicles that sit outside near industrial areas, rail yards, or heavy brake dust exposure from aggressive city driving.
Will clay bar always cause some marring, even done correctly?
Yes, to some degree — it’s an abrasive process. That’s why a polish step afterward is standard practice, not optional, even when decon was done properly.
What’s the difference between iron remover and tar remover?
Iron remover targets bonded ferrous metal particles (brake dust, rail dust) through a chemical reaction, usually visible as a color change. Tar remover dissolves petroleum-based residue like road tar and adhesive. They address different contamination types and both belong in the sequence before clay.
Can a clay mitt replace a traditional clay bar for badly contaminated paint?
Not reliably. Clay mitts and towels are better suited to maintenance details on paint that’s already been properly decontaminated. Heavily contaminated paint still benefits from a traditional clay bar after full chemical decon, since the mitt format offers less aggressive cut.
Decontamination & Paint Care
Protecting paint starts with the right decontamination sequence. Our Paint & Body products cover the full process: iron removers, clay bars and mitts, tar treatment, lubricants, and polishing compounds.
- Iron removers and fallout sprays for chemical decontamination of bonded metallic contamination
- Clay bars, synthetic clay mitts, and clay-infused towels for mechanical decontamination
- Tar removers, clay lubricants, and polishing compounds to complete the process

The Toolsource Technical Team blends decades of real-world automotive service experience with up-to-date technical research. Our writers collaborate with professional mechanics, shop owners, and diagnostic specialists to deliver practical, workshop-ready guidance you can trust.


Follow us on social media