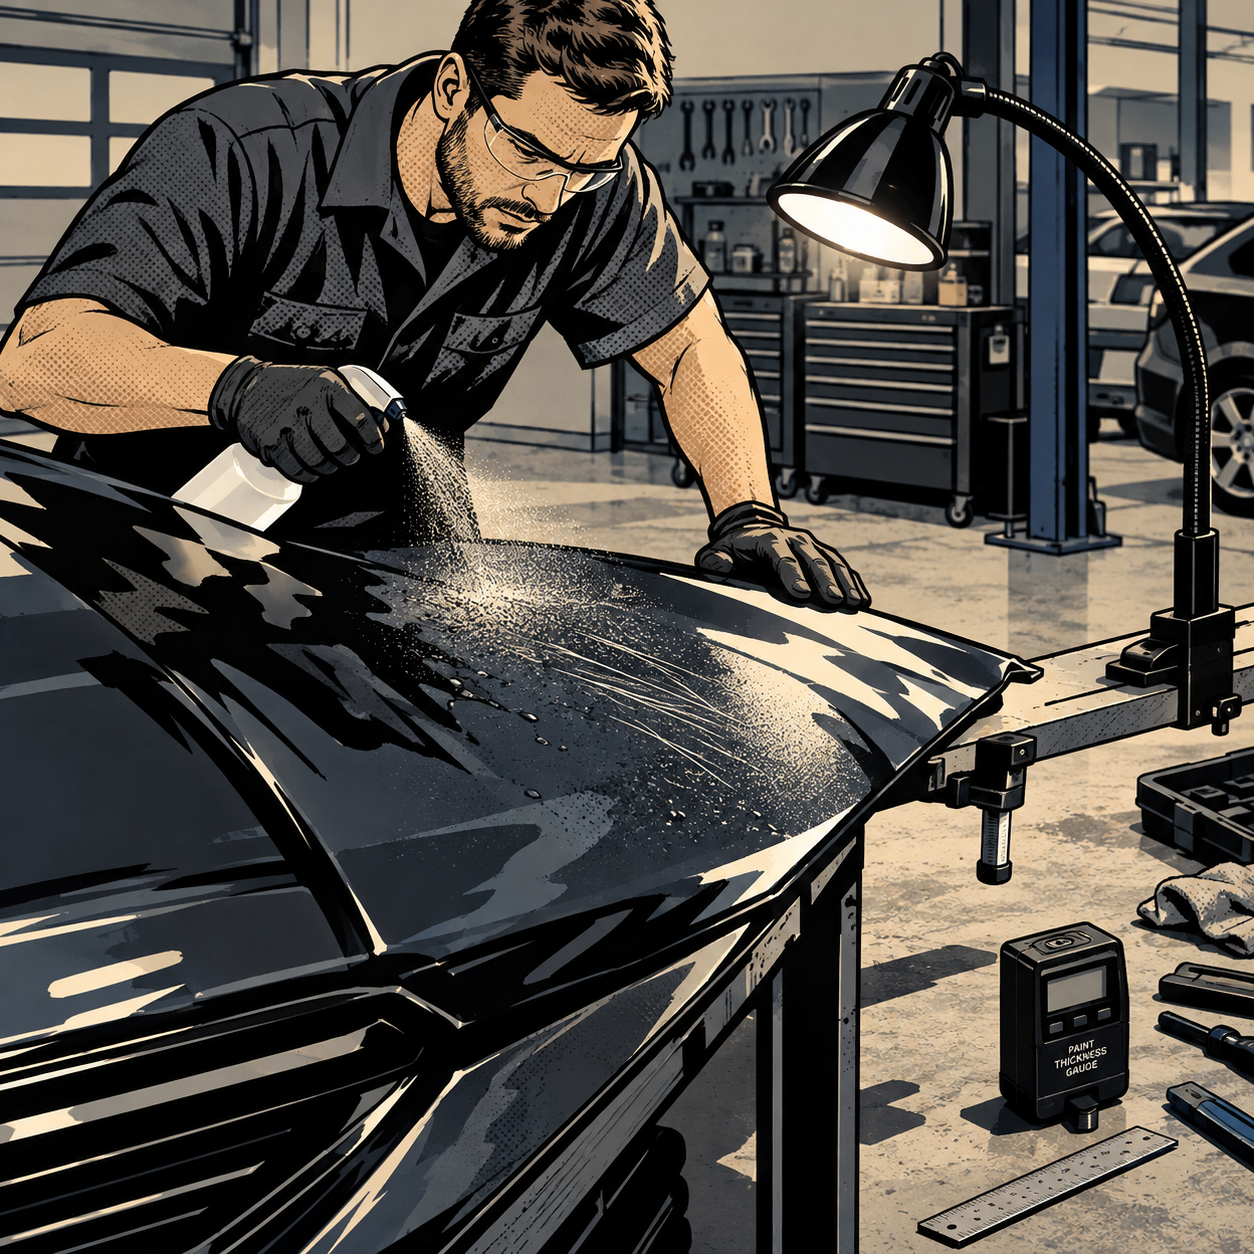
Customers bring in vehicles covered in fine linear scratches, swirl marks, or deep gouges after an automated car wash, and the first question a shop has to answer isn’t “how do we fix it” — it’s “what actually caused this, and how deep does it go.” Getting that diagnosis right determines whether the repair is a half-day buff-out or a four-figure repaint, and it’s the difference between a customer who walks away satisfied and one who disputes your invoice. This guide covers how to read the damage pattern, test depth correctly, and match the repair method to what the paint can actually support.
Reading the Damage Pattern
Before touching polish or a cutting pad, walk the vehicle and document the scratch orientation on every panel. This single step resolves most disputes about cause, because the physics of each damage source leaves a distinct signature:
- Automated tunnel/brush washes produce scratches that run in a consistent direction relative to the wash’s conveyor travel — typically horizontal or slightly diagonal, uniform across adjacent panels, because the brushes or cloth mitts contact the car in the same motion every pass.
- Contaminated brushes or mitts (grit, road debris, or a prior vehicle’s caked-on mud/snow lodged in the material) create deeper, randomly spaced gouges layered over the uniform wash pattern — this is the scenario that produces hail-damage-looking carnage across a batch of vehicles in a short window.
- Improper hand washing or drying (dirty mitts, reused towels, circular motion) shows up as swirl marks — fine, curved, multidirectional scratches concentrated where hand pressure was applied, not uniform panel-to-panel.
- Mechanical/object damage (shovel, ice scraper, branch, keying) shows scratches at inconsistent angles that don’t correlate with any wash or wipe motion, often isolated to one or two panels.
If a customer claims a single car wash visit caused diagonal scratches on the hood but horizontal ones on the doors, that inconsistency is worth noting in writing — brushes and mitts move the same way across the whole vehicle, so a wash-caused pattern should be directionally consistent panel to panel.
Testing Scratch Depth Before You Quote Anything
The repair method is dictated entirely by how deep the scratch sits, not by how bad it looks dry. Clear coat is typically 1.5–2 mils thick on factory-finished vehicles, and most buffing removes a fraction of a mil per pass — there’s very little material to work with.
- Wet test: Spray the panel with water or isopropyl alcohol. Scratches that nearly disappear when wet are confined to the clear coat and are strong buff-out candidates. Scratches that remain fully visible wet have broken through to base coat or primer and will not buff out — they need fill and reclear or repaint.
- Fingernail test: Drag a fingernail lightly across the scratch. If the nail catches or snags, the scratch has real depth; if it glides over with just a visual line, it’s a surface-level clear coat scratch.
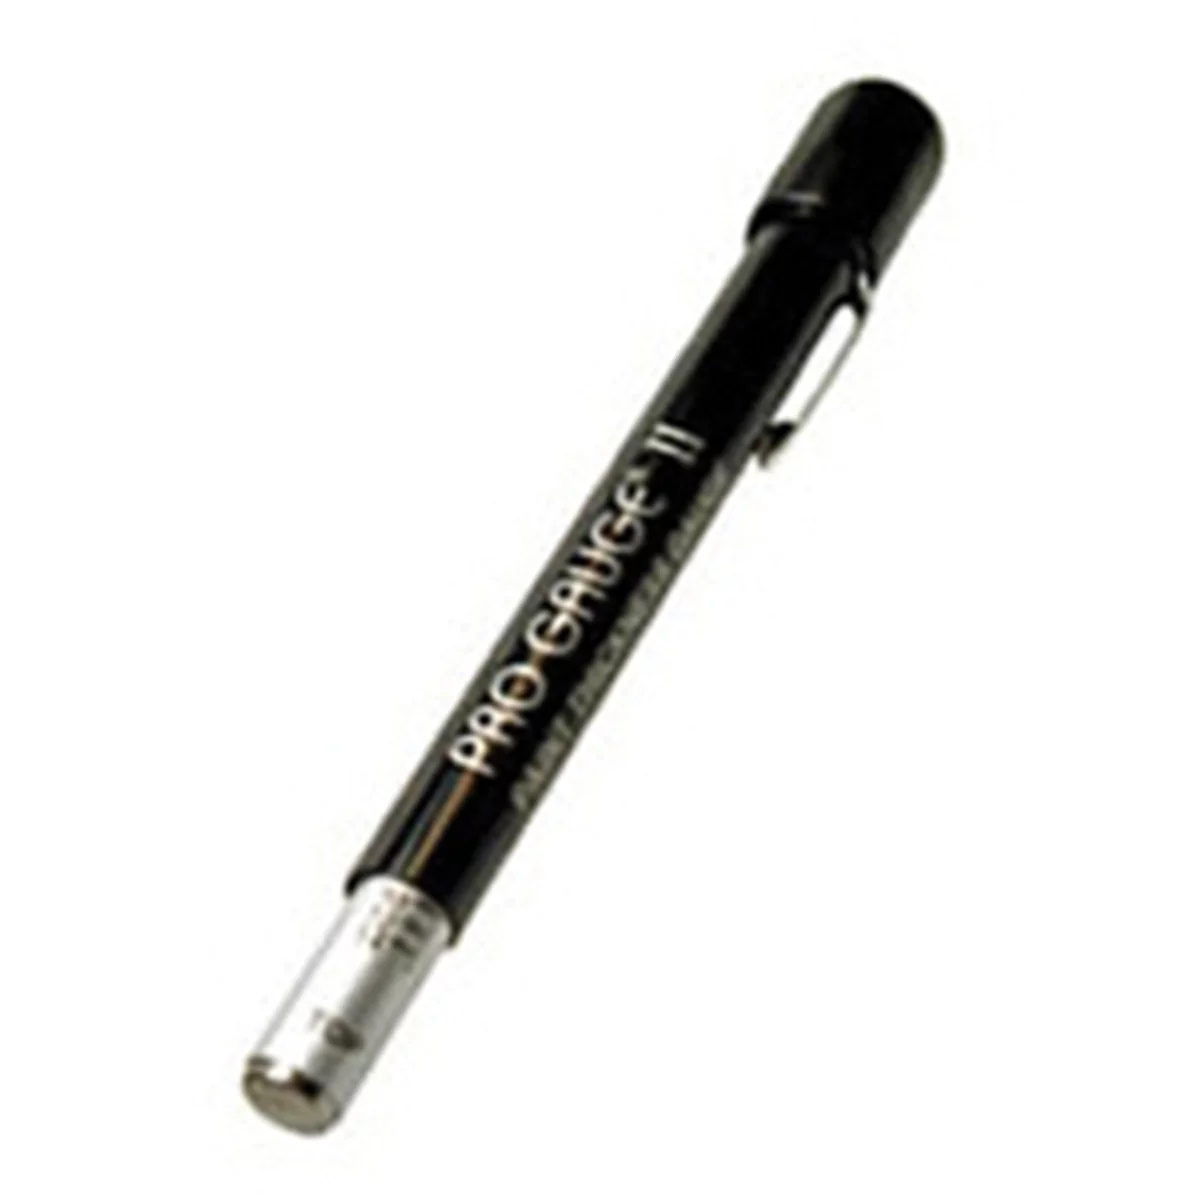
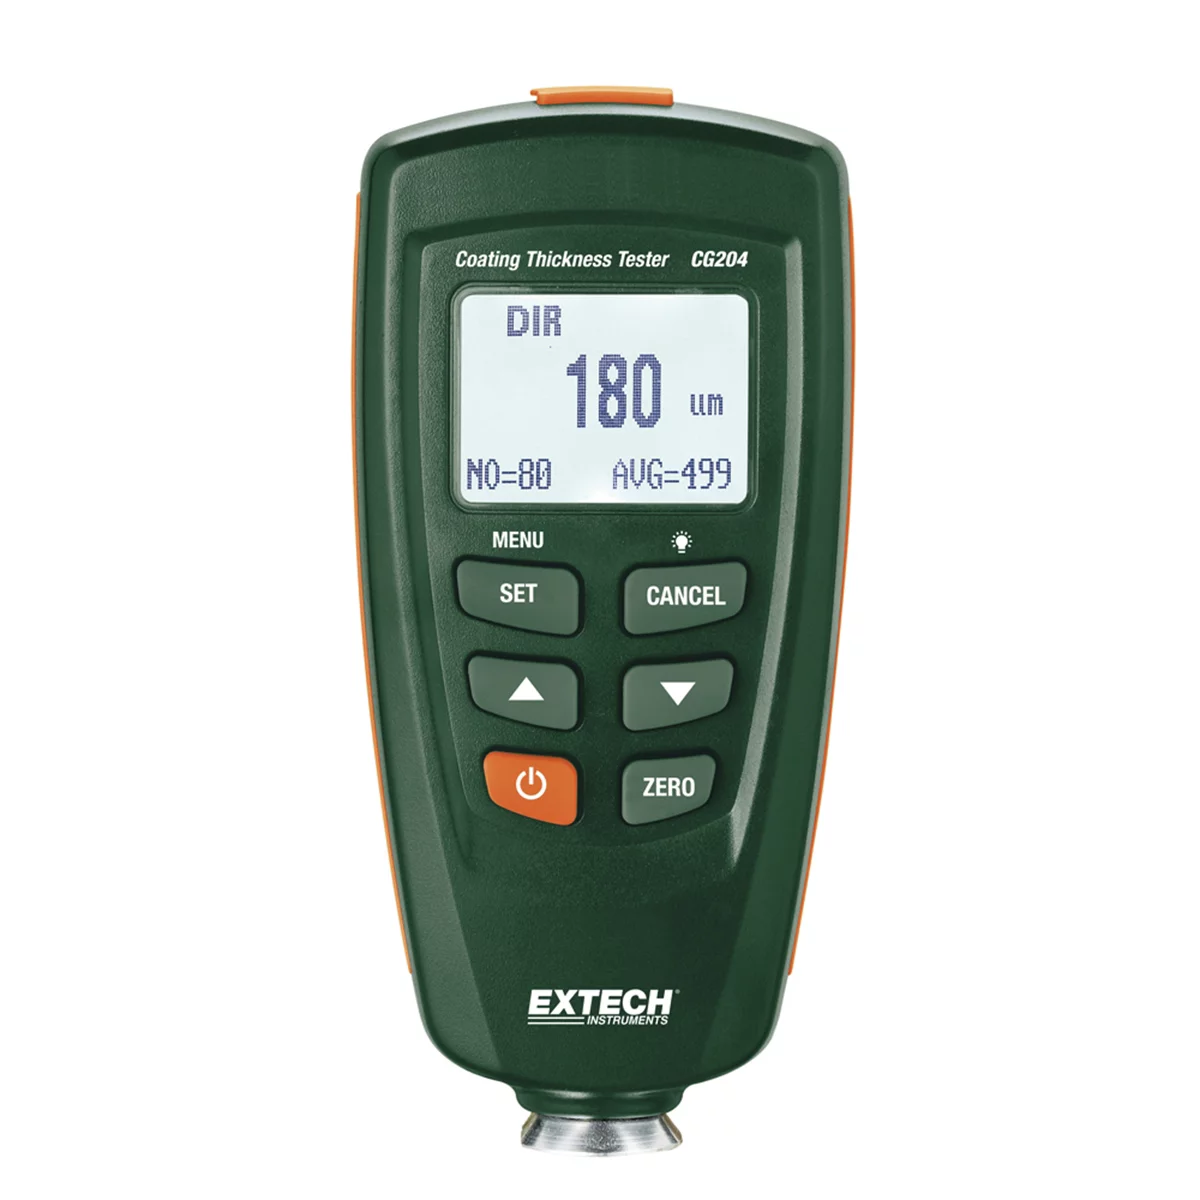
- Paint depth gauge: On vehicles where repair cost is high enough to matter, a magnetic or eddy-current paint thickness gauge gives an objective reading of remaining clear coat across the damaged panel versus an undamaged reference panel. This is the most defensible number to put in a written estimate.
- Edge check: Scratches running along a panel edge or body line are almost always deeper because clear coat application is thinner at edges to begin with — flag these separately, they rarely buff out even when the panel face does.
Run every damaged panel through this sequence before quoting a price. A shop that quotes a flat “we’ll buff it all out” rate without testing depth first is the shop that eats the redo cost when half the scratches reappear a week later.
Once you’ve confirmed which panels are buff-out candidates and which need filler or reclear, you’ll want the right abrasive and compound combination on hand rather than reaching for whatever pad is left on the shelf.
===PRODUCT_SEARCH:1===

Buffing and Paint Correction: What’s Realistic
Set expectations with the customer before you start, because “90% of this buffs out” and “most of this buffs out” lead to very different conversations when the invoice arrives.
- Start with the least aggressive combination that will move the scratch — a finishing pad and light polish — and step up to a cutting pad and compound only on panels where the wet/fingernail test confirmed clear-coat-only depth.
- Work in small sections (roughly 2 x 2 ft) and check clear coat thickness periodically on high-value panels if you’re running a compound aggressive enough to remove real material. Burning through clear coat on a cutting pass is the single most common way a buff-out job turns into a repaint job.
- Edge and body-line scratches should be hand-finished or taped off entirely rather than run with a rotary/DA pad, since machine pressure concentrates right where clear coat is already thinnest.
- After correction, seal the panel with a wax or ceramic sealant. Any area where clear coat was removed down toward spec minimum is now more exposed to UV and oxidation, and skipping protection will shorten the time until that panel needs attention again — months, not years, by most experienced estimates.
When Buffing Isn’t Enough: Clear Coat Renewal vs. Repaint
For scratches that fail the wet test — visible dry and wet — you’re choosing between three tiers of repair, and the right call depends on scratch depth, panel count, and what the customer is willing to spend:
- Spot fill and reclear: For isolated deep scratches on one or two panels, scuff, fill, and shoot fresh clear coat over just the affected area, then blend. This is the cost-effective middle option when damage is contained.
- Clear coat renewal systems: Several professional-grade clear renewal products apply a new clear layer over sanded/prepped paint without a full repaint. These work well for widespread light-to-moderate damage across many panels and run meaningfully less than a repaint, but they won’t correct scratches that have cut into base coat color.
- Full repaint: Once scratches span most panels and multiple are into base coat or primer, insurers and body shops routinely total out the repair cost on vehicles over 8–10 years old, because color-matching and blending that much surface area approaches or exceeds the vehicle’s value. Quote this tier honestly rather than letting a customer chase a cheaper option first and pay for labor twice.
Be the one who tells the customer which tier they’re actually in before any money changes hands — not after a buffing attempt fails on panels that were never going to respond to it.
Documentation for Liability and Insurance Claims
When a customer suspects a car wash caused the damage, your assessment is often the evidence that determines whether they get compensated. Most automated washes post liability waivers at the entrance, and while these aren’t always fully enforceable, they do shift the burden onto the customer to prove causation — which is where your documentation matters.
- Photograph every panel in good light, then again wet, with a ruler or scale reference in frame.
- Note scratch direction per panel and whether it’s consistent with a single-pass brush/mitt motion.
- Record paint depth gauge readings on damaged vs. undamaged panels.
- Write a plain-language summary a claims adjuster or small-claims court can follow — technical jargon in your notes is fine, but the summary paragraph should be readable by someone with no automotive background.
- Advise the customer to act quickly. The longer the gap between the wash visit and the inspection, the easier it is for the car wash operator to argue other causes — and for some venues, re-running the same vehicle through the same wash shortly after is the clearest way to establish repeat-pattern evidence.
Repair Assessment Checklist
- Photograph all panels, dry and wet, with scale reference
- Map scratch direction per panel to check for a consistent wash pattern
- Run wet test and fingernail test on every scratch cluster
- Take paint depth gauge readings on damaged and reference panels
- Separate findings into buff-out, fill-and-reclear, and repaint categories
- Quote each category separately — don’t blend pricing across tiers
- Apply sealant/ceramic to any panel where material was removed
Stock the right compounds, pads, and gauges before the next wash-damage vehicle lands in your bay, since guessing at depth or grabbing the wrong cut level is what turns a routine correction job into a comeback.
===PRODUCT_SEARCH:2===

TRI PACK BUFF KIT No. TP325W includes three pads and a backing p
Mfg: Buff And Shine
Part #: TP325SW


FAQs
Can a car wash really cause hundreds of scratches across an entire vehicle?
Yes. A single contaminated brush, mitt, or piece of lodged debris can scratch every vehicle that passes through until it’s cleared, and shops have documented batches of a dozen or more vehicles damaged in the same short window at one location.
How do I tell customers apart from scratches they just didn’t notice sooner?
Direction consistency is the best objective indicator. A wash-caused pattern runs the same way across adjacent panels; scratches from other sources (hand drying, mechanical contact) are inconsistent in angle and concentrated unevenly.
Will ceramic coating prevent this kind of damage?
No. Ceramic coatings add some abrasion resistance and make swirl marks less likely from light contact, but they won’t stop damage from a grit-loaded brush or lodged debris — that level of mechanical force cuts through any topical coating.
Is it worth buffing before deciding on clear coat renewal or repaint?
Only test first, don’t buff blind. Run the wet and fingernail tests across all panels, sort results into tiers, and only machine-polish the panels confirmed as clear-coat-only. Buffing everything first risks burning through clear coat on panels that needed reclear instead.
What’s a reasonable cost range for clear coat renewal versus repaint on a multi-panel job?
Clear renewal across several panels commonly lands in the four-figure range depending on region and vehicle size; a full repaint with blending across most panels typically starts around three to four times that and can approach total-loss territory on older vehicles.
Should I recommend the customer re-run the vehicle through the same wash to prove causation?
It’s a documented practical approach some shops and customers use to establish a repeat pattern, but it only works if the vehicle is still otherwise clean and the test pass is photographed immediately before and after. It doesn’t constitute a formal liability waiver override, so pair it with the rest of the documentation above rather than relying on it alone.
Shop Paint & Body Tools
Once you’ve diagnosed the damage and confirmed your repair tier, stocking the right compounds, pads, and protective coatings makes the work efficient and professional. Find what you need in our Paint & Body selection.
- Polishing and cutting compounds for clear-coat correction
- Buffing pads and DA sanders in multiple aggression levels
- Sealants and ceramic coatings for post-repair protection

The Toolsource Technical Team blends decades of real-world automotive service experience with up-to-date technical research. Our writers collaborate with professional mechanics, shop owners, and diagnostic specialists to deliver practical, workshop-ready guidance you can trust.


Follow us on social media