Every shop has seen a paint job go sideways — but every so often one comes through the door that doesn’t just have “a little orange peel,” it has a texture you could use as a cheese grater. Online body shop forums are full of photos of jobs that look like bedliner, stucco, popcorn ceiling, or alligator hide instead of a clearcoat. Most of these are DIY jobs applied with the wrong equipment (rollers, brushes, even brooms in the more extreme cases) or a spray gun running badly out of adjustment. The good news is that most severe texture problems are correctable with wet sanding and machine polishing, provided there’s enough film build to sand into. The bad news is that a lot of these jobs don’t have that film build, and sanding through to primer or substrate turns a texture problem into a repaint. Here’s how to tell the difference and work the job correctly.
Diagnosing the Texture Before You Touch It
Before any abrasive touches the panel, figure out what’s actually on it. Run a fingernail test and a visual check under raking light:
- True orange peel from spray application looks like dimpled citrus skin — fairly uniform, consistent peak-to-valley height, and it’s clearcoat or single-stage all the way down. This sands and buffs out predictably.
- Roller or brush texture (the “latex and mineral spirits with a roller” school of DIY) leaves stipple patterns with inconsistent peaks — some areas thick, some thin. This is riskier to correct because film thickness varies a lot panel to panel.
- Bedliner-like or stucco texture usually means contamination in the gun, way too much air pressure, paint that kicked before it hit the panel (explained below), or in the worst cases an actual textured product was used instead of topcoat. If you can feel sharp, gritty peaks rather than smooth rounded ones, be suspicious of contamination or the wrong product entirely.
Use a paint thickness gauge on multiple points per panel. This is the single most important step technicians skip, and it’s the reason “quick buff jobs” turn into comebacks. If you’re reading under 4-5 mils over original OEM base, or inconsistent readings swinging 3+ mils across one panel, you don’t have enough clearcoat to safely level-sand that texture without risking burn-through.
Tools You Need Before You Start Correcting
Trying to correct severe texture with a random orbital polisher and a bag of assorted sandpaper from a hardware store is how panels get burned through. For anything beyond light factory orange peel, you want a full progression:
- A paint thickness gauge (magnetic or ultrasonic for aluminum/plastic panels)
- Wet sanding paper in a full grit progression — typically 1000, 1500, 2000, and 3000 grit
- A sanding block or firm foam interface pad to keep pressure even and avoid digging in at high and low spots
- A dedicated rotary or forced-rotation polisher for cutting, plus a true dual-action polisher for finishing
- Cutting compound, finishing polish, and the correct foam or microfiber pads for each stage
- A gloss meter if you want objective before/after numbers instead of guessing under shop lights

Imperial Wetordry Sandpaper Sheets 9 x 11" Sheet P800 5/Pk
Mfg: 3M Automotive
Part #: 32035


WetordryT Tri-M-iteT Sand Paper Sheets - 9 In x 11 In - 600 Grad
Mfg: 3M Automotive
Part #: 02000
Step-by-Step Wet Sanding Process
Once you’ve confirmed there’s enough clear to work with, the process is methodical, not fast:
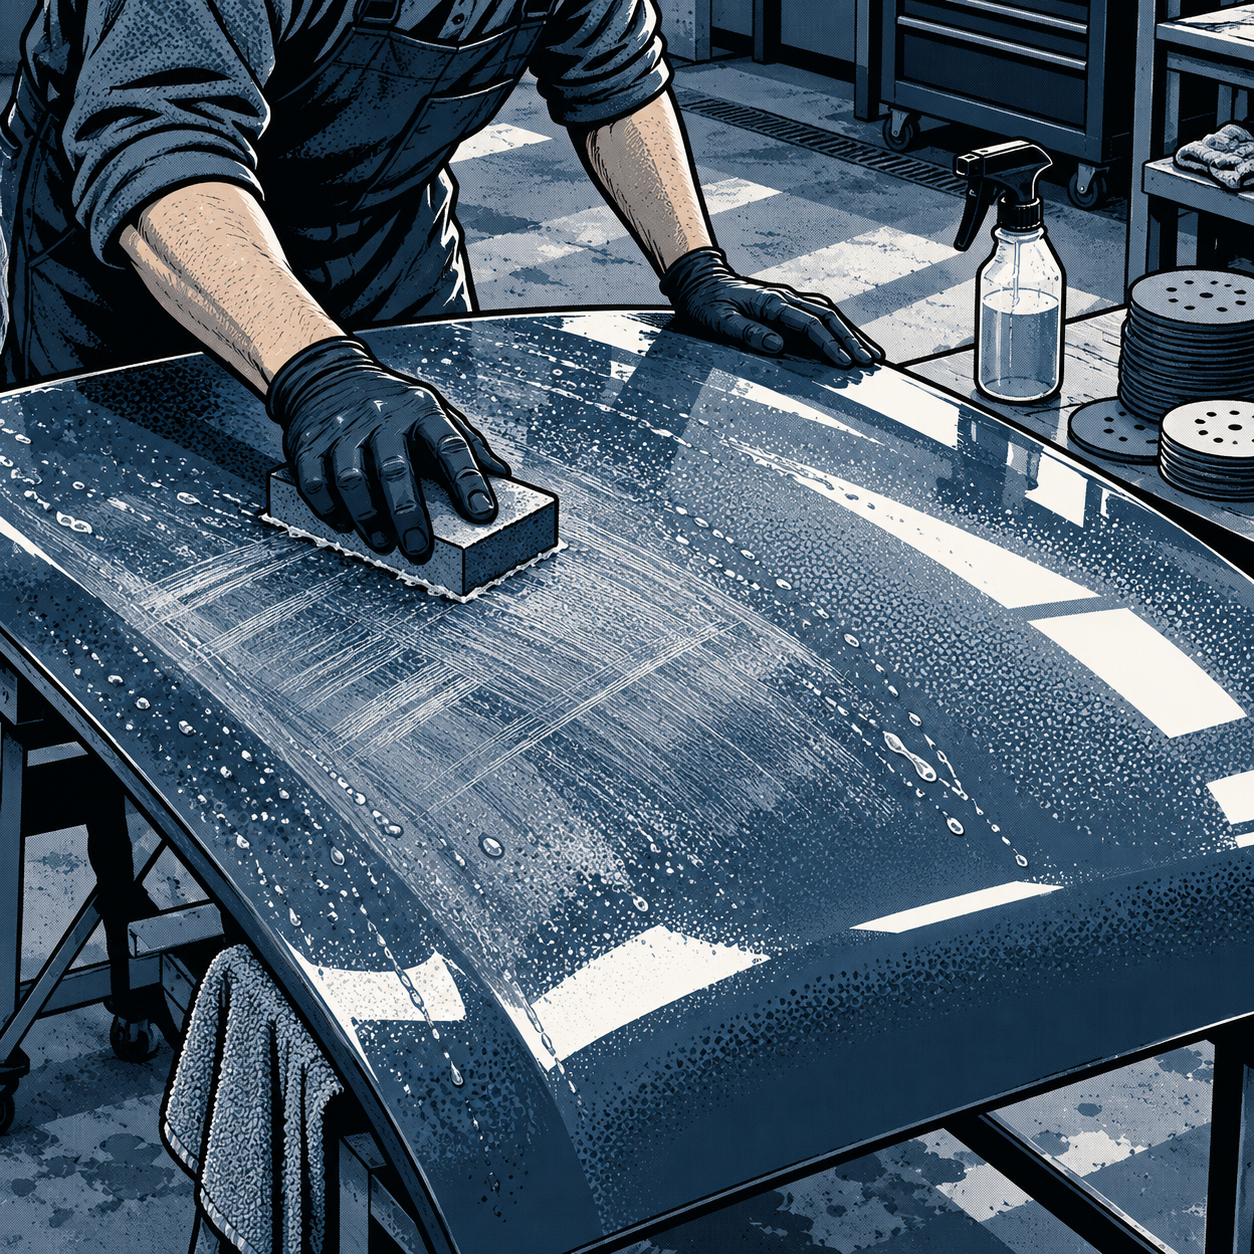
- Clean and tape off. Wash the panel, remove wax or contamination, and tape adjacent trim, edges, and body lines — edges are where burn-through happens first because clear is always thinner there.
- Start at the coarsest grit that will actually level the peaks — usually 1000 or 1500 for severe texture, never jump straight to 2000+ expecting it to level anything meaningful.
- Keep the panel wet throughout — dry sanding clearcoat loads the paper, generates heat, and creates micro-scratches that are harder to remove later. Keep a spray bottle or sanding fluid going constantly.
- Sand in a controlled pattern — crosshatch strokes, moderate pressure, checking frequently. Wipe the panel dry periodically and look at the sanded surface under a strong light; you want the peaks knocked down evenly with no “shiny” low spots showing original orange peel still intact.
- Step up through each grit in sequence — 1000 to 1500 to 2000 to 3000 — removing the scratch pattern of the previous grit at each stage. Skipping grits leaves sand scratches that take much longer to buff out, if they come out at all.
- Re-check thickness with the gauge every panel, especially near edges, raised body lines, and anywhere you spent extra time working a stubborn high spot.
Machine Polishing and Buffing to Restore Gloss
Wet sanding removes the texture but leaves a dull, hazed finish — that’s expected. Compounding and polishing bring the gloss back:
- Start with a cutting compound and a wool or firm foam pad on a rotary or forced-rotation polisher to remove the 1000/1500-grit sanding marks. Work small sections, keep the pad moving, and don’t let compound dry on the panel.
- Step down to a finishing polish with a softer foam pad to remove the haze left by compounding and bring back true gloss and clarity.
- Check your work under direct sunlight or a swirl-finder light, not shop fluorescents — fine scratches hide under flat light and show up badly outdoors.
- On edges and raised body lines, back off pressure and dwell time significantly. These are the thinnest-clear areas on any panel and the first place a buffer burns through.
Remember the old shop line: wet sanding is to painters what grinding is to welders — it’s a skill that rewards patience and punishes shortcuts. Rushing the grit progression or skipping thickness checks is how a correctable texture job becomes an expensive repaint.
When to Stop Correcting and Repaint Instead
Correction has limits. Recommend a repaint instead of further sanding when:
- Paint thickness readings are already near or below 4 mils before you’ve even started correcting.
- The texture isn’t uniform orange peel but a thick, uneven roller/brush stipple with wildly inconsistent film build panel to panel.
- You hit base coat or primer anywhere during test sanding — once you’re through clear, that panel needs to be resprayed, not polished.
- The underlying product isn’t automotive clearcoat at all (latex-based mixtures, textured coatings, bedliner-type products) — no amount of wet sanding fixes a chemistry problem.
Be upfront with the customer early. A rebuilt-title or already-repaired panel with thin clear is a common reason owners accept heavy texture rather than pay for a full respray — that’s a legitimate call, but it should be an informed one, not a surprise after you’ve already burned through an edge.
Preventing Orange Peel on the Next Job
If you’re also doing the spray work, most severe texture traces back to a handful of fixable setup issues: incorrect gun tip size for the product being sprayed, air pressure set too high (atomizing too fine and letting the paint partially dry before it lands — “dry spray”), reducer/thinner ratio too light for booth temperature, spray gun held too far from the panel, or moving too fast per pass. Match your tip size and reducer to the manufacturer’s data sheet for the ambient temperature you’re actually spraying in, not a generic chart. A test panel sprayed under the same booth conditions before committing to the final panel catches most of these problems before they become a comeback.
Quick Reference Checklist
- Measure paint thickness in multiple spots before sanding anything
- Identify texture type — spray orange peel vs. roller/brush stipple vs. contamination
- Wet sand in full grit progression (1000→1500→2000→3000), keeping the surface wet
- Check thickness again near edges and body lines before compounding
- Compound, then polish, checking gloss under direct light, not shop fluorescents
- Stop and recommend repaint if you hit base/primer or thickness drops below safe margin


Frequently Asked Questions
Can severe orange peel always be buffed out?
No. It can only be corrected if there’s enough clearcoat film thickness to sand the peaks down without breaking through to base coat or primer. Always check with a thickness gauge first.
What grit should I start wet sanding with for heavy texture?
Start at 1000 or 1500 grit for pronounced texture, then work up through 2000 and 3000 before compounding. Starting too fine wastes time without leveling anything.
Why does my sanded panel look hazy after I’m done sanding?
That’s normal — wet sanding removes texture but leaves fine, uniform scratches. Compounding and polishing with a machine polisher restores gloss and clarity.
Is it safe to wet sand near body lines and edges?
Use lighter pressure and check thickness frequently in these areas. Clearcoat is thinnest at edges and raised lines, making them the most common spot for sand-through or buff-through.
What causes extreme texture that looks like bedliner or stucco instead of normal orange peel?
Usually contamination in the gun or feed system, paint applied with a roller/brush instead of a spray gun, air pressure set far too high, or paint partially drying (“dry spray”) before it reaches the panel.
How do I know if a panel needs a full repaint instead of correction?
If thickness readings are already low before correcting, if you break through to primer during test sanding, or if the texture comes from a non-automotive product rather than clearcoat, correction won’t hold and a repaint is the right call.
Recommended Tools for Correcting Orange Peel
The correction process requires precision equipment and a methodical approach. Our Paint & Body section carries the full range of tools needed to diagnose, sand, compound, and polish severe texture issues.
- Paint thickness gauges for measuring clearcoat film
- Wet sanding paper, foam pads, and sanding blocks in full grit progressions
- Cutting compounds, finishing polishes, and machine polishers for gloss restoration

The Toolsource Technical Team blends decades of real-world automotive service experience with up-to-date technical research. Our writers collaborate with professional mechanics, shop owners, and diagnostic specialists to deliver practical, workshop-ready guidance you can trust.


Follow us on social media