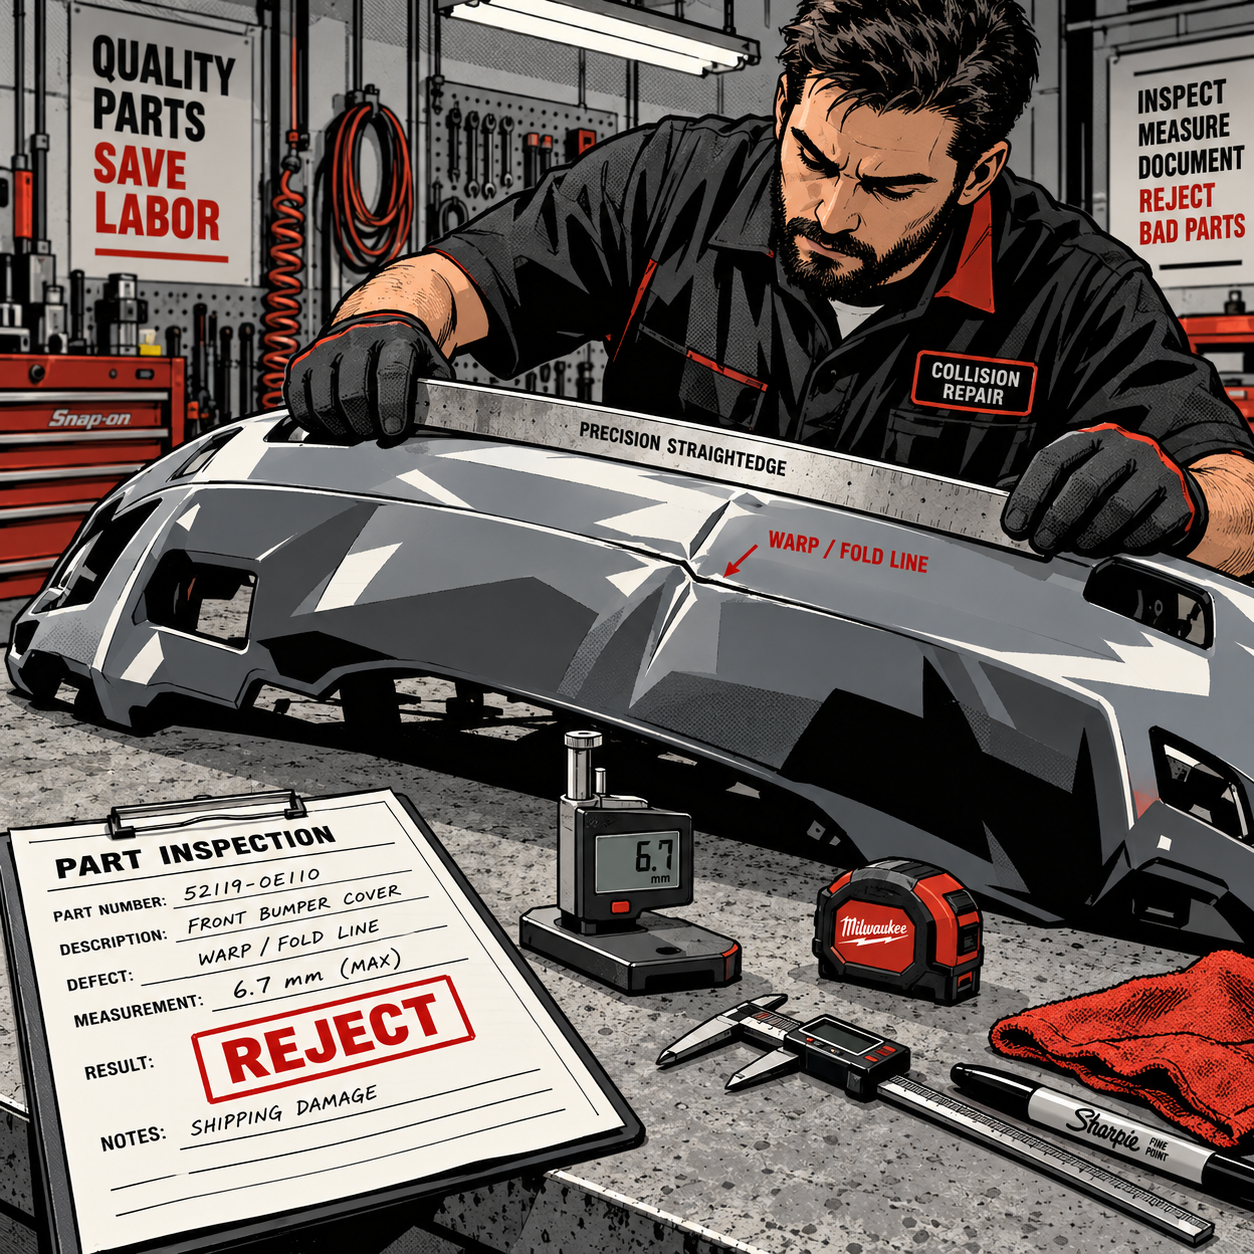
If you’ve worked a DRP collision bay for more than a few months, you’ve already met the warped bumper cover straight out of the box — folded like a lawn chair, dusted in release powder, or arriving with a chunk missing because it was the fifth one crammed into a box meant for one. This isn’t bad luck; it’s a predictable outcome of how certain aftermarket suppliers package and ship large plastic fascias. The fix isn’t hoping for a better part next time — it’s building a repeatable inspection and documentation process so a bad part costs you minutes instead of days, and knowing when and how to push for OEM when the job genuinely calls for it.
Why Aftermarket Bumper Covers Arrive Warped or Damaged
Large painted and unpainted plastic fascias are flexible by design — that’s part of what lets them survive low-speed impacts. But that same flexibility means they take a permanent set if they’re stored or shipped in the wrong position for too long. A bumper cover folded into thirds in a flat box, or stacked under other parts, will often hold that fold line even after it’s unpacked and left to relax. Thin-wall reproduction parts from high-volume, low-cost suppliers are especially prone to this because the plastic is often thinner and less rigid than OEM stock, and quality control on packaging is inconsistent between batches — what’s called a “bad stack” in the industry, where an entire production run shares the same defect.
Heat can sometimes relax minor set (laying a cover in direct sun on warm blacktop for a few hours before reshaping it is a commonly used trick), but it’s not a fix for structural warps, stress cracking, or short-shot molding defects. If the plastic is cracked, has sink marks, or the mounting tabs are misaligned, no amount of heat gunning will make it hold shape under normal driving loads and temperature swings.
Inspecting a Part Before It Touches a Vehicle
Inspect every aftermarket cover on arrival, before it goes anywhere near paint or install — catching a defect at the loading dock costs you five minutes; catching it after paint and clear costs you a day and a comeback. Work through this before signing for delivery or releasing the part to the paint department:
- Unbox and let the part sit flat, supported in its installed orientation, for at least 30–60 minutes before judging fitment — cold plastic from a truck trailer will look worse than it actually is.
- Check mounting points, tab alignment, and headlight/grille cutout dimensions against the old part or a fitment chart.
- Run a hand and eye down every body line and panel gap looking for twist, especially at the corners and around wheel-arch returns.
- Look for shipping damage specific to bulk packing: crease lines, powder residue, scuffing, or multiple parts nested together with no padding.
- Flex-test lightly at the corners — a part that creaks, cracks, or shows stress whitening under light pressure will fail in the field.
A precision panel gap and alignment gauge set makes this inspection repeatable instead of eyeballed, and gives you a number to put in a rejection note instead of “it looked off.”


Documenting a Defective Part the Right Way
Insurance carriers and DRP coordinators will rarely take a tech’s word alone — they want a paper trail. Photograph the part still in its original packaging, including the packing material, any powder or scuff marks, and a wide shot showing how it was packed relative to other parts in the box. Get a straight-on shot of the panel laid flat showing the warp line, and a measurement shot with a gauge or straightedge against the deviation. Note the part number, supplier, and lot/batch information if it’s printed on the part or packing slip — if it’s a known bad stack, that detail matters for the claim and for warning the next shop that orders from the same run.
Submit the rejection through your supplier’s standard return process immediately, not after you’ve already tried to force a fit. Many suppliers calculate return windows from delivery date, not from when your schedule allowed you to open the box. If the insurer is paying for the part, loop in the estimator with photos attached to the supplement or reorder request so the delay is documented as supplier-caused, not shop-caused — that distinction matters when the customer is asking about rental car coverage and cycle time.
{{PRODUCT_SEARCH_1}}
Working the DRP Process When a Bad Part Costs You Cycle Time
Direct Repair Program agreements typically default to aftermarket or “like kind and quality” parts to control claim costs, and most state regulations don’t require insurers to pay for OEM unless the policy specifically includes an OEM parts endorsement or the vehicle falls under a manufacturer/state exception (common for late-model vehicles under warranty, in some states). Know your DRP agreement’s parts matrix before you argue — if it specifies aftermarket on that part category, a single bad delivery usually isn’t grounds to flip the order to OEM, but a documented pattern of failures from the same supplier is leverage worth raising with your DRP rep.
When you do have a legitimate case for OEM — ADAS-adjacent parts, fitment-critical panels, or a documented bad stack causing repeat failures — put the request in writing with your photo documentation attached, and let the estimator or adjuster make the call rather than absorbing the labor to “make it work.” Rental car extension costs from a bad part delivery are the insurer’s exposure, not yours; don’t let that pressure push you into installing a part you’ve already flagged as defective.
Handling Paint-Match-Sensitive Repairs
Separate from fitment, certain factory colors — pearl whites, tri-coats, and some metallics — are notoriously difficult to blend on aftermarket or replacement panels, even with a correct formula. If a vehicle is one of these colors, flag it at estimate intake so the shop can plan for a full panel blend or adjacent-panel blend rather than a spot match that will be visible in direct sunlight. This is also where aftermarket fitment problems compound the issue: a warped cover that needs extra filler or reshaping to fit will take paint differently than a factory-straight panel, increasing the odds of a visible mismatch even with the right formula.
Communicating with Customers Who Push Back
Some customers will resist a replacement that “looks fine” to them, especially if they’re worried about cost, rental time, or simply don’t want to deal with another appointment. Explain the specific defect in plain terms — a warp that will show as a gap or stress crack within months, not just a cosmetic quibble — and put it in writing on the repair order. If the customer remains resistant, document that the replacement was recommended and declined; it protects the shop if the part fails down the road.
Quick Reference Checklist
- Let the part acclimate flat before judging fit — don’t inspect cold.
- Check mounting tabs, cutouts, and panel gaps with a gauge, not just by eye.
- Photograph packaging, defects, and measurements before unboxing is “done.”
- Note supplier, part number, and lot/batch info on every rejection.
- Submit returns immediately — don’t wait past the supplier’s return window.
- Loop the estimator in early if a bad part will affect cycle time or rental coverage.
- Flag pearl/tri-coat/metallic colors at intake for blend planning, not spot match.
{{PRODUCT_SEARCH_2}}

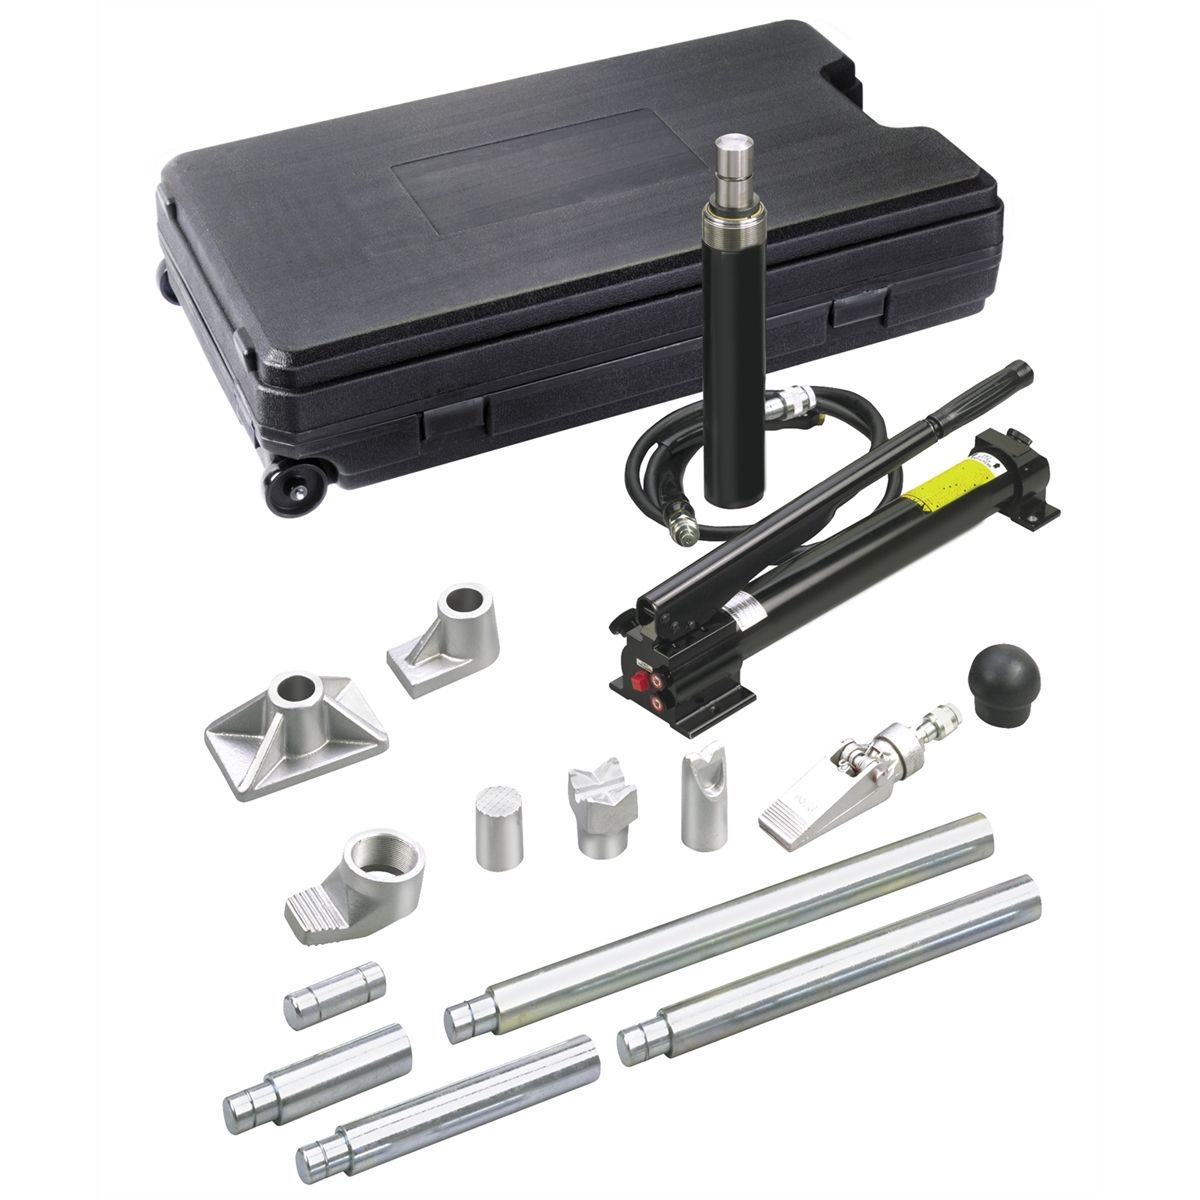
Cobra Series 10-Ton Collision Repair Set w/ 6 1/8 In Stroke Ram
Mfg: OTC Tools and Equipment
Part #: 1519A

FAQs
Can heat really fix a warped bumper cover?
Mild shipping-induced set from folding can sometimes relax with gentle, even heat and time in the correct orientation. Structural warps, cracks, or short-shot defects won’t resolve with heat and will likely fail after paint or in service.
Who pays for a rental car extension caused by a bad aftermarket part?
That’s typically the insurer’s exposure under the claim, not the shop’s, provided the delay is documented as supplier-caused with photos, dates, and the return/reorder paper trail.
Can I just insist on OEM if the aftermarket part is bad twice in a row?
You can request it, but approval depends on your DRP agreement and the customer’s policy. A documented pattern of failures from one supplier is strong leverage to raise with the DRP rep or adjuster, even if it doesn’t guarantee approval.
Does an OEM parts endorsement guarantee OEM parts on every repair?
No — it typically applies to specific coverage categories and vehicle ages as defined by the policy. Check the endorsement language or have the customer confirm with their agent before promising OEM.
How do I know if a bumper issue is a “bad stack” versus a one-off defect?
If multiple units from the same order or lot show the identical defect (same fold line, same crack location, same packaging issue), that’s a bad stack. Track lot numbers on rejections so the pattern is visible across jobs, not just within one repair order.
Is it worth flagging pearl or tri-coat colors before the repair starts?
Yes — planning for a panel or adjacent-panel blend at intake avoids a visible mismatch surprise at delivery and sets accurate customer expectations on cost and scope upfront.
Recommended Tools for Bumper Inspection & Installation
The inspection process outlined above relies on having the right tools on hand. Whether you’re checking fitment with a gauge, documenting defects with measurements, or preparing for a paint blend on a sensitive color, the right equipment catches problems early. Browse our Paint & Body selection for gauges, straightedges, and materials designed for quality control and installation work.
- Panel gap gauges and precision measuring instruments for repeatable fitment checks.
- Straightedges and alignment tools to document warps and deviations.
- Paint and blend materials for color matching on sensitive finishes.

The Toolsource Technical Team blends decades of real-world automotive service experience with up-to-date technical research. Our writers collaborate with professional mechanics, shop owners, and diagnostic specialists to deliver practical, workshop-ready guidance you can trust.


Follow us on social media