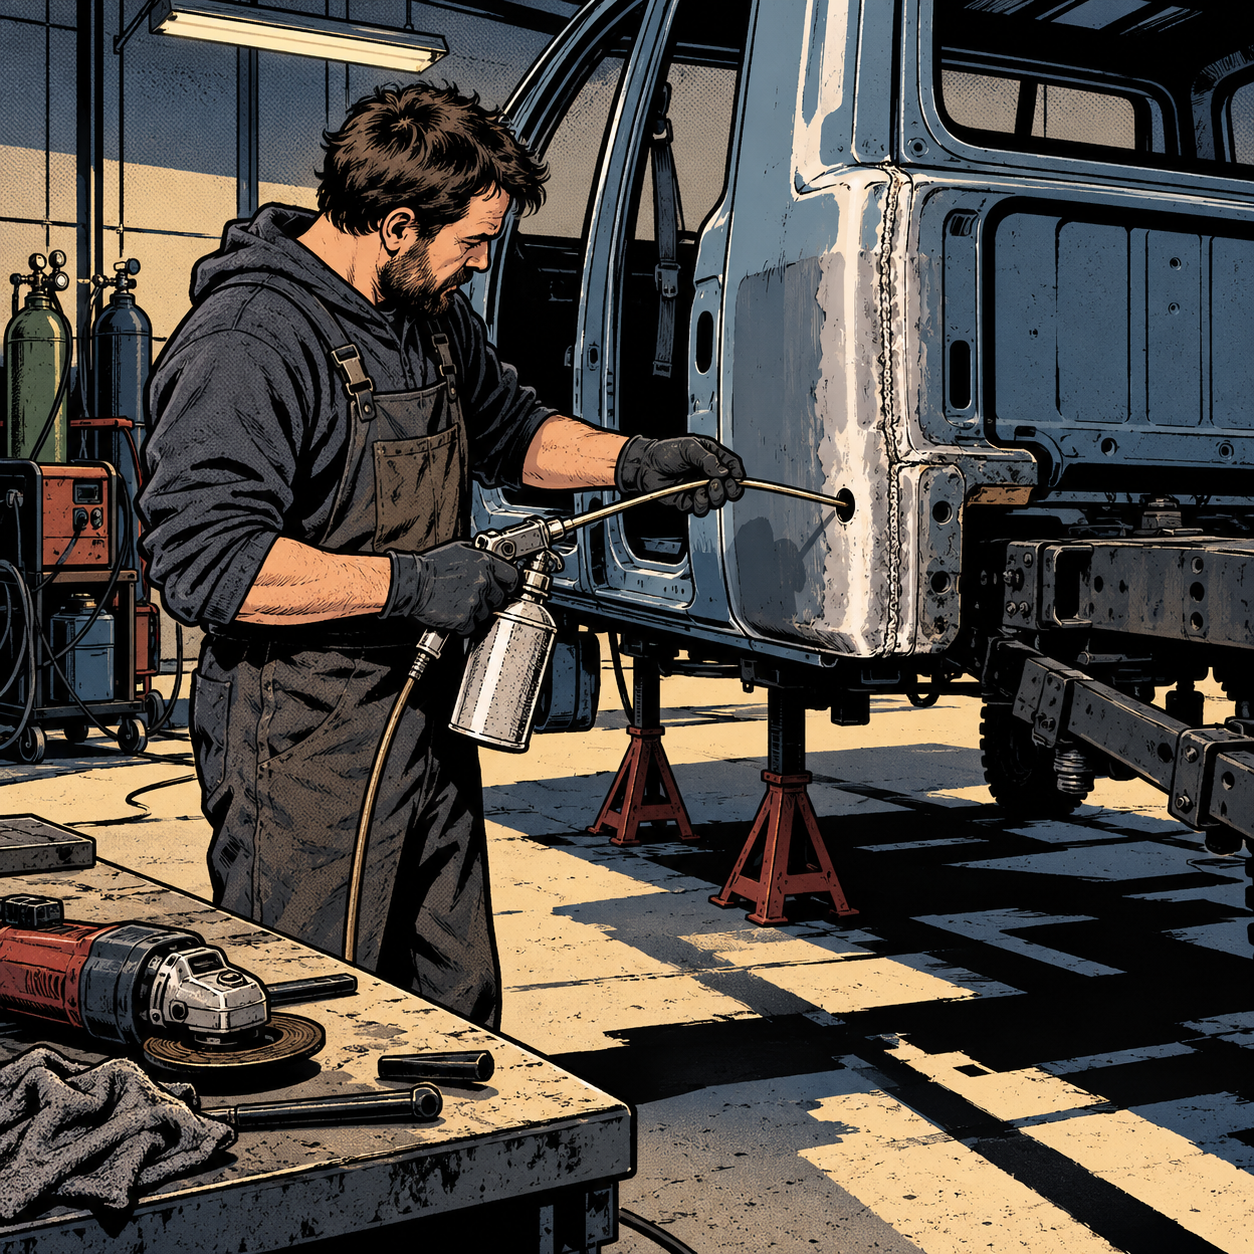
Replacing rusted-out cab corners, rockers, and lower body panels is one of the most common structural repairs technicians and serious DIYers take on, especially on older Super Duty-style trucks and SUVs that saw winter road salt. The welding itself is only part of the job. A repair that looks clean in the photos but skips drainage and cavity protection will start bubbling again within a couple of winters. This guide walks through the full process — from assessing what actually needs to come off the truck, to welding technique, to the cavity wax and drain hole details that determine whether the repair lasts five years or fifteen.
Assess the Damage Before You Cut
Before any metal gets cut, check how far the rust has traveled. Cab corners and rockers rarely rust in isolation — probe the rocker’s inner structure, the cab mount area, and the bottom of the door jambs with a pick or screwdriver. If metal crumbles rather than flexes, the rust has gone past the surface panel and into structural layers that need to come out too.
Decide early what else needs to be removed for access. Pulling the bed is common on pickups doing frame or rocker work because it gives full visibility and room to maneuver a welder. Doors are a judgment call — on many older trucks (including older Super Duties), the window regulator, speaker, and door latch wiring all route through a harness that has to be fully disconnected and fed out before the door comes off, which adds real time to the job. If the door skin and jamb aren’t rusted, it’s often faster to mask and protect the door in place rather than pull it.
Weld-In Patches: Penetration, Fit-Up, and Finish Grinding
Fit-up matters more than welders give it credit for. Cut patch panels to match the factory seam lines where possible, and dry-fit before any welding so gaps are minimal and consistent. Tight, even gaps give you full penetration without blowing through thin sheet metal, and they reduce the amount of grinding and filler needed afterward.
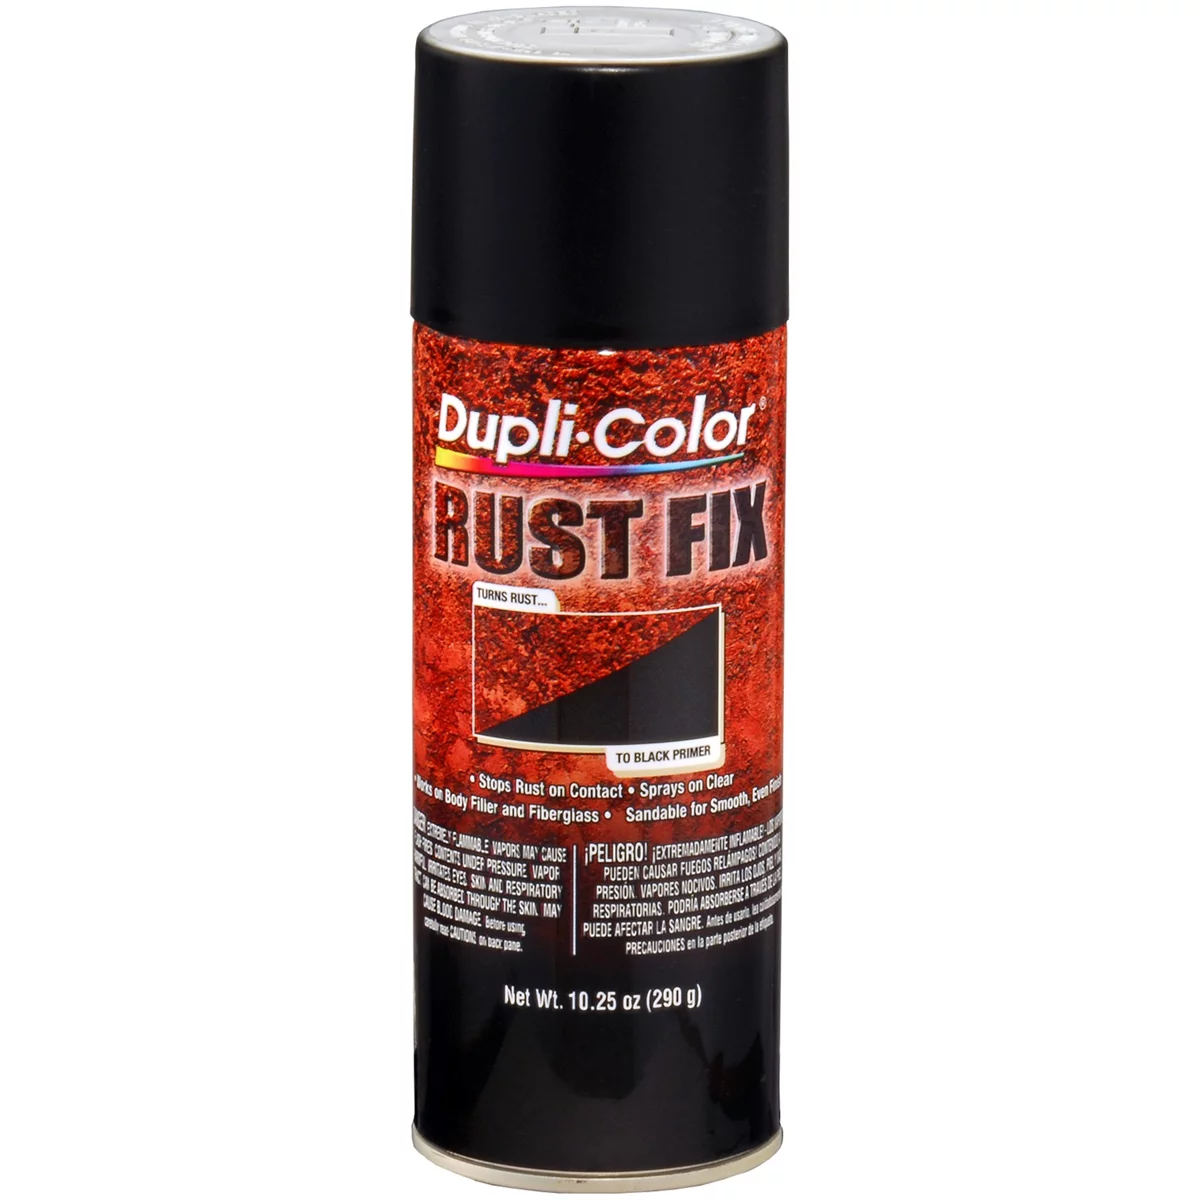
Stitch-weld in short sections rather than running a long bead — this keeps heat distortion down on thin panels. Once the welds are in, grind them flush and check for consistent, round penetration along the whole seam; a weld that looks good from the face but has cold spots on the backside is where rust starts first. After grinding, a coat of weld-through (zinc-rich) primer on the backside of the seam before final assembly protects the bare metal you just exposed, and a rust converter can be used on any flash rust that formed during the cutting and fitting stage.


Why Drain and Access Holes Are Not Optional
Every rocker, cab corner, and lower quarter panel repair creates a sealed or semi-sealed cavity. Moisture gets in through door seals, wheel wells, and condensation regardless of how well the panel is welded — the difference between a repair that lasts and one that doesn’t is whether that moisture has anywhere to go.
Drill a drain hole at the lowest point of the repaired section, sized roughly to a standard spray-wand tip (about the diameter of a drinking straw). Placing one near the cab corner and another near the rocker-to-rocker transition gives both a drain point and a refill point for ongoing maintenance. These holes should sit at the true low point of the cavity so gravity does the work — an access hole placed too high just becomes a dirt trap.
Cavity Wax, Oil, or Wool Wax: What Actually Protects the Metal
Once the repair is welded, primed, and has drain/access holes, the cavity needs an ongoing rust inhibitor, not just a one-time coating. Three materials come up repeatedly among techs who do this work regularly:
- Used motor oil — cheap and effective at displacing moisture, but it thins out, drips, and needs reapplication every season, typically before winter.
- Cavity wax (lanolin or wax-based spray) — creeps into seams similarly to oil but cures to a tackier, more stable film. Most techs report a single thorough application lasts multiple seasons instead of one, which makes it worth the higher cost for cavities that are hard to re-access.
- Wool wax / rust-proofing wax — similar long-dwell protection to cavity wax, often used as the heavier-bodied option for horizontal surfaces like rocker bottoms where runoff from thinner oils is faster.
Apply with a cavity wand or flexible spray extension through the drain holes so the product reaches the full length of the rocker or cab corner, not just the area right behind the hole. Rotate the vehicle or use a wand with a 360° spray tip to coat the top of the cavity as well as the bottom — rust starts wherever bare metal stays damp longest, which isn’t always the low point.
Set Up a Rubber Plug Kit for Annual Re-Treatment
Drain and access holes need to be covered when not in use, both for appearance and to keep road debris out. A rubber grommet or plug kit sized to the drilled holes lets the plug be pulled once a year — ideally before winter — to re-inject oil or cavity wax, then reseated. This turns rust prevention from a one-time repair step into routine maintenance, the same way oil changes or coolant flushes are scheduled rather than done once and forgotten.
Mark the plug locations on a service record or with a small paint dot so the holes are easy to find during future maintenance, especially if undercoating or bedliner spray is applied over the lower body afterward.
Quick Checklist: Rust Repair to Long-Term Protection
- Probe surrounding structure before cutting — confirm how far rust has spread
- Dry-fit patch panels for tight, even gaps before welding
- Stitch-weld, grind flush, and inspect for full penetration on both sides
- Apply weld-through primer and rust converter to bare/flash-rusted metal
- Drill drain/access holes at the true low point of each repaired cavity
- Treat cavities with cavity wax, wool wax, or oil applied through those holes
- Install rubber plugs and schedule annual re-treatment before winter
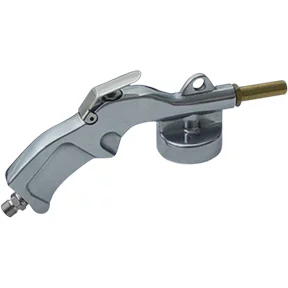

60-4363-F Rubberized Undercoating Aerosol Can - 16 oz Net We
Mfg: Transtar
Part #: 60-4363-F
Frequently Asked Questions
Is cavity wax really better than used motor oil for rust prevention?
Cavity wax typically outperforms motor oil for longevity because it cures into a more stable film instead of thinning and dripping away. Oil is cheaper and works, but expect to reapply it more often — usually every season versus every few seasons for cavity wax.
Where should drain holes be drilled after a cab corner or rocker repair?
At the lowest point of the repaired cavity so trapped moisture can escape by gravity. A size close to a standard spray wand tip (roughly straw-diameter) works well for both drainage and for inserting a wand to apply rust inhibitor later.
Do I need to pull the doors before replacing cab corners or rockers?
Only if the door skins, jambs, or hinge areas are also rusted or need clearance for welding. On many trucks, pulling doors means fully disconnecting the window, speaker, and latch wiring harness first, which adds significant time — if the doors aren’t rusted, masking them in place is often faster.
How often should cavity treatment be reapplied?
Oil-based treatments generally need yearly reapplication, ideally before winter. Cavity wax and wool wax formulations tend to last multiple seasons per application, but should still be checked and topped off periodically through the access holes.
Does weld-through primer replace the need for cavity wax afterward?
No. Weld-through primer protects bare metal at the moment of welding and during assembly, but it’s not a long-term cavity treatment. Cavity wax or oil applied after assembly is what protects the enclosed space over years of exposure to moisture.
What’s the biggest mistake technicians make on this kind of repair?
Treating the welding as the finish line. A technically clean weld with no drain holes and no cavity treatment will trap moisture behind the new metal and start rusting from the inside out, often faster than the original panel did.
Paint & Body Products
Complete your rust repair with primers, sealants, and protective treatments available in our Paint & Body selection. These products ensure newly welded panels stay protected from moisture and corrosion long after welding is complete.
- Weld-through primers and rust converters for fresh metal protection
- Cavity wax, wool wax, and moisture-displacing treatments for long-term corrosion prevention
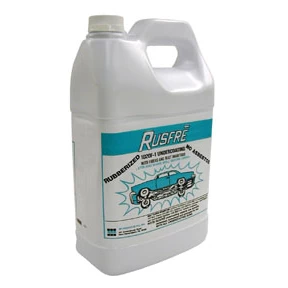
- Undercoating and rubberized sealants for lower body panel protection

The Toolsource Technical Team blends decades of real-world automotive service experience with up-to-date technical research. Our writers collaborate with professional mechanics, shop owners, and diagnostic specialists to deliver practical, workshop-ready guidance you can trust.


Follow us on social media