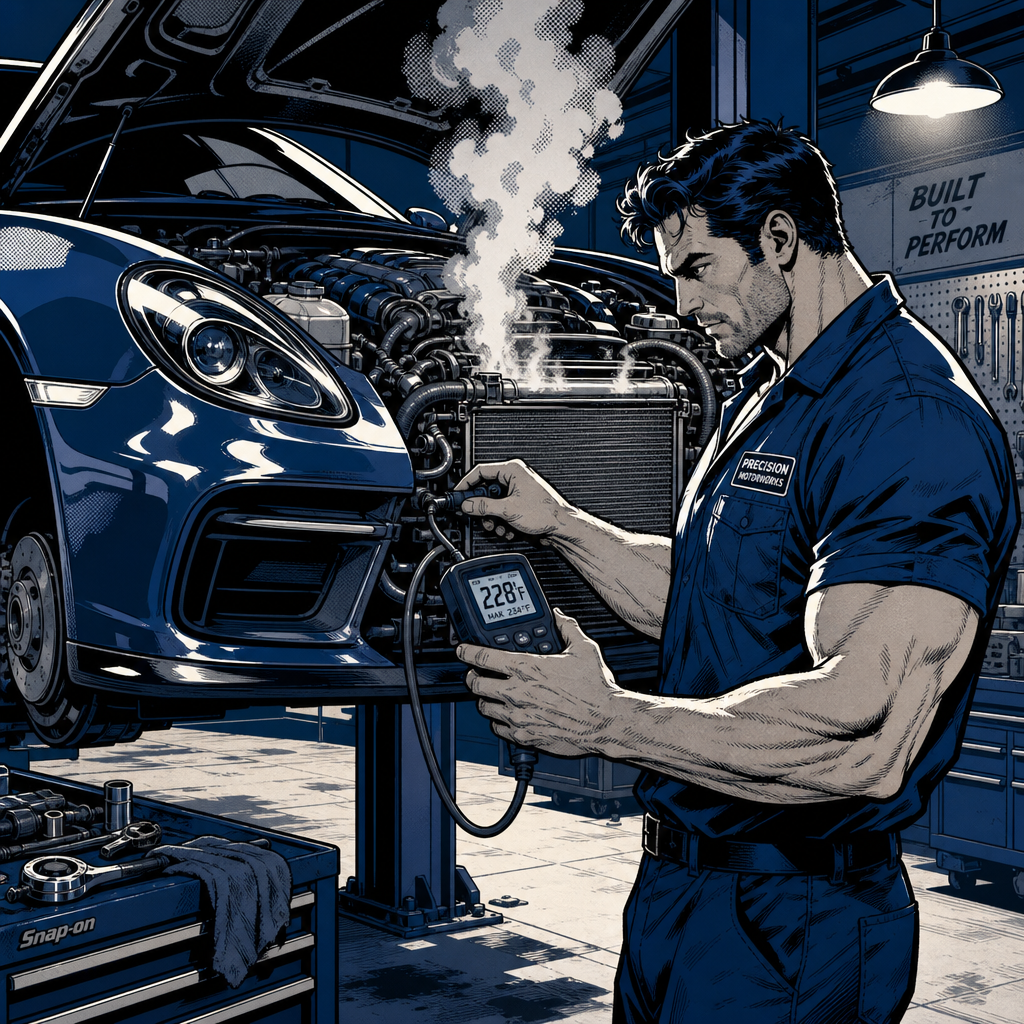
You’ve got a vehicle on the rack that presents a counterintuitive problem: it runs cool at idle and during city driving, but the temperature gauge climbs toward the red zone at highway speeds. This pattern—normal temps at low speeds, overheating at 70+ mph—points to specific cooling system failures that prevent the system from meeting high-speed thermal demands. Unlike typical overheating that occurs in stop-and-go traffic when airflow is minimal, this condition indicates the cooling system can’t handle increased heat rejection when the engine is under sustained load. This diagnostic guide walks through the systematic approach to identifying and resolving high-speed overheating, based on proven troubleshooting protocols and common failure patterns.
Understanding High-Speed Overheating Versus Idle Overheating
The cooling system’s job is heat rejection, and different driving conditions create different thermal challenges. At idle and low speeds, the engine produces moderate heat, and airflow through the radiator is minimal—relying primarily on the electric or mechanical fan. Most cooling systems can handle this scenario even when partially compromised.
At highway speeds (60-75 mph), three factors change dramatically. First, engine heat output increases substantially due to sustained load and higher RPM. Second, ram air through the radiator increases significantly—the fan becomes almost irrelevant at speeds above 40 mph. Third, the water pump spins faster, increasing coolant flow rate through the system.
When a vehicle overheats specifically at highway speeds, the cooling system is failing under increased demand. The system can handle low-speed thermal loads but cannot reject the higher heat output during sustained high-speed operation. This pattern typically eliminates fan-related issues (since ram air dominates at highway speeds) and points toward restricted coolant flow, insufficient heat transfer capacity, or circulation problems that become critical only when coolant flow rates and heat loads increase.
Primary Suspects: Thermostat Failures and Partial Restriction
The thermostat is the most common cause of high-speed overheating that presents normal temperatures at idle. A thermostat stuck in the partially closed position allows some coolant flow—enough for low-speed operation but insufficient for highway demands. This is more common than a fully stuck-closed thermostat, which typically causes overheating at all speeds.
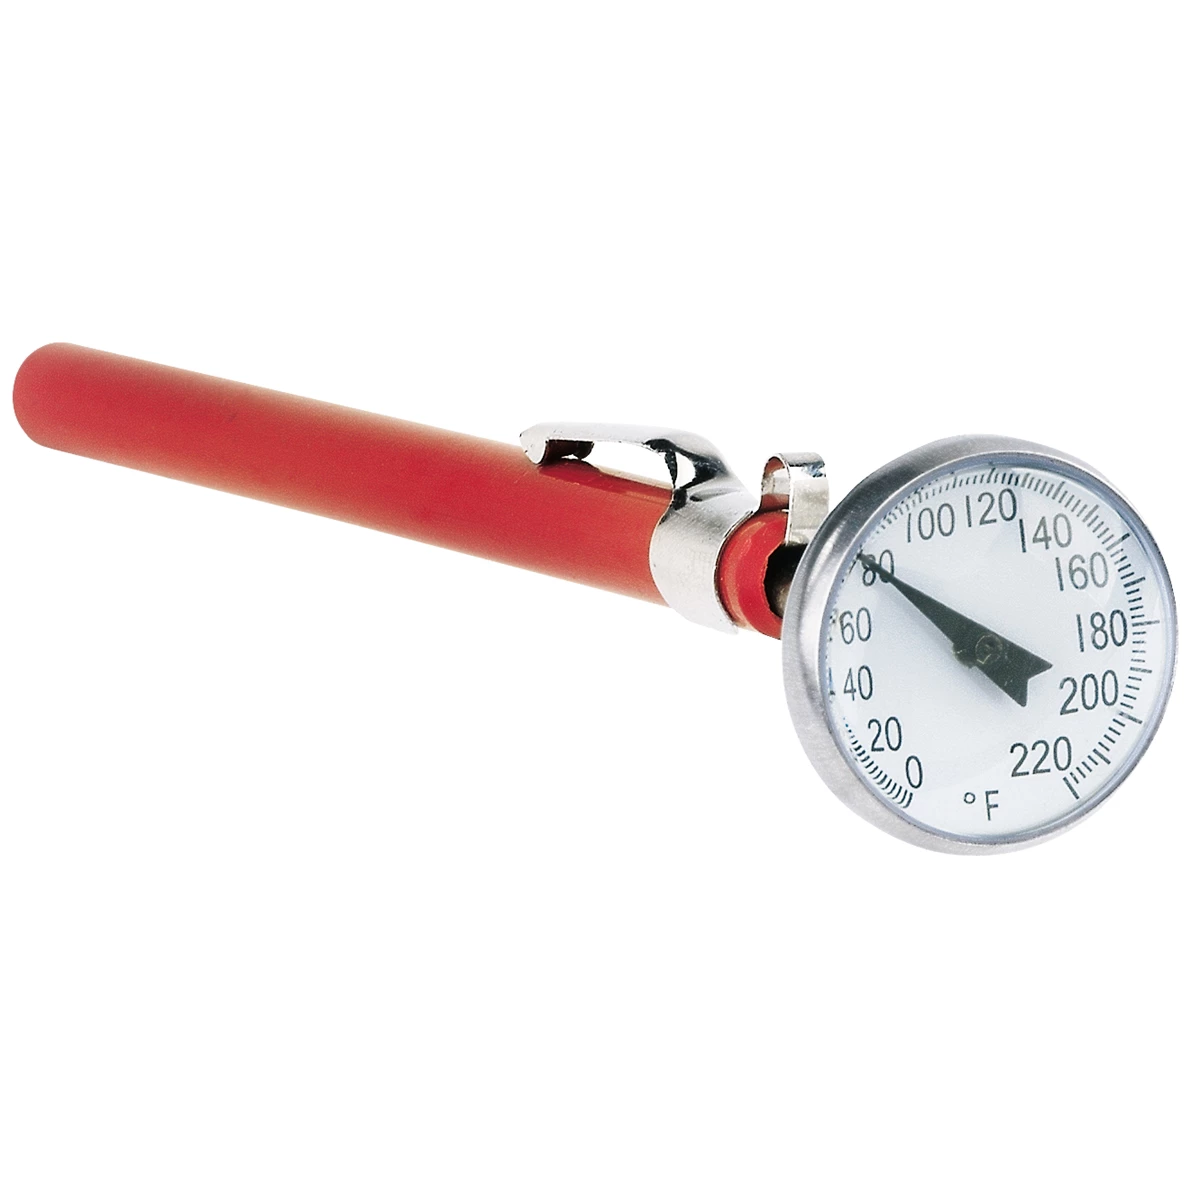
Check the thermostat first. On most vehicles, this is a straightforward 30-minute job requiring basic hand tools. Remove the thermostat housing, inspect the thermostat for corrosion, deposits, or mechanical binding. Test it in a pot of water with a thermometer: heat the water and verify the thermostat opens fully at its rated temperature (typically 180-195°F). A thermostat that opens sluggishly, partially, or at the wrong temperature needs replacement.
When replacing the thermostat, use OEM or quality aftermarket parts—cheap thermostats fail at higher rates. Install with the thermal pellet facing the engine block. Ensure the bypass circuit (if equipped) isn’t blocked. Many technicians reflexively replace the thermostat on any overheating complaint, and for high-speed overheating, this is often the correct first move.
Internal corrosion and deposits can restrict the thermostat housing or passages in the engine block. On vehicles with long service intervals or neglected coolant maintenance, rust and scale buildup can narrow coolant passages enough to restrict flow under high-demand conditions. Inspect housing passages during thermostat replacement and flush thoroughly if deposits are visible.
Water Pump Failure: Impeller Degradation and Bearing Issues
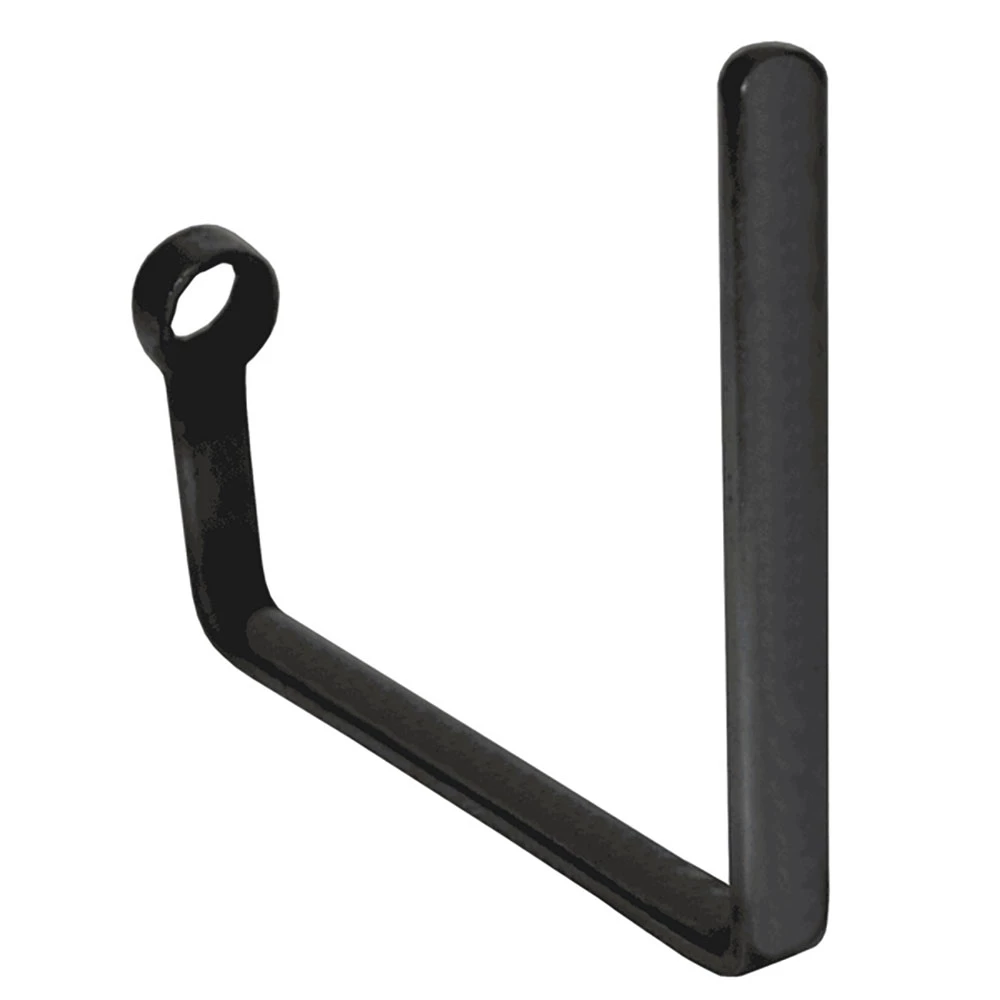
Water pump failures present in several ways, and not all are obvious. A catastrophic failure—shaft seal leak, bearing seizure, or complete impeller separation—causes immediate overheating at all speeds. But partial failures can cause high-speed overheating while maintaining adequate flow at low speeds.
Plastic and composite impellers, common on many modern vehicles, are prone to erosion and cracking. The impeller can develop cracks that reduce pumping efficiency, or the blades can erode from cavitation or coolant chemistry issues. At low RPM, the damaged impeller moves enough coolant. At highway speeds and higher RPM, the damaged impeller cannot generate sufficient flow or pressure, and the system overheats.
Ford, in particular, has used plastic impellers that crack and lose material over time—a planned obsolescence issue that causes exactly this symptom pattern. Other manufacturers have similar problems with composite materials degrading after 80,000-120,000 miles.
Diagnosing a failing water pump without disassembly requires indirect methods. Check for shaft play by trying to wiggle the pump pulley—any movement indicates worn bearings. Listen for bearing noise (growling or squealing from the pump area). Check for coolant weeping from the weep hole on the pump body—this indicates seal failure. On engines with external pumps, check belt tension; a slipping belt reduces pump speed and can cause high-speed overheating.
Some vehicles allow inspection of the impeller through the thermostat housing or upper radiator hose connection—use a flashlight and mirror to check for visible damage or corrosion. If you cannot visually confirm impeller condition and other diagnostics are inconclusive, water pump replacement is often warranted on higher-mileage vehicles (100,000+ miles) presenting with high-speed overheating.
Radiator Restrictions: External Blockage and Internal Clogging
The radiator’s job is heat transfer from coolant to air. Anything that reduces airflow through the core or restricts coolant flow inside the tubes will reduce cooling capacity. At low speeds with minimal heat load, a partially restricted radiator can still handle the job. At highway speeds with sustained high heat rejection demands, the restriction becomes critical.
External blockage is common and often overlooked. Radiators accumulate bugs, leaves, road debris, and dirt between the fins, particularly in the lower sections. The AC condenser sits in front of the radiator on most vehicles, creating a cavity that traps debris. At highway speeds, when ram air should be delivering maximum airflow, a blocked radiator cannot transfer heat effectively.
Inspect the radiator from both sides. Remove the front fascia or grille as needed to access the front face of the condenser and radiator. Look for compressed fins, debris accumulation, and bent or damaged sections. Clean thoroughly with low-pressure water (garden hose, not pressure washer—high pressure damages fins). Spray from the engine side toward the front to push debris out the way it came in. Straighten bent fins carefully with a fin comb.
Internal radiator clogging results from corrosion, scale buildup, and coolant degradation. Modern coolants have a service life of 5-10 years or 100,000-150,000 miles, depending on type (OAT, HOAT, IAT). Beyond that, the corrosion inhibitors are depleted, and the coolant begins breaking down, forming sludge and allowing internal corrosion. This buildup restricts flow through the small radiator tubes.
Check coolant condition: pull the radiator cap (engine cold) and inspect the coolant. It should be clean and translucent in the appropriate color (orange, pink, green, yellow depending on type). If it’s rusty, brown, muddy, or contains visible particles, the system is contaminated. This contamination can clog radiator tubes, heater core passages, and engine coolant passages.
On heavily contaminated systems, the radiator may require replacement—flushing cannot always clear severe internal deposits. On moderately contaminated systems, a thorough flush and coolant replacement may restore function. After service, retest under highway conditions to verify the repair.
Air Pockets, Coolant Level Issues, and Bleeding Procedures
Air in the cooling system prevents proper circulation and creates hot spots. Unlike a complete air lock (which typically causes immediate overheating), a small air pocket can allow partial circulation sufficient for low-speed operation but inadequate for highway demands.
This is particularly relevant when coolant was recently topped off or the system was recently opened for service. Adding coolant to a low system can introduce air, and if the system isn’t properly bled, that air remains trapped. The symptoms described—coolant topped off, then overheating at highway speeds—fit this pattern perfectly.
Coolant level must be checked properly. On systems with a pressure cap on the radiator, check level in the radiator itself (engine cold, cap off) and in the overflow reservoir. The radiator should be completely full, and the reservoir should be at the cold fill line. On systems with a pressurized reservoir (no radiator cap), check only the reservoir level—it should be at the cold fill line when cold, hot fill line when at operating temperature.
Bleeding procedures vary by vehicle. Some systems are self-bleeding—run the engine at idle with the radiator cap off (or bleeder valve open) until the thermostat opens and coolant circulates, then top off as needed. Other systems require specific bleeding procedures using bleeder valves at high points in the system. Consult service information for the specific bleeding procedure for the vehicle in question.
Many vehicles have bleeder screws on the thermostat housing, heater hose connections, or other high points. Open these bleeders while filling the system to allow air to escape. Run the engine with bleeders open until coolant flows without bubbles, then close bleeders and top off the system.
Elevated engine speed during bleeding can help. With the cap off (or bleeder open), run the engine at 2,000-2,500 RPM for several minutes to increase coolant flow and help purge air pockets. Squeeze the upper radiator hose several times to help dislodge trapped air.
Secondary Factors: Radiator Cap, Coolant Concentration, and Fan Operation
The radiator cap maintains system pressure, typically 13-16 PSI, which raises the boiling point of coolant and prevents cavitation in the water pump. A weak or failed cap allows the system to lose pressure, lowering the boiling point and reducing cooling efficiency. At highway speeds with high heat loads, a weak cap can allow localized boiling and vapor pockets that disrupt circulation.
Test the cap with a cooling system pressure tester. The cap should hold its rated pressure without leaking. If it releases pressure below the rating or doesn’t seal properly, replace it. This is a $10, 30-second repair that solves overheating issues more often than you’d expect. Always replace the cap when replacing a radiator or performing major cooling system service.
Coolant concentration affects heat transfer. The correct mix is typically 50/50 antifreeze to water, providing freeze protection to -34°F and boil-over protection to 265°F (with a 15 PSI cap). Too much water reduces boiling point and provides no corrosion protection. Too much antifreeze reduces heat transfer capacity—pure antifreeze has worse heat transfer properties than a 50/50 mix.
Check concentration with a refractometer or test strips. If the vehicle has been repeatedly topped off with straight water (common backyard practice), the concentration may be too low. Drain and replace with the correct 50/50 mixture using the coolant type specified by the manufacturer.
Fan operation is rarely the cause of highway-speed overheating—ram air dominates above 40 mph—but verify fan operation as part of a complete diagnosis. At highway speeds, the fan should be irrelevant, but if the vehicle overheats and then continues to overheat after slowing down, a non-functioning fan will prevent recovery. Test fan operation by running the AC (fan should run) or by letting the engine reach operating temperature and verifying the fan cycles on.
Systematic Diagnostic Checklist
Use this sequence for diagnosing high-speed overheating:
- Verify the symptom: Road test the vehicle under highway conditions and confirm the temperature rises abnormally at sustained speeds above 60 mph.
- Check coolant level: Inspect radiator and reservoir when cold; verify proper fill level in both.
- Inspect coolant condition: Look for rust, contamination, or discoloration indicating degraded coolant or internal corrosion.
- Test radiator cap: Use a pressure tester to verify the cap holds rated pressure; replace if weak or failed.
- Inspect radiator externally: Remove grille/fascia and check for debris, blocked fins, or damage; clean thoroughly with low-pressure water from the back side forward.
- Check thermostat operation: Remove and bench-test in hot water, or monitor inlet/outlet hose temperatures to verify the thermostat opens fully.
- Inspect water pump: Check for shaft play, bearing noise, seal leakage, or belt slippage; inspect impeller if accessible.
- Bleed the cooling system: Follow manufacturer procedure to remove air pockets, particularly if coolant was recently added.
- Verify coolant concentration: Test with refractometer and correct to 50/50 if necessary.
- Retest under load: After repairs, road test at highway speeds to confirm normal operating temperature.
Head Gasket Failure and Compression Leak Considerations
Head gasket failure can cause overheating, but typically presents with additional symptoms: white smoke from the exhaust, coolant consumption without external leaks, oil contamination in the coolant (milky appearance), or rough idle from a cylinder misfire. High-speed overheating alone, without these additional indicators, is less likely to be head gasket failure.
However, a marginal head gasket leak can introduce combustion gases into the coolant, creating pressure and air pockets that disrupt circulation. At low speeds, the system can tolerate this. At high speeds with increased coolant flow rates, the disruption becomes critical.
Test for combustion gases in the coolant using a block tester (chemical test kit that detects hydrocarbons in the coolant). Draw air from the radiator or reservoir through the test fluid—if it changes color (blue to yellow, typically), combustion gases are present, confirming head gasket or cracked head/block.
Also perform a cooling system pressure test. Pressurize the cold system to the cap rating and monitor for pressure loss over 15-20 minutes. Gradual pressure loss indicates a leak—inspect for external leaks at hoses, radiator, water pump, and heater core. If no external leaks are found but pressure drops, suspect an internal leak (head gasket, cracked cylinder head, or cracked block).
If head gasket failure is confirmed, repair requires head removal, resurfacing (if warped), and gasket replacement. This is the worst-case scenario for high-speed overheating and the most expensive repair. Fortunately, it’s also one of the less common causes when other symptoms are absent.
Oil’s Role in Engine Cooling and Lubrication
Engine oil provides lubrication but also contributes to heat rejection—oil carries heat away from pistons, bearings, and cylinder walls to the oil pan and oil cooler. Low oil level, degraded oil, or incorrect viscosity can reduce the oil’s cooling capacity and contribute to overheating under sustained high-speed operation.
Check oil level and condition. Low oil reduces heat transfer capacity. Severely degraded oil (broken down from extended service or overheating) loses viscosity and thermal properties. Incorrect viscosity—particularly oil that’s too thick—can reduce flow and heat transfer, especially at high RPM and high temperatures.
If oil is low, bring it to the proper level and check for leaks or consumption issues. If oil is degraded or incorrect, perform an oil and filter change with the manufacturer-specified grade. Retest under highway conditions. While oil-related overheating is uncommon compared to coolant system failures, it’s a simple check that occasionally identifies a contributing factor.
Instrumentation Faults: When the Gauge Lies
Before tearing into cooling system components, verify the temperature gauge and sensor are accurate. A faulty temperature sensor or gauge can indicate overheating when the engine is actually running at normal temperature. This is particularly relevant on older vehicles where sensor and gauge accuracy may have degraded.
Use a scan tool to check actual coolant temperature from the ECM. Compare the scan tool reading to the gauge reading at idle and under load. If the scan tool shows normal temperature (195-220°F, depending on the vehicle) while the gauge shows hot, the gauge or sender is faulty, not the cooling system.
You can also verify temperature with an infrared thermometer. Check the temperature at the thermostat housing, upper radiator hose, and lower radiator hose. At operating temperature, the upper hose should be hot (190-210°F), and the lower hose should be cooler (indicating heat rejection in the radiator). If actual temperatures are normal but the gauge reads high, replace the temperature sender or diagnose the gauge circuit.
Conversely, if the gauge reads normal but the scan tool shows elevated temperature, the gauge is under-reading—a dangerous condition that can lead to engine damage if the operator doesn’t realize the engine is overheating. Trust the scan tool and infrared thermometer over the dash gauge when diagnosing temperature issues.
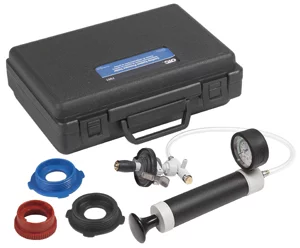
OTC 7991 Radiator Cooling System Pressure Tester
Mfg: OTC Tools and Equipment
Part #: 7991
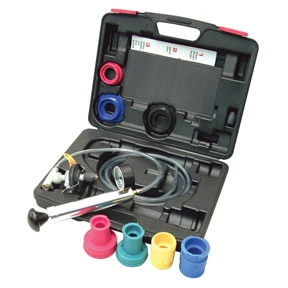
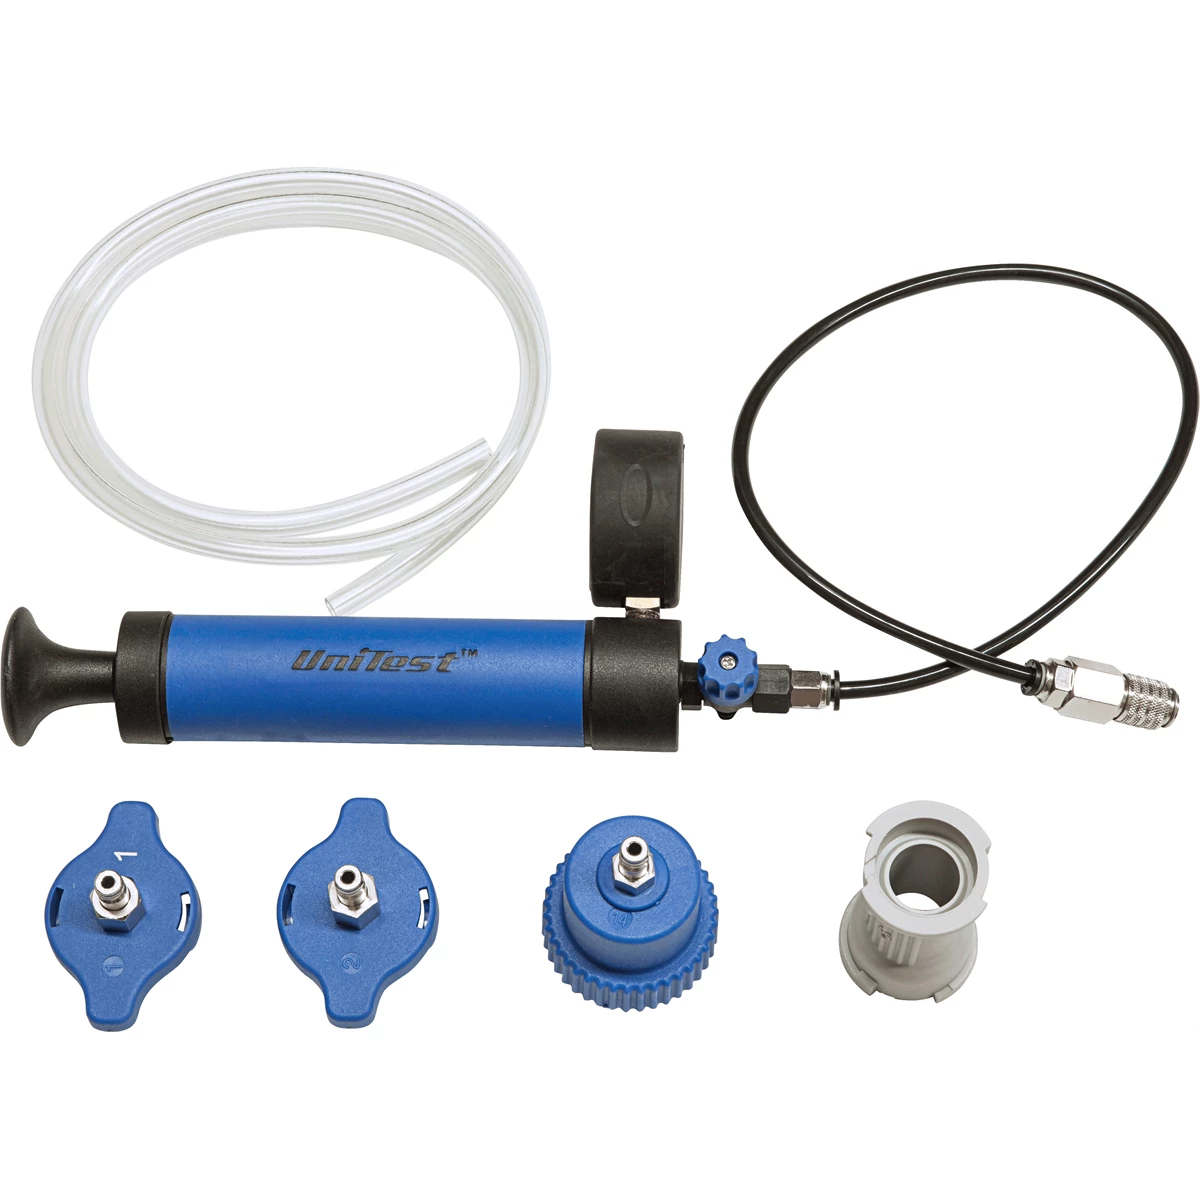
OE Toyota/Lexus Cooling System Pressure Test Kit
Mfg: Private Brand Tools
Part #: 71510
Frequently Asked Questions
Why does my car overheat at 70 mph but not in stop-and-go traffic?
This pattern indicates the cooling system cannot handle the sustained heat load at highway speeds. The most common causes are a thermostat stuck partially closed, a failing water pump with a damaged impeller, or a clogged radiator. At low speeds, the engine produces less heat and the cooling system—even when compromised—can keep up. At highway speeds, increased engine RPM and load generate more heat, and the compromised system cannot reject it fast enough.
Can a bad radiator cap cause overheating at high speeds?
Yes. A weak or failed radiator cap allows the cooling system to lose pressure, which lowers the coolant’s boiling point and reduces heat transfer efficiency. Under the high heat loads of highway driving, a weak cap can allow localized boiling and vapor pockets that disrupt coolant circulation, leading to overheating. Testing and replacing the cap is a quick, inexpensive first step in diagnosing high-speed overheating.
How do I know if my water pump impeller is damaged?
Direct inspection requires removing the water pump, but indirect diagnosis is possible. Check for shaft play by wiggling the pump pulley—any movement indicates worn bearings. Listen for growling or squealing from the pump. Check for coolant weeping from the weep hole. On some engines, you can inspect the impeller through the thermostat housing with a flashlight and mirror. Plastic impellers on Ford and other vehicles are prone to cracking, particularly after 80,000+ miles, causing reduced flow at high RPM.
Will flushing the cooling system fix high-speed overheating?
It depends on the cause. If the overheating is due to internal radiator clogging, deposits in the engine block, or degraded coolant, a thorough flush and refill may resolve the issue. However, if the thermostat is stuck, the water pump impeller is damaged, or the radiator is externally blocked, flushing won’t help. Flush the system if coolant is visibly contaminated, rusty, or overdue for service, but also address mechanical failures like stuck thermostats or failing pumps.
Can air in the cooling system cause overheating only at highway speeds?
Yes. A small air pocket can disrupt coolant circulation enough to cause problems under high-demand conditions (highway speeds, sustained load) while allowing adequate cooling at idle or low speeds. This is particularly common after topping off coolant or performing cooling system service without proper bleeding. Follow the manufacturer’s bleeding procedure—running the engine with bleeder valves open or the radiator cap off—to purge air from the system.
Should I replace the thermostat even if I’m not sure it’s bad?
On higher-mileage vehicles (80,000+ miles) presenting with high-speed overheating, replacing the thermostat is cheap insurance. It’s an inexpensive part, relatively easy to replace on most engines, and a common failure point. If the thermostat hasn’t been replaced in 100,000 miles or 10+ years, replace it as part of the diagnostic process. Bench-test the old unit in hot water to confirm whether it was opening fully—this provides valuable diagnostic information even if it doesn’t solve the problem.
Recommended Tools for Cooling System Diagnosis
Diagnosing high-speed overheating requires a systematic approach and the right tools. Our Automotive Cooling System category stocks everything you need for testing and repair, from pressure testers to thermostats and water pump components.
- Cooling system pressure testers and gauges for diagnosing weak caps and circulation issues
- Thermostats, water pumps, and radiator hoses for common replacement repairs
- Refractometers and test strips for verifying coolant concentration and condition

The Toolsource Technical Team blends decades of real-world automotive service experience with up-to-date technical research. Our writers collaborate with professional mechanics, shop owners, and diagnostic specialists to deliver practical, workshop-ready guidance you can trust.


Follow us on social media