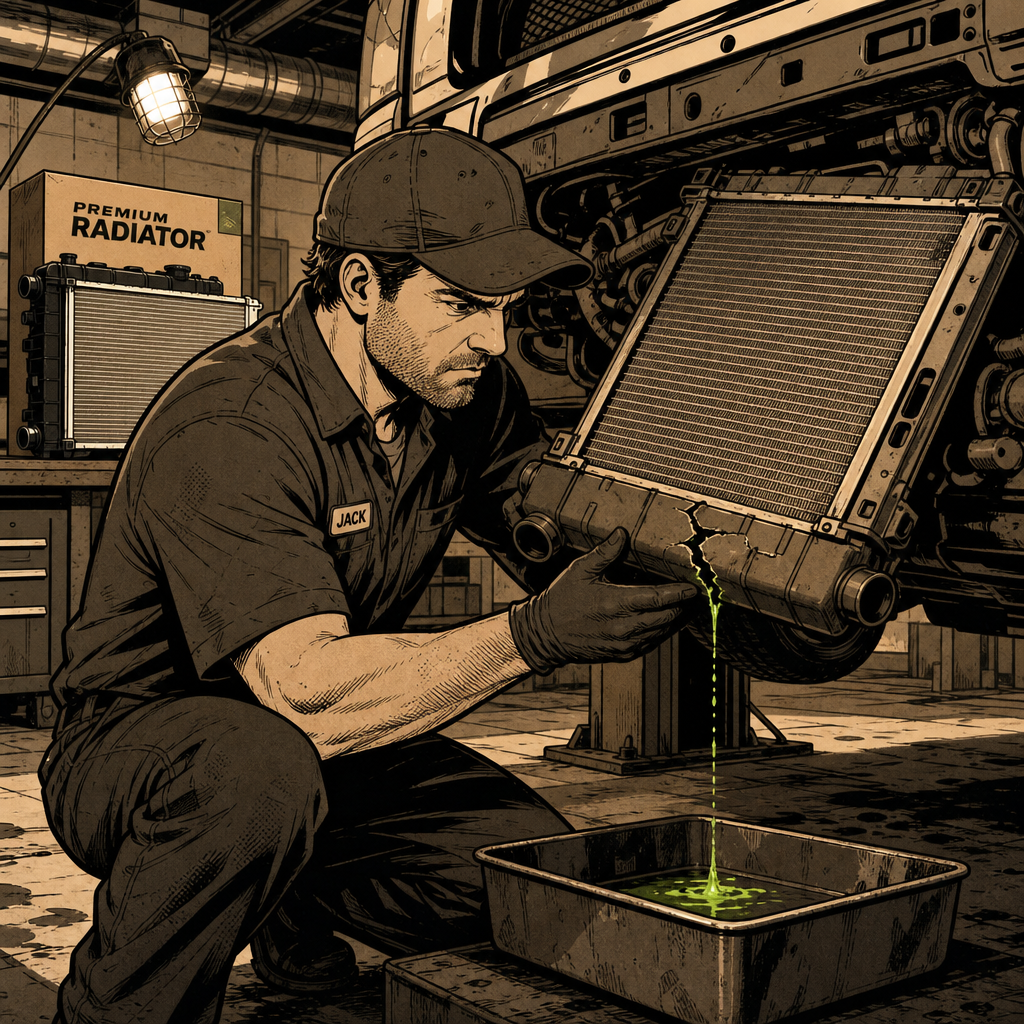
Speed bumps serve an important traffic-calming function, but they can inflict serious damage on your vehicle’s cooling system when hit at the wrong angle or speed. Even seemingly minor impacts can crack a radiator, particularly on older vehicles where plastic components have become brittle over time. The immediate aftermath often involves coolant pooling beneath your vehicle—a bright green, orange, or pink puddle with a distinctive sweet smell. Understanding how to quickly diagnose radiator damage and take appropriate action can prevent a simple component failure from escalating into catastrophic engine damage. This guide walks through the identification process, damage assessment, and repair options available to both DIY mechanics and professional technicians.
Identifying Coolant Leaks and Initial Damage Assessment
The first indication of radiator damage is typically a puddle of fluid beneath your vehicle. Coolant has distinct characteristics that differentiate it from other automotive fluids: it’s brightly colored (green, orange, pink, or yellow depending on the type), has a slippery texture, and emits a sweet odor often compared to maple syrup or candy. If you notice this fluid immediately after hitting a speed bump, you’ve likely compromised your radiator or cooling system.
Check your temperature gauge immediately. If the needle is climbing toward the hot zone, shut off the engine right away. Running a vehicle with insufficient coolant will cause the engine to overheat rapidly, potentially warping the cylinder head, blowing the head gasket, or causing complete engine seizure. What starts as a few-hundred-dollar radiator replacement can quickly become a multi-thousand-dollar engine rebuild if you continue driving.
Pop the hood and visually inspect the radiator once the engine has cooled sufficiently. Look for obvious cracks in the plastic end tanks (top and bottom of the radiator), disconnected hoses, or damaged radiator fins. The impact point is often visible as a deformation or crack in the lower radiator tank, since this is the component most vulnerable to ground strikes. Don’t open the radiator cap while the system is hot—pressurized coolant can cause severe burns.
Assess the leak rate. A small crack might produce a slow drip, while a major fracture will dump coolant rapidly. If the fluid loss is substantial and immediate, the vehicle shouldn’t be driven at all. Even a few blocks can be enough to cause overheating damage. Arrange for a tow truck rather than risking the drive.
Why Radiators Fail from Minor Impacts
Modern radiators use plastic end tanks attached to an aluminum core, which keeps costs down and reduces weight but creates a vulnerability. Over time, exposure to heat cycles, coolant chemistry, and environmental factors cause the plastic to become brittle. A radiator that’s 10-15 years old may look fine externally but has significantly reduced structural integrity. The stress from even a minor impact—like slowly rolling over a speed bump—can be enough to crack weakened plastic.
The bathtub curve of component failure explains why radiators often fail either very early in their service life (manufacturing defects, installation errors) or near their expected end of life (material degradation). A vehicle with 30,000 trouble-free miles will likely continue reliably for another 100,000 miles, but new vehicles can experience early failures, and high-mileage vehicles face age-related deterioration. This is why a seemingly gentle bump can cause catastrophic failure—the radiator was already compromised.
Heat exacerbates the problem. Plastic becomes more brittle when subjected to extreme temperatures. If you’ve been driving in a heat wave or parked in a hot garage, the radiator material is at its most vulnerable. Combined with age-related degradation, this creates the perfect conditions for failure from minimal impact.
Suspension condition also plays a role. Worn shocks and struts allow excessive chassis movement, increasing the likelihood of bottoming out over obstacles. If your vehicle’s suspension is compromised, the radiator (or oil pan, or subframe) takes the impact that the suspension should have absorbed. Regular suspension inspections and timely replacements protect not just ride quality but also vulnerable undercarriage components.
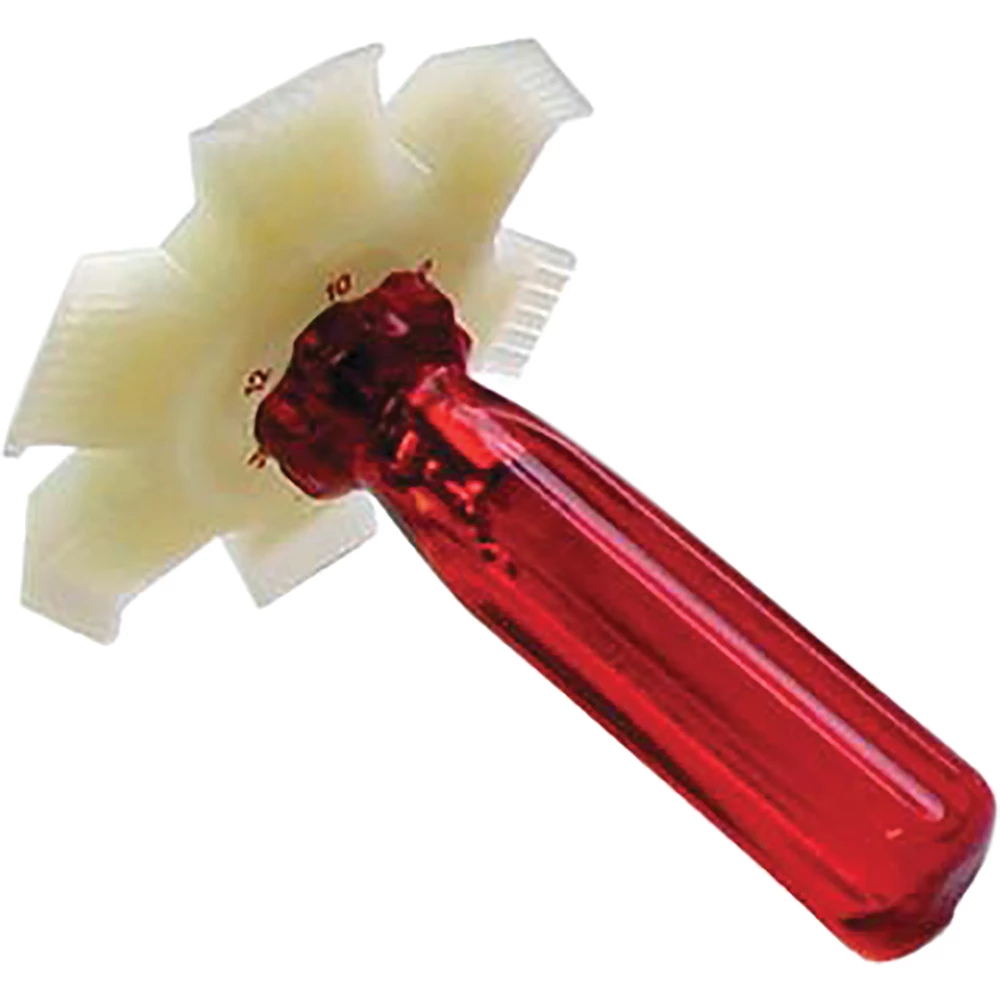
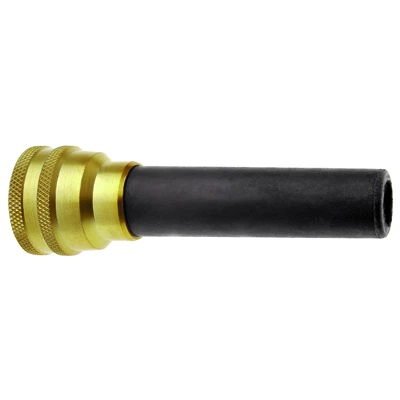
Radiator Replacement: DIY vs. Professional Service
Radiator replacement is one of the more accessible DIY repairs for home mechanics with basic tools and mechanical aptitude. The process typically involves draining the coolant, disconnecting hoses and transmission cooler lines (if equipped), removing mounting brackets, and installing the new unit. Parts costs for aftermarket radiators run between $100-$300 for most passenger vehicles, with OEM units commanding a premium.
Online resources make DIY replacement more feasible than ever. Parts suppliers like RockAuto offer radiators at significant discounts compared to dealer pricing. YouTube provides model-specific installation videos that walk through every step of the process. For a mechanically inclined owner with a few hours and basic tools, total cost can stay under $200.
However, certain factors favor professional service. If the vehicle uses quick-disconnect fittings that require special tools, if the radiator is buried behind other components requiring extensive disassembly, or if you lack experience with coolant system work, a shop may be the better choice. Professional installation typically includes a proper coolant flush, pressure testing to verify the repair, and a warranty on both parts and labor.
Transmission cooler lines present an additional consideration. Many radiators integrate a transmission fluid cooler, and these lines use compression fittings that can be difficult to seal properly without experience. Improper installation can lead to transmission fluid contamination of the coolant (or vice versa), causing expensive damage to both systems. If you’re uncertain about any aspect of the job, professional service provides peace of mind.
Coolant disposal is another factor. Used coolant is toxic and requires proper disposal at a recycling center or hazardous waste facility. Shops handle this as part of their service, while DIYers must make separate arrangements. Never pour coolant down drains or onto the ground—it’s harmful to pets, wildlife, and groundwater.
Critical Quick-Reference Checklist
- Stop driving immediately if you see coolant leaking or the temperature gauge rising
- Identify the fluid by color (bright green, orange, pink, or yellow) and sweet smell
- Allow the engine to cool completely before opening the hood or checking coolant levels
- Inspect the radiator for visible cracks, particularly in the lower plastic tank
- Check radiator hoses for disconnection or damage at connection points
- Assess leak severity—slow drip vs. rapid fluid loss determines whether towing is necessary
- Never open the radiator cap on a hot engine due to burn risk from pressurized coolant
- Obtain a replacement radiator compatible with your vehicle’s year, make, and model
- If DIY replacing, acquire proper coolant type and quantity (typically 1-2 gallons)
- Bleed the cooling system properly after installation to prevent air pockets
- Pressure test the system after repair to verify seal integrity before regular driving
Preventing Future Radiator Damage
Prevention starts with awareness of your vehicle’s ground clearance and approach angles. Low-profile vehicles and those with aftermarket lowering modifications are particularly vulnerable to radiator strikes. Approach speed bumps slowly and at an angle when possible, allowing one wheel at a time to climb rather than hitting the obstacle square-on. This reduces the likelihood of bottoming out.
Maintain your suspension system. Worn shocks and struts allow excessive compression travel, reducing effective ground clearance and failing to cushion impacts. Replace these components at manufacturer-recommended intervals (typically 50,000-80,000 miles) or sooner if you notice excessive bounce, nose-diving during braking, or uneven tire wear.
Regular coolant changes extend radiator life by preventing corrosion and maintaining the proper chemical balance. Old coolant becomes acidic, accelerating deterioration of plastic and metal components. Follow the manufacturer’s service interval, typically every 30,000-60,000 miles or 3-5 years. Use the correct coolant type—mixing incompatible formulations can cause chemical reactions that damage seals and gaskets.
Install a skid plate or radiator guard if you frequently encounter rough roads, steep driveways, or aggressive speed bumps. These aftermarket protective devices shield vulnerable components from impact damage. While they add weight and cost, they’re far cheaper than repeated radiator replacements.
Watch for early warning signs of radiator deterioration: minor seepage around the end tanks, discoloration of the plastic, or small cracks visible during routine inspections. Addressing these issues proactively with a replacement before complete failure prevents the inconvenience and potential engine damage of a roadside breakdown.
Understanding Coolant Types and Proper Refilling Procedures
Modern vehicles use different coolant formulations, and using the incorrect type can cause problems. Traditional green coolant (ethylene glycol with inorganic additive technology) is being phased out in favor of extended-life formulations. Orange, pink, and yellow coolants use organic acid technology (OAT) or hybrid organic acid technology (HOAT), which provide longer service intervals and better corrosion protection.
Never mix coolant types unless you’re certain they’re compatible. Chemical incompatibility can produce sludge, reduce corrosion protection, and cause seal deterioration. When replacing a radiator, flush the entire system and refill with fresh coolant of the correct specification. Your owner’s manual or a service database will specify the required type.
Proper coolant concentration matters. Most coolant is sold as concentrated formula requiring 50/50 dilution with distilled water. This mixture provides freeze protection to approximately -34°F and boil-over protection to 265°F in a pressurized system. Pre-diluted coolant is available but costs more per gallon of usable fluid. Never use tap water for dilution—minerals in tap water promote corrosion and scaling.
After refilling, bleeding the cooling system removes air pockets that can cause overheating and poor heater performance. Some vehicles have dedicated bleeder valves; others require a specific procedure like running the engine with the radiator cap off until the thermostat opens. Air trapped in the system prevents proper circulation and can cause localized hot spots that lead to gasket failure.
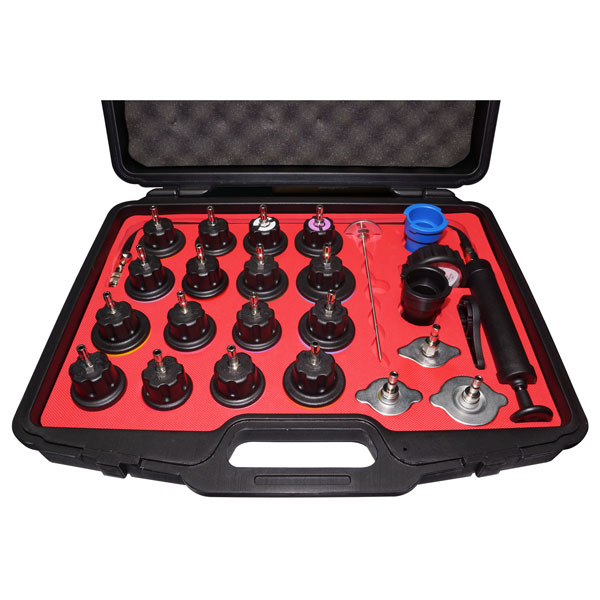
Pressure-test the system after any cooling system repair. A cooling system pressure tester applies shop air to the system while the engine is cold, revealing leaks that might not be apparent otherwise. This step verifies that your repair was successful before you return the vehicle to service and potentially suffer a repeat failure.
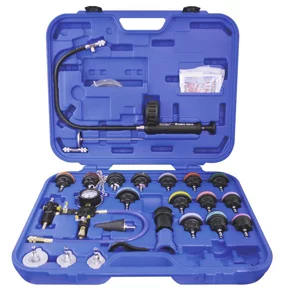
Radiator Pressure Tester & Vacuum Type Cooling System Kit w 7858
Mfg: Astro Pneumatic
Part #: 78585
Frequently Asked Questions
How fast do I need to be going to damage my radiator on a speed bump?
Speed is less important than the condition of your radiator and suspension. While higher speeds increase impact force, even crawling over a speed bump at 5 mph can crack a radiator if the plastic has become brittle from age or if your suspension allows excessive bottoming out. Older radiators (10+ years) are particularly vulnerable regardless of impact speed.
Can I drive with a cracked radiator if I keep adding coolant?
No. Operating an engine with insufficient coolant causes overheating that can warp the cylinder head, blow the head gasket, or seize the engine completely. What starts as a $200 radiator problem becomes a $3,000+ engine repair. If you’ve cracked your radiator, arrange for towing rather than attempting to drive, even short distances.
How long does a radiator replacement take?
For an experienced DIYer, 2-4 hours is typical depending on vehicle complexity. Some vehicles offer easy access with minimal component removal, while others require removing the battery, air intake, cooling fans, or other components first. Professional shops typically quote 1.5-3 hours of labor, though this varies by vehicle make and model.
Are aftermarket radiators as good as OEM units?
Quality varies significantly among aftermarket manufacturers. Premium brands often match or exceed OEM specifications at lower prices, while budget options may use thinner materials or inferior construction. Research specific part numbers and read reviews before purchasing. OEM radiators guarantee fitment and quality but command premium pricing.
Why does my coolant smell sweet?
Ethylene glycol, the primary component in most coolants, has a naturally sweet odor and taste. This characteristic makes it dangerous to pets and wildlife, who may be attracted to spilled coolant. The sweet smell is a key identifier—if you smell it inside your vehicle, you likely have a heater core leak; if you smell it outside, check for radiator or hose leaks.
Should I replace radiator hoses when installing a new radiator?
It’s highly recommended, especially if the hoses are original to the vehicle or show signs of age (cracks, soft spots, swelling). Hoses are inexpensive compared to the labor of accessing the radiator, so replacing them during radiator service makes economic sense. This prevents a hose failure shortly after completing the radiator repair, requiring the job to be done twice.
Automotive Cooling System Tools
Radiator replacement and coolant system maintenance require proper equipment to do the job safely and correctly. Our Automotive Cooling System category stocks the specialized tools you need:
- Coolant flush and fill equipment for proper system bleeding
- Pressure testers to verify repairs before returning to service
- Drain pans and collection containers for safe coolant disposal

The Toolsource Technical Team blends decades of real-world automotive service experience with up-to-date technical research. Our writers collaborate with professional mechanics, shop owners, and diagnostic specialists to deliver practical, workshop-ready guidance you can trust.


Follow us on social media