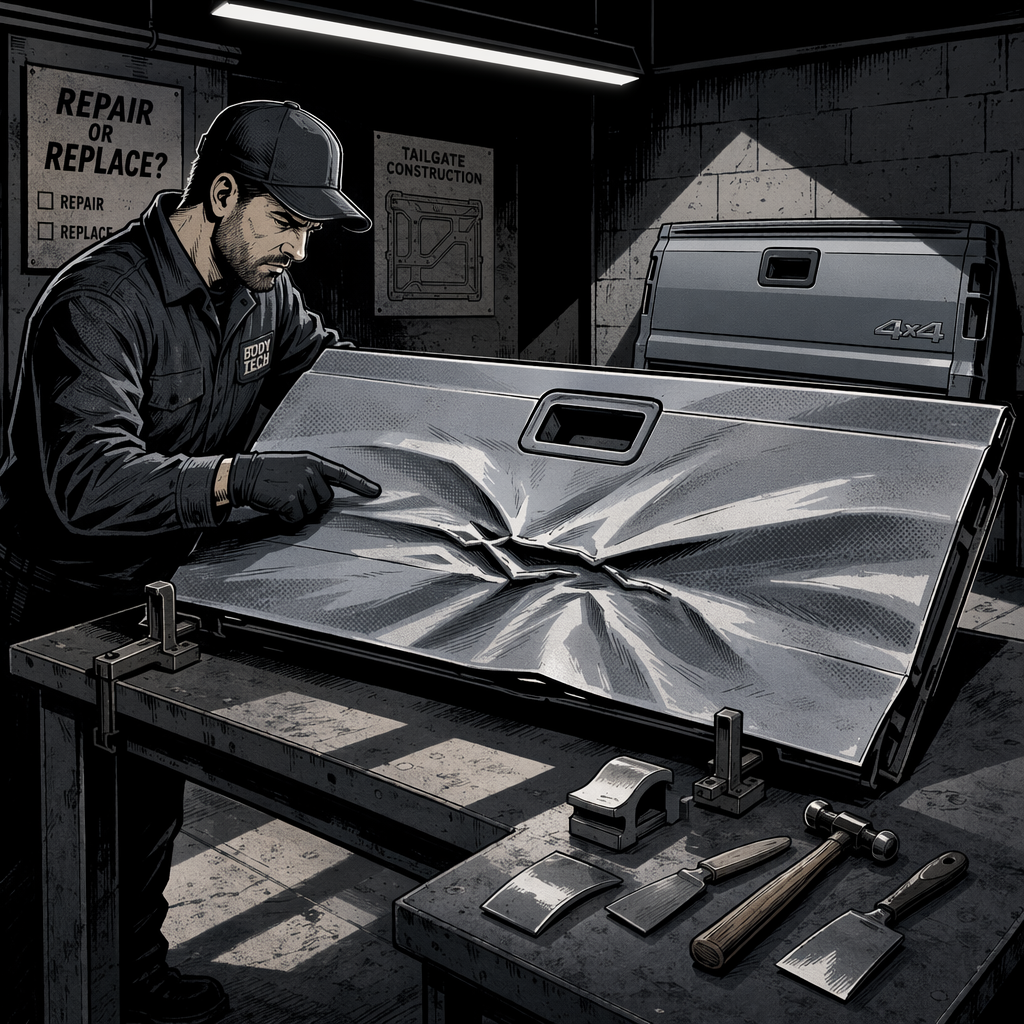
Every technician faces the same question when evaluating collision damage: repair or replace? While modern tools and techniques have expanded what’s possible with paintless dent repair (PDR) and conventional bodywork, some damage crosses a threshold where repair becomes impractical. Understanding where that line falls separates efficient shops from those wasting hours on uneconomical repairs. Severely damaged panels—particularly those with deep creases, stretched metal, and multiple impact zones—often cost more in labor than sourcing and installing a replacement part. This guide breaks down how professionals assess damage severity and why some jobs are tear-offs from the start.
Understanding Metal Damage Beyond the Repair Threshold
Metal has memory, but it also has limits. When a panel takes a significant impact, the metal doesn’t just bend—it stretches. This stretching fundamentally changes the material’s structure, creating stress points that no amount of pulling, shrinking, or filling can fully restore to factory condition. Deep creases are the most obvious indicator that metal has been stretched beyond repair capacity.
A crease represents a折line where the metal has been compressed on one side and stretched on the other. While shallow creases in high-crown areas might respond to skilled PDR work, deep creases in flat panels create a different scenario entirely. The metal in these areas has been permanently deformed, and attempts to work it back create ripples, waves, and surface irregularities that telegraph through even thick applications of body filler.
Professional body technicians evaluate several factors when assessing repairability. First, they check for metal thickness—thicker gauge metal in structural components like tailgates is particularly resistant to conventional repair techniques. Second, they assess the depth and complexity of the damage. A single, smooth dent presents different challenges than a collision zone with multiple overlapping impact points. Third, they consider access. Backside access is critical for most repair techniques, and panels without it severely limit repair options.
The economics matter too. A repair that requires six hours of skilled labor, multiple pounds of filler, extensive blocking and priming, and still produces a substandard result makes no sense when a replacement panel costs three hours of labor to install and finish. This calculation drives decisions in every professional shop.
Why PDR Has Limits on Severe Damage
Paintless dent repair revolutionized the industry for good reason—it’s fast, economical, and preserves factory finish. But PDR technicians are the first to tell you it’s not a universal solution. PDR works by carefully massaging metal back to its original shape using specialized tools and precise pressure points. The technique relies on the metal’s ability to flex back without breaking the paint’s elastic limit.
Deep creases exceed this elastic limit immediately. The paint has already cracked or delaminated at the crease point, eliminating the primary advantage of PDR. More critically, the metal itself has been stretched in ways that PDR tools cannot address. A PDR technician can push a smooth dent from the backside and watch it pop back into place because the metal is still structurally sound. With stretched metal, pushing simply moves the damage around rather than eliminating it.
Experienced PDR technicians recommend starting with small, smooth dents in accessible areas when learning the craft. A knuckle-sized dent in a door panel or fender provides immediate feedback about tool pressure, leverage points, and metal behavior. Attempting to learn on severely damaged panels teaches bad habits because the metal won’t respond the way undamaged metal does. The frustration of working stretched metal for hours without progress discourages beginners who might otherwise develop solid skills on appropriate repair candidates.
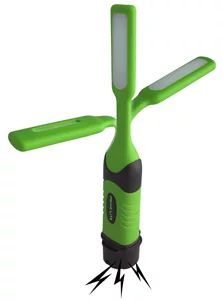
Professional PDR techs use specialized lighting to read panels and identify repair limits. A good LED line board or fluorescent light reveals the subtle highs and lows that indicate whether metal can be massaged back or has been permanently compromised. This diagnostic step happens before any tools touch the panel, preventing wasted effort on unrepairable damage.
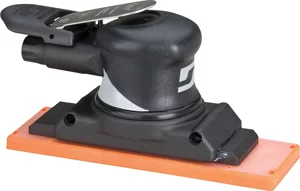
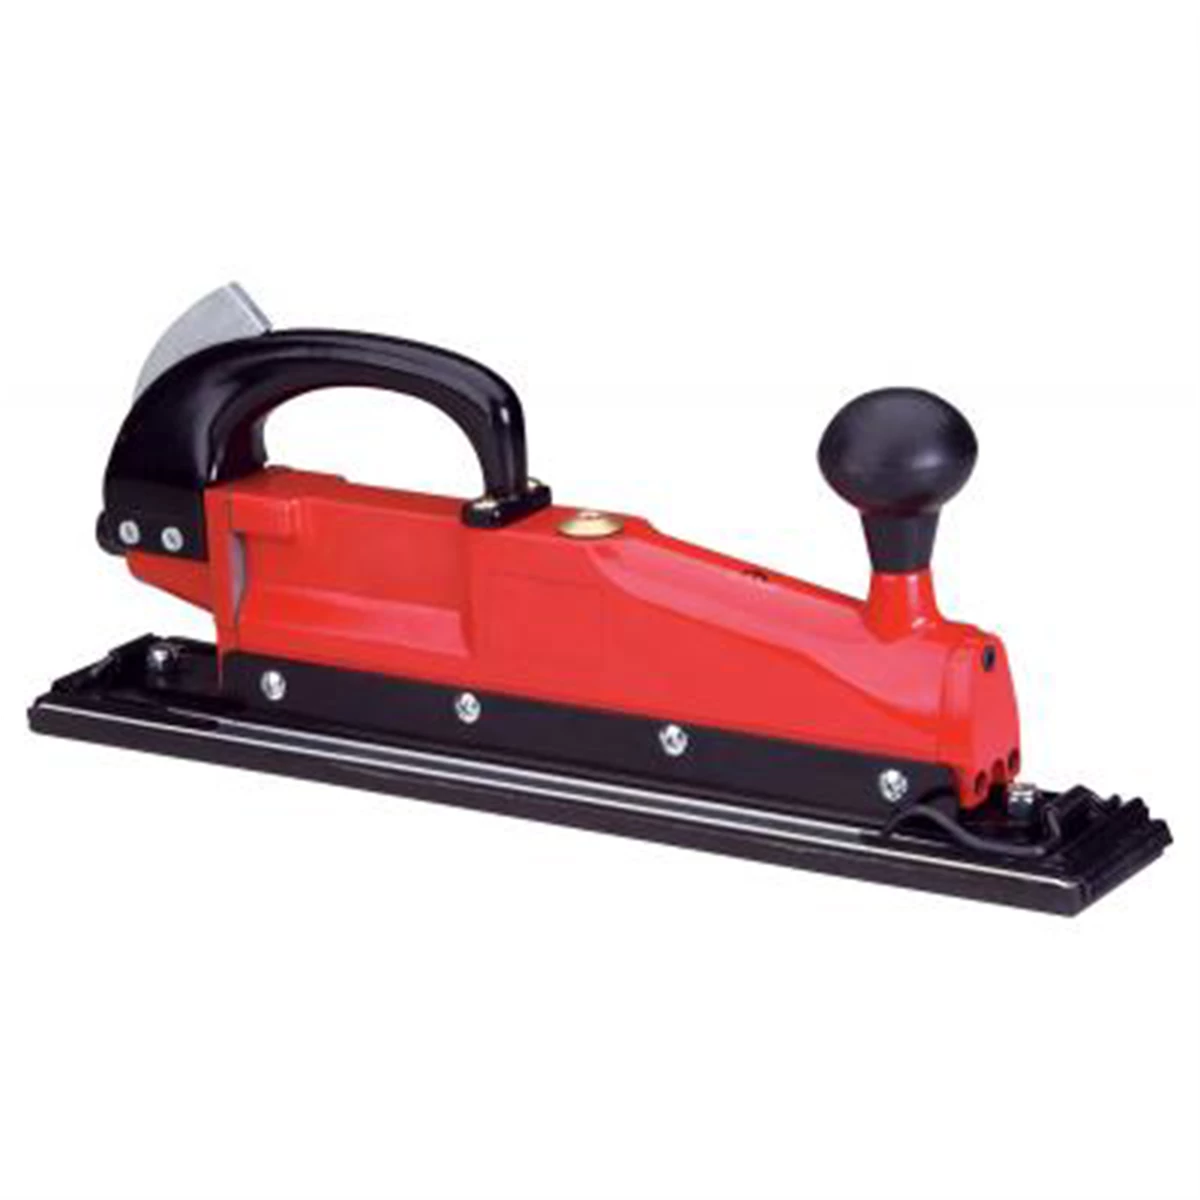
Conventional Body Repair Approaches and Their Limits
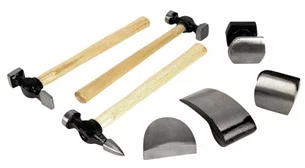
When PDR isn’t viable, conventional body repair techniques come into play—but even these have boundaries. The traditional approach involves accessing the backside of the damage, using hammers and dollies to work high spots down and low spots up, then finishing with filler where perfect metal work isn’t achievable. This works well for moderate damage in accessible panels.
Severe damage like a deeply creased tailgate presents multiple problems for conventional repair. First, the sheer amount of metal movement required creates work-hardening, where repeated hammering makes the metal brittle and prone to cracking. Second, the stretched areas don’t have enough material to work with—pulling them up creates thin spots that may fail later. Third, the amount of filler required to bridge the gaps between worked metal and factory contour becomes excessive.
Body filler has a legitimate place in collision repair, but it’s a finishing product, not a structural solution. Professional standards generally limit filler depth to about a quarter inch, with thinner applications preferred. When damage requires half an inch or more of filler to achieve contour, you’re building a repair that will crack, shrink, and fail prematurely. Thick filler applications also add significant weight and alter panel flex characteristics, creating problems down the road.
Some techs suggest cutting out the damaged area and welding in a patch panel as a learning exercise. While this teaches welding and metal fabrication skills, it’s not a practical repair approach for most collision damage. The time investment for cutting, forming, fitting, welding, grinding, and finishing a patch panel on a tailgate would exceed twenty hours for an experienced tech—economically absurd when replacement tailgates are readily available.
Better Training Approaches for Developing Body Skills
Learning auto body repair requires appropriate practice materials. Starting with severely damaged panels creates frustration and teaches incorrect techniques because the metal won’t respond normally. Professional body techs recommend a progressive approach that builds skills systematically.
Begin with clean, undamaged panels from a salvage yard or pick-and-pull facility. Fenders are ideal because they’re inexpensive, offer backside access, and feature a variety of contours. Create your own controlled damage—small dents made with a rounded hammer in accessible areas. This gives you immediate feedback about your repair techniques because you know exactly what the metal looked like before damage.
Invest in proper lighting before buying any other tools. A quality LED line board or fluorescent light bar is essential for reading metal and seeing the results of your work. Without good lighting, you’re working blind, unable to distinguish between progress and additional damage. This is the single most important tool in any body shop.
For PDR practice, focus on door skins and fender panels with smooth, accessible dents. Work from the center of the dent outward, using gentle pressure and reading the panel constantly with your light. A PDR starter kit with basic rods and whale tail tools provides enough to begin developing feel and technique. Expect to spend dozens of hours on practice panels before attempting customer work.
For conventional bodywork, start with hammer and dolly techniques on flat scrap metal before touching shaped panels. Learn to read metal tension, understand how different hammer strikes affect the surrounding area, and develop control over your tool pressure. Progress to simple dents in salvage panels, working them out with minimal filler. Only after mastering these basics should you attempt more complex repairs.
Online resources and community college auto body programs provide structured learning paths. Many experienced techs started as helpers in body shops, learning through observation and progressively more complex tasks. There’s no shortcut to developing metal-working skills—it requires time, appropriate materials, and honest assessment of results.
Making the Replace vs Repair Decision
Professional shops follow a systematic evaluation process for every repair. First, assess the damage severity using proper lighting. Deep creases, stretched metal, and multiple impact zones push toward replacement. Shallow dents in high-crown areas with backside access favor repair. Second, check parts availability and cost. Common vehicles have abundant salvage parts at reasonable prices, making replacement economical. Rare or expensive panels might justify more extensive repair efforts.
Third, calculate realistic labor time. Experienced techs know how long specific repairs take and factor in their shop’s labor rate. A repair that requires eight hours at $75 per hour costs $600 in labor alone, before materials. If a replacement panel costs $300 and installs in three hours, the math is clear. Fourth, consider quality expectations. Insurance work and customer vehicles require factory-quality results that severely damaged panels simply cannot deliver, regardless of effort invested.
Documentation helps with these decisions. Take photos from multiple angles, note panel thickness and material, check for backside access, and research replacement part costs before committing to a repair approach. This front-end investment prevents midstream changes when you’re six hours into an uneconomical repair.
For personal vehicles and learning projects, different rules apply. If the goal is skill development rather than economical repair, working on challenging damage provides experience even if the result isn’t perfect. Just understand that what you’re doing differs from professional practice, where time and quality standards drive different decisions.
Safety Considerations in Body Work
Body work involves real hazards that require proper protective equipment. The most commonly overlooked item is foot protection. Every experienced tech has stories about dropped panels, rolling tool boxes, or sharp metal edges that make steel-toed boots non-negotiable. Open-toed footwear in a body shop is asking for preventable injuries that can end your workday or worse.
Eye protection is equally critical. Grinding, welding, and metal work generate sparks, debris, and UV radiation. Quality safety glasses or a welding helmet appropriate to your task should be on before any work begins. Respiratory protection matters too—body filler, primer, paint, and welding fumes all present inhalation hazards. A proper respirator with appropriate filters for your specific task protects long-term health.
Gloves protect against sharp edges, chemical exposure, and thermal hazards. Cut-resistant gloves work for metal handling, while nitrile gloves protect against solvents and coatings. Welding gloves are essential for any hot work. Keep a well-stocked first aid kit accessible and know how to use it. Minor cuts and scrapes happen frequently in body work—proper wound care prevents infections and complications.
Work area safety includes proper ventilation, fire extinguisher access, and organized tool storage. Cluttered shops create trip hazards and increase injury risk. Chemical storage follows local regulations and manufacturer recommendations. Taking safety seriously isn’t overcautious—it’s professional practice that keeps you working long-term.
Quick Reference Checklist for Damage Assessment
- Examine damage under proper LED or fluorescent lighting to reveal true metal condition
- Check for deep creases indicating stretched metal beyond repair limits
- Verify backside access for conventional repair techniques
- Research replacement part cost and availability for the specific vehicle
- Calculate realistic labor time based on damage severity and your skill level
- Assess panel thickness—thicker structural components resist conventional repair
- Determine if paint damage eliminates PDR as an option
- Consider customer quality expectations vs. achievable results with available damage
- Verify proper safety equipment before starting any repair work


Frequently Asked Questions
Can severely creased metal ever be repaired to factory condition?
No. Deep creases stretch and compress metal in ways that permanently alter its structure. Skilled technicians can improve appearance significantly, but stretched metal cannot be returned to factory specifications. This is why professional shops replace severely creased panels rather than attempting repairs that won’t meet quality standards.
How much body filler is acceptable in a professional repair?
Industry standards generally limit filler to approximately 1/4 inch depth, with thinner applications preferred. Excessive filler creates repairs prone to cracking, shrinking, and failure. If your repair requires more than 1/4 inch to achieve contour, the damage likely exceeds repair limits and warrants panel replacement.
What’s the difference between PDR and conventional body repair?
PDR (paintless dent repair) works metal from the backside using specialized tools to massage dents out without disturbing the factory paint. It works best on shallow dents without creases or paint damage. Conventional body repair uses hammers, dollies, pulling equipment, body filler, and refinishing to address damage too severe for PDR. They’re complementary disciplines rather than competing approaches.
Why do professionals recommend replacing rather than repairing my damaged panel?
Economics and quality drive this recommendation. When repair labor exceeds replacement part cost, or when damage severity prevents achieving acceptable quality standards, replacement makes more sense. Professional shops calculate these factors for every job, recommending the approach that delivers the best value and results.
Can I learn body repair techniques on severely damaged practice panels?
It’s not recommended. Severely damaged panels with stretched metal don’t respond like normal material, teaching incorrect techniques and creating frustration. Start with clean salvage panels where you create controlled damage, allowing you to learn on material that behaves properly and provides clear feedback about your developing skills.
What tools should I buy first when starting body repair work?
Invest in professional lighting before any other tools. A quality LED line board or fluorescent light setup is essential for reading metal and evaluating your work. Without proper lighting, you cannot effectively learn or execute body repair techniques. After lighting, basic hand tools like hammers, dollies, and a starter PDR kit provide enough to begin skill development.
Paint & Body Tools for Repair Assessment
The damage evaluation process covered in this guide depends on proper tools and equipment. Whether you’re learning to assess damage severity, practice PDR techniques, or execute conventional bodywork, having the right supplies makes all the difference. Browse our Paint & Body category for lighting, hand tools, safety gear, and specialized equipment.
- Professional lighting solutions to read metal and evaluate repair progress
- Hammers, dollies, and PDR starter kits for hands-on skill development
- Safety equipment including protective gear and first aid supplies

The Toolsource Technical Team blends decades of real-world automotive service experience with up-to-date technical research. Our writers collaborate with professional mechanics, shop owners, and diagnostic specialists to deliver practical, workshop-ready guidance you can trust.


Follow us on social media