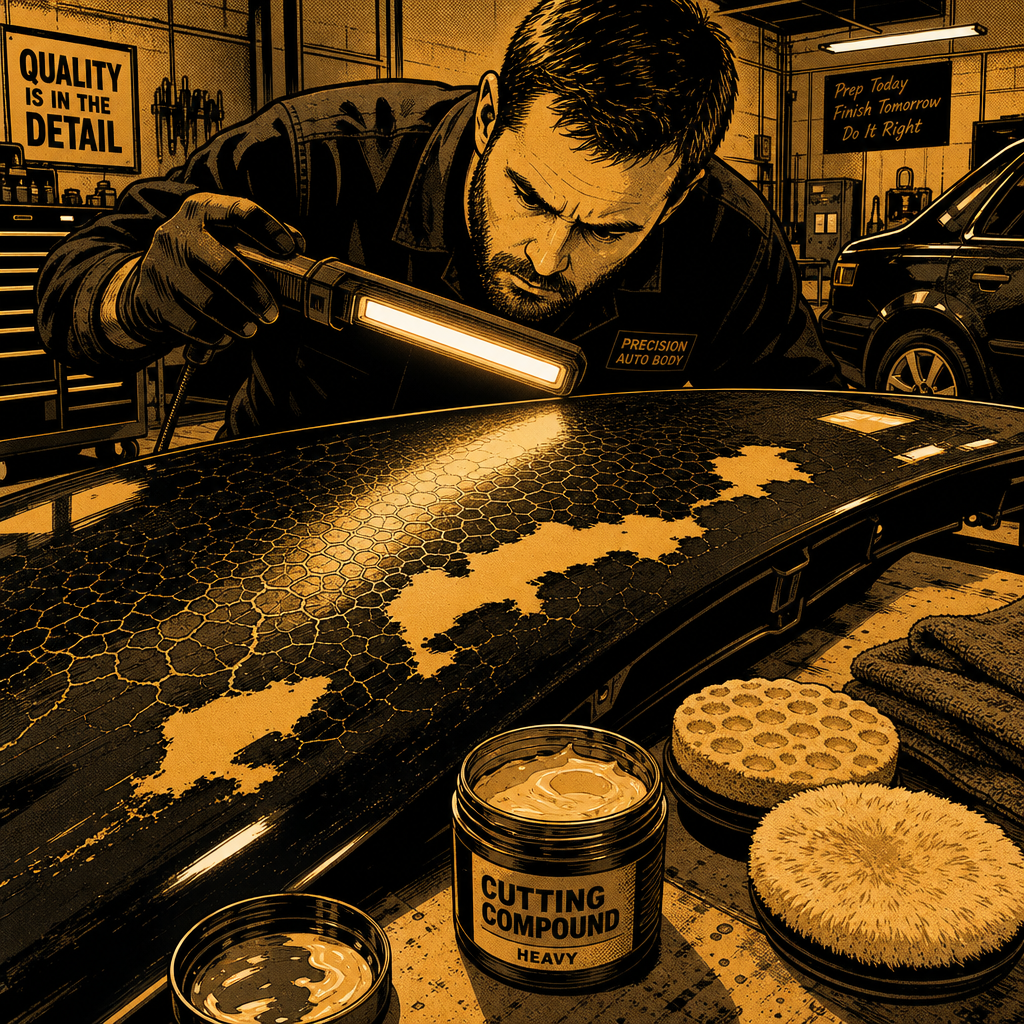
A photo making the rounds recently showed a car with its clearcoat visibly cooked and lifted after a shop sprayed degreaser directly onto the panels before what was supposed to be a routine repaint. The consensus from techs who chimed in was unanimous: wrong product, wrong concentration, wrong conditions, and now the owner is likely looking at a full strip-and-respray instead of a simple panel fix. This kind of damage is entirely avoidable, but it requires understanding why degreasers attack paint in the first place and following a procedure instead of eyeballing a spray bottle. Below is a practical breakdown of what causes this failure, how to evaluate the damage, and how to degrease safely without putting a finish at risk.
What Went Wrong: How Degreaser Destroys Paint and Clearcoat
Most citrus- or solvent-based degreasers (the “purple stuff” style cleaners common in shops) are formulated to be diluted with water before use on painted surfaces. Undiluted, they carry a high concentration of solvents and surfactants strong enough to break down grease, tar, and road film almost instantly — which also means they’re strong enough to soften and lift urethane clearcoat, especially on a finish that already has a compromised or thin clear layer from a prior cheap repaint.
Three factors compound the damage almost every time this happens:
- No dilution. Full-strength degreaser sitting on a clearcoat is far more aggressive than the same product cut 10:1 or 20:1 with water per the label.
- Dwell time in direct sun. Letting the chemical sit and dry on the panel instead of agitating and rinsing within seconds allows it to keep breaking down the resin long after it should have been rinsed off.
- A weak substrate. If the panel was already a cheap aftermarket respray with poor clearcoat adhesion or an inadequate cure, the degreaser finds every weak point and exploits it, causing the mottled, “reticulated” look seen in the photos — clear that’s crazed, lifted, or gone entirely down to raw paint.
The end result in the case that circulated online was described by multiple commenters as full-panel clearcoat failure, with raw paint exposed to the elements. That’s not a buff-out; that’s a repaint, and possibly a full car respray if overspray or the degreaser mist reached other panels.
Reading the Damage: Polish-Out vs. Full Repaint
Before quoting a repair, determine how deep the damage actually goes. Run a fingernail test and a light rubbing-compound test on a small, inconspicuous section:
- Surface haze or light etching that a cutting compound and polish can remove in one or two passes usually means the clearcoat is intact and just chemically etched at the surface. This is polish-out territory.
- Cracking, crazing, or a “cooked” alligator texture that doesn’t buff out means the clearcoat resin itself has broken down structurally. No amount of compounding fixes this — it needs to be stripped and resprayed.
- Tackiness or a soft, gummy feel days after the incident indicates the degreaser is still actively reacting with the clear or base coat. Don’t attempt to polish until the surface has fully stabilized, or you’ll load the pad with softened material and smear it further.
- Color bleed or exposed base coat means the clear is gone in that section — no compound will restore gloss because there’s no clear layer left to level.
Photograph the damage under raking light (a shop light held at a low angle across the panel) to make the texture visible for insurance or customer documentation before you touch it with any abrasive.
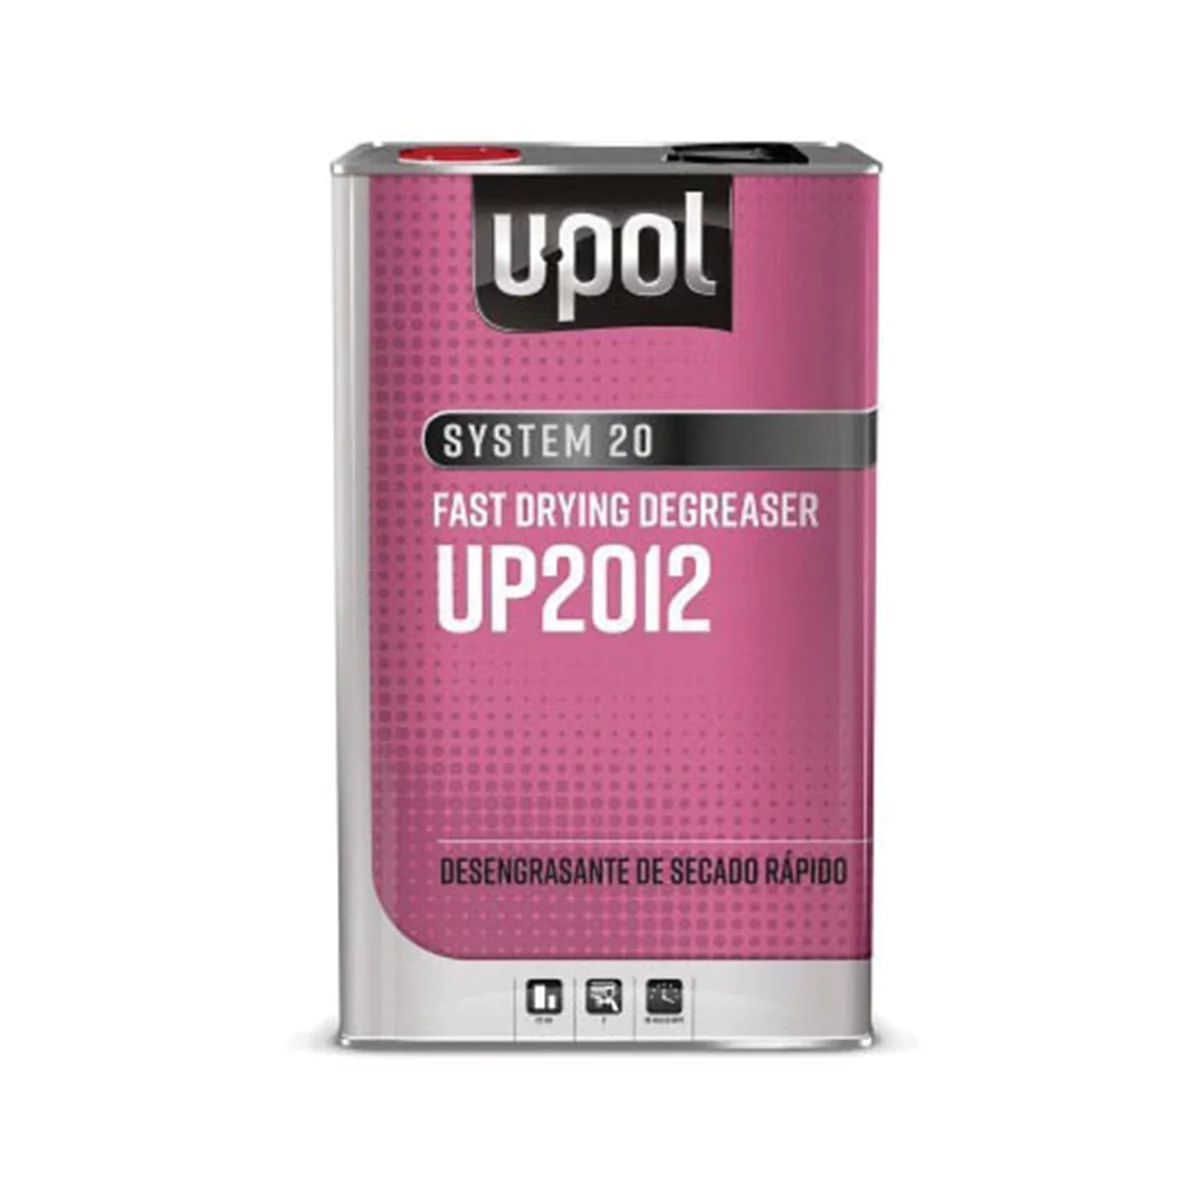
SYSTEM 20 UP2012 Fast Drying Solvent Based Degreaser, 5 L Tin, C
Mfg: U-POL
Part #: 2012
Correct Degreaser Dilution and Application Procedure
If a panel genuinely needs degreasing before paint prep — removing wax, silicone, tar, or shop grime before sanding or masking — follow a controlled process instead of a straight spray-and-walk-away approach:
- Read and follow the label dilution ratio. Most citrus and solvent degreasers are meant to be cut with water anywhere from 4:1 to 20:1 depending on the soil level; full strength is reserved for engine bays and shop floors, not painted body panels.
- Work in the shade, on a cool panel. Never apply any chemical cleaner to a panel that’s hot to the touch or in direct sun — flash evaporation concentrates the chemical on the surface and increases dwell time exactly where you don’t want it.
- Work small sections at a time. Spray or wipe one panel section, agitate immediately with a microfiber or soft brush, and rinse thoroughly with water before it has a chance to dry.
- Never let it air-dry on paint. If you can’t rinse a section within the time the label specifies (often under a minute for full-strength product), you’ve applied too much at once.
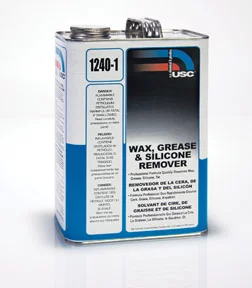
- Use a dedicated wax-and-grease remover for pre-paint prep rather than a general shop degreaser. These products are formulated specifically to flash off cleanly without attacking existing coatings, which is the entire point when you’re prepping a car for masking and paint.
When Polishing Can Save the Finish — and When It Can’t
If your damage assessment shows only surface-level etching, a machine polisher with a cutting compound can often restore gloss without a repaint. Start with the least aggressive combination that produces results:
- Test in a hidden spot (door jamb edge, lower rocker) first to confirm the compound actually restores clarity rather than just relocating haze.
- Use a rotary or dual-action polisher with a wool or firm foam cutting pad and a moderate-cut compound; check progress every couple of passes rather than working the whole panel blind.
- Follow with a finishing polish and a fine foam pad to remove any compound marring and bring back full gloss.
- If you’re still seeing haze, texture, or the compound is pulling through to color after two honest attempts, stop — you’re now removing what little clear is left and risking burn-through. That’s the line where the job becomes a repaint.
Don’t chase a bad finish with heavier and heavier compounds hoping it improves. Once clear is gone in a spot, more cutting only makes the base coat worse and expands the repair area.
Preventing Chemical Damage in the Shop
Most cases like this trace back to a process gap, not a one-off mistake. A few procedural fixes prevent repeat incidents:
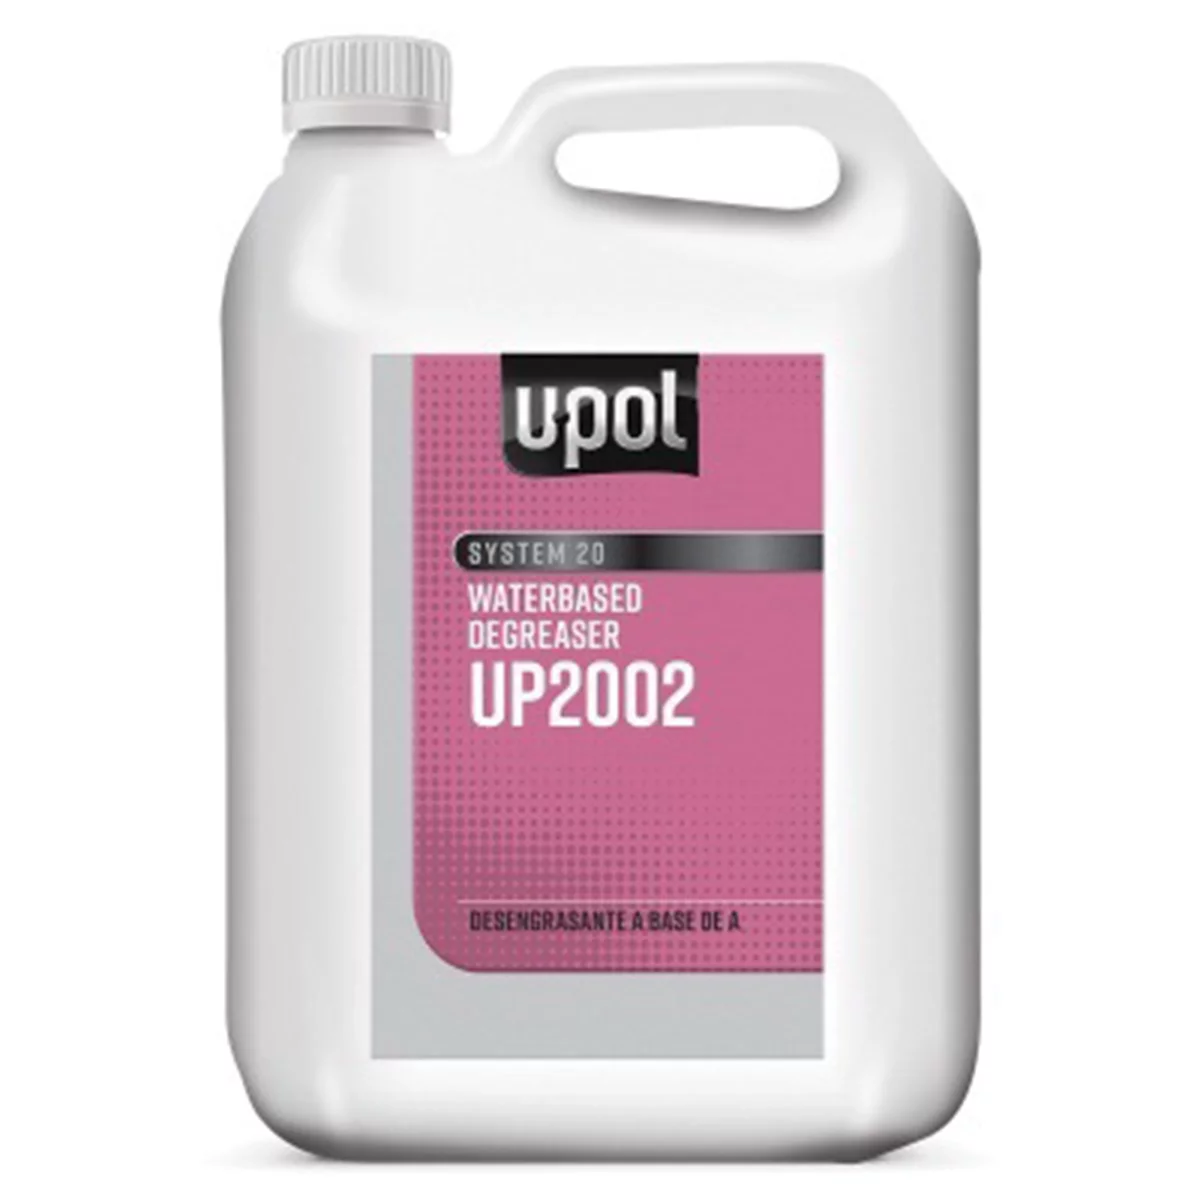
- Keep general shop degreaser and paint-safe wax and grease remover in clearly labeled, different-colored containers so nobody grabs the wrong bottle under time pressure.
- Post the dilution ratio on the degreaser dispenser itself, not just on a data sheet in a binder nobody opens.
- Train new techs specifically on “spray small, agitate immediately, rinse before it dries” — most of this damage happens because someone sprayed the whole car at once and moved on to another task before rinsing.
- Test any new degreaser or cleaner on a scrap panel or hidden area before using it shop-wide, especially with unfamiliar cheap aerosol products.
- If a car has a known or suspected cheap aftermarket repaint, treat every chemical step more conservatively — thin, poorly cured clearcoat has far less margin for error.
Quick Pre-Degreasing Checklist
- Confirm you’re using a paint-safe wax and grease remover, not shop-strength degreaser
- Check and follow the label dilution ratio
- Work in shade on a cool panel, never in direct sun
- Apply to small sections and agitate immediately
- Rinse before the product has a chance to dry
- Test unfamiliar products on a hidden panel section first
Repair Options and Realistic Cost Expectations
Once a panel’s clearcoat has genuinely failed, the repair path depends on scope:
- Single panel: Sand, prime, base, and clear the affected panel and blend into adjacent panels for color match. Straightforward for a body shop, but still a multi-hundred-dollar repair per panel with materials and labor.
- Multiple panels or full car: If the degreaser was sprayed across the whole vehicle (as happened in the case that prompted this discussion), expect a full strip and repaint. Shops in that thread estimated costs starting around several thousand dollars and climbing well into five figures depending on the vehicle and paint quality, since a full repaint means new clear over the entire body, not just a fix on one panel.
- Insurance and liability: If this happens to a customer’s vehicle in your shop, document the damage immediately, notify the customer and your insurance carrier before doing any further work, and don’t attempt a “fix” that could be seen as concealing the extent of the damage.
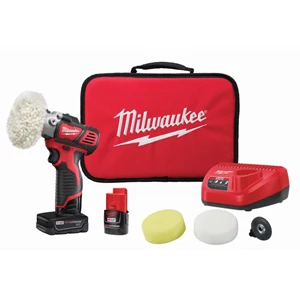
M12 REDLITHIUM 12V Variable Speed Polisher Sander Kit
Mfg: Milwaukee Electric Tools
Part #: 2438-22X
Frequently Asked Questions
Can clearcoat damage from degreaser be buffed out?
Only if the damage is limited to surface etching or haze and the clearcoat itself hasn’t cracked, crazed, or lifted. If the texture doesn’t reduce after a couple of honest passes with a cutting compound, the clear has failed structurally and buffing will only make it worse.
What’s the right dilution ratio for automotive degreaser?
It varies by product and soil level, but most citrus and solvent degreasers used in shops call for dilutions between 4:1 and 20:1 with water for general cleaning, with full strength reserved for heavy grease on non-painted surfaces like engine bays or floors. Always check the specific product label rather than assuming a ratio.
Why does degreaser react worse with cheap repaints?
Aftermarket or budget repaints often use thinner clearcoat, lower-grade urethane, or an incomplete cure cycle, all of which leave less chemical resistance. A degreaser that would only dull factory clearcoat can fully strip a poorly applied respray.
How long should degreaser sit before rinsing?
As little time as possible — most labels specify under a minute for full-strength product on hard surfaces, and less on anything painted. It should never be allowed to dry on the panel; if you can’t rinse it off quickly, you’re working too large an area at once.
Is a wax and grease remover the same as a degreaser?
No. Wax and grease removers are formulated specifically for pre-paint prep, flashing off cleanly without attacking existing coatings. General shop degreasers are made to cut heavy grease and grime and are not designed to sit on painted body panels.
What should I do if this happens to a customer’s car?
Stop work immediately, photograph the damage in raking light, notify the customer and your insurance carrier before proceeding, and get a second opinion on repair scope before quoting. Don’t attempt to compound or “fix” the damage until you’ve documented it.
Shop Paint & Body Products
The right prep products and tools are essential for preventing chemical damage to clearcoat. Our Paint & Body products include wax and grease removers, polishing compounds, and correction systems.
- Paint-safe wax and grease removers designed for pre-paint prep
- Cutting and finishing compounds for surface-level clearcoat correction
- Polishing pads and machines for damage assessment and restoration

The Toolsource Technical Team blends decades of real-world automotive service experience with up-to-date technical research. Our writers collaborate with professional mechanics, shop owners, and diagnostic specialists to deliver practical, workshop-ready guidance you can trust.


Follow us on social media