If you’ve pulled a front bumper or fascia on a late-model vehicle and then had it refuse to crank, you’re not imagining a fault — you’ve run into an intentional (if frustrating) design decision. Front radar modules, hood latch switches, and headlight assemblies are increasingly wired into circuits that have nothing obvious to do with their primary function, and OEMs are packaging components in ways that turn a five-minute bulb swap into an hour of panel removal. None of this is a mystery once you know what to check, but it catches techs off guard and eats billable time if you don’t plan for it. Here’s how to diagnose these quirks quickly, avoid the classic mis-wiring traps, and work smarter instead of fighting the design.
Why the Car Won’t Start With the Front Clip Disconnected
On a growing number of platforms — the current-generation Jeep Compass being a well-documented example — the front radar module (used for adaptive cruise and forward collision warning) sits on the same communication bus or power/ground circuit that the body control module or ECM monitors before allowing a start sequence. Disconnect the radar connector to pull the bumper, and the start request can get blocked, sometimes with no check engine light or an unrelated, misleading code.
This isn’t usually a dedicated “radar must be present to start” interlock by design intent — it’s a side effect of shared circuits, multiplexed wiring, and modules that throw the vehicle into a protective state when they lose expected communication from a sensor. The practical result is the same either way: no start until the connector is restored.
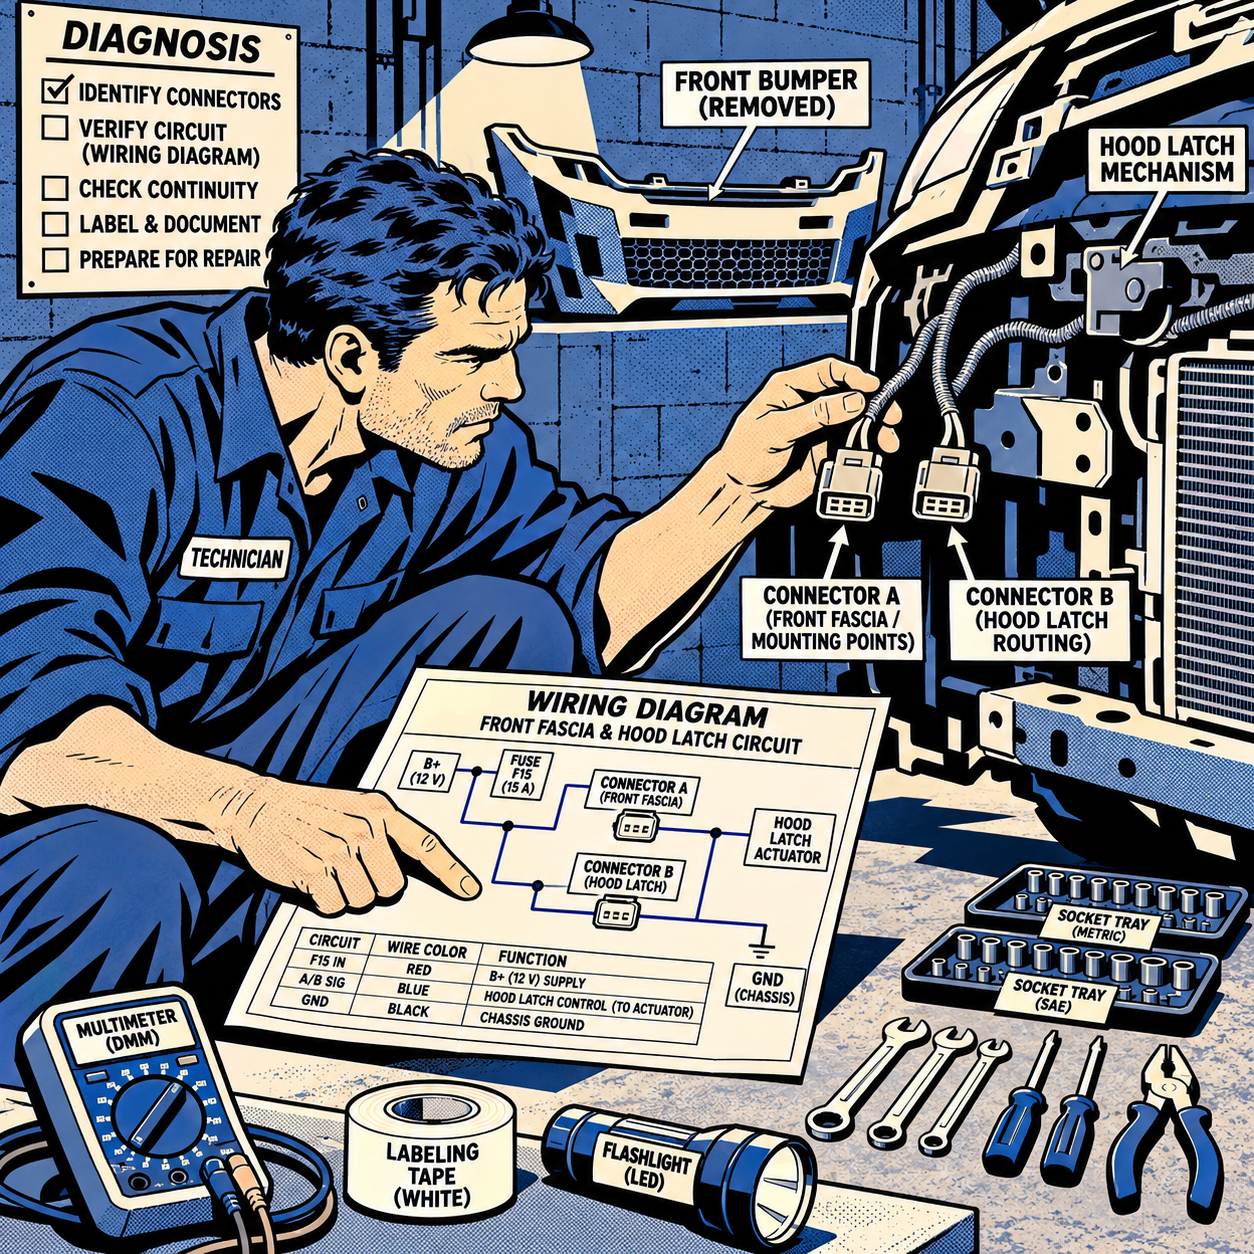
- Before disconnecting any front-end module, pull up the wiring diagram and confirm what else shares that connector or circuit (power, ground, CAN/LIN bus).
- If you must work with the bumper off for an extended period, reconnect the harness temporarily — loop the connector back together and secure it out of the way with a zip tie rather than leaving it hanging loose or taped.
- Check for stored codes after reconnecting; a module that lost communication mid-cycle can set a fault that needs to be cleared even after the physical connection is restored.
- If the vehicle has forward-facing radar or camera ADAS components, plan for a static or dynamic calibration after any front-end service — disconnecting and reconnecting these modules is a common trigger for miscalibration.
Identical Connectors, Different Circuits: Know Before You Unplug
A recurring problem on Chrysler/Ram and Stellantis-platform vehicles: two visually identical connectors sitting right next to each other under the hood or under the bed, one controlling the horn and the other the hood latch switch — sometimes distinguished only by connector color (black vs. gray) or a faint keying difference. Swap them and you can end up with a car that sets a check-engine light with no relevant fault stored, simply because the BCM sees the hood latch circuit open.
This same problem — unlabeled, duplicate-looking connectors feeding completely different systems — shows up across many makes, not just Stellantis. The fix isn’t memorization; it’s procedure:
- Photograph connector positions and routing before disconnecting anything, especially when two connectors look alike.
- Label connectors with tape and a marker on multi-step jobs, even ones you think you’ll remember in twenty minutes.
- When a customer reports an intermittent or nonsensical warning light after a repair elsewhere (yours or a previous shop’s), check for crossed connectors before chasing wiring faults with a meter.
- Cross-reference the wiring diagram’s connector ID and pin-out, not just physical appearance, before reconnecting after any disassembly.
[PRODUCT_SEARCH: wiring harness connector identification tool kit]


Headlight and Bulb Access: When a Bulb Swap Requires Bumper or Wheel Liner Removal
Bulb replacement used to be a reach-in-and-twist job. On a growing list of vehicles — including examples from Toyota, Lexus, Ford, and Audi — accessing a headlight bulb or connector now requires removing the front bumper, the wheel, and the inner fender liner, or at minimum a coolant reservoir and support brackets, just to get a hand into the housing. Some sealed LED headlight assemblies aren’t serviceable at the bulb level at all; a single failed LED strip means replacing the entire housing, sometimes at a four-figure cost for what used to be a $15 part.
A few things worth checking before you commit to a full teardown:
- Look for a service access flap in the wheel liner — some platforms include a small panel specifically so you don’t have to pull the whole liner.
- Check whether the coolant reservoir (or another component) can be unbolted and shifted aside without fully disconnecting it, rather than removed outright — this can save real time on tight-clearance jobs.
- Confirm with the service information whether the bulb is actually replaceable or if the housing is sealed/bonded. Don’t assume; verify against the parts catalog and repair procedure before quoting the job.
- If one side of a dual LED strip assembly has already failed, flag to the customer that the other side is likely to follow on a similar timeline — replacing both at once can save a second teardown later.
- Look up the published labor/book time for the specific procedure rather than estimating from experience with older platforms — these jobs often run longer than techs expect on first pass.
Work With the Design, Not Against It
Manufacturer repair procedures often call for removing more than is strictly necessary, written for the lowest common denominator of technician and liability coverage. In practice, several components can be bypassed, shifted, or snaked around rather than fully removed:
- Before following a procedure’s full removal list, assess whether the fastener or part you actually need access to can be reached with the component loosened and moved aside, rather than completely disconnected.
- A tight squeeze with scraped knuckles is often faster than a by-the-book full teardown, particularly on German platforms where panel removal sequences can be unnecessarily deep for simple jobs.
- Weigh the time saved against the risk: skipping steps on brake, steering, or airbag-adjacent components isn’t worth the shortcut. Reserve creative workarounds for low-risk access problems like bulbs, connectors, and trim.
- Document any deviation from the written procedure in your work order notes, especially on warranty or insurance-paid repairs, so there’s a record of why the job took the time it did.
Diagnose the Interlock Before You Start Disassembly
If a vehicle won’t crank or throws an unrelated fault right after a front-end teardown, work the problem in this order rather than guessing:
- Scan for codes first — even a vague or unrelated code often points to the module that’s actually unhappy, not necessarily the one you were working near.
- Check battery voltage and grounds before chasing a module communication fault; a dropped voltage from a loose ground strap during disassembly mimics a lot of these symptoms.
- Verify every connector you touched is fully seated and listen/feel for the click — modern weatherproof connectors often look seated when they’re not locked.
- If the no-start persists after reconnecting everything, check for a stored “lost communication” fault in the BCM or gateway module that needs an active clear, not just a reconnect.
Protecting Your Time: Documentation and Billing for Hidden Labor
These design quirks are a direct labor-time problem, not just an annoyance. Book time estimates from flat-rate guides don’t always reflect the real-world time needed when a “simple” bulb or sensor job balloons into a multi-panel teardown. Before quoting a job on an unfamiliar platform, check service bulletins and forums for known access issues, build in contingency time for identical-connector platforms, and communicate to the customer up front if a job is likely to run longer than the standard estimate — it avoids disputes at pickup and protects your shop’s time.
Quick Checklist
- Pull the wiring diagram before disconnecting any front-end sensor or module
- Photograph and label look-alike connectors before separating them
- Check for a wheel liner service flap before removing the whole liner
- Verify bulb serviceability vs. sealed housing before quoting the job
- Reconnect and clear codes before final no-start diagnosis
- Plan for ADAS calibration after any front radar/camera disconnection
[PRODUCT_SEARCH: automotive diagnostic scan tool for ADAS calibration]


FAQs
Why won’t some cars start with the front bumper or radar disconnected?
The radar or sensor connector often shares a circuit or communication bus that the body control module monitors. Losing that signal can trigger a protective state that blocks starting, even though the fault isn’t directly related to the starter.
How do I avoid swapping identical connectors by accident?
Photograph and label connectors before disconnecting, and verify by connector ID and pin-out in the wiring diagram rather than relying on appearance or memory, especially on platforms known for duplicate-looking plugs.
Is it safe to skip steps in a manufacturer’s removal procedure to save time?
For low-risk access issues like trim, connectors, or bulbs, a careful workaround is often reasonable. Avoid skipping steps on safety-critical systems like brakes, steering, or restraint components, and document any deviation on the work order.
Why does my LED headlight need full replacement instead of a bulb swap?
Many LED headlight assemblies are sealed units with non-replaceable light sources. If one strip or segment fails, the entire housing typically has to be replaced — verify this against the parts catalog before quoting.
Does disconnecting a front radar or camera module require recalibration afterward?
Yes, in most cases. Any disconnection or repositioning of forward-facing ADAS sensors should be followed by a static or dynamic calibration per OEM procedure to ensure accuracy.
What should I do if a vehicle sets an unrelated check-engine light after a repair?
Scan for codes and check for crossed or unseated connectors near the area you worked on before assuming a new, unrelated fault has developed — this is a common cause of confusing post-repair warning lights.
Recommended Diagnostic Tools
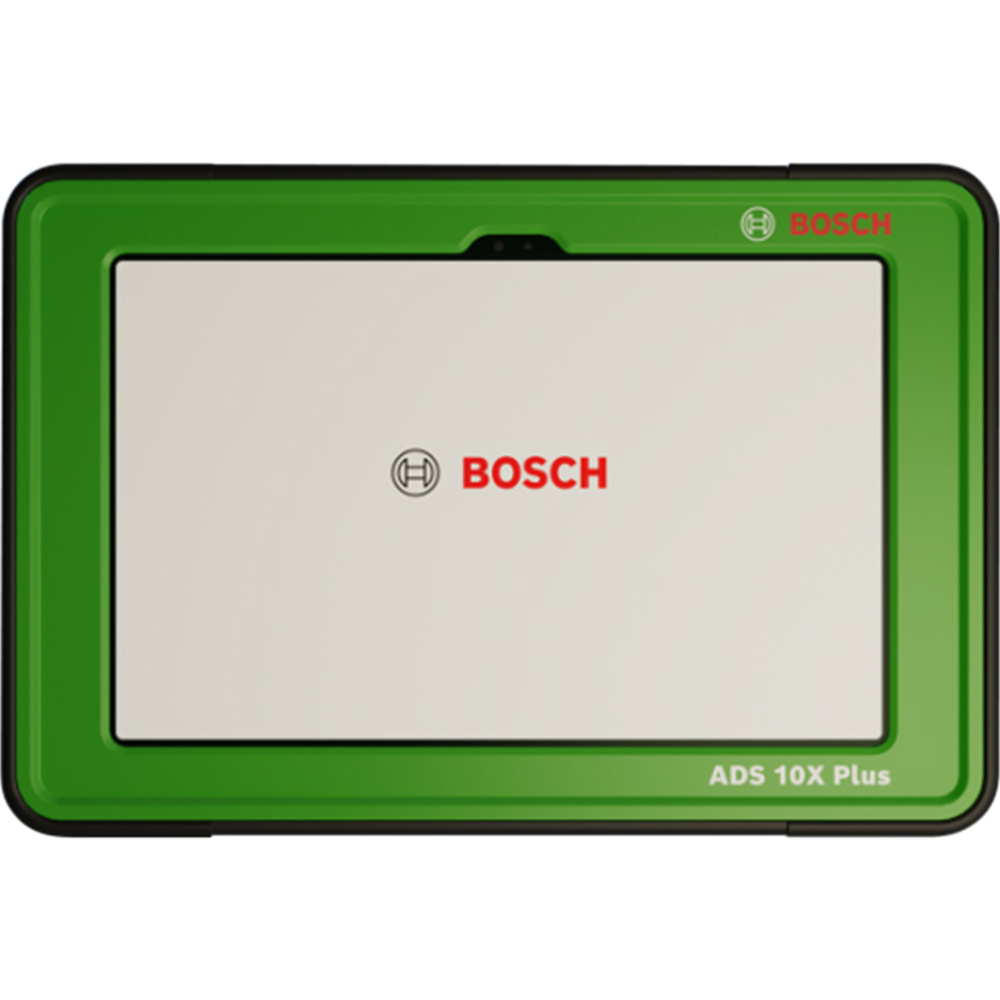
The diagnostic workflow covered in this guide — scanning for codes, checking voltage and grounds, and verifying ADAS sensor calibration — requires reliable equipment. Our Automotive Diagnostic Tools selection includes scan tools, multimeters, and calibration equipment to handle these jobs.
- Scan tools for code reading and module communication diagnostics
- Multimeters and diagnostic accessories for voltage verification
- ADAS calibration equipment for post-service verification

The Toolsource Technical Team blends decades of real-world automotive service experience with up-to-date technical research. Our writers collaborate with professional mechanics, shop owners, and diagnostic specialists to deliver practical, workshop-ready guidance you can trust.


Follow us on social media