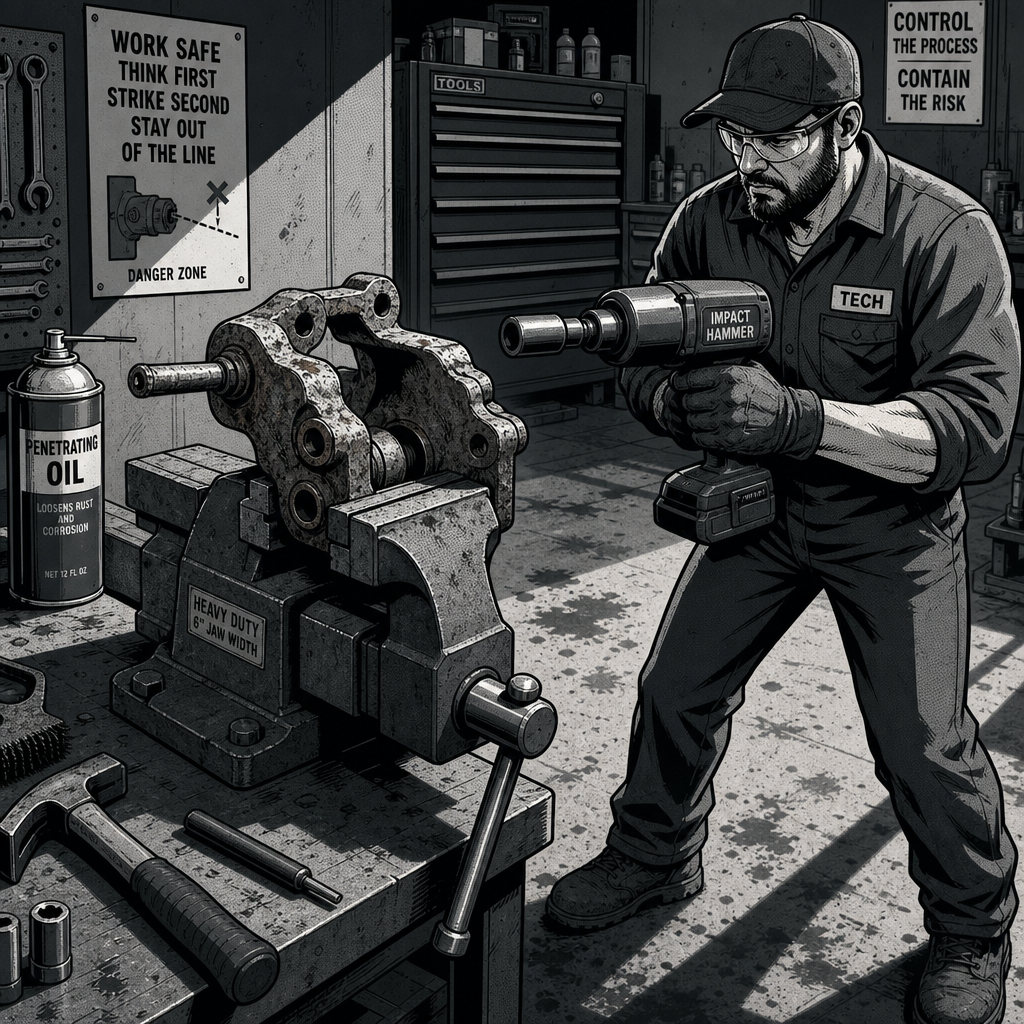
Every rust-belt tech has been there: a caliper slide pin that won’t budge, a torch in hand, and a five-second decision that either ends in a clean removal or a bang loud enough to stop the whole shop. What looks like a routine heat-and-tap job on a corroded bracket bushing is actually a sealed pressure vessel packed with grease — and technicians on forums and shop floors alike keep learning the same lesson the hard way. This guide breaks down why these pins turn into projectiles, how to remove them without getting hurt, and when heat isn’t even the right call to begin with.
Why a Grease-Packed Bore Turns Into a Launcher
Caliper slide pins and bracket bushings ride inside a bore that’s packed with high-temperature brake grease and sealed at both ends by rubber boots. On a rusted vehicle, corrosion often locks the pin in place well enough that the bore stays effectively sealed even after the boot fails. When you apply a rosebud or acetylene torch to that bracket, you’re not just softening rust — you’re heating a trapped pocket of grease in a confined space.
Grease doesn’t stay a lubricant once it’s heated past its flash point. It boils, vaporizes, and expands rapidly, and because the bore is sealed, that expanding gas has nowhere to go except out — taking the slide pin with it. Technicians who’ve experienced this describe it as sounding like a gunshot. The pin has come out with enough force to punch through drywall, embed in a cinder block wall, dent a toolbox, blow a hole through an insulated overhead shop door, and leave bruises or lacerations on techs standing in the wrong spot. This isn’t a freak occurrence — it’s a predictable outcome of heating any sealed, greased cavity, which is exactly why some larger repair chains restrict torch use for techs altogether.
Safer Removal Methods That Skip the Torch Entirely
Before reaching for heat, try mechanical methods first. In many cases a seized pin will break free with tools you already have on the cart:
- Hand pressure and leverage: On lighter corrosion, caliper bracket bolts and slide pins sometimes come out with nothing more than firm hand pressure once the initial bite of corrosion is broken — surprising techs coming from regions where everything is rusted solid.
- Open-end wrench as a lever: Slide an open-end wrench onto the exposed pin shoulder and use it to push while impacting the bracket. If the pin snaps, you were likely headed for a bracket replacement anyway.
- Impact hammer or chisel: A cordless hammer chisel or air hammer with the right bit can shock a corroded pin loose without introducing any heat risk. This is the preferred method in high-corrosion regions where torch use is discouraged.
- Penetrating oil and patience: Soak the pin-to-bracket interface, let it sit, and work the pin in small increments rather than forcing it in one shot.
If none of that frees the pin and you’re mobile without shop equipment, you’re limited on options after hours — which is often exactly when techs default to a torch out of convenience rather than necessity. Planning ahead with the right striking tool on the truck avoids that trap.
{{PRODUCT_SEARCH_1}}
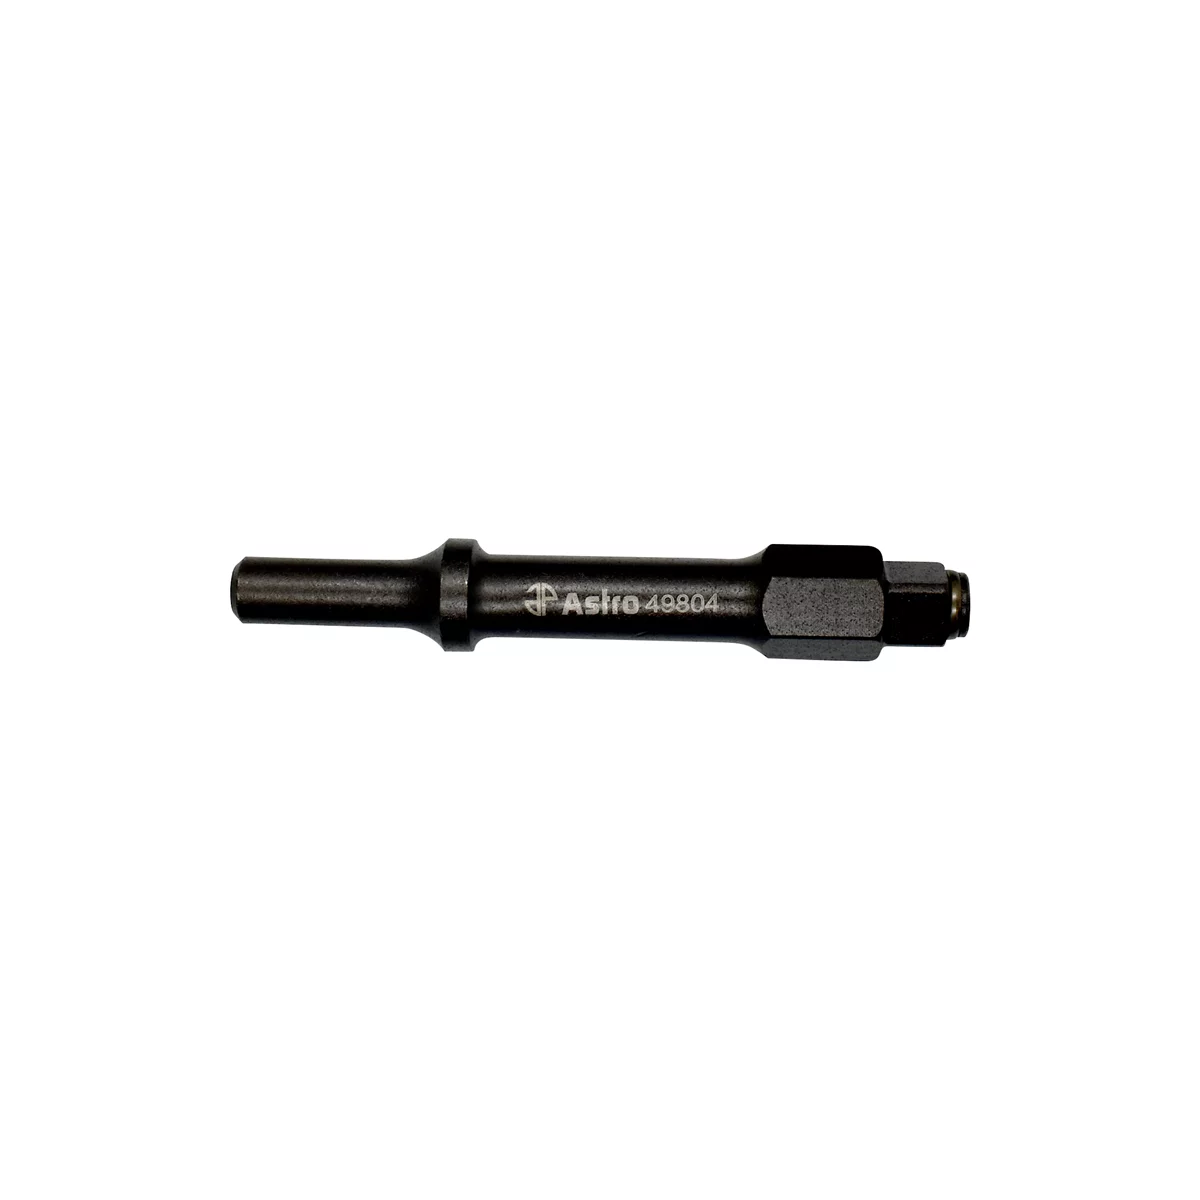
1/2 Inch Shake and Break Torx Bolt Breaker Air Hammer Accessory
Mfg: Mayhew Tools
Part #: 37316
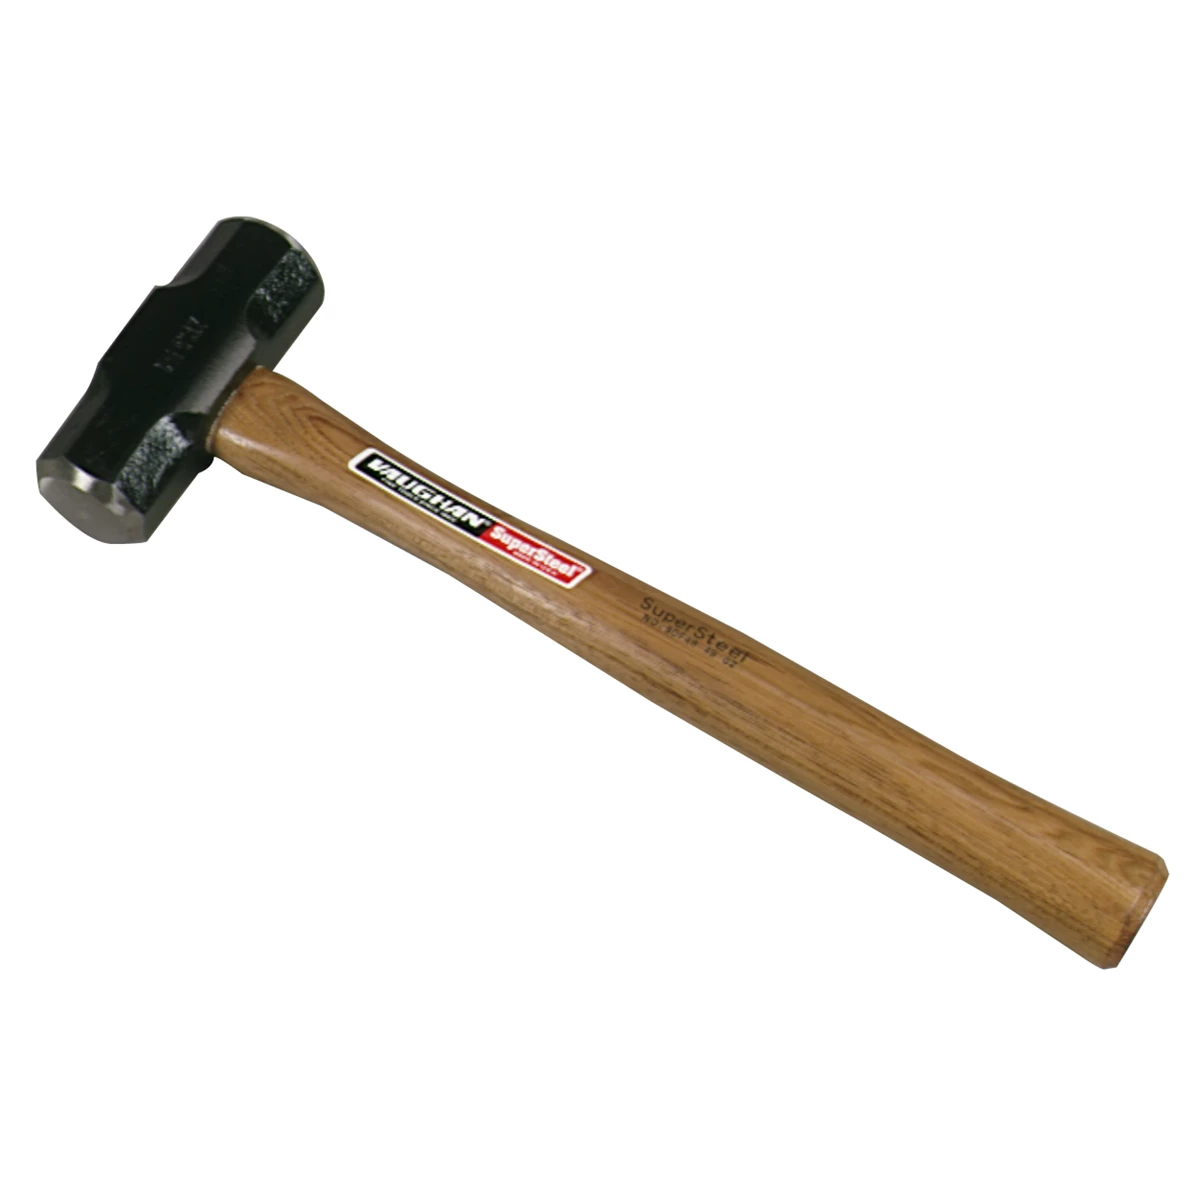
Double Face Engineers Hammer Hickory Handle 2.5 Lb
Mfg: Vaughan & Bushnell Mfg.
Part #: SDF40
If You Do Use Heat: Contain It and Get Out of the Line of Fire
Sometimes heat is unavoidable — badly rusted brackets on high-mileage vehicles may not release any other way. If you’re going that route, treat it like you’re defusing something, not just loosening a bolt:
- Never stand in line with the pin’s travel path. Position yourself to the side, not directly behind or in front of the bore. Multiple techs have described near-misses and injuries specifically because they were standing where the pin was headed.
- Secure the bracket in a vise before heating. Clamp the slide pin (not the bracket) in the vise and heat the bracket around it — the mass of the bracket resists movement and doubles as a handle when you work the pin free. Angling the setup so the pin drops downward under gravity once it releases, rather than shooting horizontally, adds another layer of control.
- Use a C-clamp for extra containment if you don’t have a vise nearby, and keep bystanders well clear. Shops that skip this step have had slide pins punch clean through overhead doors — a scenario that would be fatal if someone were standing in front of it.
- Drill a small relief hole first. Giving the trapped grease and expanding gas somewhere to vent before you apply serious heat prevents the pressure buildup that causes the launch in the first place. The hole can be welded shut afterward if you’re reusing the bracket.
- Apply heat gradually, not in one continuous blast. Rapid, intense heating is what flashes grease to vapor fastest. Slow, steady heat gives pressure more time to vent through any gaps rather than building toward a sudden release.
Know When to Just Replace the Bracket
Once you’ve heated a slide pin bore hot enough to boil out the grease, the bore itself is usually compromised — heat plus rust pitting means the new pin won’t seat and slide smoothly even after cleanup. At that point, the labor spent chasing a clean bore often costs more than a new caliper bracket. If a pin shears during removal, or the bore shows visible pitting once the old pin is out, factor a bracket into the estimate up front rather than fighting a part that’s already telling you it’s done. This also sidesteps the heat-and-launch risk entirely on the next attempt.
Shop Safety Culture Around Torch Use
The recurring theme across shop-floor accounts is that everyone “knows” heated grease can launch a pin, right up until it happens to them. A few culture-level habits reduce the odds of someone getting hurt:
- Treat torch-and-grease jobs as a two-person heads-up, not a solo task — call out before you apply heat so nobody wanders into the line of fire.
- Keep a chisel or impact hammer as the default first attempt, reserving the torch for brackets that have already failed mechanical removal.
- Some larger chains restrict which techs are allowed to use a torch on brake components specifically because of this failure mode — a policy worth adopting informally even in independent shops.
- Log recurring seized-pin problem vehicles so future services know to plan ahead (soak overnight, order a bracket proactively) rather than improvising heat on the fly.
Quick Reference Checklist
- Try hand pressure, an open-end wrench, or an impact chisel before any heat
- If heat is necessary, clamp the pin (not just the bracket) in a vise or C-clamp
- Stand clear of the pin’s travel path — never in front of or directly behind the bore
- Drill a relief hole to vent trapped grease/gas before heating
- Apply heat gradually rather than blasting it in one pass
- Inspect the bore after removal — pitted or heat-damaged bores usually mean bracket replacement
- Call out to coworkers before applying heat near sealed, greased components
{{PRODUCT_SEARCH_2}}
FAQs
Why does a heated slide pin shoot out instead of just loosening?
The pin sits in a grease-filled bore sealed by boots and corrosion. Heat vaporizes the grease faster than the confined space can vent it, and the resulting pressure has to release somewhere — usually by launching whatever is blocking the bore, which is the pin itself.
Is this only a problem in rust-belt shops?
It’s most common where road salt accelerates corrosion and seizes pins solid, but the underlying physics apply anywhere grease is heated in a sealed cavity, including ball joints and other greased, boot-sealed components.
What’s the safest way to remove a seized slide pin without a torch?
Start with penetrating oil and mechanical force — hand pressure, an open-end wrench used as a lever, or a cordless impact hammer/chisel. These avoid the pressure buildup that heat causes entirely.
If I have to use heat, how do I keep the pin from becoming a projectile?
Clamp the pin securely in a vise or with a C-clamp, drill a small relief hole to vent pressure before heating, apply heat gradually, and make sure no one — including you — is standing in the pin’s potential travel path.
Should I reuse a bracket after the pin has shot out or been heated heavily?
Usually not. Heat and rust together tend to pit the bore, which prevents the new pin from sliding smoothly. In most cases replacing the caliper bracket costs less than the labor to salvage a damaged bore.
Does this same risk apply to other greased suspension components?
Yes. Ball joints and similar sealed, grease-packed components have caused identical incidents when heated — the same containment and positioning precautions apply.
Tools for Caliper Slide Pin Removal
Removing a seized brake caliper slide pin requires both the right technique and the right tools. Brake Caliper Tools designed for this work can help you handle the job safely, whether using mechanical force or carefully managed heat.
- Impact hammers and chisels for mechanical pin removal
- Vises and clamps for secure bracket containment
- Wrenches and pry bars for leverage-based removal

The Toolsource Technical Team blends decades of real-world automotive service experience with up-to-date technical research. Our writers collaborate with professional mechanics, shop owners, and diagnostic specialists to deliver practical, workshop-ready guidance you can trust.


Follow us on social media