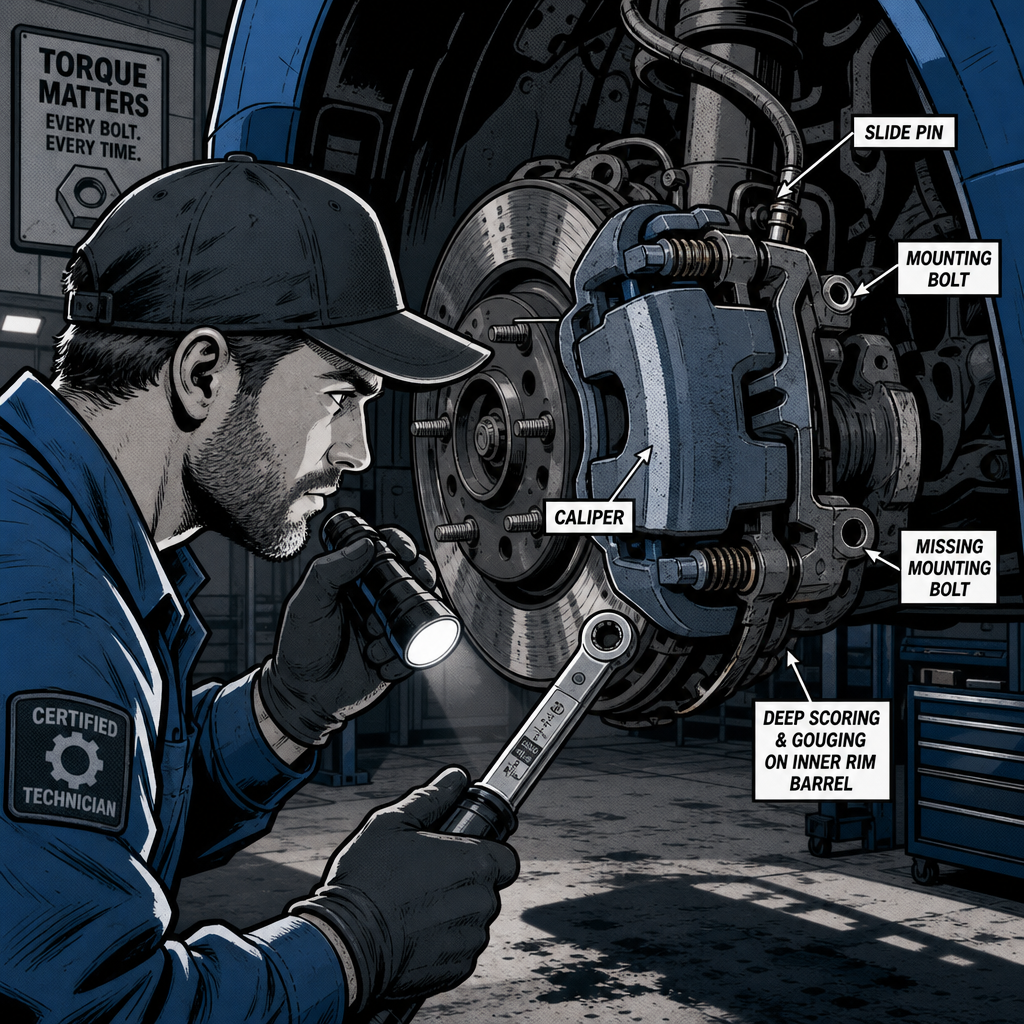
A brake pad physically separating from the caliper and coming to rest against the wheel isn’t something that happens on its own — pads are geometrically locked into the caliper and bracket, so this failure mode almost always traces back to a fastener that was left loose, cross-threaded, or skipped entirely. When it does happen, the vehicle is one or two pedal applications away from losing that corner’s braking force completely. This post breaks down what’s actually going on mechanically when a pad falls out, how to diagnose it fast, and the shop practices that make this mistake far less likely to happen on your bay.
What’s Actually Happening When a Pad Falls Out
Under normal operation, a floating caliper rides on two slide pins (guide pins) that let it move in and out as the pads wear. The inboard pad sits against the piston, the outboard pad sits in the caliper’s fingers, and both pads are retained by the bracket and, in most designs, by the caliper body itself clamping down around them. For a pad to fall out entirely, the caliper has to have rotated or shifted far enough to open that geometry up — and the only way that happens is if one of the two mounting/slide bolts is missing, backed out, or was never torqued in the first place.
Once one slide pin or bracket bolt loses tension, the caliper can pivot on the remaining single point of contact. That lets it swing outward, contact the inside of the wheel (the scraping and scoring technicians see on the rim), and open up enough clearance for a pad — usually a new, un-worn one — to slip free of the bracket. This is why the presence of a nearly new pad sitting loose near the wheel is such a strong tell: it’s not a worn-out pad that finally gave up, it’s a hardware failure from the installation itself.
A less common but related cause is a mismatched rotor thickness — for example, installing a standard rotor where a thicker towing-package rotor belongs. The extra clearance can let a worn pad walk out of position over time, though this presents differently (gradual, mileage-related) than a pad falling out shortly after service.
Diagnosing a Loose or Missing Slide Pin on Inspection
If a customer reports scraping, a pulling sensation, or a pad on the ground, get the vehicle on a lift before doing anything else — do not let it be driven in. On the lift:
- Pull the wheel and visually confirm both slide pins/bolts are present and threaded in. A missing bolt is common; count the holes, not just the bolts you can see.
- Check for a caliper hanging by the brake hose alone, or resting on the knuckle — this confirms total loss of mounting.
- Inspect the wheel’s inner barrel for scoring or gouging consistent with caliper contact.
- Check the caliper bracket for cracks, especially around the abutment ears, since a cracked bracket can mimic a missing-bolt failure.
- Verify rotor thickness against spec — a rotor that’s thinner than what the vehicle calls for can create enough clearance for a worn pad to walk out even with correctly torqued hardware.
- Inspect the caliper piston boot and piston travel; if the piston was bottomed or cocked during the pad swap, it can affect retention on that side.
Once you’ve confirmed the failure point, do not just reinstall and torque the same hardware and call it done. Inspect the pin bores, boots, and bushings for damage from running loose — a slide pin that’s been flopping around can gall the bore or tear the dust boot, and reusing damaged hardware just resets the clock on the same failure.


Correct Torque, Lubrication, and Reinstallation Procedure
Every caliper slide pin and bracket bolt has a torque spec for a reason — these are two of the only fasteners holding braking force onto the vehicle in two separate planes, and there is zero tolerance for “close enough” or hand-tight. Standard procedure:
- Always use a calibrated torque wrench on slide pins and bracket-to-knuckle bolts — never an impact gun for final tightening.
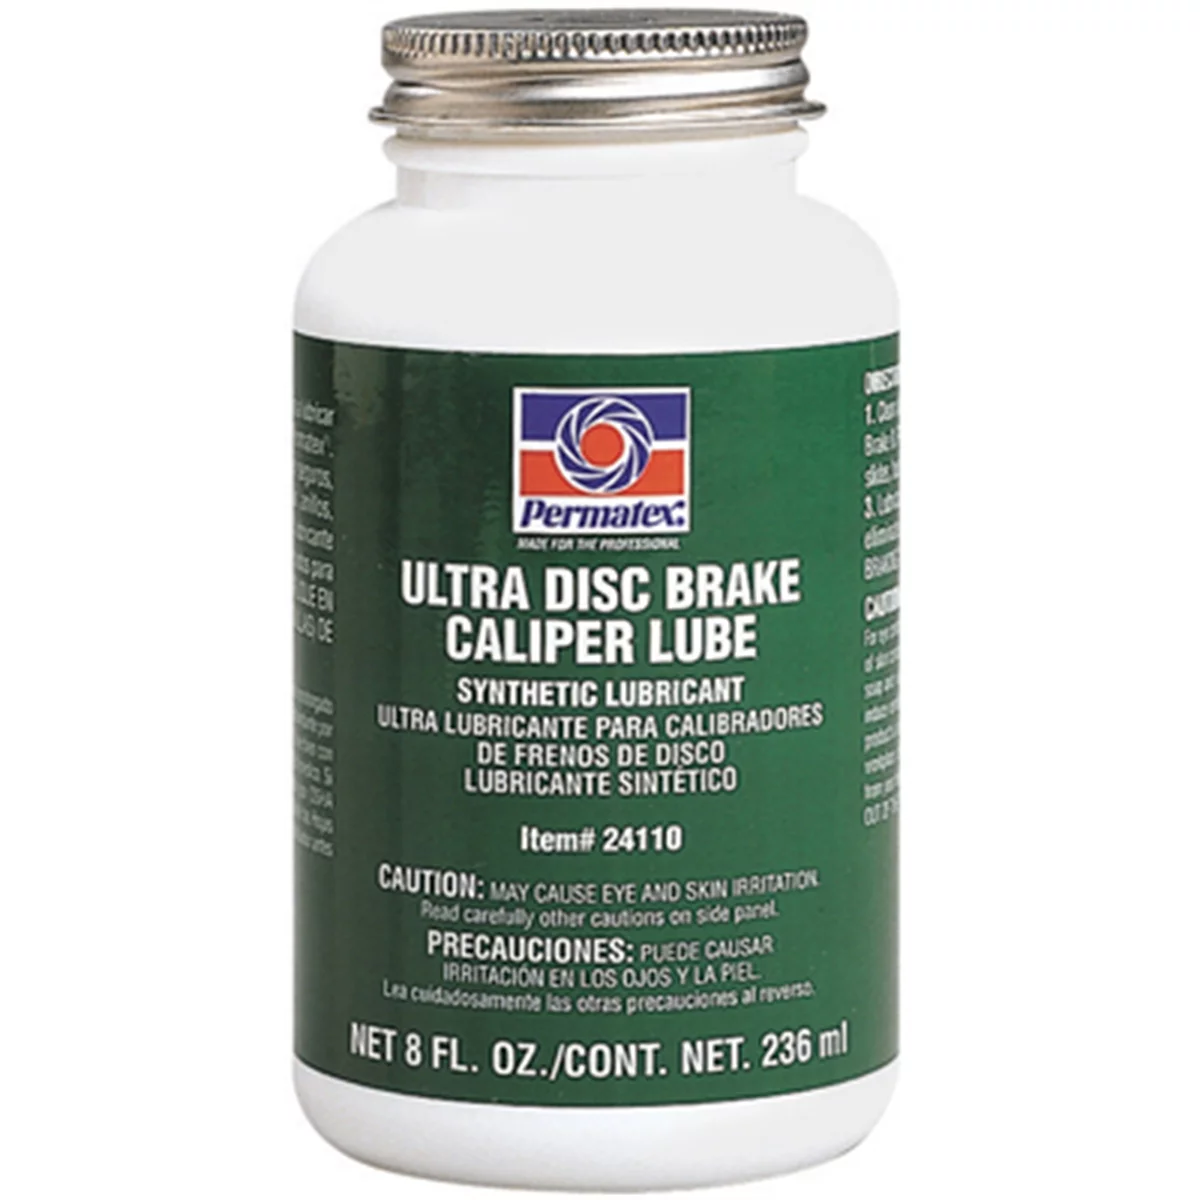
- Clean and lubricate slide pins with high-temp caliper grease (not brake cleaner residue, not chassis grease) so the caliper can float freely; a dry or seized pin causes uneven pad wear and can contribute to the same failure over time.
- Replace boots or bushings that show any tearing, cracking, or hardening — these are inexpensive relative to the comeback they prevent.
- Torque to the OEM spec for that specific caliper and bracket, not a generic “brake bolt” number — specs vary significantly between makes and even between front and rear on the same vehicle.
- After torquing, physically tug and try to rock the caliper by hand to confirm it’s seated and doesn’t shift.
If new pads were installed with anti-rattle clips or shims, confirm those are seated in the correct orientation before the caliper goes back on — a misplaced clip can prevent the pad from seating fully against the bracket even with correctly torqued hardware.
Quality Control Steps That Catch This Before the Car Leaves
The recurring theme in shop-floor accounts of this failure is that it’s a one-second lapse — a distraction, an interruption, a second tech grabbing tools mid-job — not a knowledge gap. That means the fix isn’t more training, it’s a process that doesn’t rely on memory alone:
- Torque-stripe or paint-mark every slide pin and bracket bolt after final torque, so a second set of eyes can confirm at a glance that every fastener has been hit.
- Use a written or digital brake-job checklist that requires initialing each fastener location before the wheel goes back on.
- Have a second technician or the shop foreman do a wheel-off visual check on brake jobs before the vehicle is pulled around, especially on high-volume days.
- Spin the wheel by hand and check for drag or knocking before lowering the vehicle fully off the lift.
- Torque wheel lug nuts to spec and do a post-road-test lug and brake recheck, standard on most quick-service and quality shop workflows.
None of these steps are novel — they’re standard in most shop procedures already. The point is that brake jobs are one of the few repairs where a single missed step has an outsized, potentially fatal consequence, which is why they warrant a check that doesn’t depend on any one person’s attention span that day.
Handling It When It Happens on Your Watch
If a customer comes back with this failure, the response matters both for safety and for the shop’s standing. The vehicle should not be driven under any circumstances — arrange a tow, at the shop’s expense, since the condition was caused by the shop’s work. On arrival, document everything before touching it: photos of the caliper position, the wheel scoring, the pad location, and the missing or loose hardware. This protects both the customer and the shop if there’s any dispute later.
From there, the repair should typically include new pads (the fallen ones are usually contaminated or damaged), rotor inspection or replacement if scored, caliper inspection for cracking or boot damage, and an inspection of the wheel for damage from contact. Being direct with the customer about what happened and what’s being replaced tends to preserve trust far more than downplaying it — this is a well-known failure mode in the industry, not an obscure one, and most experienced customers or their advisors will recognize a straightforward explanation.
Quick Reference Checklist
- Get the vehicle towed, not driven, if a pad or caliper displacement is reported
- Confirm both slide pins/bracket bolts are present and undamaged before reinstalling
- Torque every caliper fastener to spec with a calibrated wrench — no impact guns, no hand-tight “temporary”
- Grease slide pins with high-temp caliper lube and replace worn boots/bushings
- Verify rotor thickness matches vehicle spec, especially on trims with multiple rotor options
- Torque-mark fasteners and get a second-tech visual check before the wheel goes back on
FAQs
Can a brake pad really fall out on its own with no prior warning?
No. Pads are mechanically retained by the caliper and bracket. A pad falling out means a slide pin or bracket bolt was missing, loose, or backed out, allowing the caliper to shift enough to release it.
Is it safe to drive a short distance if a pad has fallen out?
No. With a pad missing, that caliper is running metal-to-metal or is only partially retained, and remaining braking force on that corner is severely compromised. The vehicle should be towed, not driven, even a short distance.
Who’s responsible for towing costs after a botched brake job?
Standard practice is that the shop that performed the faulty work covers the tow, since the unsafe condition was caused by their service. This is separate from who ultimately pays for the repair itself.
Should the same shop that caused the problem fix it, or should I go elsewhere?
Either is workable, but the financial obligation differs. If the original shop repairs it, they should do so at no cost to the customer. If the customer chooses a different shop, they’ll generally need to pay that shop directly and then pursue reimbursement from the original shop separately.
What torque spec should slide pins and bracket bolts use?
It varies by make, model, and even by axle on the same vehicle — always pull the OEM torque spec for that specific caliper and bracket rather than relying on a generic figure.
How can a shop prevent this from happening again?
Torque-marking fasteners after final torque, using a written checklist per brake job, and having a second technician do a wheel-off visual check before the vehicle leaves the bay are the most effective, low-cost controls.
Shop Brake Caliper Tools
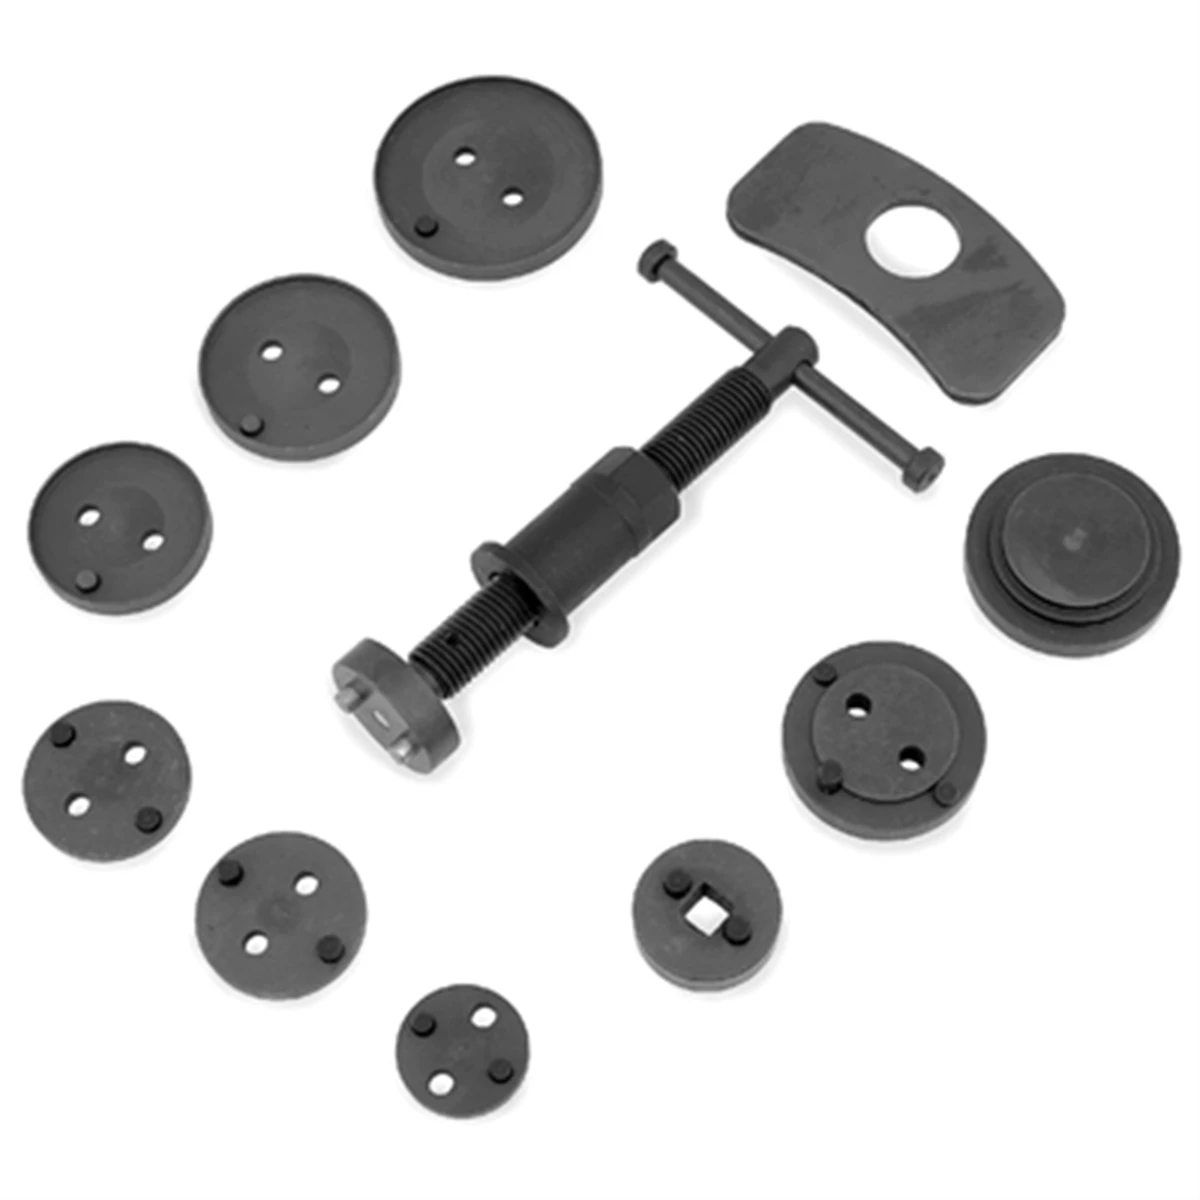
Preventing a pad fallout starts with proper installation — and that means having the right tools on hand. Our Brake Caliper Tools selection covers everything from calibrated torque wrenches to specialized service kits designed to make torque-marking, assembly, and post-job verification faster and more reliable.
- Torque wrenches and adapters for slide pins and bracket bolts
- Brake caliper service kits and slide pin hardware
- High-temperature grease and lubrication products

The Toolsource Technical Team blends decades of real-world automotive service experience with up-to-date technical research. Our writers collaborate with professional mechanics, shop owners, and diagnostic specialists to deliver practical, workshop-ready guidance you can trust.


Follow us on social media