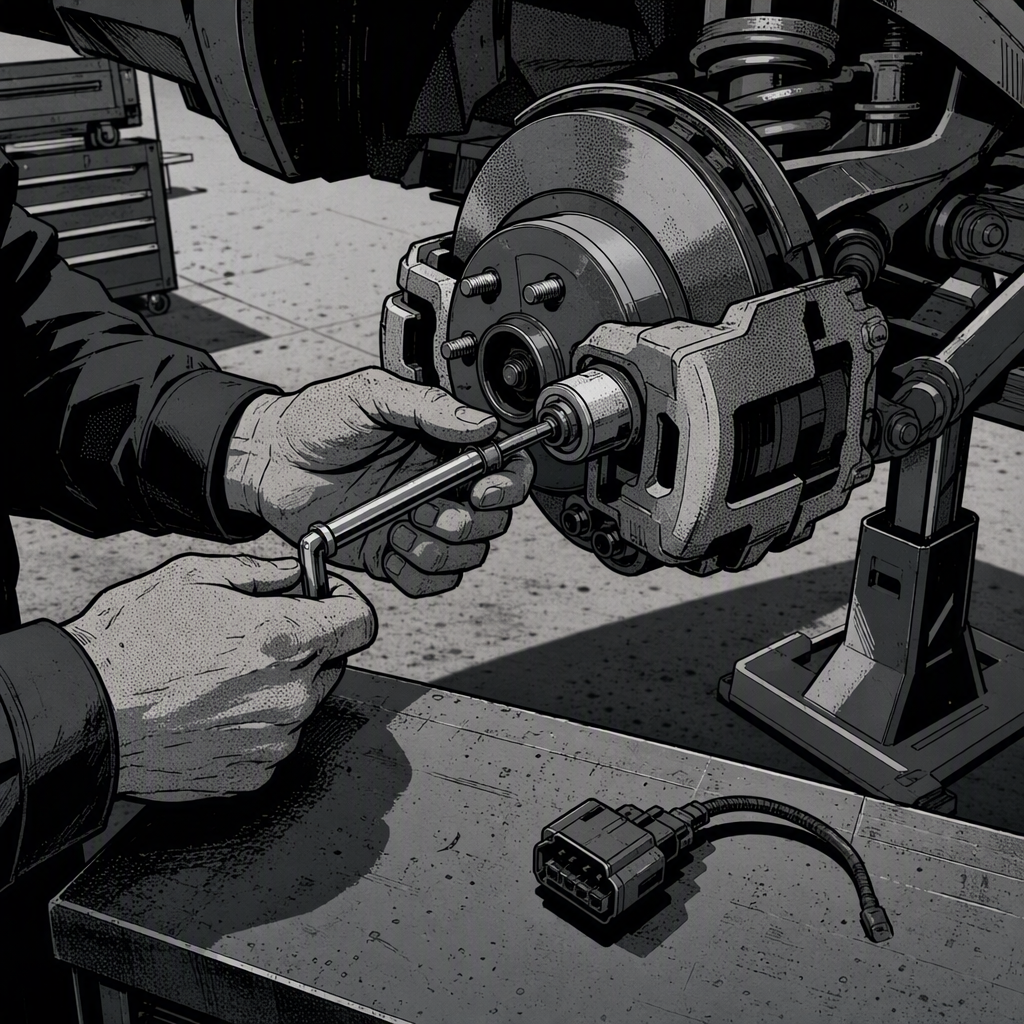
Rear brake jobs used to be simple: compress the piston, slap on new pads, done. Electric parking brakes (EPB) changed that math. The actuator motor that replaced the cable now has to be retracted correctly before the piston will move, and getting that sequence wrong is the single biggest source of comebacks on EPB-equipped vehicles — dash lights, dead calibration, even destroyed actuator spindles. None of it is complicated once you know the failure points, but the margin for error is a lot smaller than it used to be.
How EPB Caliper Retraction Actually Works
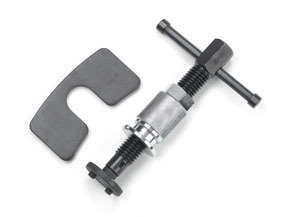
Most rear EPB calipers integrate the parking brake actuator directly into the caliper body. Instead of pulling a cable, the motor spins a threaded spindle that drives the piston in and out. To service the pads, that spindle has to be backed off before the piston can be compressed — you can’t just C-clamp it like a conventional caliper, because the motor and gear train are still connected and will resist or get damaged.
There are two accepted ways to retract it:
- Scan tool method: Use a bidirectional scan tool to command the EPB into “service mode” or “maintenance mode,” which retracts both actuators electronically. This is the OEM-preferred method on most late-model platforms and is required on some makes to avoid setting faults.
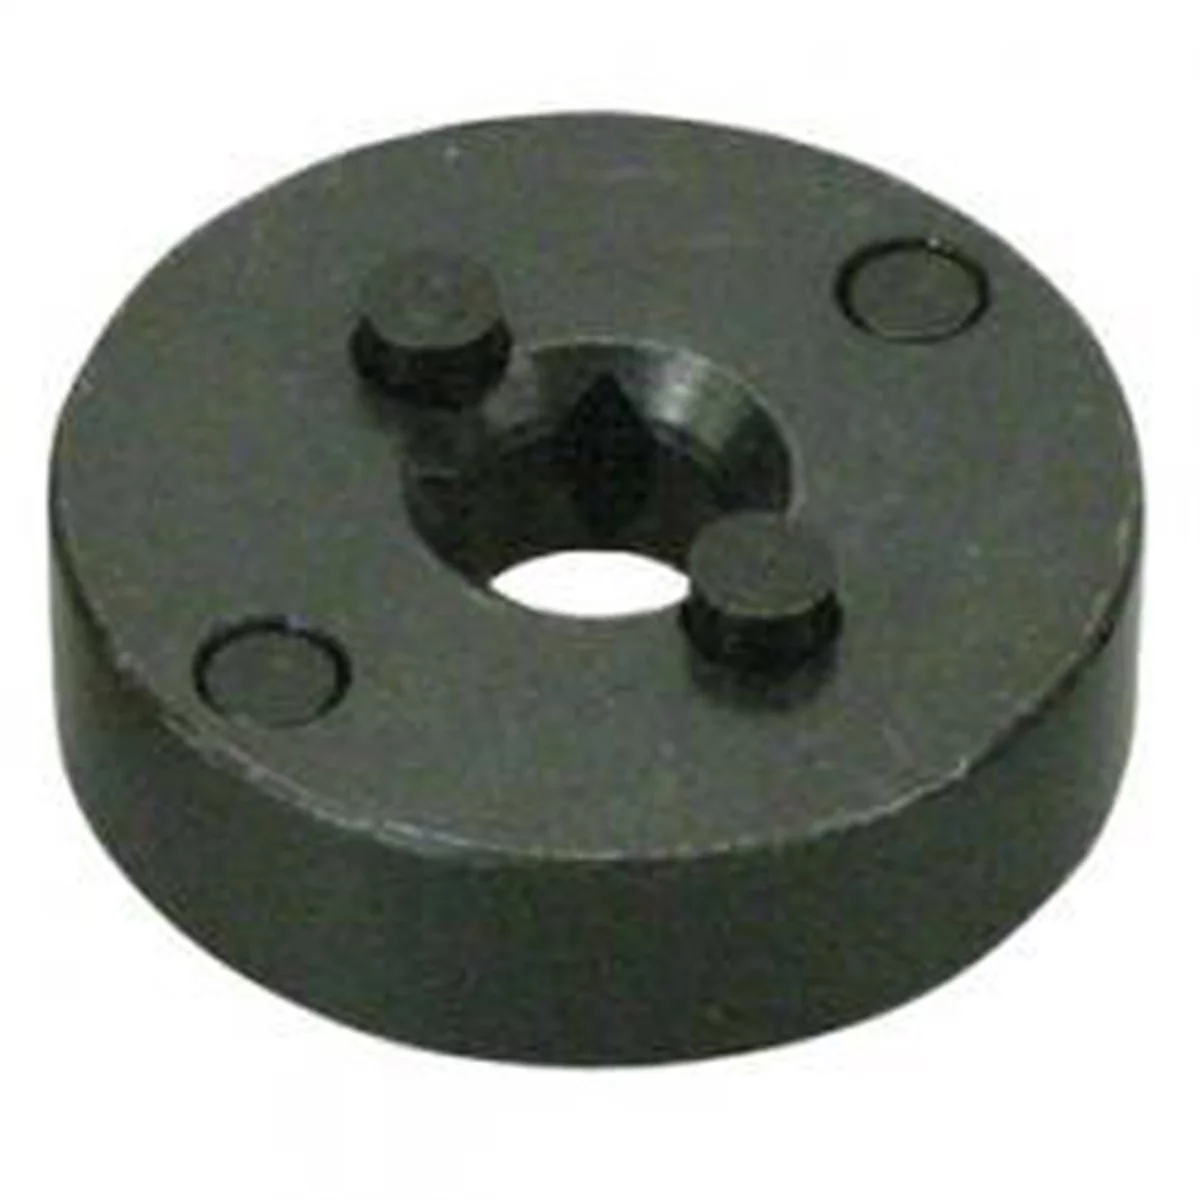
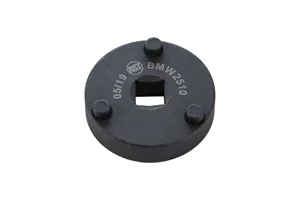
- Manual method: Disconnect the actuator’s electrical connector first, remove the actuator (typically a Torx or hex/socket fitting on the back of the caliper), and turn it by hand to retract the spindle, then compress the piston as normal. Because the connector is unplugged before any of this happens, the ABS/VSA module never sees the motor move and doesn’t log a fault.
The manual method is legitimate — several manufacturers, including Honda, publish it as an accepted procedure — but the order of operations matters. Unplug the connector before you disturb the actuator or caliper, not after.
The Wiring Mistake That Causes Most Comebacks
The number one cause of EPB faults after a brake job isn’t a bad recalibration — it’s physical damage to the actuator wiring harness. The connector and harness at the rear caliper have very little slack. If you unbolt the caliper and let it hang, or swing it out of the way with the connector still attached, the harness gets pulled taut and the terminal can be yanked partially or fully out of the connector body. Sometimes it still shows continuity on a meter afterward but fails intermittently under load or vibration, which is exactly the kind of fault that generates confusing, seemingly unrelated dash warnings.
This is worth flagging specifically because the wheel speed sensor typically shares the same harness. Damage here doesn’t just kill the parking brake — it can throw ABS, VSA/stability control, and multiple brake-related warning lights simultaneously, which is why a “simple” pad job sometimes ends with half the dash lit up.
Diagnosing Post-Service EPB Warning Lights
If the dash lights up after a rear brake job, work through it in this order before assuming the actuator or module is bad:
- Check the harness first. Inspect the connector at the actuator and back-probe for continuity across all pins, including the wheel speed sensor circuit if it shares the connector. Terminal pull-out doesn’t always show as an open circuit — wiggle-test it under load.
- Confirm the connector is fully seated. A connector that looks “clicked in” but isn’t fully locked will pass a static continuity check and still fault.
- Check battery voltage before chasing codes. A low-charge new battery, or a battery that was disconnected mid-job, can drop system voltage below what the module needs to boot cleanly, which sets brake-system-related codes that have nothing to do with the mechanical work performed. Let the vehicle idle 15–20 minutes, or put it on a charger, before re-scanning.
- Pull real codes with a bidirectional scan tool, not just a generic code reader. EPB systems often need a capable tool to both read the fault and command the recalibration/service-mode cycle.
Don’t jump straight to replacing the actuator. On several platforms, techs report cases where the circuit checks clean, the actuator is fine, and the fault clears once the actual root cause — a loose connector, low voltage, or oversized aftermarket pads — is addressed.
Aftermarket Pads Can Trigger False Short-to-Ground Codes
This one catches a lot of technicians off guard: EPB systems typically have no dedicated position sensor. The control module infers that the parking brake has engaged by monitoring current draw at the actuator motor — as the motor works harder against resistance, amperage ramps up, and the module reads that ramp as “brake applied.” If aftermarket rear pads are even fractionally thicker than OEM, the pad meets the rotor earlier in the actuator’s travel than the module expects. The module reads that early current spike as a short-to-ground fault rather than normal engagement.
Circuit checks will come back clean and a replacement actuator won’t fix it, because there’s nothing electrically wrong — the fault is purely a byproduct of pad geometry versus calibrated travel. If a customer has aftermarket rear pads installed and is throwing a persistent EPB short-to-ground code with no wiring damage found, swap to OEM or a verified same-thickness aftermarket pad before spending more diagnostic time on the circuit.
Recalibrating and Clearing Warnings After the Job
Whether or not a formal recalibration is required depends on the platform, but the general cycle-and-confirm procedure works across most EPB systems as a final step:
- With everything reassembled and the connector fully seated, apply and release the parking brake several times using the normal switch, not a scan tool override, so the module can relearn the travel and current profile.
- On systems that support it, a manual recalibration sequence exists (commonly: ignition on, brake pedal held, EPB switch held until the brake light blinks, ignition cycled within the window specified by the manufacturer) — check the platform-specific procedure rather than assuming a generic sequence applies.
- Take the vehicle on a short drive with full lock-to-lock turns; some wheel speed sensor and brake-system warnings only clear after a completed drive cycle.
- If lights persist, disconnect the battery for 15–20 minutes to force a hard module reset, then recheck before condemning any component.
Quick Checklist
- Unplug the actuator connector before removing the caliper or turning the actuator — never after.
- Support the caliper; never let it hang by the wiring harness.
- Verify pad thickness matches OEM spec, especially with aftermarket pads.
- Confirm battery voltage is solid before diagnosing brake-related codes.
- Cycle the parking brake switch several times after reassembly.
- Use a bidirectional scan tool for service mode and recalibration where the platform requires it.

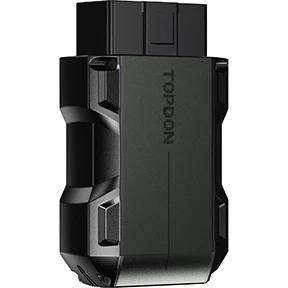
Topdon Pocket-Size Bluetooth Scan Tool w/Bi-Directional Cont
Mfg: TOPDON
Part #: TOPSCANLITE
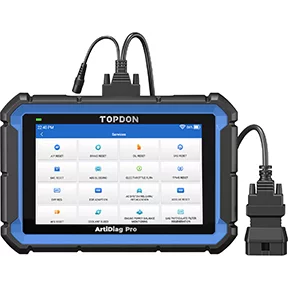
ArtiDiag Pro - 7" Scan Tool w/Service Functions & Bi-Directional
Mfg: TOPDON
Part #: ADPRO
Frequently Asked Questions
Do I need a scan tool to retract an electric parking brake?
Not always. Many platforms support a manual retraction procedure — disconnect the actuator connector, remove the actuator, and turn it by hand to retract the spindle. A scan tool’s service mode is the OEM-preferred method on some makes and is safer if you’re unsure of the manual sequence for that platform.
Why did my dash light up after a routine rear brake job?
The most common cause is wiring harness damage from removing the caliper with the actuator connector still attached — the harness has little slack and the terminal can pull out. Low battery voltage during the job and aftermarket pad thickness are the next most common causes.
Can I use a battery or power probe to retract the actuator instead of a scan tool?
On some platforms, yes — powering the actuator directly with a pigtail and a battery or tool battery is a known workaround technicians use in place of a scan tool. This isn’t universal across all makes, so confirm it’s supported before trying it.
Will aftermarket brake pads cause parking brake fault codes?
They can. Because EPB systems often infer engagement from motor current rather than a position sensor, pads that are even slightly thicker than OEM can trigger a false short-to-ground code. Swapping to OEM-thickness pads typically resolves it without any part replacement.
What’s the safest way to remove a rear caliper with an electric parking brake?
Disconnect the actuator’s electrical connector first, then remove the actuator and caliper. Never remove the caliper with the connector still plugged in and let it hang — that’s the leading cause of harness damage on these systems.
How do I clear EPB warning lights after finishing the brake job?
Cycle the parking brake switch several times to let the module relearn engagement, then complete a short drive cycle with full-lock turns. If lights persist, check for a platform-specific recalibration procedure or perform a battery disconnect to force a module reset before assuming a component has failed.
Recommended Tools
Doing EPB rear brake work right means having reliable tools for retraction, removal, and reassembly. Check out our selection of brake caliper tools for both manual and scan-tool-supported service.
- EPB-compatible caliper retraction and removal tools.
- Connectors and hardware for damage-free service.
- Tools supporting both manual and diagnostic-aided procedures.

The Toolsource Technical Team blends decades of real-world automotive service experience with up-to-date technical research. Our writers collaborate with professional mechanics, shop owners, and diagnostic specialists to deliver practical, workshop-ready guidance you can trust.


Follow us on social media