Anyone who has pulled a car out of a dealership service drive and found a web of fine scratches under the sun has seen the same failure mode play out: speed-focused wash tunnels, shared dirty mitts, and flat-rate pay structures that reward volume over care. For shops that do their own vehicle washing — whether at a dealership, quick lube, or independent garage — understanding why this happens and how to fix it properly is both a liability issue and a customer-retention issue. This guide covers the root causes, how to inspect for wash-induced damage, the correct wash procedure, and what correction actually requires once the damage is already done.
Why “Free” Washes Damage Paint and Trim
The damage pattern reported most often — fine linear scratches visible as a reflection distortion, plus scuffed or hazed plastic trim — almost always traces back to a handful of process failures, not bad luck:
- Shared contact media. The same mitt, sponge, or brush gets used on dozens of cars in a shift without rinsing out embedded grit. Every pass drags abrasive particles across the clear coat.
- Push brooms and long-reach brushes. Tunnel washes and lot crews often use stiff-bristle brooms to reach roofs and hoods quickly. Bristles that are fine for concrete are too aggressive for clear coat.
- No rinse step. Spraying plain water and wiping with the same towel used on the last several hundred cars (instead of pre-rinsing loose dirt and switching to clean towels) grinds debris directly into the paint.
- Flat-rate incentive structures. When techs are paid per car rather than per hour, there’s a direct financial incentive to skip steps — soap, rinse buckets, towel changes — that slow the line down.
- No distinction by paint color or trim material. Dark paint shows marring far more than light colors, and high-friction passes on unprotected plastic trim (bumpers, mirror caps, rocker panels) leave scratches that polish won’t remove because trim isn’t clear-coated the same way body panels are.
None of this is mysterious damage — it’s the predictable outcome of speed-first processes applied to a surface that doesn’t tolerate shortcuts.
How to Inspect for Wash-Induced Damage
Before you touch a polisher, confirm what you’re actually dealing with. A proper inspection takes under five minutes and prevents wasted correction work:
- Direct sunlight or a raking LED light at a low angle reveals swirl patterns that are invisible under shop fluorescents. Scratches running in random, criss-crossed directions point to wash-induced marring rather than a single impact.
- Run a fingernail test on trim — if a scratch catches a nail, it’s into the material, not just surface haze, and polish alone won’t fix it.
- Check panel edges and high points (roof, hood, trunk, mirror caps) first — these take the most contact during a quick wash and show damage earliest.
- Photograph before any further work — this protects the shop and the customer if the damage needs to be escalated or billed to a third party.
If the scratch tip catches a fingernail and feels embedded in the panel rather than sitting on top of the clear coat, treat it as a correction job, not a quick wipe-down.

The Correct Wash Process for a Shop Floor
A wash done right doesn’t have to take much longer than a bad one — it just requires the right order of operations and the right contact media. The standard the industry has settled on is the two-bucket method:
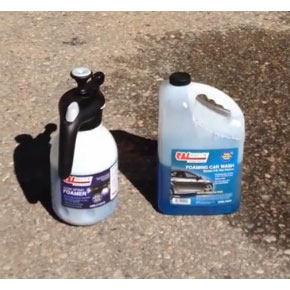
- Pre-rinse first. Knock off loose grit, brake dust, and road film with a hose or pressure washer before any mitt touches the paint. This single step removes most of the abrasive material that causes swirls.
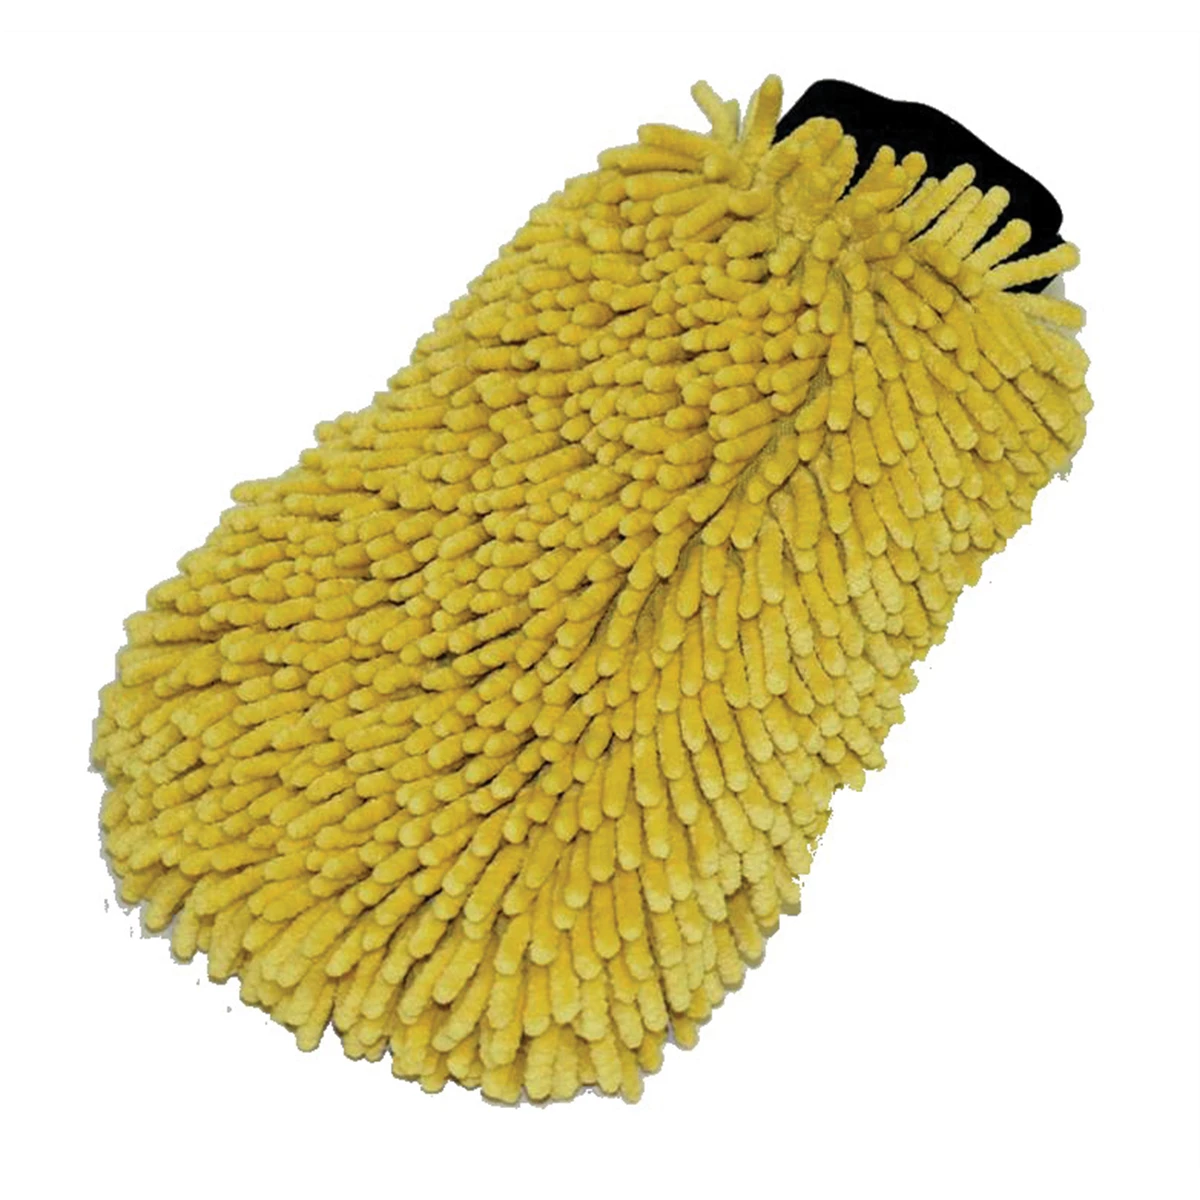
- Use a pH-neutral soap and a clean, dedicated microfiber wash mitt per vehicle — not a shared mitt or brush used on the last ten cars.
- Two buckets with grit guards — one for soapy solution, one for rinsing the mitt before reloading it with soap. This keeps dirt out of the suds you’re applying to the car.
- Straight-line motion, light pressure — no scrubbing in circles, and no stiff-bristle brushes on body panels. Save brushes with soft bristles for wheels and low-contact areas only.
- Dry with clean, dedicated microfiber towels or an air dryer — never a shop rag that’s touched other vehicles.
- Separate media for trim and dark paint. Unprotected plastic trim scratches easily and shows it; treat it with its own soft applicator rather than the same mitt used on the body.
Correcting Swirl Marks and Light Scratches
Most wash-induced marring is genuinely fixable without repainting — but it has to be done as an actual paint correction, not a quick buff. The process:
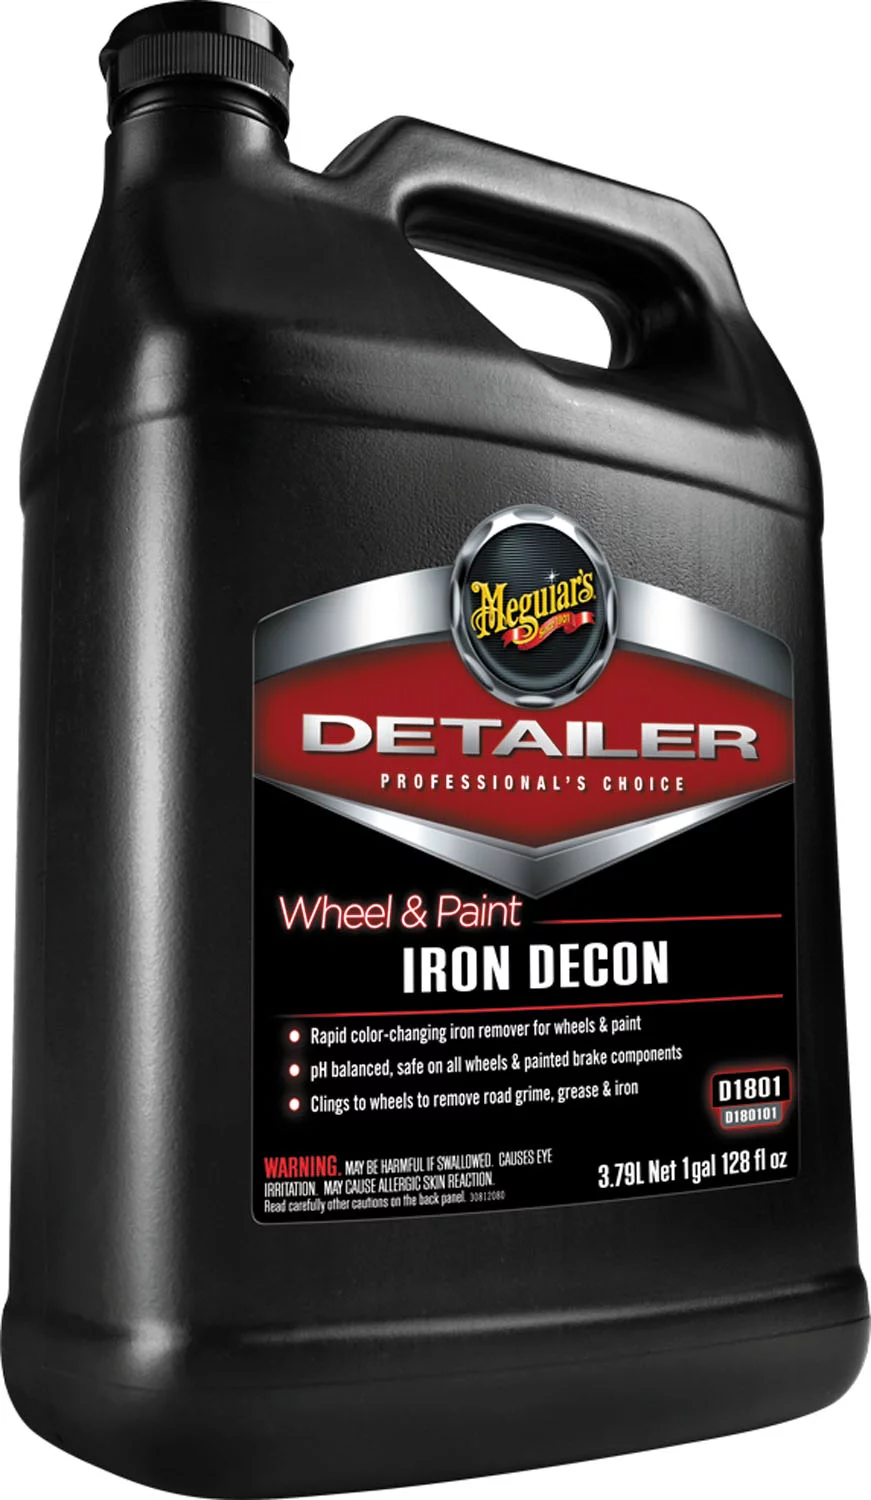
- Decontaminate first. Clay bar or a chemical decon spray removes bonded contaminants before any abrasive step, so you’re not grinding debris into the clear coat during polishing.
- Test spot. Pick an inconspicuous panel and run a one-step or two-step polish with a dual-action polisher to gauge how much correction the clear coat needs before committing to the whole vehicle.
- Start with the least aggressive pad/compound combination that removes the defect, and step up only if needed. Clear coat is finite — removing more than necessary shortens the panel’s remaining life.
- Inspect under the same raking light used during diagnosis to confirm the scratches are actually gone, not just hidden by filler-heavy polish that will wash out in a few weeks.
- Escalate to a body shop if the scratch goes through the clear coat into color or primer. No amount of polishing fixes a scratch that’s breached the clear layer — and no body shop repaint will match the durability of factory baked-on paint, so repainting should be a last resort, not a default offer.
- Plastic trim with scratch depth you can feel is a replacement item, not a polishing job — trim typically lacks the same clear coat depth as painted panels.
For shops stocking up on the right supplies to run a correction bay properly, it’s worth comparing options for a dual action polisher with pH-neutral car wash soap and microfiber wash mitts — the combination that prevents the problem from recurring on the next vehicle.
Protecting the Finish After Correction
Paint correction without a protective layer afterward is wasted labor — the clear coat is now thinner and more exposed than before. Lock in the work:
- Apply a sealant or ceramic coating immediately after correction while the surface is fully decontaminated and polished. Ceramic coatings also make the next accidental rough wash far less likely to leave a permanent mark, since the coating itself takes the abrasion first.
- Set maintenance expectations with the customer — coated panels still need pH-neutral washes and microfiber contact; a coating is not a reason to go back to a push-broom tunnel wash.
- For customer-facing shops, offer a visible “no automated wash” tag for vehicles that have just received correction or coating work, so other departments or quick-service bays don’t undo it within days.
Shop Wash Protocol Checklist
- Pre-rinse every vehicle before any contact wash step
- Use pH-neutral soap and a clean mitt per car — never shared, never a brush on body panels
- Two-bucket method with grit guards, straight-line motion only
- Dry with clean microfiber towels or an air dryer, never reused shop rags
- Inspect under raking light before releasing the vehicle
- Flag any vehicle just coated or corrected with a “no automated wash” tag
Shops building out a full detailing bay should look at bundled options for a paint correction and ceramic coating starter kit covering polishers, pads, compounds, and coating applicators.

FAQs
Can swirl marks from a dealership wash actually be removed?
Yes, in most cases. If the damage is confined to the clear coat (it doesn’t catch a fingernail), a one- or two-step machine polish will remove it. If the scratch has gone through the clear coat into color, polishing won’t fix it and the panel needs body shop attention.
Why does scratched plastic trim need replacement instead of polishing?
Unlike painted panels, most exterior plastic trim isn’t protected by a thick clear coat layer, so deep scratches sit in the material itself. Polishing can improve light surface haze, but scratches that catch a fingernail typically require trim replacement.
Is a “Do Not Wash” sign actually effective?
It helps but isn’t foolproof — notes on a service ticket don’t always reach the tech or porter who handles the vehicle physically. A visible tag on the dash, mirror, or steering wheel is more effective than a note in the system alone.
Should a shop recommend a full repaint after wash-induced scratches?
Only if the damage has gone through the clear coat into the base color or primer. For surface-level swirls and light scratches, a repaint is unnecessary, more expensive, and will never match the durability of the factory’s baked-on finish.
What’s the real cost difference between a rushed wash and a proper one?
A pre-rinse, two-bucket method, and clean towels add only a minute or two per vehicle compared to a rushed wipe-down — far less than the labor cost of a later paint correction or trim replacement caused by skipping those steps.
Does a ceramic coating prevent this kind of damage going forward?
It reduces the risk by giving abrasive contact something to grind against other than bare clear coat, but it doesn’t make the paint scratch-proof. Proper wash technique is still required even on a coated vehicle.
Recommended Tools for Paint Correction
Proper paint correction and protection requires the right equipment. Browse our Paint & Body category for the tools covered in this guide.
- Dual-action polishers and backing plates
- Compounds, pads, and buffing accessories
- Ceramic coatings and sealant applicators

The Toolsource Technical Team blends decades of real-world automotive service experience with up-to-date technical research. Our writers collaborate with professional mechanics, shop owners, and diagnostic specialists to deliver practical, workshop-ready guidance you can trust.


Follow us on social media