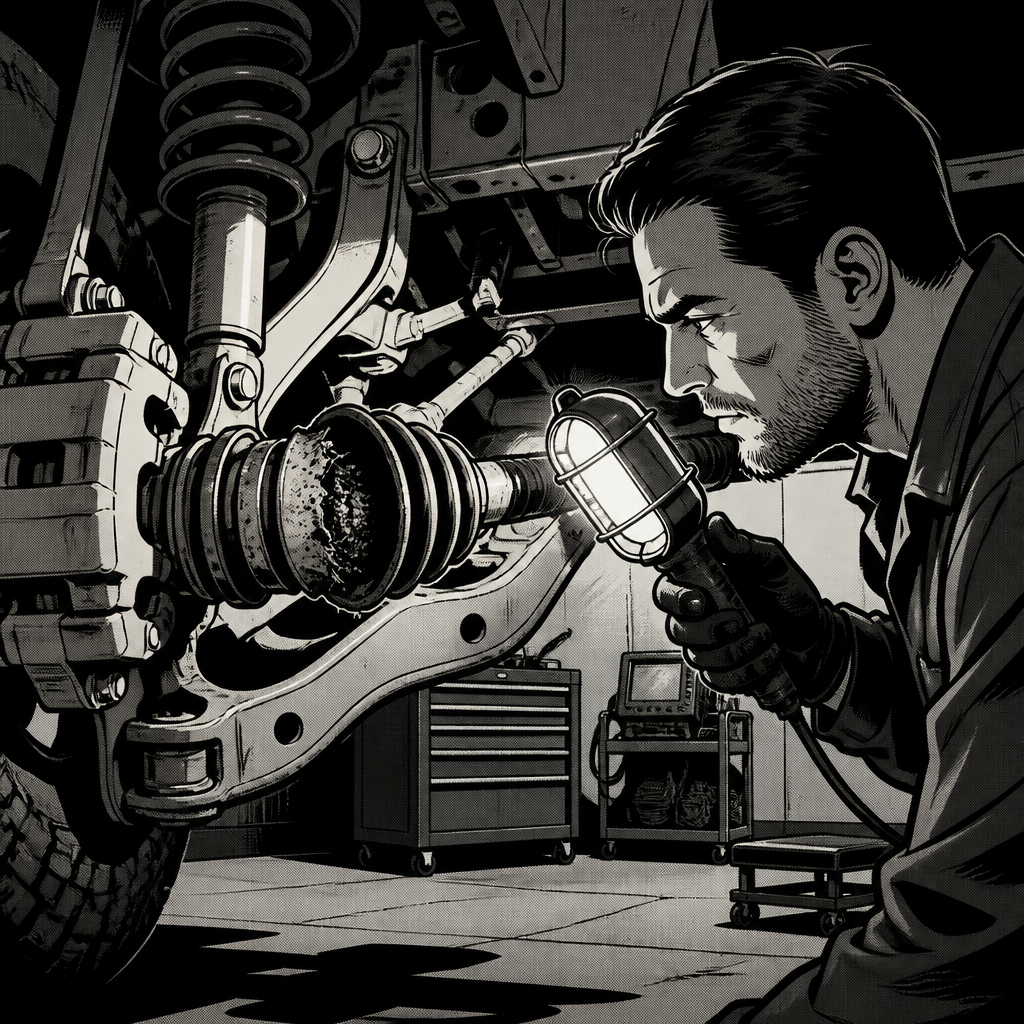
A customer comes back six months after a CV axle replacement with the same torn boot, the same clicking sound, or a new vibration at idle — and the first instinct is to blame the part. Sometimes that’s right. But a lot of “bad axle” comebacks trace back to something upstream: a lift kit that was never corrected for CV plunge, worn motor and transmission mounts changing driveline angle, or contamination working its way past a boot that was undersized for the job. Sorting out which failure you’re actually looking at, before you order another set of axles, is what separates a one-and-done repair from a customer who’s back in your bay every winter.
Why CV Axles Fail Early
The overwhelming majority of premature CV axle failures come down to a handful of repeatable causes, and they rarely act alone:
- Boot material quality. The CV joint itself — the metal bearing race and cage — is usually the durable part. The rubber or thermoplastic boot is where cheap axles cut corners, and once a boot splits, grease escapes and grit gets in. A joint that would have run for 150,000 miles can be destroyed in a few thousand once it’s running dry and contaminated.
- Lift kits and wheel offset. Raising a truck or running aggressive wheel offset changes the operating angle and plunge distance of the axle. Axles engineered for stock ride height get worked at the extremes of their travel constantly, which accelerates boot wear and can cause the boot to contact control arms or other suspension components.
- Bad motor and transmission mounts. Worn mounts let the drivetrain shift under load, changing the angle the axle operates at every time the vehicle accelerates or decelerates. This is an easy thing to miss because the axle looks like the failed part when the mount is the root cause.
- Contamination cycles. Mud, especially the kind that dries and cracks on a boot, flexes and tears rubber that would otherwise survive. Off-road use without post-drive cleaning is a known accelerant.
- Installation error. A CV joint that’s been over-extended during installation, or a boot clamp that wasn’t seated correctly, can fail almost immediately — sometimes before the vehicle leaves the lot.
OEM vs. Aftermarket Axles: What the Pattern Actually Shows
There’s a consistent theme in shop experience and owner reports: OEM or OE-quality axles routinely run 10-15 years or well past 150,000-200,000 miles, while bargain aftermarket units — particularly the lowest-cost parts-store or online options — commonly fail within six months to two years. The price gap explains a lot of this. A no-name axle assembly might run $60-100 per side; a factory replacement can run several hundred dollars and, on some trucks and SUVs, over $1,000 per side. That gap isn’t purely markup — it reflects differences in boot compound, joint tolerances, and grease formulation.
That doesn’t mean every aftermarket axle is junk. Mid-tier “severe duty” or “extreme duty” lines from established remanufacturers are frequently reported as a reasonable middle ground — better boot material than the rock-bottom option, at a fraction of dealer pricing. The pattern to watch for: certain platforms (Subaru drivetrains and lifted 4x4s were called out repeatedly) seem to chew through generic aftermarket axles fast enough that going straight to OEM or a reputable reman brand is the more economical choice over the life of the vehicle, even with the higher upfront cost.
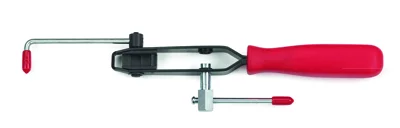

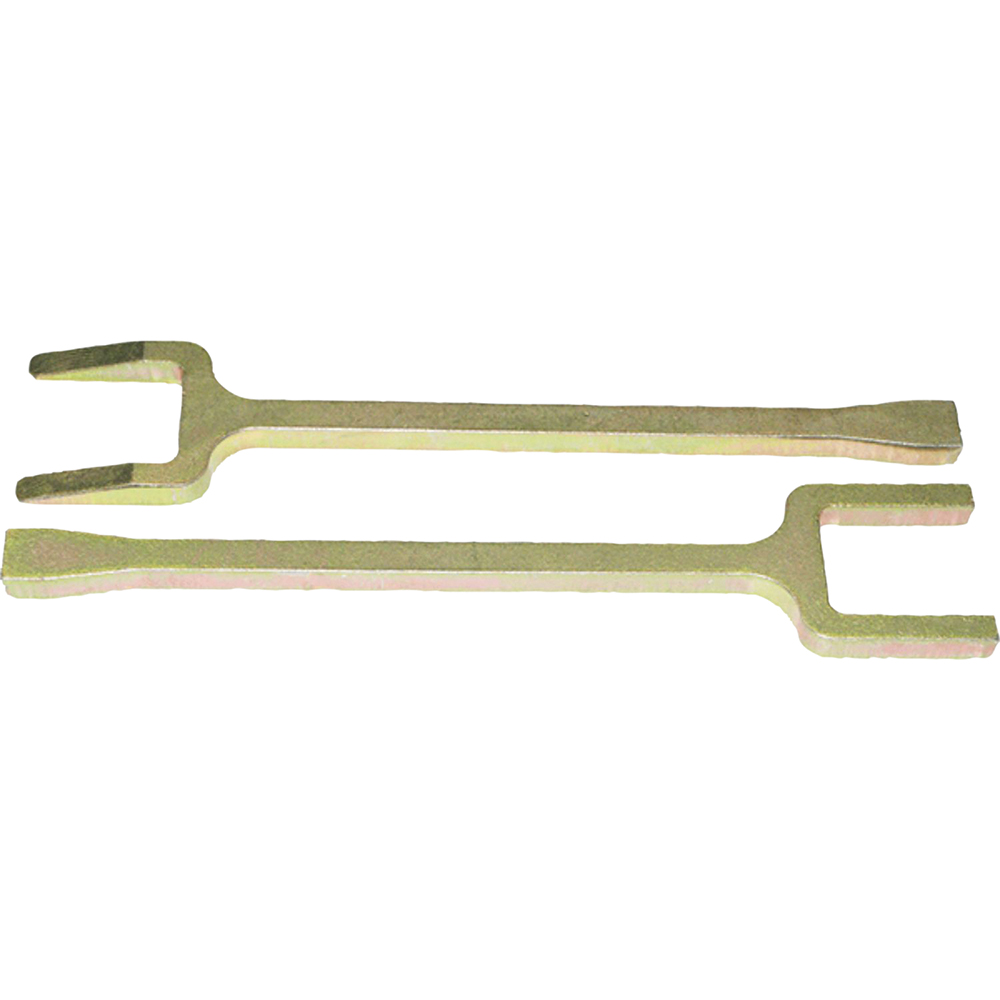
Axle Clamp Installer - CV Joint Boot Clamp
Mfg: Mopar Essential Tools
Part #: C-4975B
Diagnosing the Real Cause Before You Replace
Before swapping an axle, especially a repeat failure, work through the surrounding systems:
- Check ride height and alignment. If the vehicle has a lift, leveling kit, or has been in a collision, verify the suspension geometry is within spec and that the axle’s plunge range matches the ride height. A lift kit without a corresponding axle change is a common, overlooked cause.
- Inspect motor and transmission mounts. Broken or collapsed mounts allow excess drivetrain movement. This is worth ruling out any time an axle fails without an obvious external cause, particularly on trucks.
- Look at boot contact points. With the wheels turned lock to lock, watch whether the boot contacts a control arm, sway bar link, or frame component. Interference wear shows up as a localized cut or abrasion rather than a stretch tear.
- Check wheel and tire fitment. Oversized tires or wheels with aggressive offset change the load and leverage on the hub and axle. This is especially relevant on trucks running 35-inch tires or larger.
- Rule out road damage and mud packing. Off-road vehicles that accumulate and dry mud on the boots are prone to cracking from repeated flex cycles.
If none of these turn up an issue and the vehicle is stock, the axle brand itself is the most likely culprit — which is the scenario that shows up most often in shop feedback on cheap axle brands.
[PRODUCT_SEARCH: OEM-quality CV axle boot kits]
Boots vs. Full Axle Assemblies: When to Replace Which
Not every torn boot means the axle needs to come out entirely. If the joint is caught early — before contamination has scored the bearing races — a boot kit alone can be a legitimate repair, and a quality OE-spec boot kit typically runs far less than a full assembly. The tradeoff is labor time: repacking a joint and installing a new boot and clamps by hand takes longer than swapping a preassembled axle shaft, and it only works if the joint hasn’t already been damaged by grit or dry running.
A yearly inspection of boots during routine service catches most of these before they progress to joint damage. Once a boot has been split for any length of time and the joint has visible contamination, clicking on turns, or looseness, replace the full assembly — repacking a compromised joint is a temporary fix at best.
Installation Mistakes That Kill New Axles Fast
A brand-new axle failing within weeks is often an installation issue rather than a defective part:
- Over-extending the joint during install. Pulling a knuckle or hub too far to seat the axle can pop a joint past its designed range of travel, damaging the cage or bearings without leaving obvious external signs.
- Reusing a worn hub or bearing. A new axle paired with a failing wheel bearing or worn hub will transmit vibration and load imbalance back into the joint.
- Incorrect axle nut torque. Under- or over-torquing the axle nut affects bearing preload and can accelerate wear on both the hub and the axle.
- Wrong axle for ride height. Installing a standard-length axle on a lifted vehicle, instead of one spec’d for the lift range, sets the boot up to fail from day one regardless of build quality.
Choosing a Replacement Axle That Will Actually Last
When it’s time to buy, match the part to the vehicle’s actual use and configuration, not just the year/make/model:
- For a stock daily driver, OE or OE-equivalent axles are the safer long-term bet given how often bargain aftermarket boots underperform.
- For a lifted or leveled truck, buy axles specifically rated for that lift height — several suppliers stock axles built for 1-4 inch lift ranges with correct plunge geometry.
- For a low-mileage beater or a vehicle you don’t plan to keep long, a budget axle with a lifetime warranty can be a reasonable economic trade-off, as long as you’re comfortable with the labor of periodic replacement.
- For known problem platforms, check shop and owner feedback for that specific drivetrain before defaulting to the cheapest listed part.
- Consider a low-mileage used OEM axle pulled from a salvage vehicle as a middle path between new-aftermarket cost and full dealer pricing.
Quick diagnostic checklist
- Confirm ride height/lift matches the axle’s rated plunge range
- Inspect motor and transmission mounts for excess movement
- Check boot for interference contact at full steering lock
- Verify wheel/tire offset and size against factory spec
- Inspect for dried mud or debris packed against the boot
- Confirm correct axle nut torque and hub/bearing condition after installation
[PRODUCT_SEARCH: replacement CV axle assemblies]
Frequently Asked Questions
How long should a CV axle boot last?
An OE-quality boot on a stock vehicle commonly lasts well beyond 100,000 miles. Budget aftermarket boots have been reported failing in as little as 20,000 miles, especially under heavier loads or altered ride height.
Can I just replace the boot instead of the whole axle?
Yes, if the joint hasn’t been contaminated or run dry for long. Boot kits are inexpensive and effective when caught early during routine inspection. Once contamination or clicking is present, replace the full assembly.
Does a lift kit really affect axle life?
Yes. Lift kits and leveling kits change the operating angle and plunge distance of the axle. Axles not rated for the added lift height are worked outside their design range continuously, accelerating boot and joint wear. Lift-specific axles correct for this.
Why do my aftermarket axles keep failing but the OEM ones didn’t?
It’s almost always the boot material and joint tolerances, not the metal shaft itself. Lower-cost axles frequently use lower-grade rubber compounds and grease that don’t hold up as long under heat and flex cycling.
What else besides the axle could cause a driveline vibration or click?
Worn wheel bearings, failing motor or transmission mounts, damaged control arm bushings, and improper wheel offset can all produce symptoms that look like a bad axle. Rule these out before condemning the axle.
Is it worth paying for OEM axles on an older, high-mileage vehicle?
It depends on ownership plans. If you’re keeping the vehicle long-term, OEM axles generally cost less over time due to longevity. If you plan to sell or the vehicle has limited remaining life, a warrantied aftermarket axle may be the more economical short-term choice.
Tools for CV Axle Service
Proper diagnosis and correct installation are key to avoiding comebacks. The CV Joint Tools selection supports diagnosis, repair, removal, and installation work — helping you perform the job correctly from start to finish.
- Boot clamp and repair tools for early-stage failures
- Axle removal and installation fixtures to ensure correct engagement
- Bearing and drivetrain diagnostic tools to identify root causes

The Toolsource Technical Team blends decades of real-world automotive service experience with up-to-date technical research. Our writers collaborate with professional mechanics, shop owners, and diagnostic specialists to deliver practical, workshop-ready guidance you can trust.


Follow us on social media