If your engine revs but the vehicle won’t move, or you just heard a loud bang followed by a free-spinning wheel, you likely have a broken CV axle (a front driveshaft on most FWD vehicles). This guide explains what failed, why it happens (especially in salt-belt regions and on certain models that use a mid-shaft damper), how to respond safely, options for repair at home vs. a shop, and how to prevent repeat failures.
What Failed and Why CV Axles Break
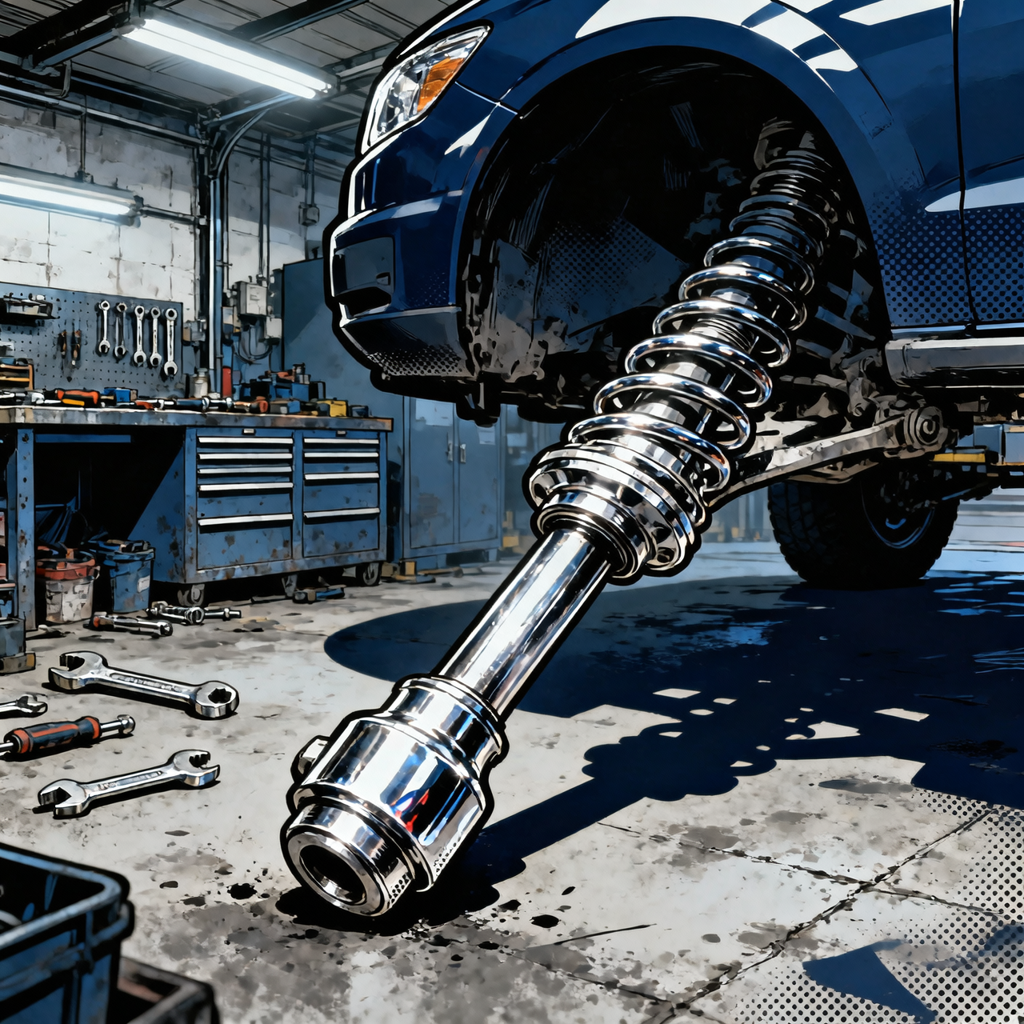
A constant velocity (CV) axle connects the transaxle to the hub, transmitting torque through an inner and outer CV joint. Failures typically present in two ways:
- Progressive joint wear: clicking or popping on turns (outer joint), clunks under load changes (inner joint), torn boots with grease sling.
- Shaft breakage: sudden loss of drive, often accompanied by a snap. In rust-prone regions, the solid shaft can corrode and fracture—commonly beneath a mid-shaft rubber/dynamic damper designed to reduce vibration.
Key contributors:
- Salt-belt corrosion: Road salt and moisture wick under the mid-shaft damper and trap against the steel, causing hidden corrosion and eventual torsional failure.
- Compromised boots: Once a boot tears, grease escapes and water enters, accelerating joint wear.
- Overextension: Suspension work performed with the knuckle hanging unsupported can overextend the inner joint and damage the tripod bearings.
- Age and high mileage: Repeated articulation at full lock and hard launches load the joints and shaft.
Model notes: Several late-2000s to 2010s front-drive vehicles (including popular Honda platforms) use a mid-shaft dynamic damper on one side. In salt-belt markets, there have been regional service campaigns/recalls aimed at corrosion at this damper. Results vary by VIN, model year, and region. Always verify with the dealer by VIN or check official databases before authorizing paid work.
Immediate Steps and Safety
If a CV axle snaps, do not attempt to drive. The engine may rev freely, but you risk damaging the transmission, wheel bearing, ABS wiring, or brake hose. Take these steps:
- Put the vehicle in Park (or in gear for manual) and set the parking brake. Chock both sides of the wheels that remain on the ground.
- If you’re roadside, call for a tow. Flatbed is preferred. Avoid dragging a free-spinning corner.
- Inspect visually: Note any torn boots, dangling axle segments, or fluid leaks at the transmission/transfer case.
- Plan a controlled repair: Decide between DIY or a shop based on available tools, rust level, and time.
DIY Replacement Overview: Tools, Time, and Difficulty
DIY axle replacement is achievable for intermediate-level wrenchers. Rust can turn a 60-minute job into an afternoon. Budget extra time in salt-belt conditions.
Common tools:
- Floor jack and rated jack stands, wheel chocks.
- Lug wrench, impact wrench (optional but helpful), breaker bar.
- Axle nut socket (commonly 30–36 mm; verify your vehicle). New axle nut (often included) and cotter pins.
- Torque wrench capable of high torque (often 180–250 ft-lb range; check spec).
- Ball joint separator or dedicated puller; tie-rod end puller; or a full front-end service kit.
- Pry bars (two medium/long), dead blow hammer, punch for staking axle nut.
- Penetrating oil, wire brush, anti-seize, medium-strength threadlocker (as specified), shop rags.
- Hub pusher or puller tool (or use the axle press feature in some pullers) to avoid hammering on the axle threads.
- Transmission drain pan; appropriate fluid and funnel. Axle seal (optional but smart if the seal is questionable).
Typical time and cost:
- Time: 1–3 hours per side depending on rust and tool access.
- Parts: Many aftermarket new axles land in the $70–$200 range each. OEM is typically higher.
Quality and warranty:
- Choose reputable aftermarket suppliers with strong warranties. Some offer lifetime replacement to the original purchaser.
- Remanufactured axles can be fine if sourced from a quality rebuilder; new aftermarket is often preferred for consistency.
- Shops that install customer-supplied parts may limit or deny labor warranty if the part fails. Factor this into cost decisions.
Step-by-Step: Front CV Axle Replacement (Generic FWD)
This is a generalized process. Always follow your vehicle’s factory service information for torque specs, fastener replacement requirements, and any model-specific steps.
- Prep and safety
Park on level ground. Chock rear wheels. Break loose the axle nut stake (if staked) by lifting the stake with a punch. Loosen the axle nut 1/4–1/2 turn with the vehicle on the ground. Loosen lug nuts. - Lift and secure
Raise the vehicle and set it securely on jack stands at the proper lift points. Remove the wheel. - Remove axle nut
Use the correct axle socket and a breaker bar or impact. If the axle stub spins, have a helper apply the brake or use a hub holding tool. - Disconnect suspension as needed
Common approaches:- Separate the lower ball joint from the control arm to swing the knuckle out, or
- Disconnect the outer tie-rod end, or
- Remove the strut-to-knuckle bolts (this may affect alignment on some vehicles).
Use a ball joint separator or puller; avoid prying against boots. Protect ABS sensor wiring. Support the knuckle so it doesn’t overextend brake hoses.
- Free the axle from the hub
Push the axle stub inward through the hub. Use a hub pusher or the press feature of a puller. Avoid hammering on the threads. If corrosion locks it in, apply penetrating oil and patience; heat may be required in severe rust. - Pop the inner joint from the transaxle
Position a drain pan under the transaxle. Use two opposing pry bars at the inner CV housing to pop the retaining circlip. Gentle, even force is key; do not lever on a thin case or seals. Some designs use an intermediate shaft with a carrier bearing—remove the bearing support bolts before extraction. Expect some fluid loss. - Inspect related components
Check the axle seal for nicks or grooves; replace if suspect. Spin and feel the hub bearing for roughness. Inspect ball joint and tie-rod boots. If your model uses a mid-shaft dynamic damper, inspect for trapped debris and corrosion. On certain platforms, replacing the whole control arm (with pre-pressed ball joint and new bushings) can be efficient if wear is present. - Install the new axle
Lightly grease the axle splines if specified (never grease the hub-to-axle interface unless the manual instructs). Align the inner axle splines and firmly push until the circlip seats. You should feel or hear a positive snap. Verify the inner joint is fully seated by tugging outward—there should be no free play at the clip. Guide the outer stub into the hub while swinging the knuckle back into position. Do not overextend the new axle; support components to maintain neutral angles. - Reassemble suspension
Reinstall the ball joint/tie-rod/strut bolts. Use new cotter pins and prevailing torque nuts where specified. Apply threadlocker if called for by the service manual. Torque all fasteners to specification. - Torque the axle nut
Reinstall the axle nut and snug it. Reinstall the wheel and lower the vehicle until the tire just touches down or fully to the ground (as required by the manual) so you can torque the axle nut accurately. Torque to spec and stake or install the retaining feature (cotter or lock cap) as designed. Over- or under-torquing can destroy a wheel bearing quickly. - Top off fluids and test
Check transmission/transfer case fluid level and top off with the correct spec fluid. Road test for noises, vibration, and leaks. Recheck torque on lug nuts and visually verify the axle nut stake after a short drive.
Rust-belt tips:
- Pre-soak axle nut, ball joint pinch bolt, and strut bolts with penetrating oil a day in advance.
- Use heat judiciously on the hub face—not near seals or ABS wires. An induction heater is safer than open flame near boots.
- If the ball joint boot tears during removal, plan to replace the joint or the complete control arm assembly.
Shop Repair, Pricing, and Warranty Strategy
Most general repair shops can handle a CV axle quickly. Dealer-level service is not required unless you’re pursuing a warranty/recall repair.
- Typical pricing: Parts and labor often total $500–$1,000 per side, driven by labor rates in your area, rust severity, and part choice (OEM vs. aftermarket). Additional repairs (ball joints, seals, bearings) add cost.
- Ask for a parts-and-labor warranty, ideally 12 mo/12k miles or better. Axle defects can happen; the labor coverage matters.
- Customer-supplied parts: Many shops decline or limit warranty when you bring your own part. If a shop uses its sourced parts, they typically stand behind both the part and labor.
- Mobile mechanics: Can reduce towing costs and are fine for straightforward axle jobs if driveway access is safe and level.
Recall and goodwill checks:
- If your vehicle is known for mid-shaft corrosion at the damper (common on some Honda platforms), call the dealer with your VIN. Some campaigns are region-specific and time-bound; eligibility varies.
- Even if outside the formal window, ask about goodwill consideration, especially when the failure matches the campaign criteria.
Alignment and Related Components to Inspect
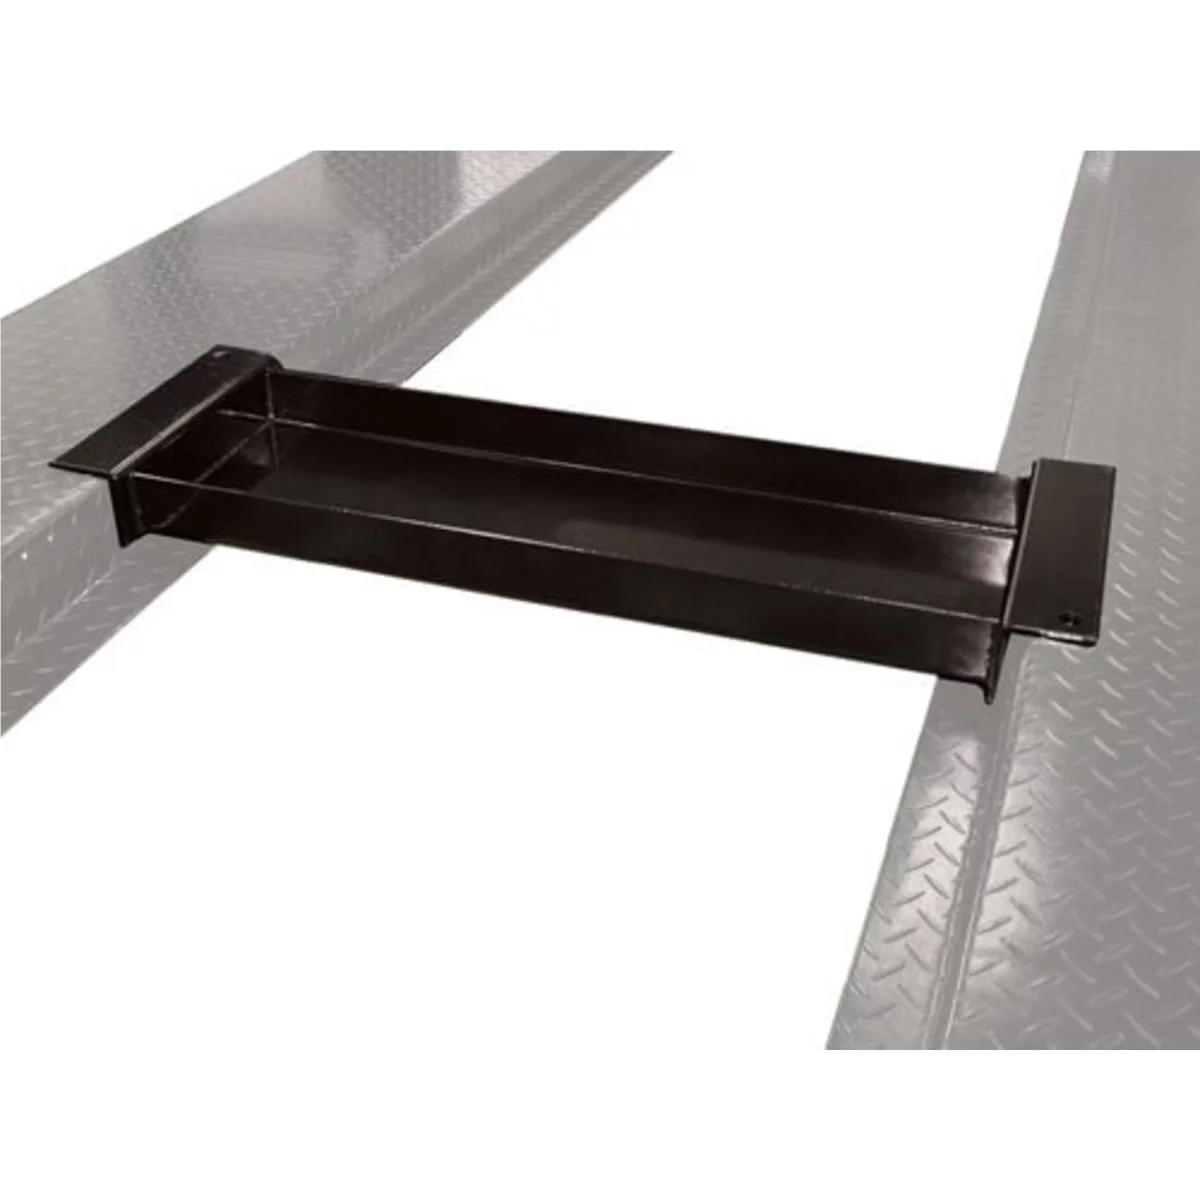
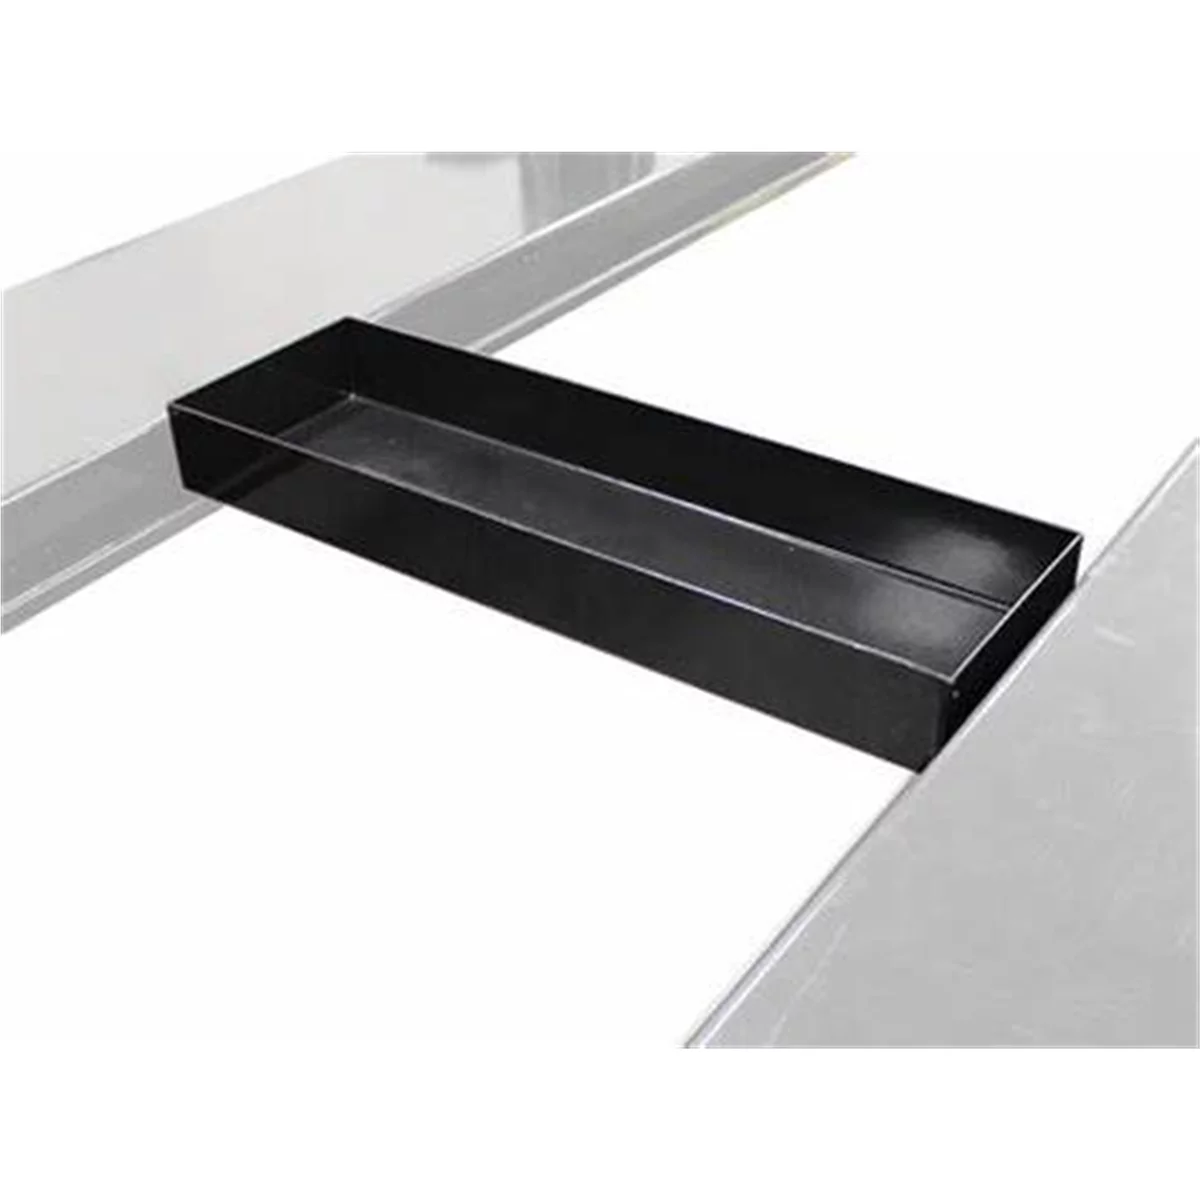
EXTRA JACK TRAY - FOR 8,000 LB. GARAGE PRO SERIES
Mfg: Atlas Automotive
Part #: JACK TRAY PP8/PP8H/PP8HL

Industrial Heavy Duty Bottle Jack w Force Gauge 20 Ton
Mfg: ZINKO Hydraulic Jack
Part #: ZNP-20
Do you need an alignment after an axle? It depends on what you disconnect:
- Lower ball joint separated from control arm, tie rod disconnected, or axle-only procedures typically do not change alignment if you avoid altering cam or toe settings.
- If you remove strut-to-knuckle bolts (especially if slotted for camber), replace cam bolts, or move camber bolts, a post-repair alignment is recommended.
- Any steering toe adjustment or subframe movement requires alignment.
While you’re in there:
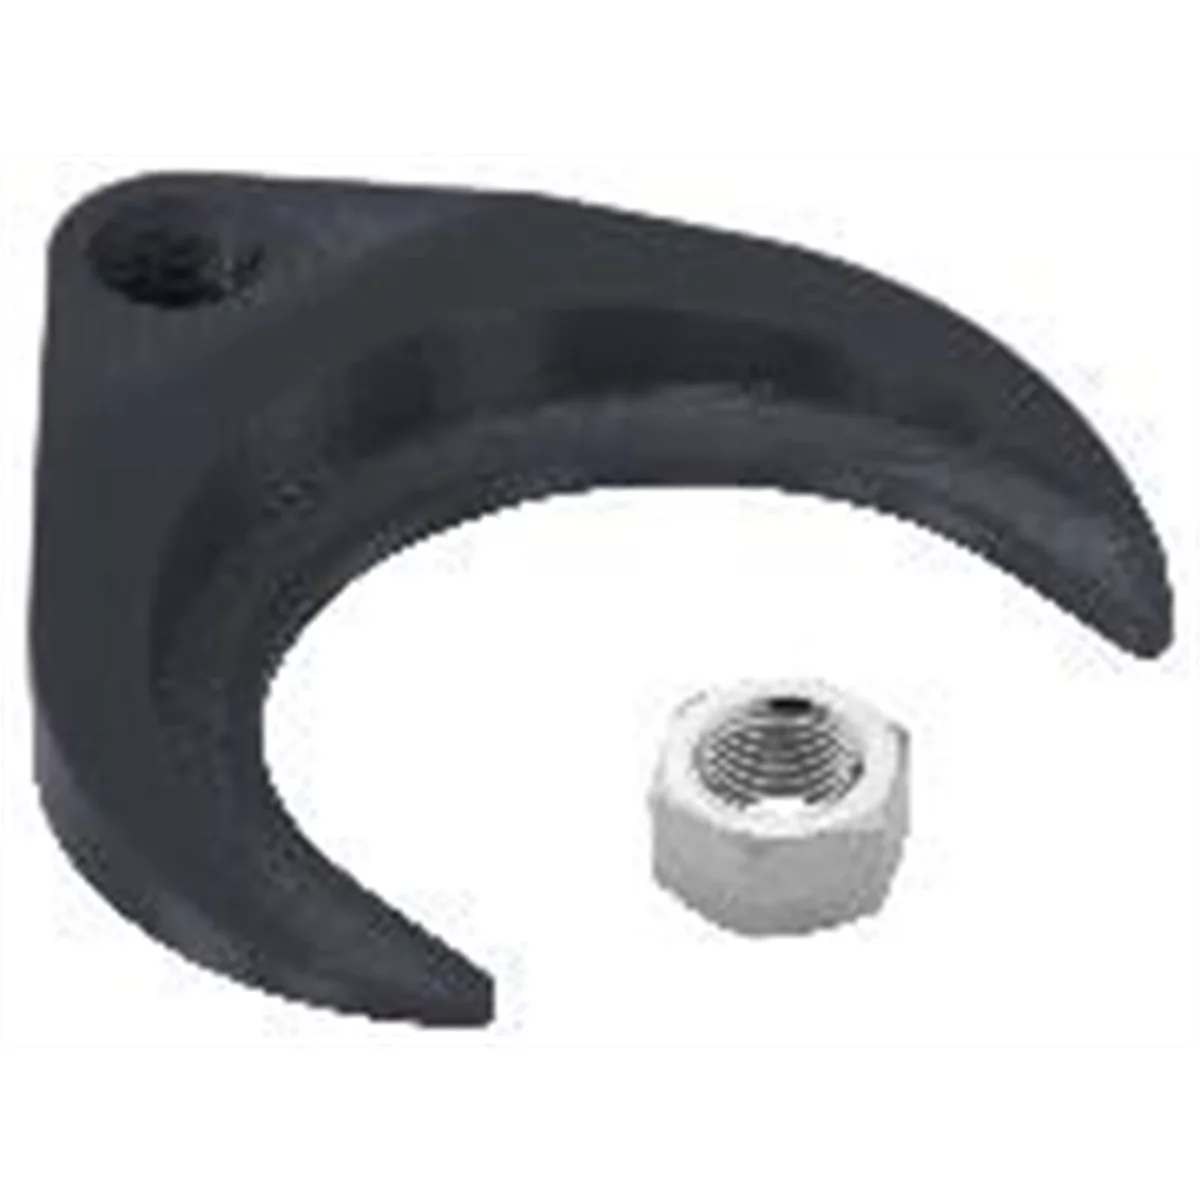
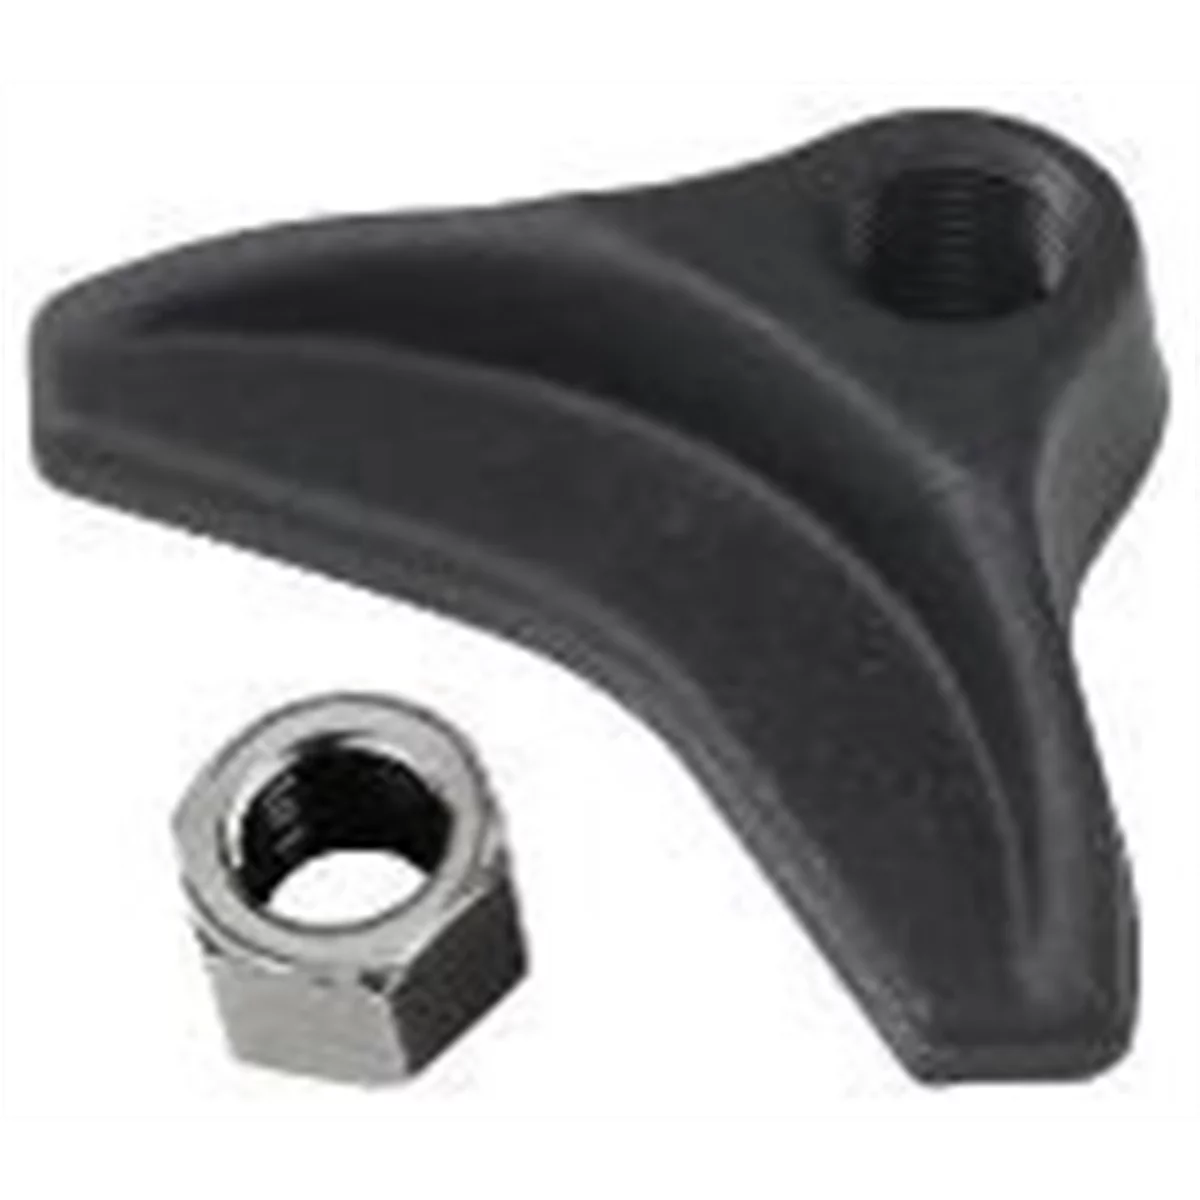
- Ball joints and tie-rod ends: If boots are cracked or joints are loose, address them now. A front-end service kit makes removal controlled and less damaging than a pickle fork.
- Control arms: Assemblies with pre-pressed ball joints and fresh bushings can save time and reset ride feel.
- Quick struts: If the front end is tired and you’re budgeting for alignment anyway, this is an efficient moment to refresh struts.
- Wheel bearings: Any growl or play merits replacement before it escalates.
Quick Pre-Job Checklist
- Confirm diagnosis: Failed CV axle vs. wheel bearing or diff issue.
- Verify part numbers by VIN and side (left/right) and transmission type.
- Have a new axle nut, cotter pins, and optional axle seal on hand.
- Ensure you have a high-range torque wrench and correct axle socket.
- Plan fluid top-off and have a drain pan ready.
- Pre-soak rusted hardware with penetrating oil.
FAQs
1) What are the classic symptoms before a CV axle fails?
Clicking on tight turns (outer joint wear), clunks on throttle tip-in or lift (inner joint wear), torn boots with grease sling, and vibration under acceleration. Shaft-corrosion failures may give little warning until they snap, though a rhythmic vibration can precede a break.
2) Is it safe to drive with a broken CV axle?
No. You’ll have little to no drive to that wheel and risk collateral damage. Park it, chock it, and tow it.
3) Should I replace both axles at once?
Not mandatory, but if one failed from corrosion or high mileage and the other shows similar condition (especially under a mid-shaft damper), replacing both can prevent a second downtime. Inspect boots, play, and corrosion before deciding.
4) Do I need an alignment after replacing the axle?
Only if you disturb alignment-related fasteners (e.g., strut-to-knuckle cam bolts) or adjust toe. If you separate the ball joint from the control arm without altering cams and keep the tie rod untouched, alignment usually remains in spec, but verify by tire wear and steering feel.
5) Will a missing or different dynamic damper increase vibration?
Some OE axles include a mid-shaft damper to reduce NVH and protect bearings. Many aftermarket axles omit it or use alternate tuning. You may notice minor NVH differences; quality axles maintain acceptable levels. Avoid transferring any damper if it’s corroded or damaged.
6) Do I need to replace the axle seal or add fluid?
If the seal lip is nicked, hard, or leaks after installation, replace it. Expect some fluid loss when popping the inner joint—top off with the correct transmission/transfer case fluid after the job. Always check for leaks post-drive.
The Toolsource Technical Team blends decades of real-world automotive service experience with up-to-date technical research. Our writers collaborate with professional mechanics, shop owners, and diagnostic specialists to deliver practical, workshop-ready guidance you can trust.


Follow us on social media