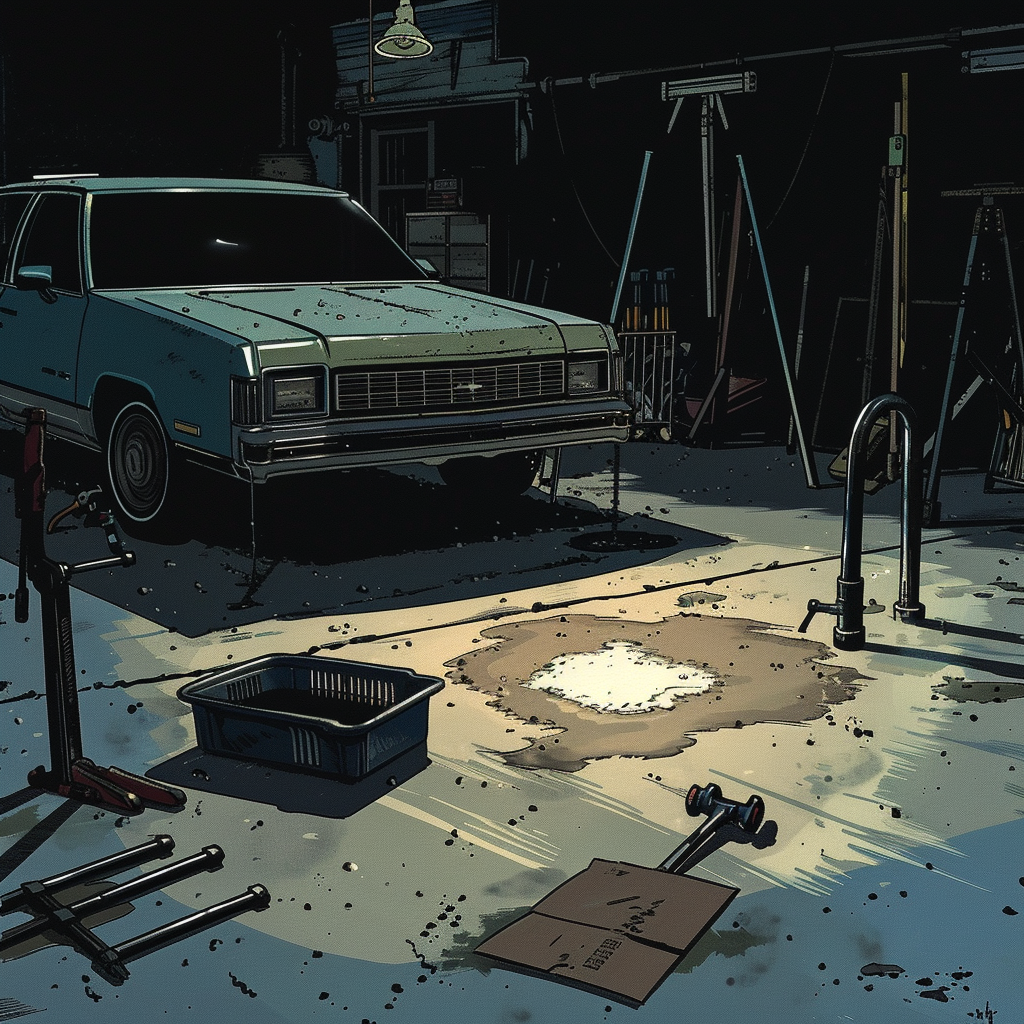
A white spot on the floor under a vehicle can be anything from harmless condensation to a sign of a corrosive or coolant leak. The key is to identify the fluid quickly, verify the source, and act appropriately so you don’t miss a developing failure. This guide gives practical, shop-ready steps to differentiate AC water from dried coolant or battery acid, plus inspection points, simple tests, and the tools you’ll want at hand.
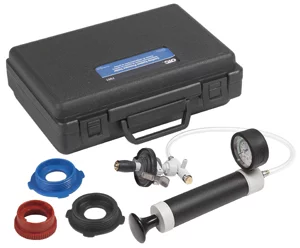
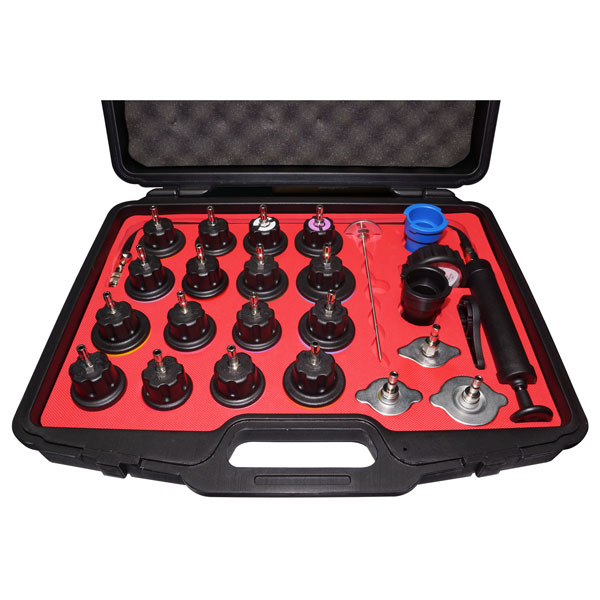
OTC 7991 Radiator Cooling System Pressure Tester
Mfg: OTC Tools and Equipment
Part #: 7991


What a White Residue Spot Usually Means
Most white marks under a car fall into three buckets:
- AC condensation (water): Pure water that drips from the evaporator drain. On dusty concrete, it can leave a spot that looks lighter because it rinsed dirt away. True condensate won’t feel oily, won’t smell sweet, and won’t crystallize. It usually collects under the passenger-side firewall area, but routing can vary by model.
- Dried coolant: Ethylene or propylene glycol with corrosion inhibitors often dries to a white/whitish crystalline film (color dyes fade as it dries). Telltales include a sweet smell, slightly sticky feel when initially wet, and residue around hose joints, radiator end tanks, thermostat housings, or water pump weep holes. Some coolants (e.g., blue) can leave pale white residue on concrete.
- Battery acid: Sulfuric acid from a leaking, overfilled, cracked, or overcharged battery evaporates and can leave a sharply “cleaned” patch or chalky white salts nearby. It will react (fizz) when neutralized with baking soda solution. Acid is highly corrosive to metals and concrete—address immediately and wear PPE.
Less common causes include washer fluid (usually tinted blue/green and leaves minimal residue), brake fluid (oily, can strip paint, not typically a white residue on concrete), or fuel (strong odor, evaporates without white residue).
Quick Triage: Identify the Fluid in 5 Minutes
- Glove up and light the area. Use nitrile gloves and safety glasses. Position a work light to inspect the underside and the spot on the floor.
- Touch and smell test. Dab a finger on the spot’s edge:
- Water-like, no odor: Likely AC condensate.
- Sweet odor, slightly sticky when damp: Likely coolant.
- No notable odor but etched/“cleaned” concrete and/or chalky crust near battery area: Check for acid.
- Baking soda fizz test (acid check). Sprinkle a pinch of baking soda on the spot; add a few drops of water:
- Vigorous bubbling: Acid is present—inspect the battery and neutralize the area (see Corrective Actions).
- No bubble: Move on to coolant checks.
- Cardboard drip test. Place clean cardboard or a drip pan under the suspected area and run the engine to operating temp with A/C on for 10–15 minutes, then shut off and monitor for drips. Note the drip location relative to the vehicle (front/passenger/center) and fluid characteristics.
- Check levels. With the engine cool, verify coolant reservoir level and battery condition. Low coolant or signs of dried residue under the hood support a coolant leak; wet battery top, warped case, or corrosion around vents/terminals supports acid.
Pinpoint the Source by Location and Pattern
Where the spot forms and how it dries tells you a lot:
- Passenger-side firewall area: Common for AC evaporator drain water. Drips increase with high humidity and AC use. Water only; no oily sheen; no sweet smell.
- Front-center under radiator: Radiator core or plastic end tanks, lower hose connection, or drain petcock seepage. White crystalline trails on the radiator indicate coolant drying.
- Front passenger or driver side near belts: Water pump seep from the weep hole. Look for radial splash patterns on the inner face of the pulley or dried residue below the pump.
- Thermostat housing/front of intake area: Common leak point on many engines. Search for chalky streaks, especially around gasket seams and hose clamps.
- Under battery tray or directly beneath battery location: Acid drip or boil-over. Also inspect fender apron and frame rails for fresh corrosion or paint lift.
- Random clean circle on dusty concrete with no odor: Often just water that rinsed dust. Confirm by running AC again and observing fresh drips.
Note the timing pattern: A one-time spot that appeared right after parking and did not reoccur can be AC condensate or a minor coolant burp as the engine heat-soaked. Repeated spots in the same place point to an active leak.
Test and Confirm: Simple Shop Methods
- pH strips (field test):
- Acidic (pH < 5): Battery acid contamination is likely. Inspect charging system and battery immediately.
- Neutral (~7): Water/AC condensate.
- Slightly alkaline (pH 8–10): Typical of many modern coolants.
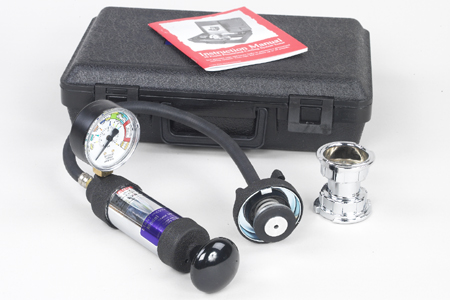
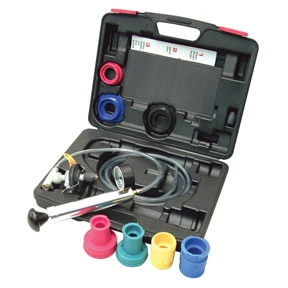
- Cooling system pressure test:
- Engine cold. Remove radiator cap (if applicable) or use adapter on expansion tank.
- Pressurize to cap rating (often 13–16 psi; check spec).
- Hold for 10–15 minutes while inspecting hoses, thermostat housing, radiator end tanks, heater hoses, and water pump. Look for fresh wetness or renewed white streaking.
- UV dye and lamp:
- Add coolant-compatible UV dye to the system (follow product dosing).
- Run to operating temp, then inspect with a UV lamp in a dim area.
- Trace fluorescent trails back to the source. Clean suspect areas first to distinguish new leaks from old residue.
- Charging system check (battery acid suspects):
- Measure resting battery voltage after sitting: ~12.6 V is fully charged; <12.4 V is low.
- Run the engine and measure at the battery: most systems regulate ~13.8–14.7 V at warm idle. Variable systems may range 13.2–15.0 V depending on load and SOC.
- Consistently >15.0 V or spiking indicates overcharge—possible regulator/alternator fault, which can boil a battery.
- Battery inspection:
- Check case for bulging, cracks, or wetness near caps/vents.
- Look for heavy white/green corrosion at terminals or under the tray.
- If serviceable, ensure electrolyte covers the plates; don’t overfill. For sealed AGM, rely on voltage and load test data.
- Coolant refractometer/test strips:
- Verify coolant concentration and inhibitor health. Abnormal readings may accompany chronic leaks/top-offs with water.
Inspect These Common Leak Points
Use a mirror-on-a-stick and good lighting. Clean suspect areas first, then recheck after a short drive.
- Radiator and cap: Look for hairline cracks in plastic end tanks and seepage around the crimp seams. Test the cap—weak caps can vent fluid, leaving white residue near the neck.
- Upper/lower hoses and clamps: Check for residue at bead seats and under worm-drive clamps. Replace aging hoses and use proper torque on clamps (avoid over-tightening plastic necks).
- Thermostat housing: Frequent leak point on many engines as plastic housings warp. Check for chalky deposits around the gasket line and beneath the housing. Replace housing, gasket, and consider an upgraded aluminum assembly if available.
- Water pump: Inspect the weep hole, pulley, and the block below. Any dried white trails or coolant crust indicates seal failure. Plan a pump replacement and belt inspection.
- Heater core/hoses and quick-connects: Check firewall connections. Some platforms use plastic quick-connects that crack and weep.
- Reservoir/overflow: Look for splits and cap failures leading to vented coolant. Residue may trace down the tank wall.
- Battery and tray: If acid is suspected, lift the battery and inspect the tray, hold-down, and inner fender for fresh corrosion. Neutralize and protect after repairs.
Corrective Actions and Cleanup
- If it’s AC condensate:
- No repair necessary if water-only. Verify the drain is clear: with the AC on, you should see a steady drip. If the cabin floor is damp or you don’t observe drainage, the evaporator drain may be clogged—clear with low-pressure air or an appropriate HVAC drain tool (avoid over-pressurizing and flooding the case).
- If it’s coolant:
- Replace failing components (hose, clamp, thermostat housing, water pump, radiator) confirmed by pressure/UV testing.
- Flush and refill with the correct coolant type and concentration for the vehicle. Bleed air per OEM procedure to prevent hot spots and repeat burps.
- Recheck for leaks after a full heat cycle and short road test.
- If it’s battery acid:
- Safety first: Wear chemical-resistant gloves, eye protection, and old clothing.
- Neutralize the affected area under the car: sprinkle baking soda, mist with water until fizzing stops, then rinse thoroughly. Avoid directing runoff to storm drains.
- Neutralize corrosion on metal surfaces: apply a baking soda solution, agitate with a nylon brush, rinse, dry, then coat with a battery corrosion inhibitor.
- Test the charging system. If overcharging, repair/replace the alternator/regulator.
- Inspect/replace the battery if cracked, bulged, leaking, or failing load tests. Install terminal protectors and torque clamps properly.
- Concrete cleanup:
- After neutralizing acid (if present), use a driveway-safe degreaser and stiff brush to even out the appearance. Note that etched concrete may remain lighter.
- Monitoring:
- Deploy an absorbent pad or drip pan overnight for 2–3 days to confirm the repair. Any repeat spots should be re-tested.
Quick Checklist (On-Vehicle Triage)
- PPE on: nitrile gloves, safety glasses.
- Smell/touch: water vs sweet coolant; no sheen vs oily.
- Baking soda fizz test on the spot (acid check).
- Place cardboard/drip pan; run engine with A/C 10–15 minutes.
- Check coolant level and inspect radiator/hoses/housings.
- Measure charging voltage: watch for sustained >15.0 V.
- Use pressure tester/UV dye if source remains unclear.
FAQs
Does AC condensation ever leave a white residue?
Not as a deposit; it’s just water. However, it can create a lighter “clean ring” on dusty concrete by washing away dirt. If you see true crystalline residue or feel stickiness, suspect coolant instead.
Can coolant dry white even if it’s green, orange, or blue?
Yes. As coolant water content evaporates, inhibitors and glycol can leave a whitish, chalky film regardless of dye color. Look for additional signs: sweet odor, sticky feel when fresh, and residue trails at hose joints or pump weep holes.
How do I confirm battery acid without lab gear?
Sprinkle baking soda and add water. Vigorous fizzing indicates acid. You can also use pH strips (acidic <5). If acid is present, neutralize immediately and inspect the battery and charging system.
Could brake fluid be the cause?
Unlikely for a white residue. Brake fluid appears oily and can dull paint, but it doesn’t typically dry to a white film on concrete. If you suspect brake fluid, inspect calipers, hoses, and lines; do not drive with an active brake leak.
Where should AC drains drip on most vehicles?
Commonly near the passenger-side firewall, but routing varies; some models drip closer to centerline. Verify by running the AC and observing a steady drip. Water only, no smell or residue.
Is it safe to keep driving if the spot is small?
If fluid levels are stable and tests indicate water-only, it’s generally safe. Any sign of coolant or acid warrants inspection and correction. Small coolant leaks can worsen quickly, and acid causes rapid corrosion.
Recommended Tools and Supplies
- Drip pan or absorbent pads
- Clean cardboard sheets
- Nitrile gloves and safety glasses
- Baking soda and spray bottle
- pH test strips
- UV dye (coolant-safe) and UV inspection lamp
- Cooling system pressure tester and radiator cap adapter
- Coolant refractometer or test strips
- Digital multimeter
- Battery load tester or conductance tester
- Battery terminal cleaner and protective pads
- Radiator hose clamps and replacement hoses as needed
- Thermostat housing/gasket kit (vehicle-specific)
- Shop light and inspection mirror
- Driveway-safe degreaser and nylon brushes
With a methodical approach—identify, test, locate, correct—you can resolve most white-residue mysteries quickly and prevent minor seeps from becoming roadside failures.
Shop Cooling System & Leak Detection Tools
Need to confirm a coolant seep or track a white residue back to its source? Browse Cooling System & Leak Detection Tools to pressure test, dye-trace, and verify repairs.
- Pressure testers and cap adapters for most vehicles
- UV dye kits and inspection lamps to trace leaks
- Refractometers and test strips to check coolant condition

The Toolsource Technical Team blends decades of real-world automotive service experience with up-to-date technical research. Our writers collaborate with professional mechanics, shop owners, and diagnostic specialists to deliver practical, workshop-ready guidance you can trust.


Follow us on social media