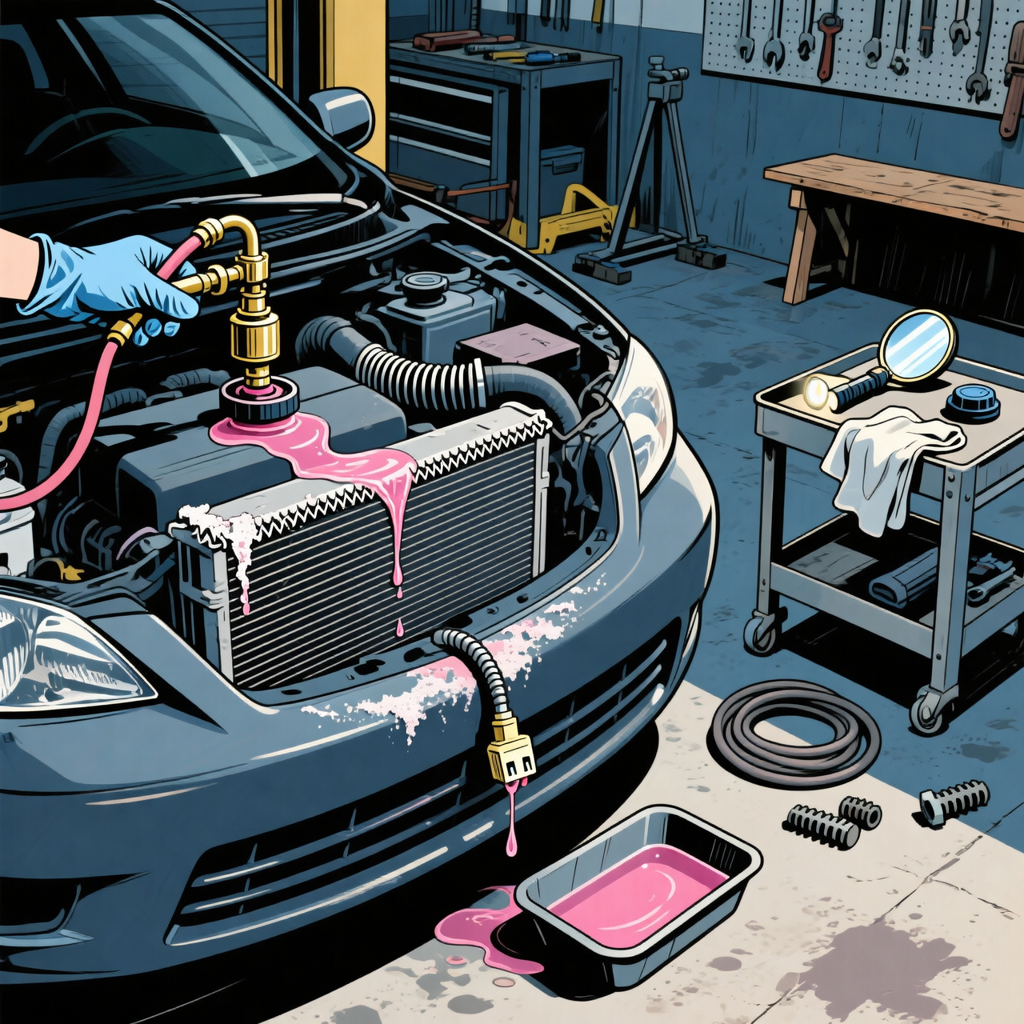
Pink fluid dripping near the front of a Toyota typically means coolant, not a failed electrical component. A loose connector you see hanging is almost certainly unrelated to the leak. If you’re working on a 2007–2011 Toyota Camry (2.4L 2AZ-FE) and spot a pink drip or crusty, light-red residue around the radiator area, prioritize the cooling system. Overheating can damage the head gasket or engine quickly.
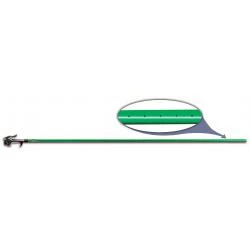
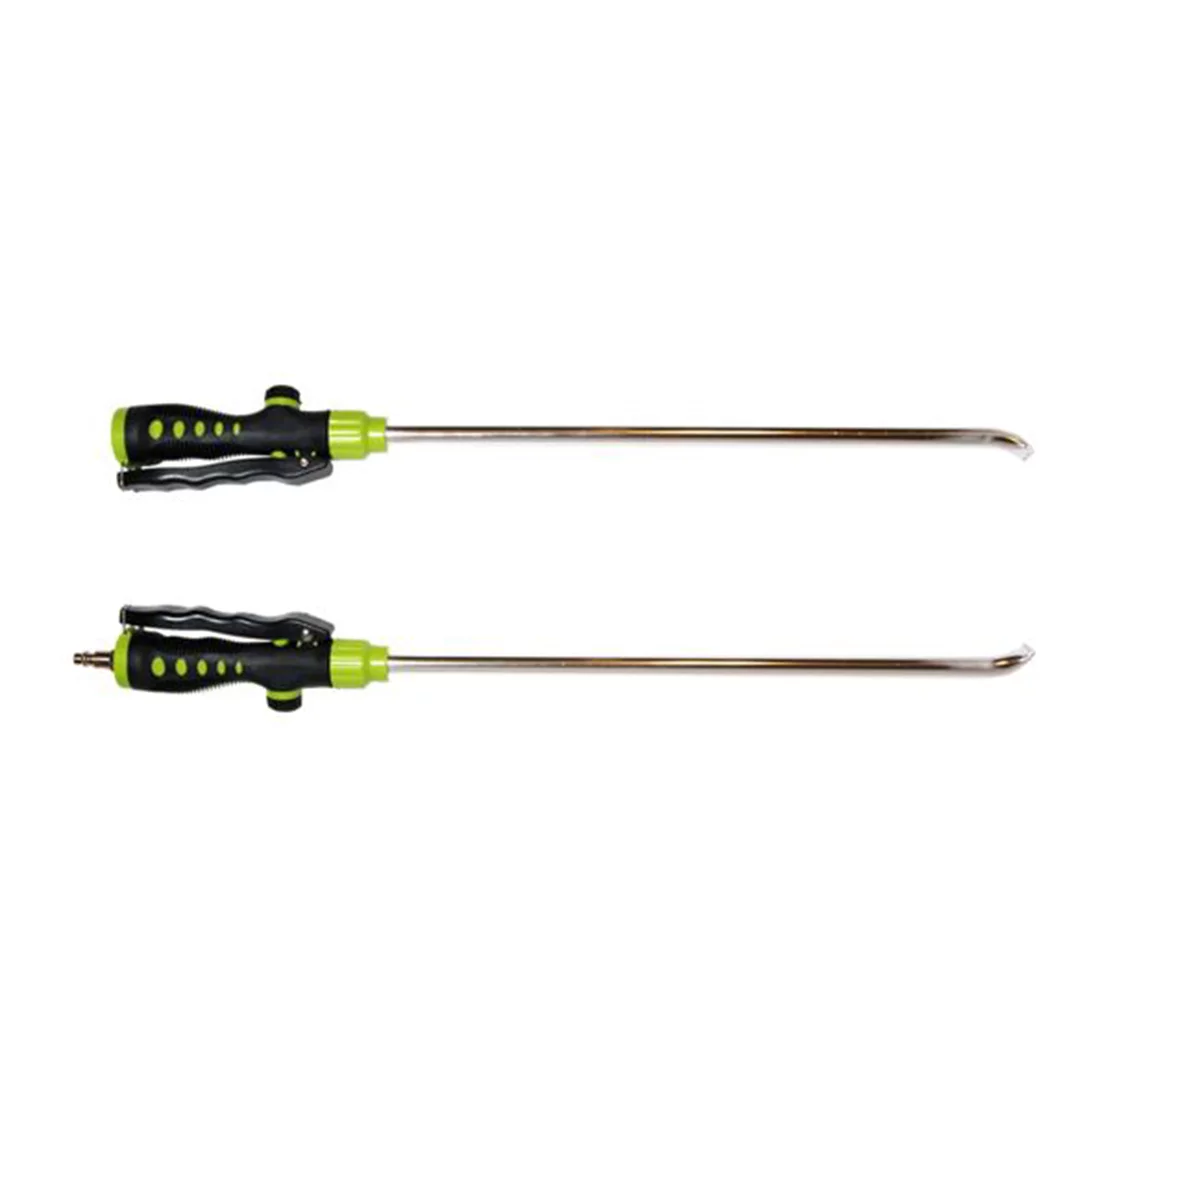
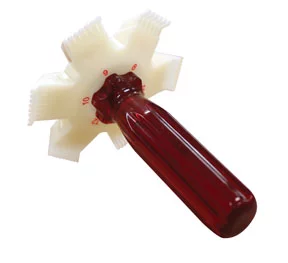
48 Inch Air Comb Filter and Radiator Cleaner
Mfg: Innovative Products of America
Part #: 8053

36 Inch Air Comb Filter and Radiator Cleaner
Mfg: Innovative Products of America
Part #: 8052
Identify the fluid in 60 seconds
- Coolant (Toyota Super Long Life Coolant): pink, watery, slightly sweet odor, leaves chalky white/pink crystalline residue when it dries. Not oily. Typical source for pink fluid on Toyotas.
- Automatic transmission fluid (ATF): red to deep red, slippery/oily, may smell burnt if old. Leaks near radiator fittings (integrated cooler) or transmission cooler lines.
- Power steering fluid (if equipped with hydraulic PS): often red ATF-based on these years, oily and slick. Typically leaks from pump, hoses, or rack—not usually the front center lower fascia.
- Windshield washer fluid: can be blue/green/orange/pink depending on what was filled. Watery, little to no residue, often leaks near the reservoir or pump in the fender area.
Tip: Blot with a white paper towel. Coolant wicks and evaporates without oil sheen; ATF leaves a persistent oily stain. Do not taste fluids—ethylene glycol is toxic to people and pets.
Immediate safety steps
- Stop driving if the temperature gauge climbs above normal. Turn the heater to full hot to buy a little time, then shut down safely.
- Check the coolant reservoir level cold. If low or empty, top with Toyota pink premix (50/50) or a compatible Asian phosphate organic-acid coolant. Avoid mixing types if possible.
- Never open the radiator cap hot. Wait until fully cool before removing the cap.
- Contain spills. Coolant is poisonous to animals. Use a drain pan and rinse the area with water.
- Plan a pressure test. Small leaks often show up only under system pressure.
Where to look on a 2007–2011 Toyota Camry 2.4L (most common leak points)
- Radiator top tank and seam: The plastic upper tank and the crimped side seams are high-failure areas with age and heat cycles. Look for hairline cracks, damp plastic, or pink/white crust along the seam. Often leaks track down the front of the core and drip off the lower splash area.
- Radiator cap and filler neck: A weak cap or damaged neck will vent coolant at operating temperature. Check the cap seal for flattening, cracks, or hardened rubber. Look for residue around the neck and overflow hose connection.
- Upper and lower radiator hoses: Inspect for ballooning, soft spots, cuts at the barb, and clamp impressions. Check under the clamps for seepage. Old spring clamps can lose tension; worm-gear clamps can loosen over time.
- Thermostat housing and water inlet: On the 2AZ-FE, inspect the housing and gasket area for wetness. Look directly beneath the housing for a drip trail.
- Water pump weep hole: The pump (passenger side of engine) will weep when the internal seal fails. Use a mirror to check the weep hole and the underside of the pump body for pink residue or an active drip.
- Heater hoses and by-pass pipes: Follow the smaller hoses running to the firewall and any plastic by-pass sections. Aging plastic joints can crack; look for staining at junctions and clamps.
- Reservoir and overflow hose: Examine the bottle for hairline cracks, especially around the seam and the hose nipple. Make sure the overflow hose is connected and not split.
- ATF cooler fittings at radiator (if equipped): If the leak is oily red rather than watery pink, check the transmission cooler line fittings at the radiator end tank for seeping or cracked flares.
Work from the top down. Coolant often runs along covers, brackets, and even wiring harnesses before dripping off a low point—this is why you may see it on an electrical connector, even though the connector isn’t the source.
Confirm the source with the right tools
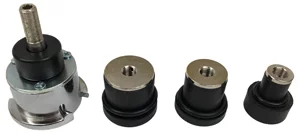
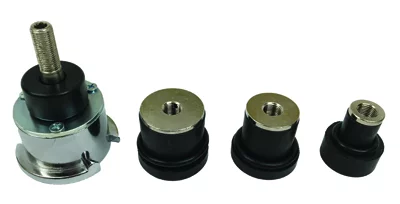
- Cooling system pressure tester: With the engine cold, install the adapter on the radiator neck and pump to the pressure printed on the radiator cap (commonly ~16 psi). Hold for 10–15 minutes. Watch for drops in pressure and new wet spots. Many leaks that don’t show when cold will appear under pressure.
- UV dye and blacklight: Add a small amount of coolant-safe UV dye to the system, run the engine, then scan with a UV lamp in a darkened area. Dye makes seeping seams and pinholes pop out.
- Inspection mirror/borescope: Useful for checking the water pump underside, the back of the radiator tanks, and tight areas behind the fan shroud.
- Clean-and-check method: Rinse suspected areas, let dry, then re-pressurize. Fresh tracks isolate the true source.
Common repairs and workflows (Camry 2.4L)
Radiator replacement (typical when the top tank cracks)
- Disconnect the battery negative terminal for safety.
- Drain coolant into a pan via the petcock (if present) or lower hose. Dispose/recycle properly.
- Remove the upper engine cover and intake snorkel as needed for access.
- Remove the upper radiator support brackets and fan shroud fasteners. Unplug the fan connectors. Lift the fan/shroud assembly out if required.
- Disconnect the upper and lower radiator hoses. Cap the ports to prevent drips.
- Disconnect transmission cooler lines if integrated (cap to avoid ATF loss). Note orientation and use line wrenches if required.
- Lift out the radiator. Transfer any rubber isolators, fittings, and sensors to the new unit.
- Install the new radiator in reverse order. Verify cooler line fittings and hose clamps are properly seated and torqued/snugged.
- Install a new OEM-quality radiator cap.
- Refill with proper premix and bleed air (see bleed procedure below).
Radiator cap swap
If you see residue around the filler neck, replace the cap with an OEM-spec cap. A weak cap lowers system pressure and can cause boil-over and chronic loss.
Hose and clamp service
- Replace any hose that is soft, swollen, cracked, or oil-soaked.
- Use quality clamps. Spring clamps maintain tension over heat cycles; if you switch to worm-gear clamps, retorque after a few heat cycles.
Thermostat and gasket
- Replace if you find leaks at the housing or if overheating/underheating symptoms persist.
- Clean gasket surfaces thoroughly. Torque housing bolts evenly to spec to avoid warping.
Water pump leak
- If the weep hole shows dried coolant or active drips under pressure, plan a pump replacement. It’s best to service the belt at the same time.
By-pass pipe and heater lines
- Plastic junctions that have become brittle should be upgraded to metal where available. Replace aging heater hoses proactively if you’re already draining the system.
About that dangling connector (what it is—and isn’t)
A loose electrical connector under the front bumper on a Camry is commonly one of the following:
- Fog light pigtail (on trims without fogs, the wiring may still be present).
- Ambient air temperature sensor connector (usually clipped to a bracket near the lower grille). If unplugged, A/C performance and outside temp display can be affected.
- Side marker or parking lamp connector depending on side and region.
Electrical connectors do not carry fluid. If you see coolant on a connector, the connector is simply the low point where the leak is collecting and dripping. Identify the matching mating plug or sensor, reconnect with the lock tab fully engaged, and secure excess harness with a zip tie or proper clip to keep it from dragging or snagging. If the ambient temp sensor is missing or broken, replace it and reattach to its bracket.
Bleeding and verifying the cooling system (Toyota SLLC)
- Set the cabin heater to full hot.
- Use a spill-free funnel on the radiator neck. Fill slowly with Toyota pink premix until the funnel remains half full.
- Start the engine and let it idle. As the thermostat opens, trapped air will burp out. Squeeze the upper hose periodically to encourage air removal.
- Maintain fluid in the funnel; do not let the radiator suck air. Watch for the cooling fans to cycle on and off—this indicates normal operating temp.
- When bubbles stop and the level stabilizes, shut down and let it cool. Top off the radiator and set the reservoir to the “FULL” cold mark.
- Test drive, then recheck levels and for leaks. Reinspect after the first full heat cycle and again the next day.
Quick checklist before your next drive
- Coolant level verified at radiator (cold) and reservoir (to FULL cold).
- No active drips during/after a 15-minute pressure test.
- Radiator cap replaced or tested and holds rated pressure.
- All hoses/clamps inspected, tightened, or replaced.
- Fans cycle normally; heater delivers steady hot air.
- Any loose connectors reattached or secured; no warning lights.
FAQs
Is Toyota coolant really pink?
Yes. Toyota Super Long Life Coolant (SLLC) is pink from the factory. Older Toyota Long Life Coolant appeared red. If your Camry has pink coolant, that is expected.
Can I keep driving if I’m losing a little coolant?
It’s risky. Small leaks often worsen quickly under heat and pressure. If the temperature gauge rises, stop immediately. Repair the source, bleed the system, and verify with a pressure test before taking a long trip.
How do I tell coolant from transmission fluid?
Coolant is watery, dries to a pink/white crust, and has a sweet odor. Transmission fluid is oily, slick, and remains red/oily on a towel. ATF on a Camry is more likely near the transmission cooler fittings at the radiator, not along the top tank seam.
Why was coolant dripping off an electrical connector?
Fluids follow the path of least resistance and will track along covers, harness tape, and connectors before dripping off the lowest point. The connector isn’t the cause; it’s just a convenient drip edge. Find the highest point that’s wet or crusty to locate the source.
Do I need an OEM radiator cap?
Use an OEM-spec cap with the correct pressure rating. A low-quality cap can cause chronic loss and overheating. Caps are inexpensive insurance for the cooling system.
What if I can’t find the leak cold?
Pressure-test the system to the cap rating and hold for 10–15 minutes. If nothing appears, add UV dye, drive until hot, then inspect with a blacklight. Some leaks only show at temperature and pressure.
Shop Paint & Finishing Tools
For radiator repairs, Automotive Radiator Tools help get the job done.

The Toolsource Technical Team blends decades of real-world automotive service experience with up-to-date technical research. Our writers collaborate with professional mechanics, shop owners, and diagnostic specialists to deliver practical, workshop-ready guidance you can trust.


Follow us on social media