Wheel bearing replacement requires different tools depending on your bearing type, rust condition, and vehicle design. A front-wheel-drive Honda with pressed-in bearings demands completely different tools than a rear-wheel-drive truck with serviceable bearings. Understanding these differences prevents getting halfway through a job only to discover you can’t finish.
Do You Really Need Specialized Tools?
Sometimes yes, sometimes no. The bearing type, vehicle design, and component condition create wildly different tool requirements.
Pressed-in vs bolt-on bearings: what you’re actually dealing with
Modern vehicles predominantly use pressed-in bearings installed with interference fits requiring significant force to install and remove. Most front-wheel-drive vehicles manufactured after the mid-1990s use this design, presenting the biggest challenge for home mechanics.
Bolt-on hub assemblies represent the DIY-friendly alternative. The entire bearing assembly bolts to the steering knuckle, and replacement involves unbolting the old unit and bolting on a new one—no pressing required. If your vehicle uses bolt-on assemblies, bearing replacement becomes straightforward using basic hand tools.
Older rear-wheel-drive vehicles often use serviceable cup-and-cone tapered roller bearings. These pack with grease and adjust with a castellated nut, making them the most accessible design for home repair. You can drive out old races with a brass drift and hammer, then tap in new races using the old race as a protective barrier.
When household tools are enough (and when they’re not)
Bolt-on hub assemblies and serviceable cup-and-cone bearings require standard socket sets, wrenches, and basic pullers. A torque wrench becomes essential for proper bearing adjustment—over-tightening destroys bearings while under-tightening creates dangerous wheel wobble.
Pressed-in bearings are where household tools become inadequate. Attempting to hammer-in a pressed bearing without proper support damages the races and creates premature failure. According to NHTSA vehicle safety guidelines, improper bearing installation can lead to wheel separation.
Essential Tool Breakdown by Bearing Type
Pressed-in bearings: hydraulic press vs improvised alternatives
A 20-ton hydraulic shop press represents the gold standard for pressed bearing work, though these cost $300-$600 and require dedicated space.
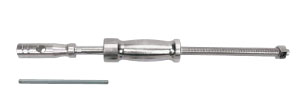
The improvised threaded-rod press offers a budget alternative. You’ll need 1/2-inch all-thread rod, heavy washers, nuts, and appropriately-sized sockets or bearing drivers. Thread nuts onto the rod, position the bearing with supporting sockets that contact only the bearing race (never the cage), then tighten nuts to generate pressing force. This costs under $30 in hardware store materials.
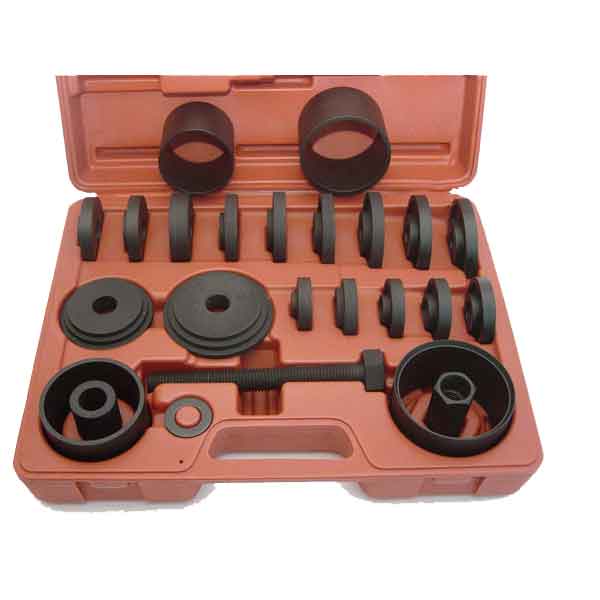
Bearing driver sets designed for wheel bearings provide another option. Quality sets from OTC or Performance Tool run $80-$150 and work well for occasional use. Automotive YouTuber ChrisFix demonstrates effective improvised pressing techniques that help DIYers tackle these jobs.
Bolt-on bearings: basic socket set approach
Bolt-on hubs require minimal specialized tools. A quality socket set with 1/2-inch drive, breaker bar, and torque wrench capable of 150-200 ft-lbs handle most jobs. You may need bearing-specific sockets for certain vehicles like Honda and Toyota, which cost $15-$40.
Hub assembly replacement: the easier alternative
For vehicles where pressed bearings seem overwhelming, purchasing complete pre-assembled hub units offers a practical solution. This trades part cost ($50-$150 more than bearings alone) for dramatically reduced labor and tool requirements. This strategy works particularly well for older vehicles with rust issues. For a vehicle worth $3,000-$5,000, spending an extra $100 on parts to avoid $400-$600 in shop labor makes economic sense.

Budget-Friendly Tool Solutions
Tools you can rent from auto parts stores
AutoZone, O’Reilly, and Advance Auto Parts loan specialized tools through deposit programs—you pay the tool’s retail price as deposit and receive a full refund upon return. This includes bearing separator kits, hydraulic pullers, and slide hammers worth $100-$300.
Many parts stores also provide free press service when you purchase bearings from them. Bringing your knuckle assembly to the store lets their shop press handle installation while you retain control over other aspects.
Building an improvised press with threaded rod and sockets
Start with 1/2-inch or 5/8-inch all-thread rod cut to 12-16 inches. You’ll need four heavy washers, four nuts, and sockets or pipe sections matching your bearing dimensions.
The critical principle is supporting the component on only the bearing race—never the cage, balls, or rollers. When pressing a bearing into a hub, the outer race receives force while the inner race remains unsupported. Use a socket slightly smaller than the bearing’s outer diameter to apply force evenly around the race circumference. Reverse this when pressing a bearing onto a shaft.
Alignment matters tremendously. Take time to verify perpendicular alignment before applying significant force, and stop frequently to check that the bearing seats evenly. If resistance suddenly increases, stop immediately rather than forcing the issue.
Slide hammers and bearing pullers: cheap rentals that work
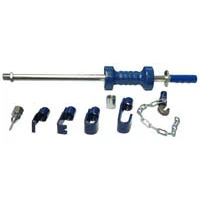
Slide hammers excel at bearing removal, particularly for pressed-in designs. The inertial force from the sliding weight delivers repeated impacts that walk bearings out without the continuous force required by hydraulic pullers.
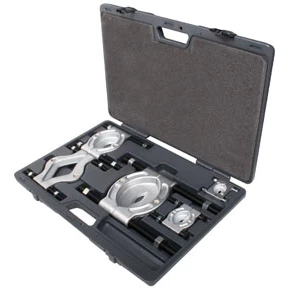
Bearing separator plates work with hydraulic pullers to grip bearing races for removal. Quality separators run $40-$80, but rental programs make them available for single jobs.
Vehicle-Specific Considerations
FWD vehicles: why pressed-in bearings require different tactics
Front-wheel-drive vehicles integrate bearings into steering knuckles that must be removed from the vehicle. This means suspension disassembly, brake component removal, and often CV axle extraction before addressing the bearing. Many FWD vehicles have ABS sensor rings integral to the bearing—damage during removal destroys the sensor, requiring bearing replacement regardless of intent. This pushes DIYers toward complete hub assembly replacement.
RWD and older vehicles: cup-and-cone bearing advantages
Rear-wheel-drive trucks and older cars often provide bearing access without major disassembly. Serviceable tapered roller bearings can be repacked with grease, and replacement involves driving out old races and installing new ones—manageable with brass drifts and patience.
Cup-and-cone bearings are adjustable. You install components, then adjust preload with the spindle nut until rotational drag feels correct. This forgiveness makes these designs much more DIY-friendly.
Rust damage: when corrosion changes your tool strategy
Rust transforms straightforward jobs into multi-day battles. Corroded bearings may require air chisels, die grinders, or torches. Federal Highway Administration research shows road salt significantly accelerates bearing housing corrosion in northern climates.
Apply penetrating oil like PB Blaster or Kroil 24-48 hours before work. For severely corroded assemblies, purchasing complete hub units eliminates battling rusted components.

Complete Tool Checklist & Cost Comparison
| Tool Category | Bolt-On Hubs | Serviceable Bearings | Pressed Bearings |
|---|---|---|---|
| Basic Hand Tools | Socket set, torque wrench ($150) | Socket set, brass drift, mallet ($180) | Socket set, torque wrench ($150) |
| Specialized Removal | None required | Bearing grease packer ($15) | Bearing separator, slide hammer ($250 or rental) |
| Installation Tools | None required | Brass drift, old race ($0-20) | Hydraulic press or threaded rod setup ($30-500) |
| Total DIY Cost | $150-200 | $200-250 | $400-800 or $50 rental |
Full tools list organized by DIY feasibility level
Level 1 – Bolt-On Hubs (Easy):
- 1/2-inch drive socket set with metric and SAE sockets
- Torque wrench rated to 200 ft-lbs minimum
- Breaker bar or impact wrench
- Jack, jack stands, and wheel chocks
- Vehicle-specific hub socket if required
Level 2 – Serviceable Cup-and-Cone (Moderate):
- All Level 1 tools plus:
- Brass drift punch and dead blow hammer
- Bearing grease and grease packer tool
- Seal driver set or appropriately-sized sockets
- Cotter pins and castellated nut wrench
- Dial indicator for bearing adjustment (optional)
Level 3 – Pressed Bearings (Difficult):
- All Level 1 tools plus:
- Bearing separator plates
- Slide hammer with jaw attachments
- Hydraulic press (20+ ton) OR threaded rod press setup
- Bearing driver set or appropriate sockets
- Penetrating oil and wire brushes
- Parts washer or cleaning solvent
DIY cost vs professional service: is it worth your time?
Professional wheel bearing replacement costs $300-$600 per wheel. Parts alone run $50-$200, meaning you’re paying $250-$400 for labor. Bolt-on hub replacement saves nearly the entire labor charge for 2-3 hours work if you own basic tools.
For pressed bearings, renting tools costs minimal beyond deposits. However, damaging components during removal can exceed professional service costs. First-timers should budget extra time and consider paying for shop press services while handling other work yourself.
Safety equipment you shouldn’t skip
Essential safety equipment includes:
- Quality jack stands rated beyond your vehicle’s weight—never work under jack-only support
- Safety glasses—bearing races shatter when struck
- Mechanic’s gloves for handling sharp components
- Hearing protection if using air tools
- Properly rated floor jack
Brake cleaner and parts cleaners require ventilation. Opening doors and using fans prevents solvent vapor accumulation in enclosed garages.
Frequently Asked Questions
Can you use a hammer and screwdriver for wheel bearing replacement?
For serviceable cup-and-cone bearings, yes—use a brass drift punch (never a screwdriver) and dead blow hammer. The old bearing race serves as a driver for tapping in the new race evenly. For pressed-in bearings, hammering risks cracking the bearing. Screwdrivers should never contact bearing components directly. Modern sealed bearings absolutely require proper pressing tools.
Do you need alignment after bearing replacement?
Yes, wheel alignment is necessary after replacing bearings where suspension components disconnect. Removing strut-to-knuckle bolts or separating ball joints disturbs camber, caster, and toe settings. Budget $80-$150 for alignment service. Vehicles with bolt-on rear hub assemblies may not require alignment, but verifying settings provides peace of mind.
What’s the best approach for severely rusted bearings?
For severely corroded assemblies, purchasing complete hub units with pre-installed bearings eliminates battling rusted-in-place components. If committed to pressing new bearings into existing hubs, apply penetrating oil 48-72 hours before work. Heat from a propane torch helps break corrosion bonds but requires careful application. Air chisels and cutoff wheels remove stubborn bearings, though this guarantees you’re replacing the complete assembly. Expect rust damage to double or triple estimated job time.
Are bearing presses worth buying for home use?
A hydraulic press becomes cost-effective if you perform regular bearing work or maintain multiple vehicles long-term. Quality 20-ton presses cost $400-$600 and handle various jobs. For occasional bearing replacement, press cost exceeds professional service. Rental programs and improvised presses make more economic sense for infrequent use. If maintaining a fleet or keeping vehicles beyond 150,000 miles, press ownership pays for itself.
Can you replace just one wheel bearing or should you do both sides?
While you can replace individual bearings, replacing both sides of an axle simultaneously makes practical sense. Bearings wear at similar rates. If one side fails, the opposite side is likely near failure. Labor overlap means replacing both costs much less than two separate jobs. From a safety perspective, avoiding a second failure justifies the additional parts cost, especially for front axles where bearing failure affects steering control.
How do you know which bearing type your vehicle uses?
Check your vehicle’s service manual or call a parts supplier with your VIN. Describing your vehicle as front- or rear-wheel-drive plus the year helps narrow possibilities—most FWD vehicles use pressed bearings while RWD trucks use serviceable types. Online parts diagrams show whether you’re ordering a complete hub assembly (bolt-on), sealed bearing unit (pressed), or separate bearing sets (serviceable). Some vehicles use different bearing types front and rear, so verify for each axle.
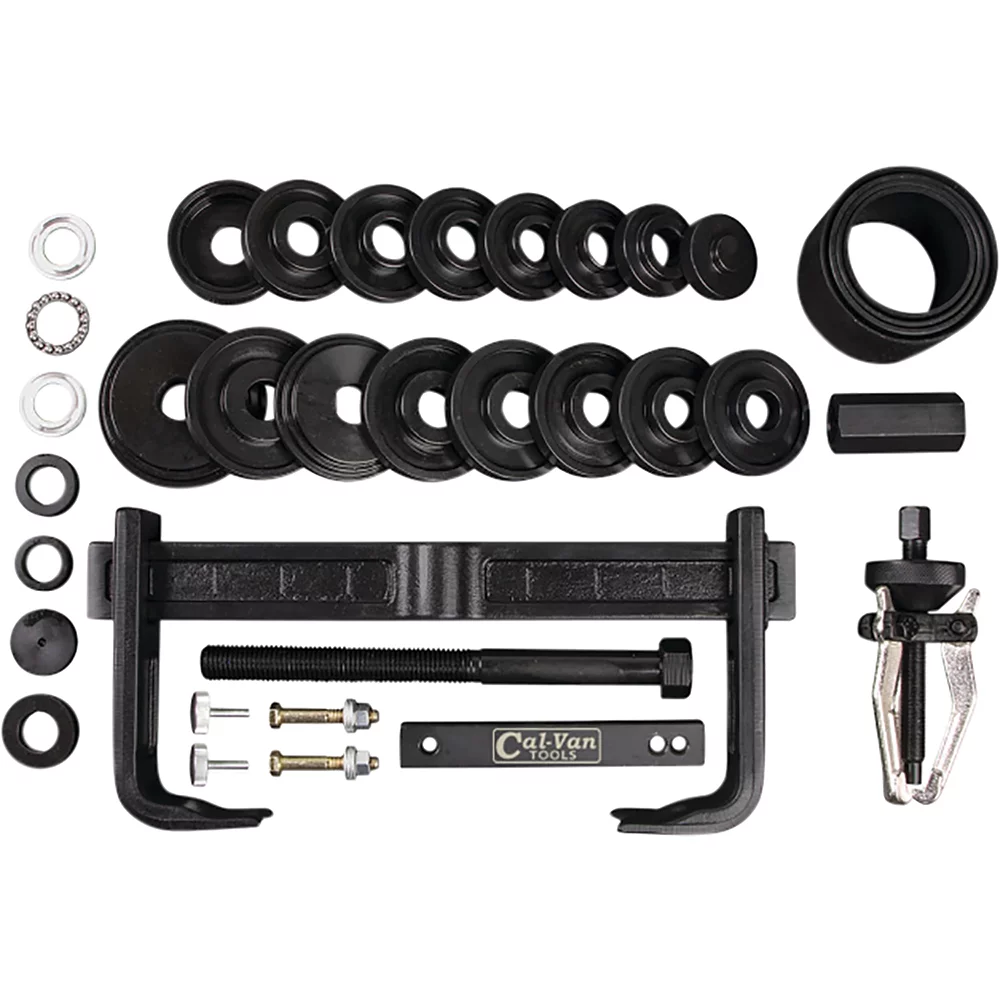
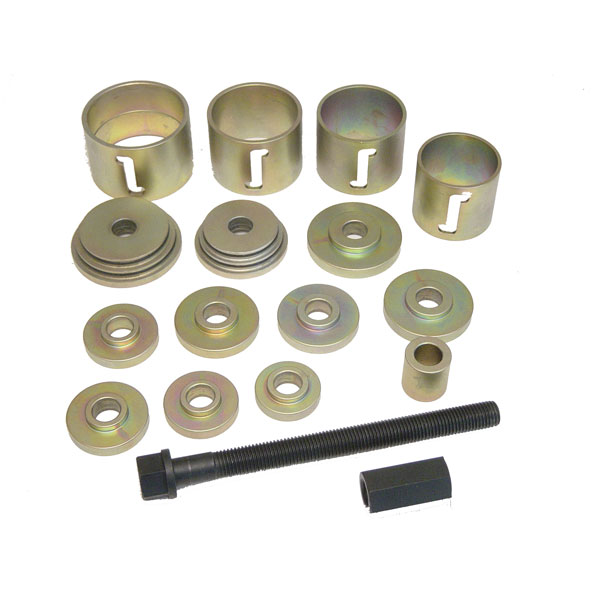
Wheel Bearing Removal & Installing Kit for BMW/Mercedes/Volvo/VW/Audi/Porsche/Asian
Mfg: Baum Tools
Part #: B90K
Ready to tackle wheel bearing replacement yourself? Check out our complete Other automotive tools collection for everything you need to get the job done right. Whether you’re going the DIY route or preparing to hand it off to a pro, we’ve got the specialized equipment to make the job easier.
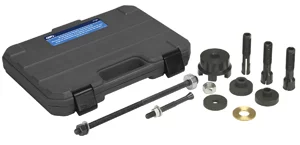
- Wheel Bearing Puller Sets – Professional-grade extractors that save hours of labor and prevent damage to your suspension components
- Hub Assembly Tools – Specialized sockets and adapters designed specifically for bearing press and removal operations
- Seal and Gasket Removal Kits – Precision instruments to safely extract seals without damaging the hub housing
The Toolsource Technical Team blends decades of real-world automotive service experience with up-to-date technical research. Our writers collaborate with professional mechanics, shop owners, and diagnostic specialists to deliver practical, workshop-ready guidance you can trust.


Follow us on social media