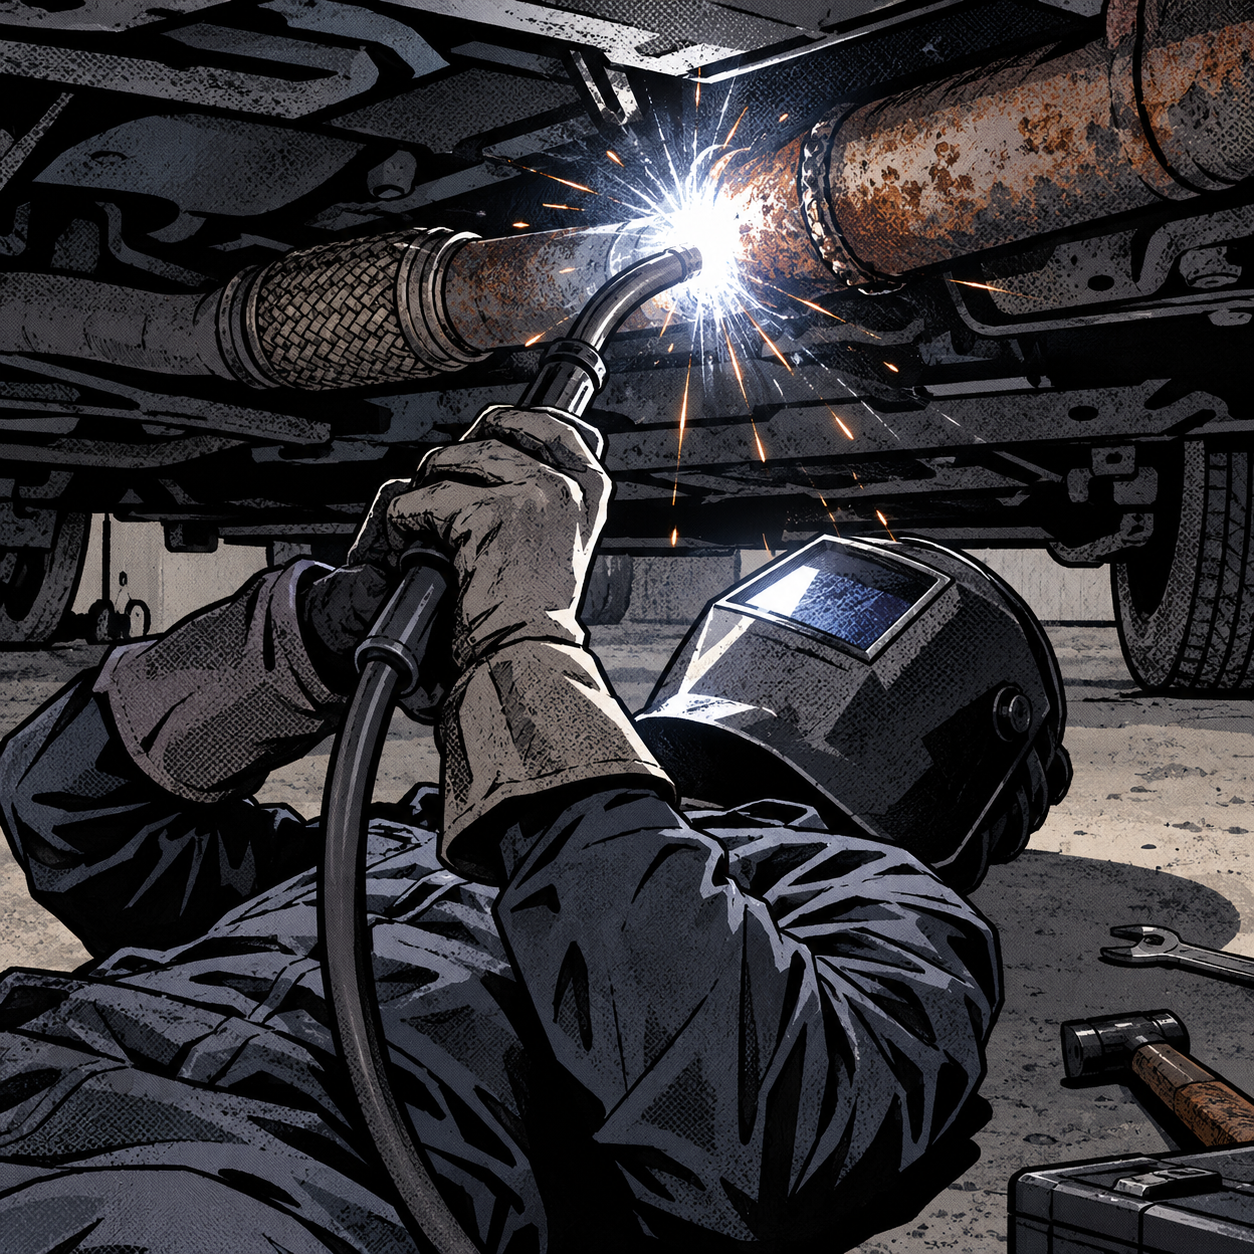
Exhaust repair welds get judged online by how they look, but in the shop and in the driveway, the only metric that matters is whether the joint holds pressure and stops leaking. A bead that’s lumpy, overbuilt, or ugly as sin can still seal perfectly if the fundamentals were handled first. Most failed exhaust welds aren’t failures of technique under pressure—they’re failures of prep, fit-up, and heat control before the trigger was ever pulled. This guide walks through the steps that actually determine whether a rusty exhaust repair seals the first time, whether you’re doing it on a lift with good light or flat on your back in a gravel driveway with a flashlight in your teeth.
Why Rusty Exhaust Welds Fail (Even When They Look Fine)
Exhaust pipe fails for a few predictable reasons, and almost all of them trace back to contamination and fit-up, not raw welding skill. Rust, scale, and oxidation on the pipe surface get trapped in the weld pool, creating porosity—tiny gas pockets that turn into pinhole leaks once the pipe heats and cools a few times. A weld can look solid on day one and start leaking within a few drive cycles because thermal cycling opens up those trapped voids.
The other common failure mode is gap. Exhaust pipe corrodes unevenly, so the two ends you’re joining rarely meet up clean. If you try to bridge a gap with filler metal alone instead of closing the gap mechanically first, you get a weld that’s mostly build-up and no real fusion to the base metal. It may hold for a while, but it’s thin and brittle, and it’s usually the first thing to crack when the exhaust system flexes over a bump or during a cold start.
Blow-through is the third issue, especially with flux core or MIG on thin, rusted pipe. If the wall thickness has been eaten down by corrosion, too much heat punches a hole instead of filling the joint, and the fix for a blown hole often becomes “pile on more filler” rather than correcting the approach.
Prep Work: Cleaning and Fitting Before You Strike an Arc
Surface prep is where most field exhaust repairs are won or lost, and it’s also the step most likely to get skipped when you’re cold, in a hurry, or working with limited tools. At minimum:
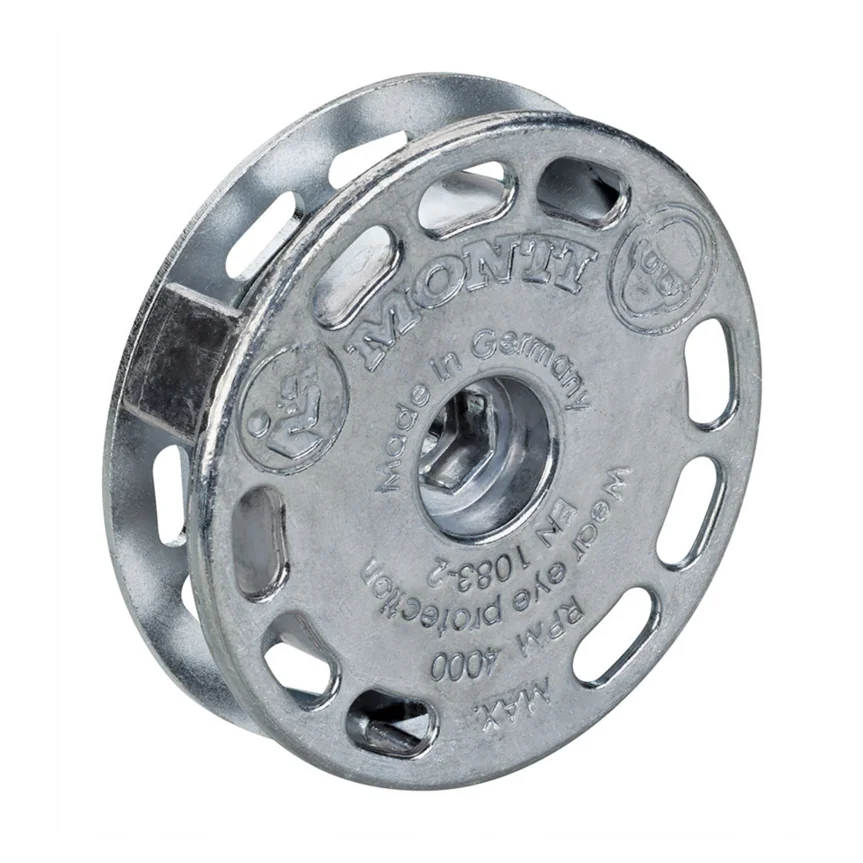
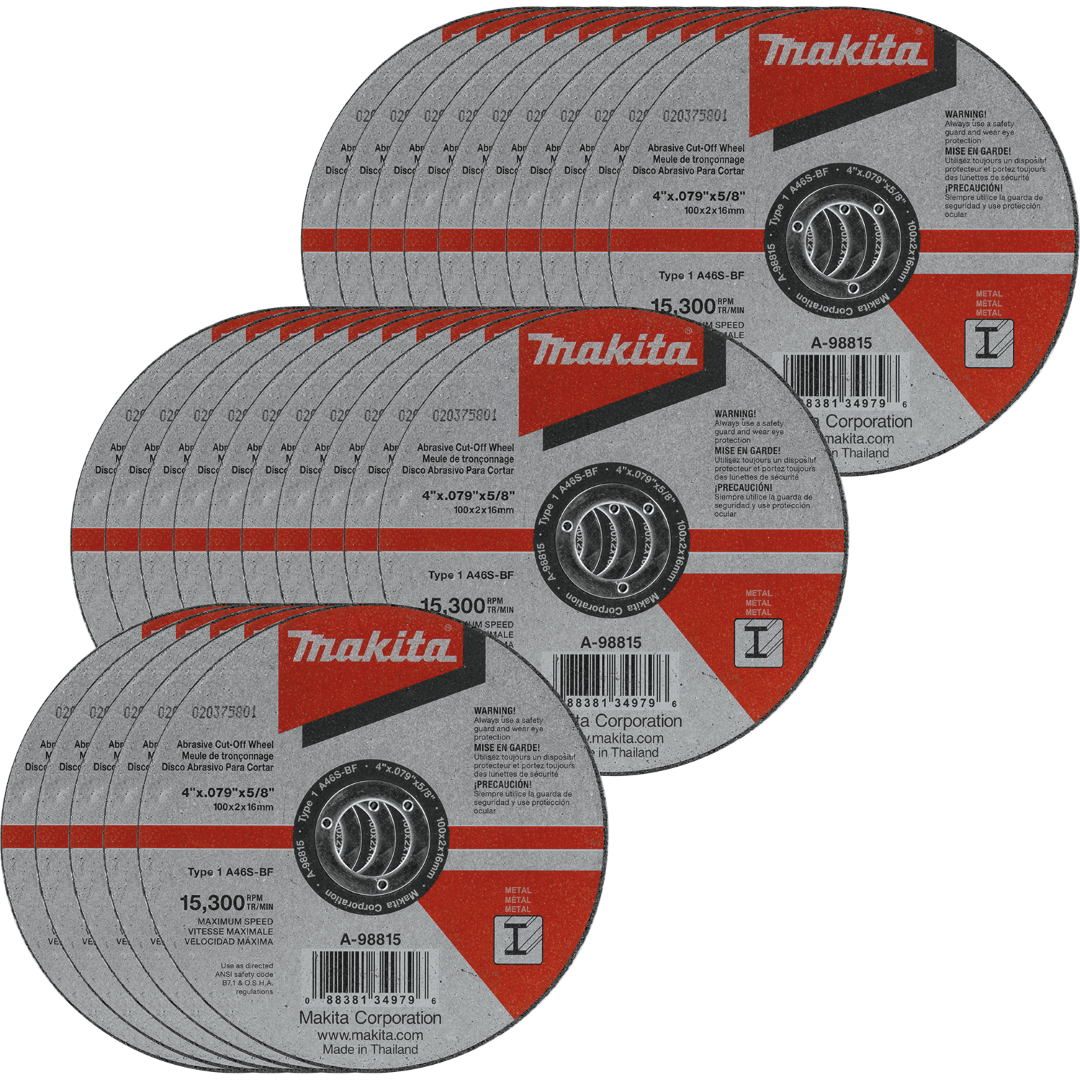
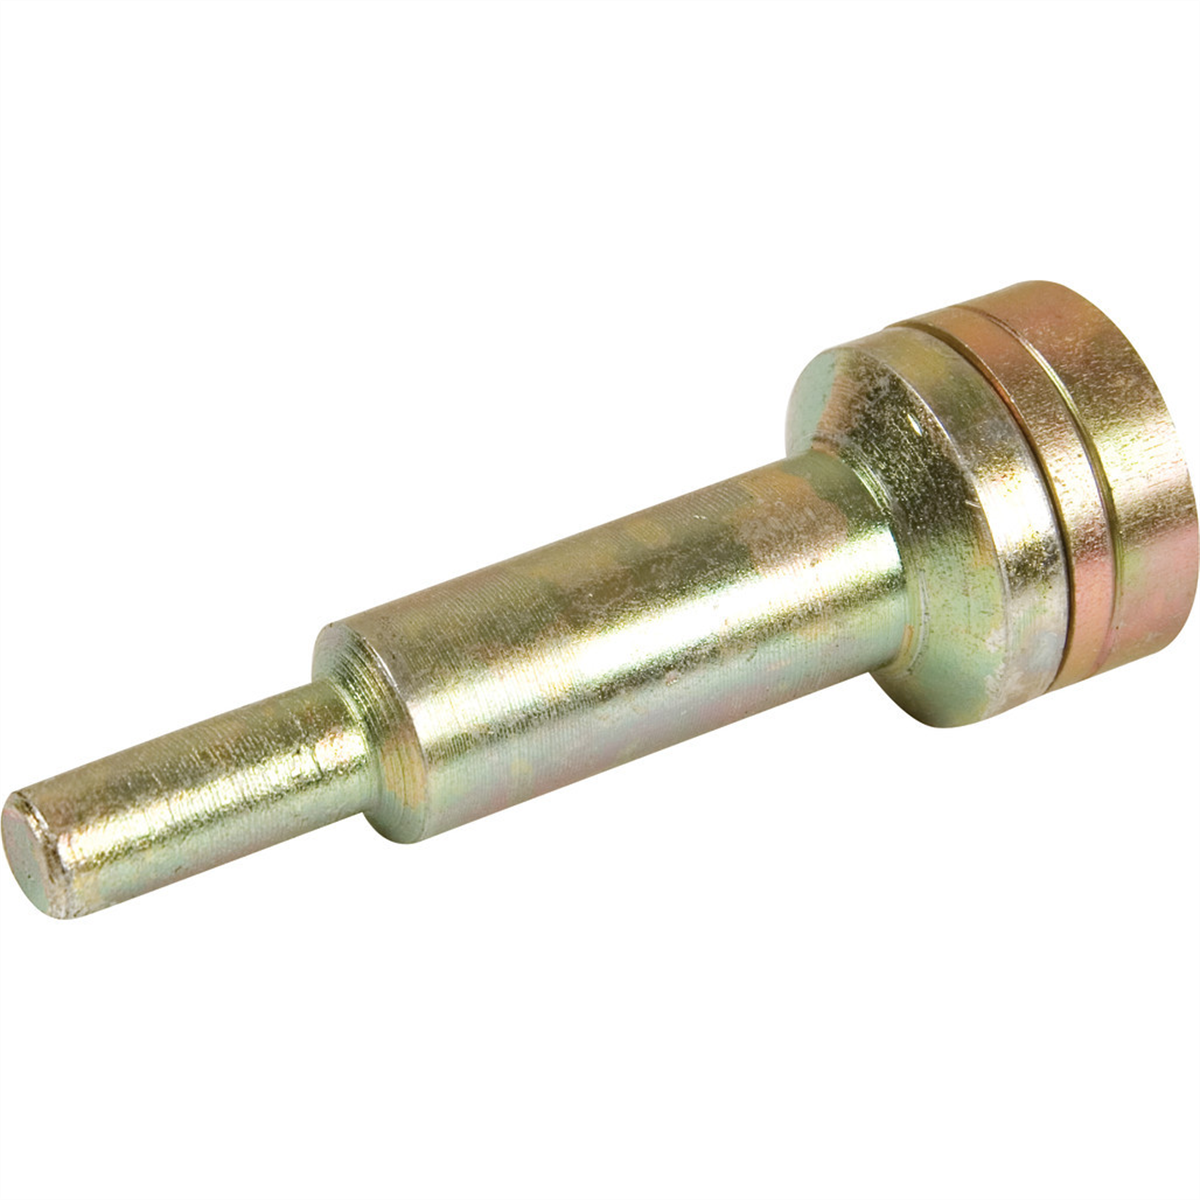
- Wire-wheel or grind both mating surfaces back to bright metal for at least an inch on either side of the joint. A hand wire brush is better than nothing, but a wire wheel on a drill or angle grinder is faster and more thorough.
- Knock off loose scale on the inside of the pipe where possible—trapped rust flakes inside the joint will outgas during welding and cause porosity even if the outside looks clean.
- Check fit-up before you weld. If one pipe is a smaller diameter than the other, don’t just bridge the gap with weld metal. Slightly flare or hammer the larger end down to close the gap, or use a coupling sleeve so you’ve got real metal-to-metal contact to fuse into.
- Dry the area. Road grime, oil residue, and moisture trapped in surface rust all contribute to a dirty, porous weld.
If the pipe is rusted through in a broader area rather than just at a seam, cutting back to solid metal and splicing in a new section of pipe or a universal exhaust coupler will give a far more reliable repair than trying to weld around the edges of a hole in compromised metal.
{{PRODUCT_SEARCH_1}}
Choosing the Right Welder and Settings for Thin, Rusty Pipe
Flux core and MIG both work on exhaust pipe, and plenty of durable field repairs have been done with basic flux core units and a floor jack holding the car up. The key differences come down to heat control and shielding.
MIG with gas shielding gives you a cleaner weld with less spatter and generally better control at low amperage, which matters on thin-wall exhaust tubing. Flux core is more forgiving outdoors—wind won’t blow away your shielding gas—but it runs hotter and dirtier, and it’s easier to blow through thin or heavily corroded pipe if your settings are too aggressive.
For typical exhaust pipe wall thickness, run on the low end of your machine’s range for the wire size you’re using, and tack first rather than trying to run a continuous bead around the whole pipe. Four or six tack welds spaced evenly around the joint hold things in place and let you check for gaps before committing to a full weld pass. If you’re working with a stick welder off two batteries in series in a pinch, understand that you’re trading control for availability—it works, but the margin for blow-through or lack of fusion is much higher, so go slow and use short, overlapping passes.
Welding Technique for Overhead, Low-Visibility Repairs
Most exhaust repairs happen with the car in the air and the tech welding overhead or at an awkward angle, often without a clear line of sight to the weld pool. A few things make this more manageable:
- Use a dark enough lens and good supplemental lighting. A headlamp or magnetic work light aimed at the joint, not just the general area, makes a real difference when you’re welding by feel as much as by sight.
- Weld in short bursts and check your work between passes. On an overhead joint you can’t always see clearly while welding, so stop every tack or two, knock off slag, and inspect for gaps or burn-through before continuing.
- Protect yourself before you start, not during. Button your collar, wear a leather jacket or welding sleeves, and position yourself so sparks fall away from your neck and ears rather than straight down onto you—this is as much about finishing the job without a trip to urgent care as it is about weld quality.
- Rotate the pipe if you can. If the exhaust section can be loosened and rotated slightly so the joint faces a more accessible angle, even 45 degrees of rotation can turn an overhead blind weld into something you can actually watch.
Sealing the Leak: Fill Strategy for Holes and Gaps
When you’re closing an actual hole rather than joining two clean pipe ends, resist the urge to just keep adding filler metal until the gap looks covered. Build the edges first—run a pass around the perimeter of the hole to establish solid fusion on the surrounding metal, then work inward in overlapping passes to close the gap. This gives you a weld with real penetration at the edges instead of a blob of filler sitting on top of a hole with minimal bond to the pipe.
For larger holes or missing sections, patching with a scrap piece of same-diameter pipe, split lengthwise and formed around the damaged area, gives you something to fuse to on both sides rather than trying to bridge open air. It won’t win any beauty contests, but it gives the weld actual structure instead of relying on filler metal to span a gap it was never meant to span.
After welding, do a visual and smell check with the engine running: look for white or black streaking at the joint (a sign of leakage even if you don’t hear it), and listen for a hissing or ticking sound near the repair, which usually means a pinhole you missed.
{{PRODUCT_SEARCH_2}}
When to Patch vs. Replace the Section
Not every rusted exhaust section is worth saving. If the pipe wall is thin enough that your wire wheel is cutting through metal rather than just cleaning surface rust, or if there are multiple rust-through spots within a short run of pipe, cutting out the whole section and welding in new pipe or a pre-bent replacement segment is faster and more reliable than chasing leaks one patch at a time. A good rule of thumb: if you’d need more than two patches within a foot of pipe, replace that section instead.
Quick Pre-Weld Checklist
- Clean both mating surfaces to bright metal, inside and out where accessible
- Confirm fit-up—close gaps mechanically before welding, don’t bridge with filler alone
- Set welder on the low end of amperage for the wire/pipe thickness
- Tack in 4-6 spots before running a full bead
- Protect against sparks (collar buttoned, sleeves, eye/ear protection positioned correctly)
- Run engine after cooling and check for soot streaks or hissing at the joint
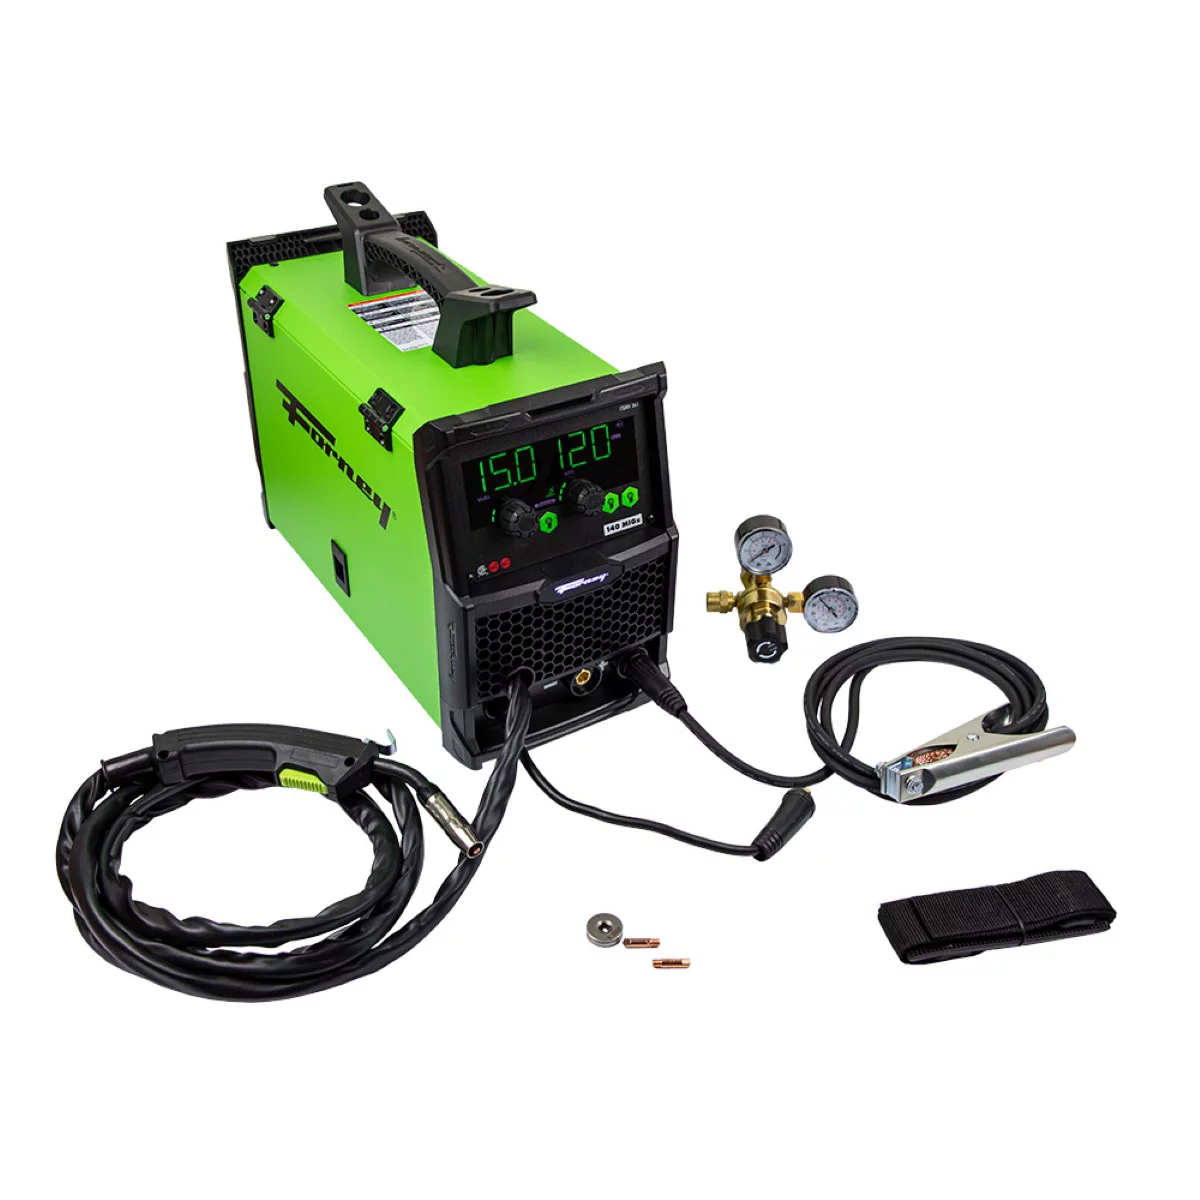
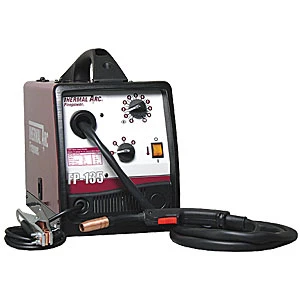
FP-135 MIG/Flux Cored Welder System 135 Amp Output, 120V
Mfg: Firepower
Part #: 1444-0326H
Frequently Asked Questions
Can I weld exhaust pipe with a flux core welder instead of MIG?
Yes. Flux core is commonly used for exhaust repairs, especially outdoors where wind would disrupt shielding gas on a MIG setup. It runs hotter and spatters more, so use lower amperage settings on thin exhaust tubing to avoid blow-through.
Why does my exhaust weld keep leaking even though it looks solid?
Trapped rust and scale inside the joint, or porosity from welding over dirty surfaces, are the most common causes. A weld can look fully covered on the outside while still having gas pockets or incomplete fusion that leak once the pipe heats and cools repeatedly.
Is it okay if two pipe sections are different diameters?
You can join mismatched diameters, but don’t rely on weld filler to close a large gap. Flare or hammer the larger pipe down, or use a coupling sleeve, so you have real metal contact before welding.
How do I know if a hole is too big to weld shut?
If building up filler metal would require more than filling a small pinhole or short seam, patch with a piece of matching pipe instead. Relying on pure filler to span a large hole produces a brittle repair prone to cracking.
What’s the biggest risk when welding exhaust pipe overhead?
Limited visibility leading to missed gaps or incomplete fusion, plus sparks falling into clothing or onto skin. Weld in short, checkable passes and position yourself so sparks fall away from you rather than straight down.
Should I grind a bad exhaust weld and redo it, or just patch over it?
If the original weld has visible porosity, cracks, or soot staining indicating a leak, grind it back to clean metal and reweld rather than welding over it. Welding over a contaminated or leaking joint usually just relocates the leak path rather than sealing it.
Shop Welding Equipment
Successful exhaust repairs depend on having the right tools and setup. Our welding equipment and supplies cover everything you need for field repairs and shop work, from MIG and flux core setups to safety gear and prep tools.
- Welders and power sources rated for exhaust pipe work
- Wire, flux, and gas for clean, durable joints
- Safety gear and accessories for overhead and awkward angle repairs

The Toolsource Technical Team blends decades of real-world automotive service experience with up-to-date technical research. Our writers collaborate with professional mechanics, shop owners, and diagnostic specialists to deliver practical, workshop-ready guidance you can trust.


Follow us on social media