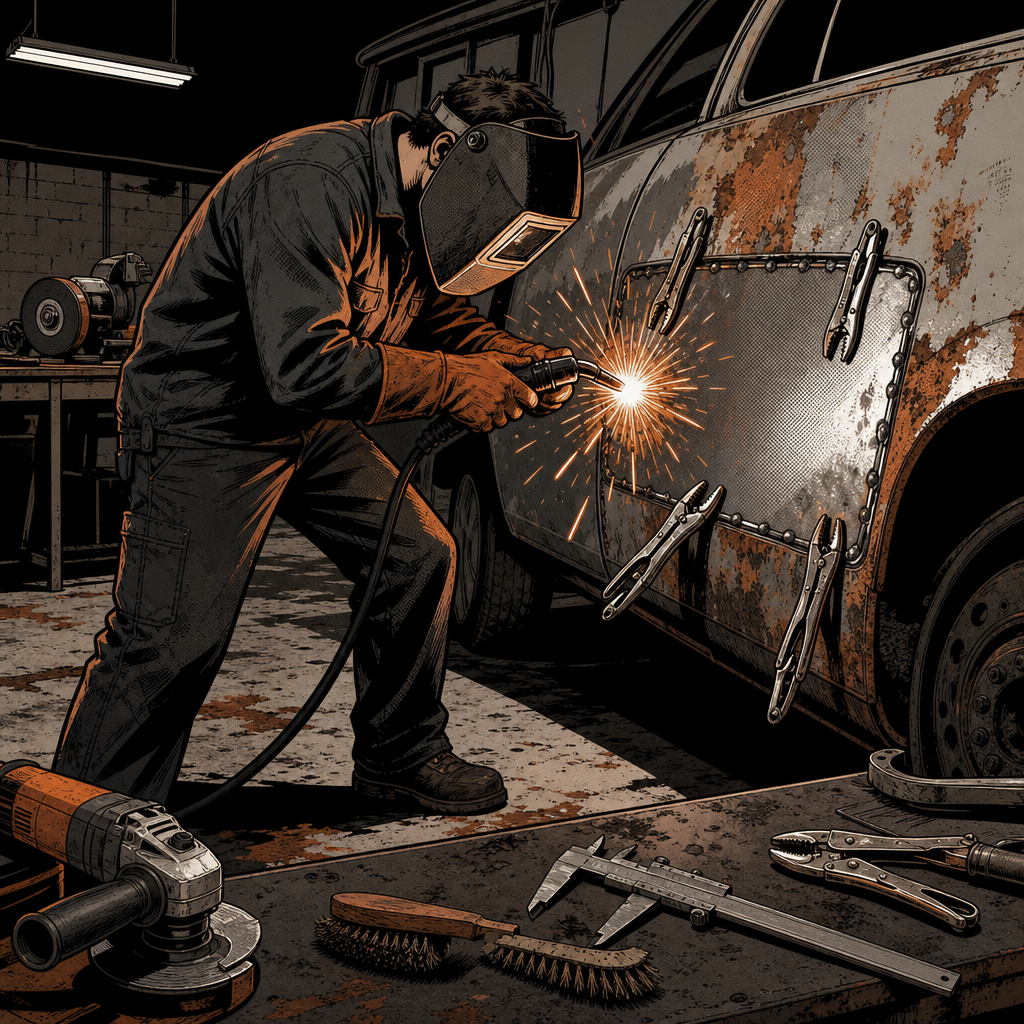
Patching rust holes in a car body is one of the most common entry points into welding, and it’s also one of the easiest jobs to botch if the machine isn’t set up correctly. A flux-core welder — even a budget consumer-grade unit — can produce a clean, solid repair on thin automotive sheet metal, but only if you understand the tradeoffs of the process: polarity, heat input, and the finishing work that turns a raw bead into something paint-ready. This guide breaks down the practical steps for getting a flux-core rust repair right the first time, from machine setup through final dressing.
Why Flux-Core Works (and Where It Falls Short) for Auto Body
Flux-core welding (FCAW) is popular for hobbyist and light-duty auto body work because it doesn’t require a shielding gas bottle — the flux inside the wire generates its own gas shield as it burns. That makes it portable and cheap to run, which is why budget machines from brands sold in hardware and grocery-store tool bins have become a common starting point for weekend restorers.
The tradeoff is heat and cleanliness. Flux-core runs on reverse polarity for the self-shielded wire most consumer machines ship with, and that polarity setup puts more heat into the joint than a gas-shielded MIG (GMAW) setup on the same material. On thin panel steel — anything under about 20-gauge — that extra heat translates directly into warping, blow-through, and discoloration if you’re not managing your technique. More experienced techs who move up from flux-core often switch to a gas-shielded CO2 or C25 (75/25 argon-CO2) MIG setup specifically to cut down on that heat and get a flatter, less spattery bead on body panels. If you’re doing occasional patch work, flux-core is a legitimate and affordable choice; if you’re doing this regularly, budget for a gas-shielded setup down the line.
Dialing In Amps, Wire Speed, and Polarity
The single biggest factor separating a clean weld from a warped, blown-through mess is machine setup — not operator skill. Most techs report that once the amperage/voltage and wire speed are properly matched to material thickness, the actual welding becomes far easier and more forgiving.
- Match settings to material thickness. Many entry-level flux-core machines (including compact consumer models) simplify this by offering thickness-based presets rather than separate voltage and wire-speed dials. If your machine has this simplified control, still verify the resulting bead on a scrap piece of the same-gauge steel before touching the actual panel.
- Check polarity before you start. Self-shielded flux-core wire typically runs on DCEN (straight polarity, electrode negative) — the opposite of solid MIG wire, which runs DCEP. Running the wrong polarity for your wire type causes excess spatter, poor penetration, and more heat buildup than necessary. Confirm your machine’s polarity setting matches what the wire manufacturer specifies.
- Run test beads on scrap first. Cut an offcut of the same gauge steel as your repair panel and run a few beads before committing to the car. Listen for a steady crackling/frying sound — a smooth, consistent sound means your wire speed and amperage are matched. Popping or excessive spatter usually means the voltage is too low or wire speed is off.
- Adjust wire speed independently if your machine allows it. Some machines that otherwise use simplified thickness controls still let you fine-tune wire speed separately — worth checking the manual, since it’s an easy way to dial in a rougher setup without buying a new machine.
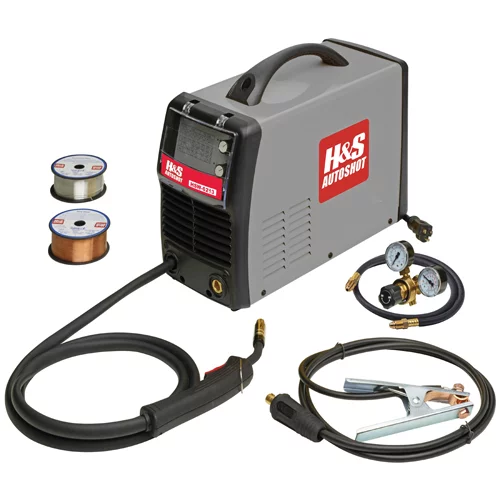

Forney Industries Forney® Easy Weld® 140 FC-i Flux-Core
Mfg: FORNEY INDUSTRIES
Part #: 26101
Prepping the Repair Area Before You Strike an Arc
Rust repair welds fail more often from bad prep than bad technique. Before any welding starts:
- Cut back to clean metal. Rust migrates further than it looks. Grind or cut back until you’re into solid, shiny steel with no pitting — welding over compromised metal just relocates the failure point a few centimeters away.
- Strip paint and coatings well past the weld zone. Undercoating, seam sealer, and paint all outgas and contaminate the weld pool, causing porosity. Clear a margin of at least an inch beyond where you expect heat-affected zone to reach.
- Fit the patch tightly. Gaps force you to add filler passes, which means more heat cycles and more distortion. A patch that sits flush with a consistent, narrow gap (roughly wire-diameter) welds faster and cooler.
- Back-brace irregular or vertical panels. Where possible, clamp or tack a backing strip behind the joint to help control panel shape while you weld and to give the puddle something to key into on the first pass.
Welding Technique to Minimize Heat Distortion
Because flux-core runs hotter than gas-shielded MIG, heat management is the main technical challenge on thin body panels — poor heat control is what causes visible waviness in an otherwise structurally sound repair.
- Stitch-weld, don’t run a continuous bead. Lay down half-inch to one-inch tacks in a scattered pattern across the joint rather than a single continuous seam. Skip around the panel so no single area builds up heat.
- Let each tack cool before the next one nearby. A quick touch test (or a moment’s pause) between tacks near the same area prevents cumulative heat buildup that causes oil-canning and wave distortion.
- Use a heat sink where practical. A damp rag or a copper backing block near — not on — the weld zone can pull heat away faster and reduce distortion on visible panels.
- Keep a consistent travel angle and stick-out. Inconsistent gun angle changes penetration depth tack to tack, which shows up later as an uneven grind line.
Post-Weld Finishing: Grinding, Dressing, and Filler
The welding is maybe half the job — how you finish it determines whether the repair is invisible or obviously patched. A weld that’s visually rough but structurally sound is still a good repair; how you dress it afterward is what makes it presentable.
- Grind in stages. Start with a coarse flap disc or grinding wheel to knock down the bulk of the bead, then step to a finer grit to flatten the surface without gouging the surrounding panel. A fresh wheel on the angle grinder cuts noticeably faster and cleaner than a worn one — swap discs more often than feels necessary.
- Don’t grind too thin. It’s easy to overheat and thin out the panel chasing a perfectly smooth weld. Leave a hair of weld proud of the surface rather than sanding into base metal.
- Check for pinholes before filler. Small pinholes in flux-core welds are common on thin material. Reweld any you find — filler will not seal a structural pinhole permanently, and moisture behind it will cause rust to return.
- Body filler is a finishing step, not a repair step. Skim-coating a properly ground weld with filler to true up the final panel contour is standard practice and not a shortcut — it’s different from using filler to bridge an actual hole or gap, which is a bondo patch and won’t hold up structurally.
When to Repair vs. When to Replace the Panel
Not every rust spot is worth chasing with a welder. On an older vehicle with widespread surface rust, spending hours perfecting one patch while other panels are close to failing is often a poor use of time — a solid, presentable repair on a car that will develop new rust nearby within a few years is a reasonable outcome, not a failure. Weigh:
- Structural vs. cosmetic panels. Rockers, frame rails, and floor pans need full structural repair. Cosmetic panels can tolerate a more modest patch-and-fill approach.
- Extent of surrounding corrosion. If rust is present within a few inches of your repair in multiple directions, consider cutting a larger patch now rather than revisiting the same area next year.
- Vehicle value and intent. A patch panel that’s “good enough” and rust-free for the next several years is often the right call on a daily driver; concours-level metal finishing is a different (and much longer) job.
Quick pre-weld checklist:
- Confirm wire polarity matches flux-core spec (typically DCEN)
- Test amperage/wire speed on scrap of matching gauge
- Grind back to clean, shiny metal well past visible rust
- Strip paint/coatings past the heat-affected zone
- Fit patch tight with minimal, consistent gap
- Plan a stitch-weld sequence before striking the first arc
- Have a fresh grinding disc and a plan for pinhole inspection ready
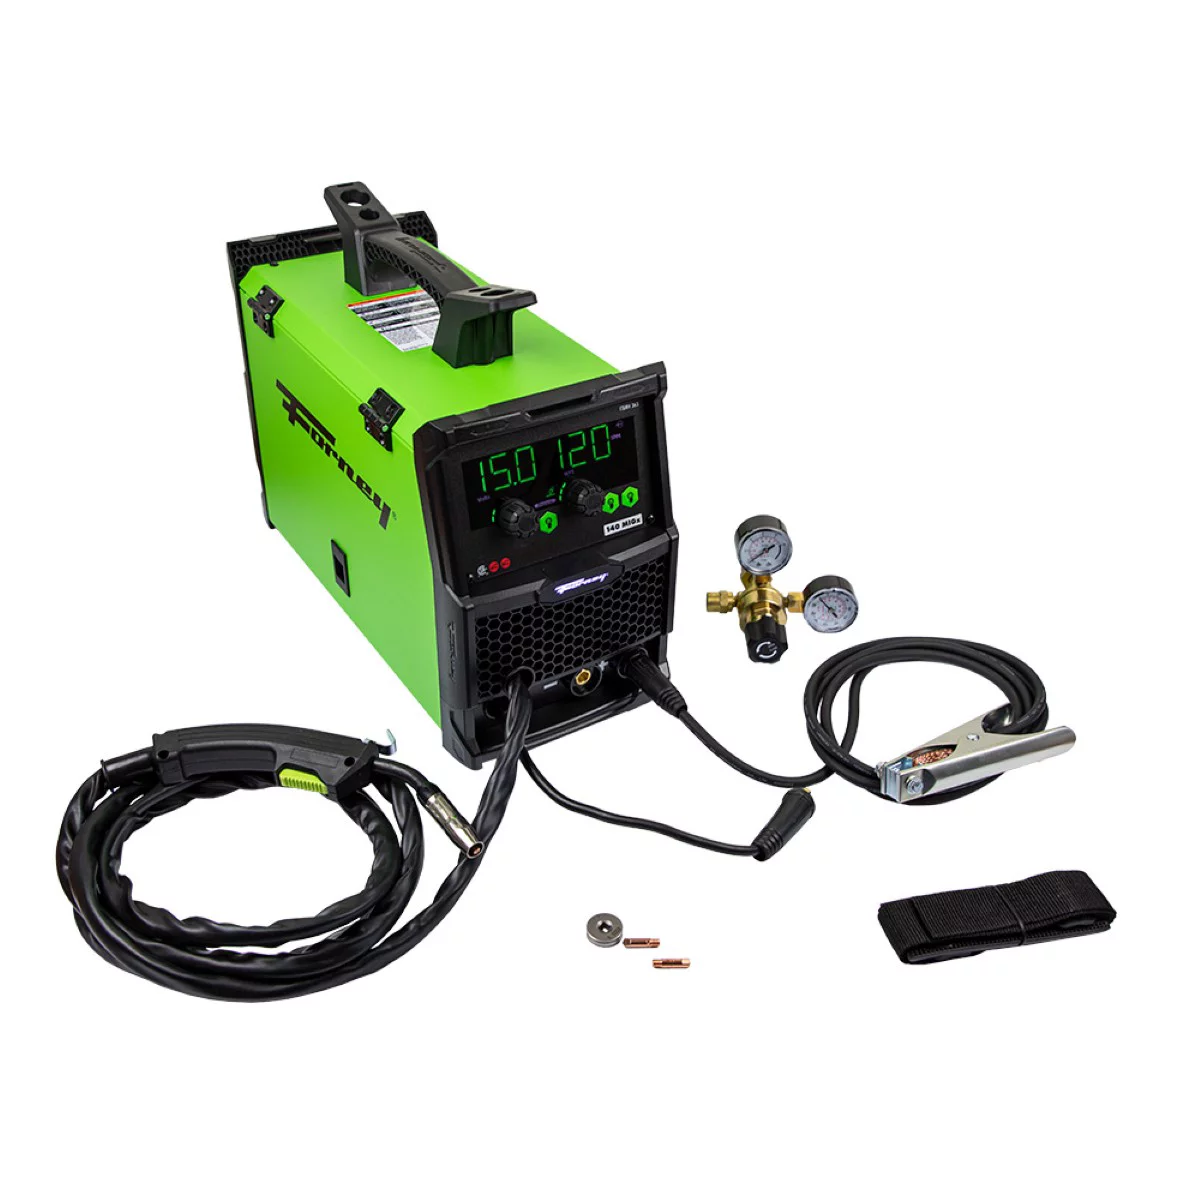
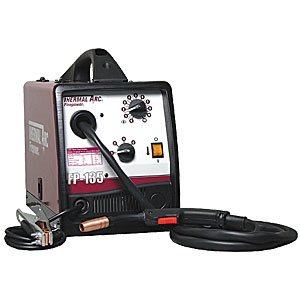
FP-135 MIG/Flux Cored Welder System 135 Amp Output, 120V
Mfg: Firepower
Part #: 1444-0326H
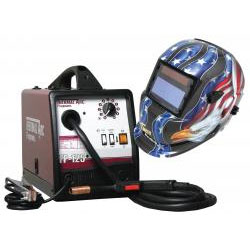
FP-125 MIG/Flux Cored Welder System 110 Amp Output, 120V w Helme
Mfg: Thermal Arc
Part #: 1444-0324H
Frequently Asked Questions
Do I need gas shielding for auto body rust repair, or is flux-core enough?
Flux-core is sufficient for occasional patch work on body panels and is more portable and affordable. If you’re welding thin panels regularly, a gas-shielded MIG setup runs cooler and gives a flatter bead with less spatter and cleanup.
What polarity should I use for flux-core welding?
Self-shielded flux-core wire generally runs on DCEN (straight polarity). This is opposite to solid MIG wire under gas shielding, which runs DCEP. Always confirm against your specific wire’s spec sheet, since getting it backward significantly increases spatter and heat.
Why is my patch panel warping even though the weld looks fine?
Warping almost always comes from too much continuous heat input. Switch to short stitch tacks spread around the joint instead of a continuous bead, and let each area cool before welding near it again.
Can I just fill a rust hole with body filler instead of welding a patch?
No — filler over an unsupported hole (a “bondo patch”) isn’t structural and will eventually crack, flex, or trap moisture that causes rust to return. Filler should only be used to smooth the surface over a properly welded and ground metal repair.
How do I know if my welder’s amps and wire speed are set correctly?
Run test beads on scrap steel of the same gauge as your repair panel. A consistent, steady crackling sound and a flat, evenly rippled bead indicate good settings; popping, excessive spatter, or burn-through mean you need to adjust voltage/wire speed before touching the actual panel.
Is it normal to have pinholes in a flux-core weld on thin sheet metal?
Occasional small pinholes can happen, especially on thin gauge material or with inconsistent technique. Always inspect the ground-down weld before applying filler and reweld any pinholes you find — they won’t seal properly under filler and will lead to future corrosion.
Welding Equipment
Reliable equipment and quality consumables make the difference between a solid repair and a failed patch. Our welding equipment and supplies include flux-core and gas-shielded machines, matched wire, ground systems, and replacement parts.
- Flux-core welders for portable, budget-friendly work
- Gas-shielded MIG setups for cooler, flatter beads on thin panels
- Wire, tips, clamps, and consumables

The Toolsource Technical Team blends decades of real-world automotive service experience with up-to-date technical research. Our writers collaborate with professional mechanics, shop owners, and diagnostic specialists to deliver practical, workshop-ready guidance you can trust.


Follow us on social media