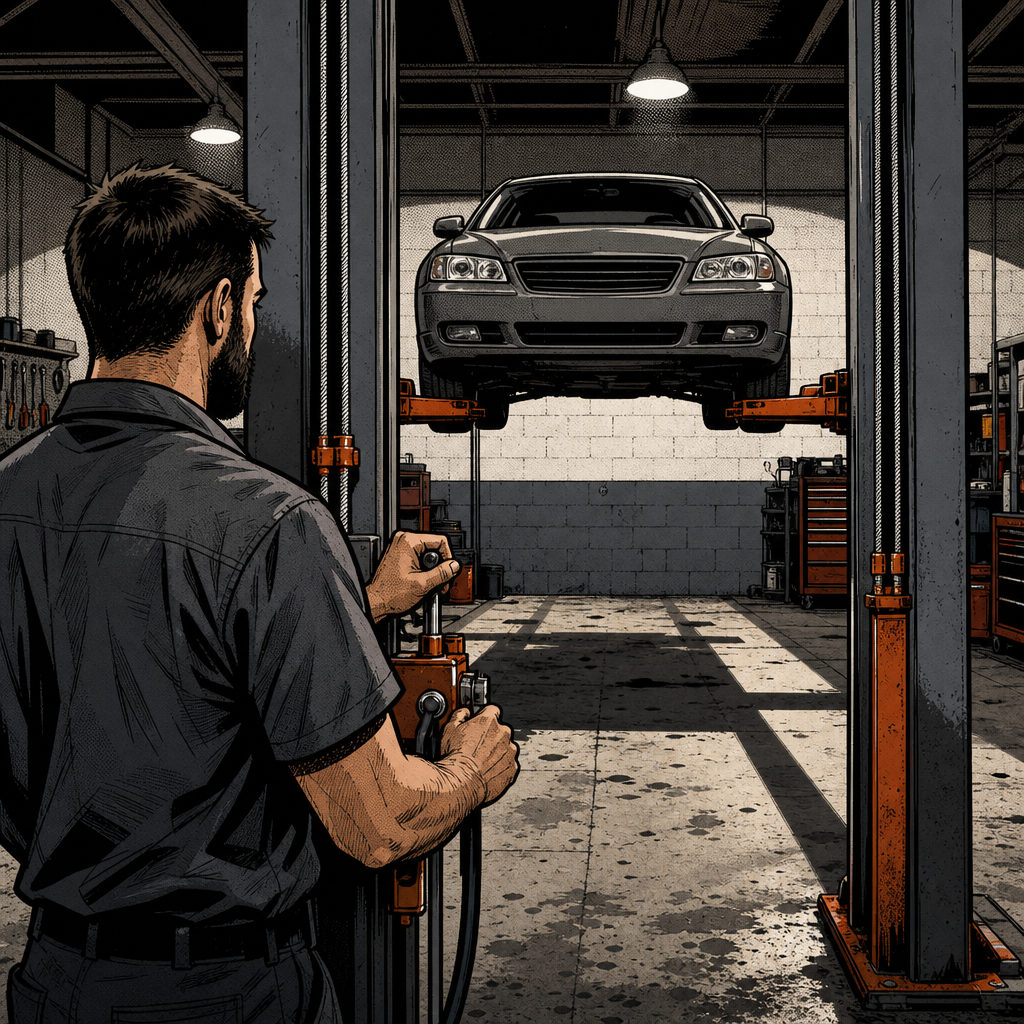
A recent shop story made the rounds: a tech was lowering a Nissan Rogue on a two-post lift when the equalizing cable snapped and the vehicle dropped hard enough to rattle everyone in the bay. No one was hurt, but the thread that followed turned into a genuinely useful discussion among lift techs, service managers, and lift-company installers about how these machines actually work, why safety locks don’t always save you, and what “the lift was inspected last month” really means in practice. Here’s the practical version of that conversation — what to check, what to fix, and what to walk away from.
How Lift Safety Locks Actually Work — and When They Don’t Help
Most two-post lifts use a mechanical locking mechanism — a ratcheting bar or set of latches — that engages automatically in stages as the lift rises. On the way up, this is largely self-protecting: even if hydraulic pressure or a cable fails, the locks have already caught at the last notch passed.
Lowering is a different story. To bring a vehicle down, the operator has to physically hold a release handle that keeps those mechanical locks pulled back out of the way. That’s the only point in the entire lift cycle where the locks are deliberately disengaged. If a cable or hydraulic line fails at that exact moment, there’s nothing between the vehicle and the locks except a hopefully-fast reflex. This is precisely what happened in the incident above — the tech was mid-lower, the equalizer cable let go, and the only thing that mattered was whether he released the lock handle in time to let the next set of teeth catch.
The takeaway for techs: never treat “it has safety locks” as a blanket guarantee. Locks protect you during raising and while parked at height. During lowering, you are relying on the cable, the hydraulics, and your own reaction time — all at once.
Why Equalizer Cables Fail (and Why It’s Not Always Age)
Equalizer cables sync the two sides of a two-post lift so both posts travel together. They are not, in most designs, the primary load-bearing component — the hydraulic cylinder carries the vehicle’s weight — but a snapped or slack cable can still cause a lift to come down unevenly or fast, especially if one hydraulic leg is draining faster than the other during lowering.
Cable failure isn’t purely an age issue. Techs in the field report failures caused by:
- Reused or off-brand replacement cables installed without proper tensioning
- Frayed strands that went unnoticed because no one physically ran a hand or rag along the cable
- Improper adjustment after a previous repair, leaving locks out of sync with cable travel
- Corrosion inside the cable sheath that isn’t visible from a quick glance
If a lift has ever had a cable replaced by anyone other than a certified lift technician, that’s a specific thing to flag during your next inspection — verify tension and lock engagement, don’t just confirm the cable looks new.

Heavy Duty Tire & Tube Valves Modular Merchandiser
Mfg: Schrader-bridgeport Internationa
Part #: 29-656
The Lowering Procedure: Doing It the Way That Actually Protects You
Since lowering is the exposure point, tighten up the habits around it:
- Clear the area first. No one — including you — should have any part of their body under the vehicle’s path while the lock release is held.
- Lower in short increments when possible. Bring the vehicle down to a lock position, let go of the release, confirm the locks caught, then continue. This limits how far a failure can drop the vehicle before the next set of locks has a chance to catch.
- Listen and watch during the whole cycle, not just at the start. Creaking, sudden jerks, or uneven travel between posts are your cue to stop immediately and re-engage the locks rather than push through to the floor.
- Never rely on muscle memory alone. If a lift feels different than usual — heavier resistance, a delay before it starts moving, an odd sound — stop and reassess before continuing the lower.
If your shop lowers directly to the floor as a matter of habit because “it’s faster,” that’s exactly the workflow this incident exposes. A few extra seconds pausing at intermediate lock positions costs you nothing next to the alternative.
Red Flags That Mean a Lift Needs Service Now, Not at Next Inspection
Don’t wait for the scheduled inspection if you notice any of the following:
- New or louder creaking, popping, or grinding during raise or lower
- One side of the lift lagging behind the other during travel
- Visible fraying, kinks, or rust on any cable
- Locks that don’t engage cleanly, or that require extra force to release
- Hydraulic fluid seepage around the cylinder or fittings
- A lift that’s noticeably slower to rise than it used to be, which can indicate internal hydraulic leakage
Report it, tag the lift out of service, and get a certified lift technician out — not just whichever inspection vendor is cheapest or fastest. If ownership pushes back on downtime for a lift that’s showing these signs, that’s a liability conversation worth having in writing, not just verbally.
What Flat-Rate and Low-Cost Inspections Often Miss
A theme that came up repeatedly in the discussion: not all lift inspections are equal, and a sticker on the post doesn’t guarantee much. Some vendors do a genuine pass/fail with lockout/tagout on anything questionable. Others quote repairs for approval and leave the lift running in the meantime if the shop doesn’t authorize the fix. And some inspections are, frankly, rushed — bolts hit with an impact gun with no torque spec, cycles run empty instead of loaded, notes written before the lift is even tested under real weight.
As a technician, you don’t control who the shop hires to inspect lifts, but you can:
- Ask to see the actual inspection report, not just the sticker
- Confirm whether cables, locks, and hydraulic cylinders were checked under load, not just visually
- Push for ALI (Automotive Lift Institute) certified inspectors specifically — it’s a recognized standard, not just a marketing term
- Keep your own informal log of any lift behavior changes between official inspections, since you’re the one operating it daily
A once-a-year inspection is a floor, not a guarantee. Daily operator awareness is what actually catches problems between visits.
Quick Lift Safety Checklist
- Visually inspect cables for fraying, kinks, or rust before first use each shift
- Confirm locks engage audibly/visibly at each stage during a raise
- Lower in stages to intermediate lock positions rather than straight to the floor when practical
- Clear all personnel from under the vehicle’s path during lowering
- Report and tag out any lift with new noises, uneven travel, or slow response
- Verify inspection reports include load-tested lock and cable checks, not just a walk-around
- Confirm any cable or lock repairs were done by a certified lift technician

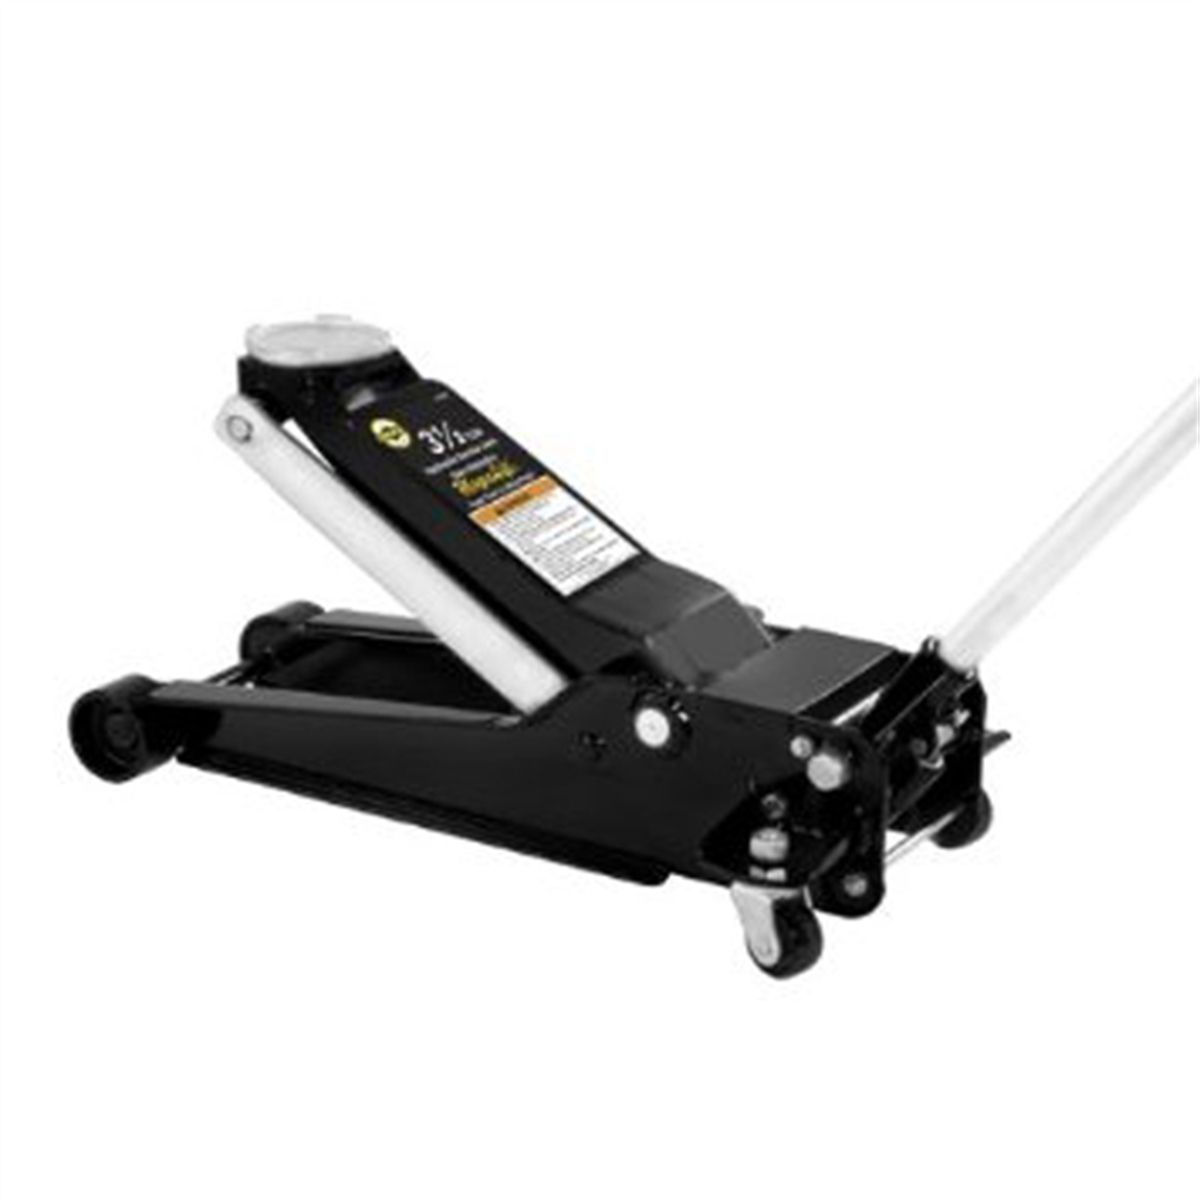
K-900 Stationary Vehicle Lift - 6,000 Lb Capacity
Mfg: Herkules Equipment
Part #: K-900
FAQ: Vehicle Lift Safety
Are the mechanical safety locks engaged while a lift is being lowered?
No. The operator has to hold a release handle that keeps the locks disengaged for the entire lowering motion. This is the only phase of operation where the locks aren’t providing backup protection, which is why lowering deserves the most attention and the most conservative technique.
How often should equalizer cables be replaced?
There’s no universal mileage-style number — it depends on usage, environment, and manufacturer guidance. Cables should be visually and physically inspected regularly, and replaced at the first sign of fraying, kinking, or corrosion rather than run to failure. Always follow the lift manufacturer’s service manual for spec’d replacement intervals where one exists.
Is annual lift inspection legally required?
Requirements vary by state and jurisdiction, and some areas have no mandatory inspection law at all. Regardless of legal minimums, most lift manufacturers and ALI recommend at least an annual inspection by a qualified technician, with more frequent checks for high-use shops.
What should I do if a lift makes a new noise but seems to work fine?
Stop using it and report it before continuing. A new creak, pop, or grind is exactly the kind of symptom that preceded documented cable and lock failures. It’s far cheaper to lose an hour of lift time than to find out mid-lower that the noise was a warning.
If a cable snaps, will the lift definitely stop the vehicle from hitting the floor?
Not necessarily. If the failure happens during lowering while the locks are held disengaged, the vehicle can continue down until the operator releases the lock handle and the next set of mechanical locks catches — or, in a worst case, all the way to the floor if locks are out of adjustment or bypassed. This is why lowering in stages and staying alert to the lift’s behavior matters as much as the equipment itself.
Who is responsible if a shop lift fails during use?
Liability depends on the specific facts — maintenance records, inspection history, and whether known issues were reported and ignored. Technicians who identify and report lift problems in writing protect themselves; shops that defer known repairs for cost reasons carry significant exposure if a failure causes injury.
Recommended Lifting Equipment
Maintaining lift systems requires the right cables, parts, and inspection tools. Browse our Lifting Equipment selection for replacement cables, hydraulic supplies, and maintenance components.
- Replacement cables and fastening hardware
- Hydraulic fluid and seal kits
- Lock and positioning accessories

The Toolsource Technical Team blends decades of real-world automotive service experience with up-to-date technical research. Our writers collaborate with professional mechanics, shop owners, and diagnostic specialists to deliver practical, workshop-ready guidance you can trust.


Follow us on social media