
If you’ve worked on modern medium and heavy-duty trucks, you’ve encountered torque-to-yield (TTY) fasteners—whether you realized it or not. These engineered bolts are now standard equipment on steering boxes, suspension components, brake assemblies, and cylinder heads across brands like Volvo, Paccar, and International. Unlike conventional fasteners that can be reused after proper inspection, torque-to-yield bolts are designed for single use only. The problem? Too many shops are still treating them like standard hardware, leading to steering box failures, suspension issues, and serious safety concerns. Understanding the science behind TTY fasteners and following manufacturer-specific torque procedures isn’t just good practice—it’s essential for preventing catastrophic failures on the road.
Why Torque-to-Yield Bolts Are Different
Torque-to-yield bolts work on a fundamentally different principle than conventional fasteners. Traditional bolts are tightened to a specific torque value measured in foot-pounds or Newton-meters, and they remain within their elastic range—meaning they can return to their original shape when loosened. TTY bolts, however, are intentionally stretched beyond their elastic limit into the plastic deformation range during installation.
The installation process for TTY fasteners typically involves multiple stages. First, you tighten the bolt to an initial torque specification to properly seat the assembly and take up any slack in the joint. This initial torque is usually relatively low. Then comes the critical step: you rotate the bolt an additional precise number of degrees—commonly anywhere from 45 to 180 degrees depending on the application—regardless of how much additional force is required. This angular rotation permanently stretches the bolt beyond its yield point.
This controlled stretching creates several advantages over traditional fastening methods. The clamping force becomes highly precise and consistent across all fasteners in the assembly. The stretched bolt acts like a spring under constant tension, maintaining clamping force even when subjected to vibration, thermal expansion and contraction, and dynamic loads. In critical applications like steering boxes and suspension mounts, this consistent clamping force prevents the loosening and joint separation that can occur with conventional bolts under severe operating conditions.
The trade-off is permanent deformation. Once a TTY bolt has been stretched into its plastic range, the metallurgical structure has changed. The bolt cannot return to its original dimensions, and attempting to reuse it means you’re working with a fastener that has already exhausted much of its clamping capability. Reusing TTY bolts can result in inadequate clamping force, progressive loosening under load, and eventual joint failure.
OEM Requirements and TSB Coverage
Major truck manufacturers have established clear policies regarding hardware replacement on chassis, brake, suspension, and steering components. For the majority of medium and heavy-duty vehicles, these critical systems require new hardware during any service that involves fastener removal. This isn’t a suggestion—it’s a service requirement backed by Technical Service Bulletins.
When you’re performing steering box replacement, suspension work, or related repairs, there should be an accompanying TSB that explicitly requires hardware replacement. These bulletins spell out the complete procedure including torque specifications, angle values, and verification steps. Dealership techs follow these procedures as standard practice, but independent shops sometimes skip the TSB review and fall back on generic torque specs or reuse the original hardware.
The verification procedure is just as important as the installation procedure. Many OEM specifications include a verification step that requires checking the final torque value after the angular tightening is complete, or measuring bolt protrusion to confirm proper seating and engagement. Skipping verification means you’re gambling on whether the installation was performed correctly.
Before starting any work on steering, suspension, or chassis components, pull the relevant service information and TSBs for that specific year, make, and model. The torque and angle specifications can vary significantly even between model years of the same platform. What worked on last year’s Volvo may not be correct for this year’s truck, and the consequences of using incorrect specs on a steering box can be deadly.
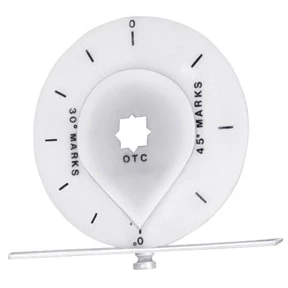
OTC 7415 Torque Angle Gauge for Precise Fastener Tightening
Mfg: OTC Tools and Equipment
Part #: 7415
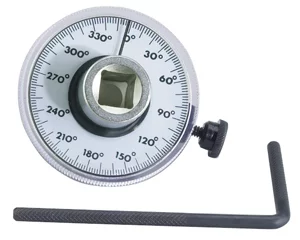
OTC 4554 Stinger 1/2" Drive Torque Angle Gauge
Mfg: OTC Tools and Equipment
Part #: 4554
Proper Installation Procedures for Critical Assemblies
Correct TTY bolt installation requires the right tools and attention to detail at every step. You’ll need a quality torque wrench calibrated within the last year, and an angle gauge or torque-angle wrench for the final tightening step. Trying to estimate angles by feel or using uncalibrated tools defeats the entire purpose of the engineered fastener system.
Start by ensuring all mating surfaces are clean and free of corrosion, old thread-locking compound, or debris. Any contamination in the joint affects how the assembly seats and can throw off your torque readings. Inspect threads in tapped holes for damage—if threads are stripped or deformed, repair them before proceeding. Using a thread chaser to clean and true the threads is good practice on any critical fastener location.
Install new TTY bolts finger-tight first, ensuring they thread in smoothly without binding or cross-threading. If a bolt doesn’t thread easily, stop and investigate rather than forcing it. Check that you’re using the correct bolt length and specification—many assemblies use different length bolts in different positions, and mixing them up can result in inadequate thread engagement or interference with internal components.
Follow the torque sequence specified in the service manual. Most multi-bolt assemblies require a specific tightening pattern—typically a cross-pattern or spiral pattern—to ensure even loading across the joint. Tighten all fasteners to the initial torque spec in the correct sequence. Many procedures specify multiple stages: perhaps 20 ft-lbs, then 40 ft-lbs, then the final torque value before the angular step. Each stage allows the assembly to settle and ensures even clamping.
After reaching the specified initial torque, attach your angle gauge and mark your starting position. Then rotate each bolt the specified number of degrees in the same sequence you used for torque tightening. The resistance will increase significantly during angular tightening—this is normal as you stretch the bolt into the yield range. If a bolt turns with no resistance or suddenly breaks free, it has either stripped or failed, and you need to stop and assess the situation.
Complete the verification procedure specified in the TSB. This might involve checking final torque, measuring bolt protrusion with a depth gauge, or performing a functional test of the assembly. Don’t skip verification—it’s your confirmation that the installation was performed correctly.
Common Installation Failures and Prevention
The most common failure mode with TTY fasteners is simple: reusing them. When a shop pulls a steering box for replacement and reinstalls it with the original bolts, they’re setting up a failure that might not manifest immediately. The truck drives off the lot, the driver doesn’t notice any immediate problems, but the inadequate clamping force allows progressive movement in the joint. Under the vibration and dynamic loads of highway driving, the bolts continue to loosen until the steering box separates—often at highway speed.
This isn’t a product problem; it’s an installation problem. The bolts and the assembly are engineered to work together when installed correctly with new hardware. Cutting corners on a $30 set of bolts to save money on a $2,000 steering box replacement is false economy that puts drivers at risk and exposes the shop to massive liability.
Using incorrect torque specifications is another common error. Generic torque charts don’t account for the specific engineering of TTY applications. The initial torque spec for a TTY bolt is often lower than what you’d use for a conventional bolt of the same size because the angular tightening provides the final clamping force. If you skip the angle step and just torque to what “feels right” based on experience with standard fasteners, you’ll end up with an improperly secured assembly.
Poor tool calibration leads to inconsistent results. Torque wrenches drift out of calibration with use, and angle gauges can be damaged or miscalibrated. Establish a regular calibration schedule for precision tools—annually at minimum, or more frequently for high-use tools. The cost of calibration is trivial compared to the cost of a comeback or a safety incident.
Contaminated or damaged threads affect torque readings and bolt performance. Oil, grease, or thread-locking compounds that aren’t specified by the manufacturer can cause bolts to over-torque or under-clamp. Unless the service procedure specifically calls for a thread lubricant or sealant, install bolts into clean, dry threads. If the TSB specifies a particular lubricant or thread-locker, use exactly what’s specified—substitutions change the torque-to-clamping-force relationship.
Quick Reference Checklist for TTY Bolt Service
- Verify the service procedure requires TTY fasteners (check TSB and service manual)
- Order correct replacement bolts before starting the job—never reuse TTY fasteners
- Confirm torque wrench and angle gauge are calibrated and functioning
- Clean all mating surfaces and inspect threads for damage
- Install bolts finger-tight and verify correct length and specification
- Follow the specified torque sequence through all stages
- Apply initial torque value(s) in multiple stages if required
- Mark starting position and apply specified angular rotation with angle gauge
- Complete verification procedure (final torque check, protrusion measurement, or functional test)
- Document the procedure including bolt part numbers, torque values, and angles used
The Cost of Doing It Right
When you factor in the true cost of steering and suspension failures, the investment in proper procedures and new hardware becomes obvious. A steering box failure at highway speed can result in loss of vehicle control, a multi-vehicle accident, injuries, or fatalities. The liability exposure for a shop that cut corners on a safety-critical repair is staggering—far beyond what any insurance policy covers.
Even in less catastrophic scenarios, improper TTY bolt installation leads to comebacks. The truck returns with looseness in the steering, abnormal handling, or component damage. Now you’re doing the job twice, eating the cost of parts and labor, and dealing with an unhappy customer and potential warranty claims. The driver loses revenue while the truck is down for rework, and your shop’s reputation takes a hit.
Proper procedure requires purchasing new bolts, taking time to follow the complete torque sequence, and using calibrated tools. The bolt cost is typically $20-50 for a complete set. The additional labor time might add 15-30 minutes to the job. Against a total job cost of $1,500-3,000 for steering box replacement, we’re talking about a 2-3% increase in cost to ensure the repair is done correctly. That’s not an expense—it’s cheap insurance against catastrophic failure and liability.
For fleet operations and owner-operators, the message is equally important: verify that the shop performing your steering and suspension work is following OEM procedures and using new hardware. Ask to see the TSB and the replacement bolts before the work is performed. A shop that pushes back on this request or claims they can reuse the original hardware isn’t a shop you want touching your equipment.
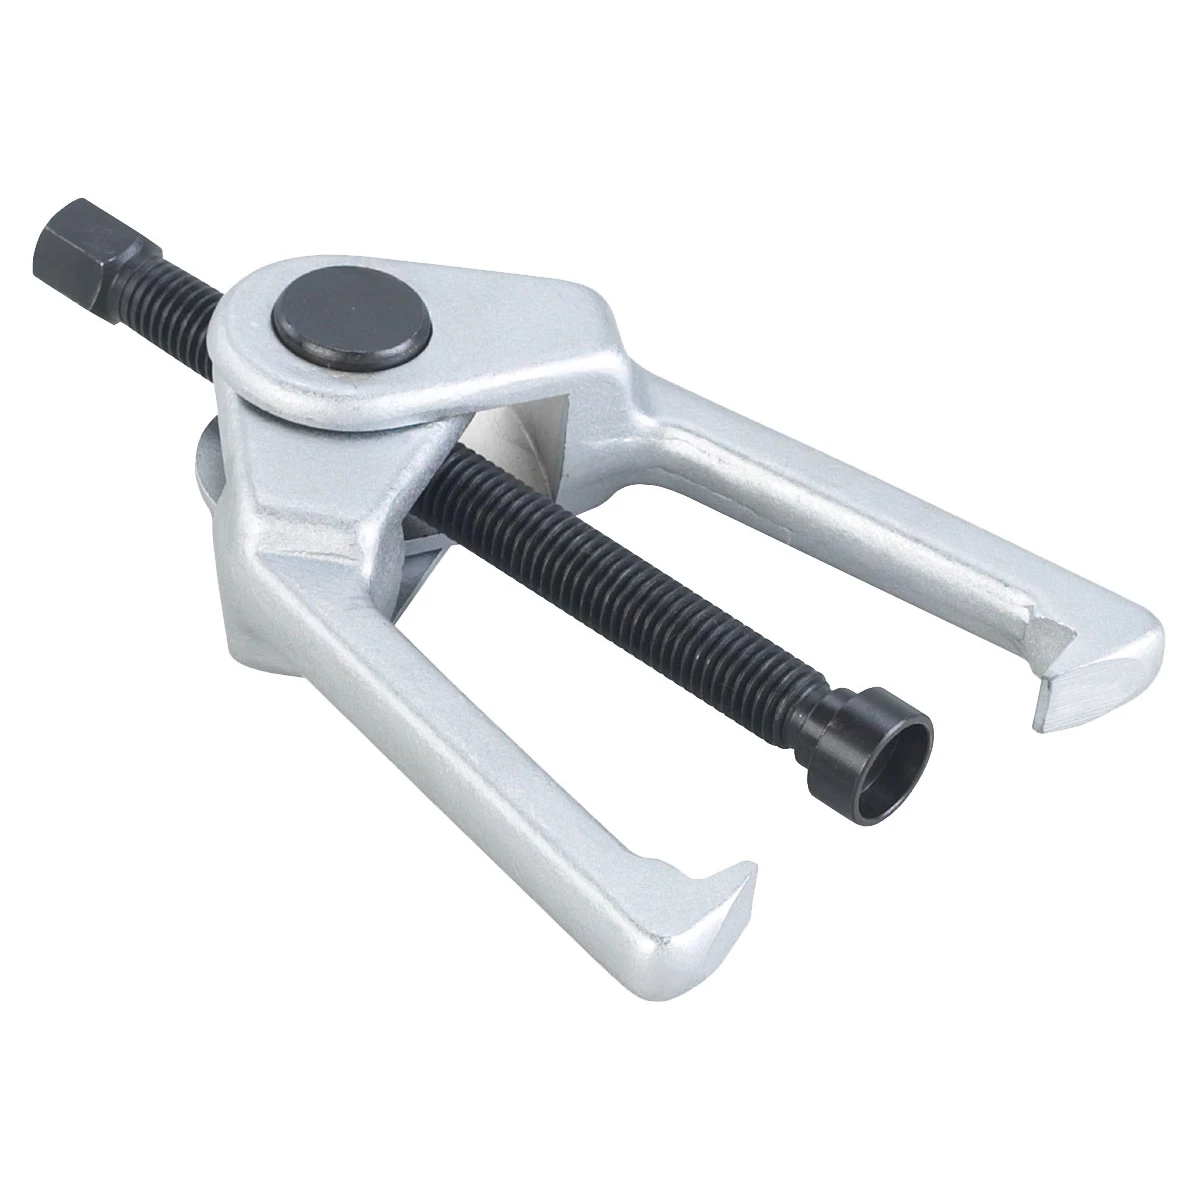
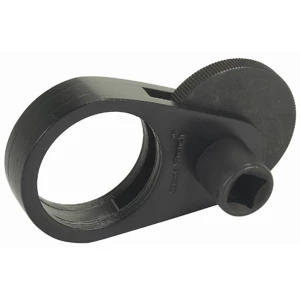
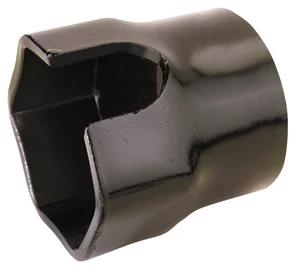
Heavy Duty Tie Rod and Ball Joint Remover
Mfg: OTC Tools and Equipment
Part #: 7503HD
Frequently Asked Questions
Can I reuse torque-to-yield bolts if they look fine and haven’t been over-torqued?
No. The entire engineering principle of TTY bolts depends on controlled plastic deformation during initial installation. Visual inspection cannot reveal the internal metallurgical changes in the fastener. Even if the bolt appears undamaged, it has been permanently stretched and cannot provide the specified clamping force if reused. Always replace TTY fasteners.
How do I know if a bolt is torque-to-yield or conventional?
Check the service manual or TSB for the specific repair. If the procedure includes an angular tightening step (degrees of rotation after torque), it’s a TTY application. Some manufacturers also mark TTY bolts with specific coatings or head markings, but the service procedure is the definitive reference.
What happens if I don’t have an angle gauge?
Don’t proceed with the installation. Estimating angles by feel or using makeshift methods defeats the precision that makes TTY fasteners effective. Angle gauges are inexpensive tools—basic models cost $20-40, and quality torque-angle adapters run $50-150. It’s essential equipment for modern vehicle service.
Can I use a higher grade bolt instead of the OEM torque-to-yield fastener?
No. TTY bolts are specifically engineered for their application with precise material properties, thread geometry, and length. Substituting a higher-grade conventional bolt changes the clamping characteristics and can result in either inadequate clamping or damage to the assembly. Use the exact replacement fastener specified by the manufacturer.
Why are steering boxes failing more frequently on newer trucks?
The failures aren’t product defects—they’re installation errors. As TTY fasteners have become standard on more applications, shops that haven’t updated their procedures or that cut corners on hardware replacement are creating failures. When TTY bolts are installed correctly with new hardware following OEM procedures, the assemblies are actually stronger and more reliable than older conventional fastener designs.
Do I need to replace TTY bolts if I’m just loosening them for inspection and retightening without removing the component?
Check the service manual for that specific application. In most cases, yes—if a TTY bolt has been loosened past a certain point, it must be replaced. Some procedures allow minor loosening for adjustment without replacement, but this is application-specific. When in doubt, replace the fasteners rather than risk inadequate clamping force.
Essential Tools for Proper TTY Installation
Correct torque-to-yield fastener installation depends on precision equipment. A calibrated torque wrench is non-negotiable for reaching exact specifications, and regular calibration ensures consistent results across every job.
- Calibrated torque wrenches for initial fastener tightening stages
- Angle gauges or torque-angle adapters for controlled degree rotation
- Annual calibration verification to maintain accuracy

The Toolsource Technical Team blends decades of real-world automotive service experience with up-to-date technical research. Our writers collaborate with professional mechanics, shop owners, and diagnostic specialists to deliver practical, workshop-ready guidance you can trust.


Follow us on social media