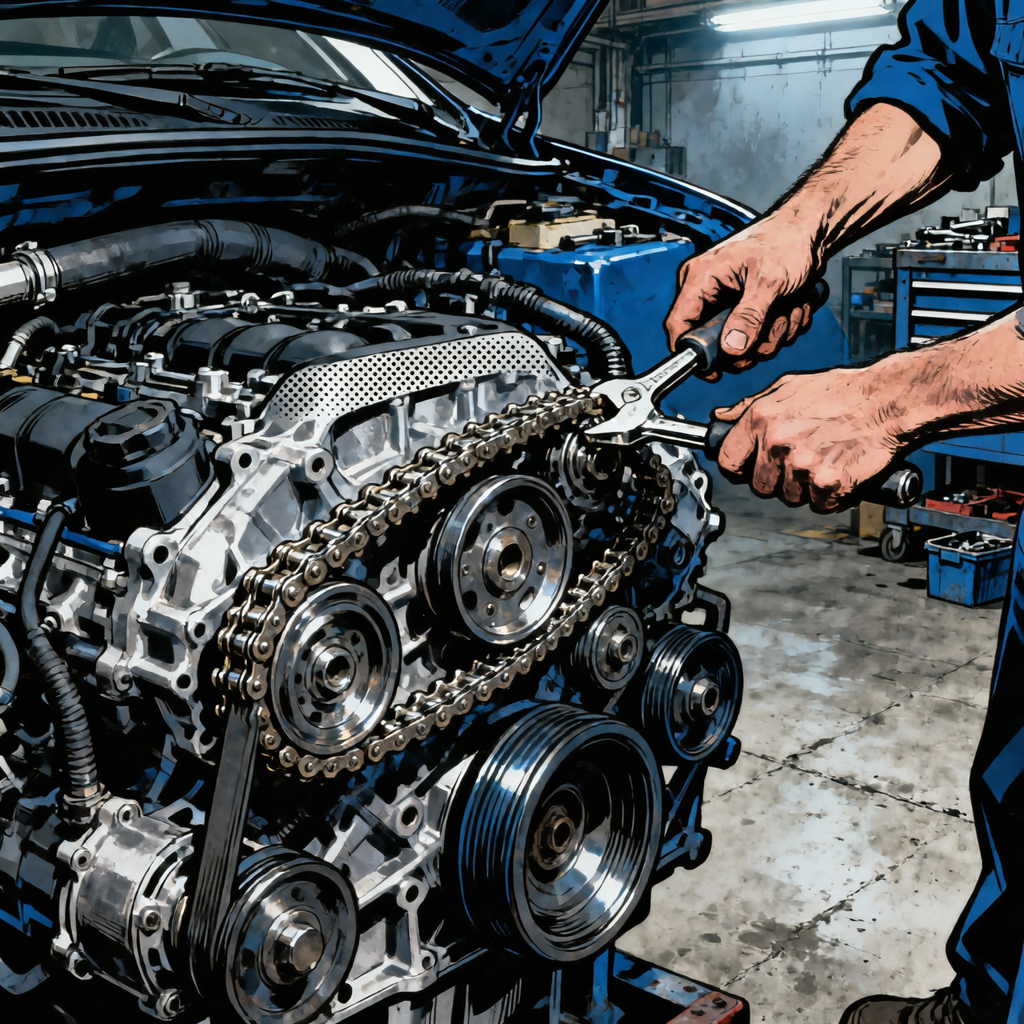
Timing belt replacement sits in that uncomfortable middle ground between routine maintenance and major engine surgery. It’s not as simple as changing oil, but it’s not a full rebuild either—and that’s why many DIYers misjudge it. On interference engines, a snapped belt can total your engine in milliseconds. Before deciding whether to tackle this yourself or hire a shop, you need to understand what you’re risking, what the job requires, and why doing everything while you’re in there might be the smartest money you’ll spend.
Interference Engines: Why This Matters Most
Whether your engine is interference or non-interference determines if belt failure is an expensive tow or a catastrophic engine rebuild. This is the single most critical factor in timing belt replacement.
How interference engines differ
In an interference engine, pistons and valves occupy the same space in the combustion chamber at different times. The timing belt orchestrates this ballet. When it snaps, the camshaft stops while the crankshaft keeps spinning. Pistons slam into open valves at thousands of RPMs, causing bent valves, damaged pistons, scarred cylinder heads, and broken camshafts. Non-interference engines give pistons and valves separate space. If the belt breaks, the engine dies, but nothing collides. You’re looking at a tow and belt replacement, not a $3,000–$5,000 rebuild.
Most modern engines—especially four-cylinder and V6 designs built after 2000—use interference configurations. Honda K-series, Toyota 2AZ-FE, Ford EcoBoost, and virtually all turbocharged engines are interference designs.
Valve and piston damage costs
A timing belt typically costs $30–$80. Professional installation runs $500–$1,200. But interference engine damage from belt failure? You’re looking at $2,500–$6,000 for valve jobs, piston replacement, and machine work. Some engines are so badly damaged that a used engine swap becomes cheaper. The math is brutal: spend $800–$1,600 on preventative timing belt replacement, or gamble with potential repair costs five times higher.
Non-interference engines: your DIY window
If your engine is non-interference, belt failure won’t destroy it, making this a more forgiving DIY project. Older Honda D-series engines, some Subaru EJ motors, and various truck engines fall into this category. Consequences of mistakes are serious but not catastrophic. This is where motivated DIYers with basic mechanical experience can realistically save $600–$1,000 in labor.
Age vs. Mileage: Which Rule Applies
The most dangerous myth is treating timing belt service as mileage-only. Rubber degrades with time regardless of use.
Manufacturer intervals explained
Timing belt intervals typically read “replace at 100,000 miles or 10 years, whichever comes first.” That’s not just legal covering—it acknowledges two separate failure modes. Mileage-based wear comes from mechanical stress. Time-based degradation comes from chemical breakdown: oxidation, ozone exposure, temperature fluctuations. A 15-year-old car with 60,000 miles has a chemically compromised belt even if it looks fine. The rubber hardens, cracks form internally, and tensile strength drops.
The 10-year rule
Industry standard puts maximum timing belt life at 10 years regardless of mileage. Some manufacturers specify 7–8 years. A belt at 95,000 miles and 12 years old isn’t “almost due”—it’s overdue by two years. Heat cycling accelerates degradation. Belts on cars in hot climates face harsher conditions than those in temperate zones.
Red flags for belt wear
Timing belts run inside protective covers, making visual inspection difficult. But warning signs exist: unusual ticking or slapping sounds from the timing cover area, oil leaks around cam or crank seals (oil destroys belt rubber rapidly), glazing on the belt surface, cracking on the underside teeth, fraying edges, or missing chunks. By the time visible damage appears, you’re already in the danger zone. Preventative replacement based on intervals is always safer than reactive replacement after inspection reveals wear.
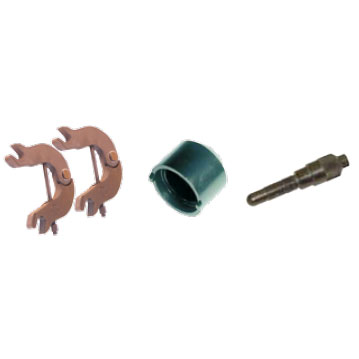
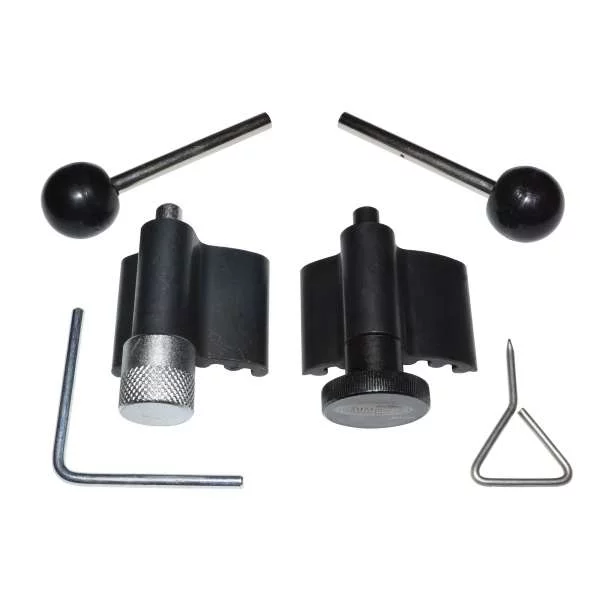
VW/Audi Pumpe Duse Timing Kit * May need T10264 & T10265
Mfg: Baum Tools
Part #: B4840
DIY Reality Check: Tools, Skills & Hidden Costs
YouTube makes timing belt replacement look straightforward, but those 15-minute videos compress hours of work and dozens of opportunities for expensive mistakes.
Essential tools and budget
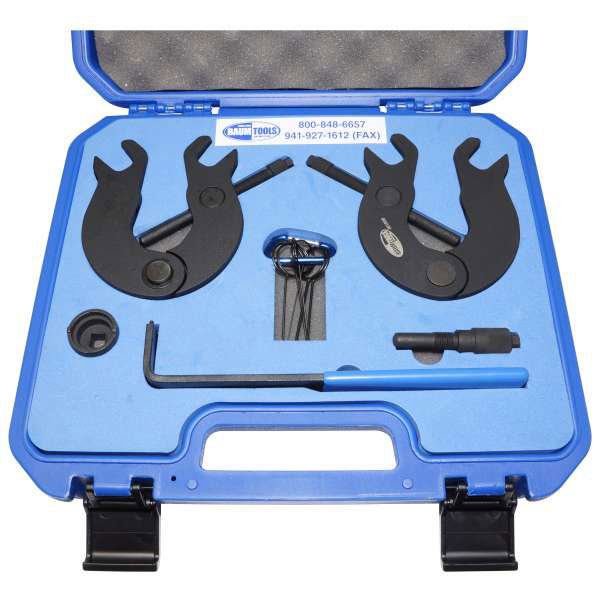
You need a quality socket set, torque wrench, breaker bar, and jack stands. But timing belt jobs demand specialty tools: camshaft locking tools, crankshaft pulley holders, harmonic balancer pullers, and sometimes proprietary tensioner adjustment tools. Many engines require engine support fixtures or transmission jacks. Tool rental from auto parts stores helps—most loan out specialty tools for free with deposit. Budget $100–$300 for tools you don’t own. Don’t skimp on critical items like torque wrenches; over-tightening cam bolts or under-torquing crank bolts causes failures. Compare $100–$300 in tool costs to $800–$1,600 in shop labor, but only if you value your time at zero and succeed on the first attempt.
Vehicle-specific challenges
| Vehicle Configuration | Accessibility | DIY Difficulty | Typical Labor Hours |
|---|---|---|---|
| Inline 4-cylinder RWD (older trucks) | Excellent | Moderate | 6–10 DIY |
| Inline 4-cylinder FWD (economy cars) | Poor—transverse engine | Difficult | 8–14 DIY |
| V6 FWD (Camry, Accord, minivans) | Very poor—crammed against firewall | Expert | 12–20 DIY |
| V6 RWD (trucks, SUVs) | Fair to good | Difficult | 10–16 DIY |
Front-wheel-drive vehicles pack engines transversely, pushing the timing belt against the firewall. On many Honda, Toyota, and Nissan FWD models, you’ll remove the passenger-side engine mount and jack the engine for working room. V6 engines multiply complexity with two cylinder heads, two camshafts, and often multiple belts. If you’re attempting your first timing belt replacement, choose a rear-wheel-drive four-cylinder. Save the transverse V6 for after building experience.
The water pump bundling decision
Every mechanic will tell you: replace the water pump during timing belt service. It’s not upselling—it’s common sense. The water pump sits behind the timing cover. You’ve already done the labor to access it. Water pumps typically last 80,000–120,000 miles. If your belt is due at 100,000 miles and the pump fails at 110,000, you’re paying for the same labor twice. A water pump costs $60–$150; labor to access it mirrors timing belt labor ($400–$800). Additionally, inspect and replace tensioners, idler pulleys, and cam/crank seals. Replacing them together prevents comebacks and ensures another 100,000 miles of reliability.



Dealer vs. Independent Shop: Cost Breakdown
Typical pricing
Independent shops typically charge $800–$1,600 for complete timing belt service including water pump, tensioner, and seals. Dealerships often quote $1,200–$2,500. That premium buys factory-trained techs, OEM parts, and manufacturer-specific tooling. For common vehicles (Civic, Camry, F-150), experienced independent mechanics have done hundreds of jobs and stock the right tools. Regional labor rates matter enormously. Urban areas and high-cost regions see $120–$180/hour. Rural areas charge $80–$120/hour. A six-hour job ranges from $480 to $1,080 in labor alone.
Warranty coverage
Dealerships typically warranty timing belt work for 12 months or 12,000 miles. Independent shops vary: some match dealer warranties, others offer 6 months/6,000 miles. Does the warranty cover just the belt, or consequential damage if the belt fails due to installation error? Quality shops carry insurance for installation errors. Check reviews, verify shop certification (ASE, AAA approved), and get warranty terms in writing.
Installation error risks
Timing belt installation requires absolute precision. Off by one tooth on the cam gear, and valve timing shifts, causing poor performance or valve-to-piston contact. Improper tensioning—too loose or too tight—leads to premature belt failure or bearing damage. Forgotten torque specs on crank bolts let the harmonic balancer work loose. The difference between a competent tech and a hack is attention to detail: consulting service manuals, using manufacturer-specified tools, double-checking alignment marks, and verifying valve timing before final assembly.
Long-Distance Driving & Overdue Belts
Why cross-country trips with overdue belts are risky
Timing belt failure provides no warnings. One moment you’re cruising at highway speed; the next, you’re coasting to the shoulder with a dead engine—or worse, a destroyed interference motor. Long-distance highway driving subjects belts to sustained high RPMs and heat. Temperature cycling accelerates degradation. If your belt is already at or past recommended intervals, a 2,000-mile road trip dramatically increases failure probability. Factor in towing costs ($200–$500), emergency shop rates (20–50% higher), hotel stays, and engine damage itself. That $1,200 timing belt service looks smart compared to a $5,000 roadside disaster.
Pre-trip inspection checklist
Before any long trip, listen for abnormal noises from the timing cover area and check maintenance records. When was the belt last replaced? If you don’t have records and recently purchased the vehicle, assume it’s original. Check engine bay for oil leaks around cam seals—oil on a timing belt is a death sentence. Inspect serpentine belt condition as a proxy; if accessory belts show cracking or wear, the hidden timing belt is likely in similar or worse condition. If you’re within 10,000 miles or one year of recommended service intervals, replace the belt before the trip.
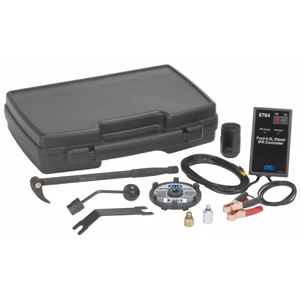
Ford 6.0L Diesel Service Tool Kit - OTC 6770
Mfg: OTC Tools and Equipment
Part #: 6770
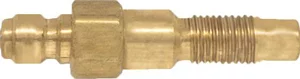
Diesel Engine Compression Test Adapter - 8mm - 1.00 - Kubota
Mfg: S & G Tool Aid
Part #: 35500

FAQ: Timing Belt Replacement
Is timing belt replacement a beginner DIY job?
Timing belt replacement is not a beginner DIY job. Prerequisites include prior experience with brake jobs, suspension work, or accessory belt replacement. You’ll need to read service manuals, understand torque specifications, and troubleshoot when things don’t go as planned. For motivated DIYers with solid foundational skills tackling a non-interference engine in an accessible vehicle (rear-wheel-drive four-cylinder), it’s achievable. For interference engines or complex FWD V6 configurations, even experienced mechanics should think twice. The consequences of mistakes—valve damage, engine failure—far outweigh labor savings.
What happens if a timing belt breaks while driving?
On a non-interference engine, a broken timing belt causes immediate engine shutdown but no internal damage. Total cost: $400–$800. On an interference engine, belt failure is catastrophic. Pistons continue moving while valves stop, resulting in collision at thousands of RPMs. Bent or broken valves, damaged pistons, scarred cylinder heads, and broken camshafts result. Repair costs range from $2,500 to $6,000 or more. In severe cases, used engine replacement becomes more economical than rebuilding.
Should I replace the water pump and tensioners at the same time?
Absolutely yes. The water pump, tensioner, and idler pulleys live in the same environment and age similarly. Accessing them requires the same labor as belt replacement—you’ve already removed covers and accessories. Water pump failure at 110,000 miles when the belt was replaced at 100,000 means paying for identical labor twice. A water pump costs $60–$150; labor to access it is $400–$800. Replacing them together is basic economics. Skipping these components to save $200 in parts often costs $1,000+ in repeat labor down the road.
How much does timing belt replacement cost?
Professional timing belt replacement typically runs $800–$1,600 at independent shops, or $1,200–$2,500 at dealerships, depending on vehicle complexity and regional labor rates. This includes the belt, water pump, tensioner, and seals. DIY costs break down to $150–$400 in parts plus $100–$300 in specialty tools. Labor savings are substantial—$500–$1,200—but only if you succeed on the first attempt. Factor in 6–16 hours of DIY labor depending on vehicle and experience.
Can I tell if my engine is interference or non-interference?
Check your owner’s manual, search online databases by year/make/model/engine code, or contact the dealership parts department with your VIN. Interference vs. non-interference design is engine-specific, and even within the same model year, different engine options may vary. Don’t guess—verify before making decisions about DIY attempts. This single specification determines whether belt failure is an inconvenience or an engine-totaling catastrophe.
What are the signs a timing belt is about to fail?
Unfortunately, timing belts rarely provide advance warning. Unlike brake pads that squeal or tires with visible wear, timing belts fail suddenly. Possible signs include ticking or slapping noises from the timing cover area, oil leaks around cam or crank seals, or rough idle and misfires. But in most cases, belts fail with zero warning, which is why preventative replacement based on manufacturer intervals is critical. If you’re at or near recommended mileage or age limits, don’t wait for symptoms—replace it proactively.
Essential Tools for Engine Repair
Whether you decide to tackle timing belt replacement yourself or leave it to a professional, having the right tools on hand is crucial. Browse our complete Engine Repair category to find everything you need for this critical maintenance task.
- Timing Belt Tools & Pulley Removal Kits – Specialized equipment for safe belt installation
- Engine Bay Diagnostic Equipment – Verify proper alignment and tension after replacement
- Shop Manuals & Technical Guides – Model-specific instructions for your vehicle
For the tools in this guide, browse Tire Changers at Tool Source.

The Toolsource Technical Team blends decades of real-world automotive service experience with up-to-date technical research. Our writers collaborate with professional mechanics, shop owners, and diagnostic specialists to deliver practical, workshop-ready guidance you can trust.


Follow us on social media