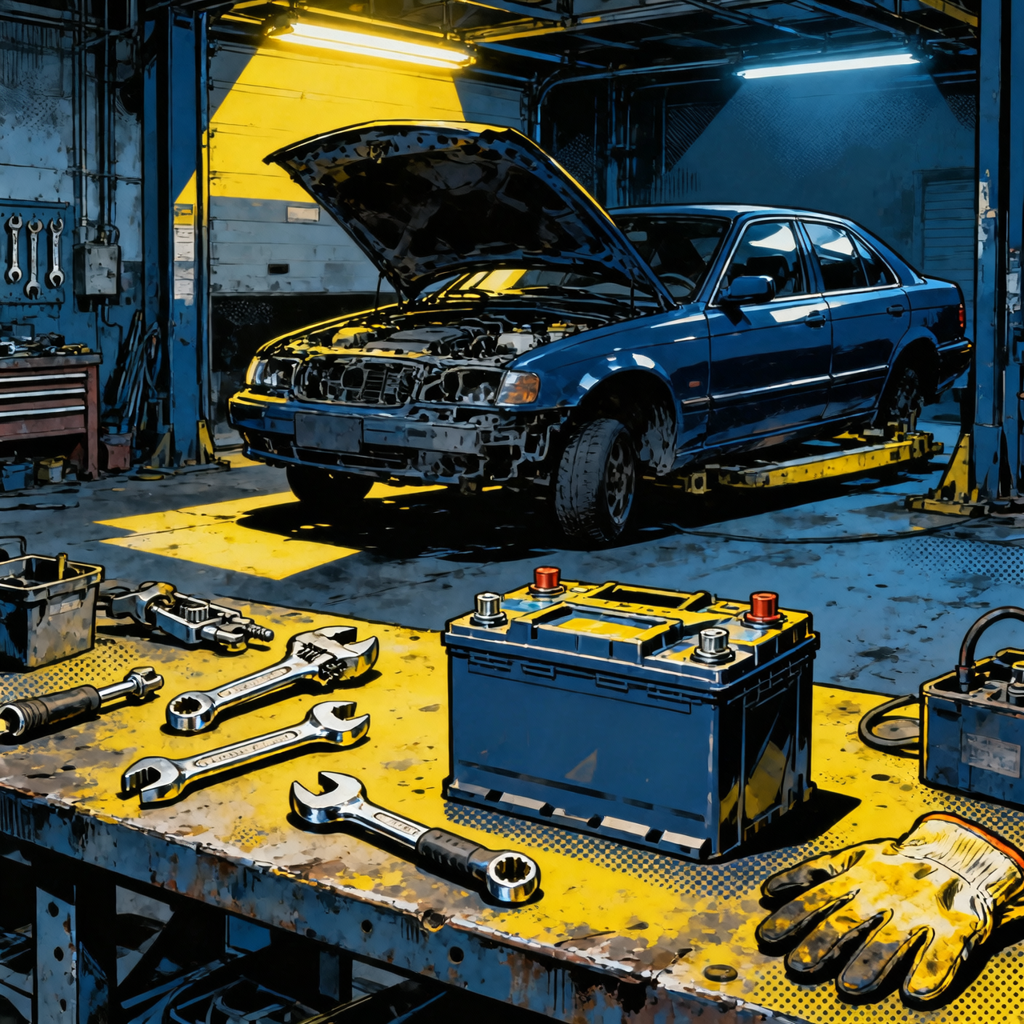
Changing a car battery is straightforward with the right tools and safety knowledge. The job takes 15-30 minutes but mistakes—wrong tools or incorrect disconnect order—risk electrical fires, damaged bolts, or injury. This guide covers essential tools, safe removal and installation, and critical precautions.
Essential Tools You’ll Need
You don’t need specialty tools. Most cars need 10mm or 13mm sockets, though some use 8mm or SAE sizes like 3/8-inch. A basic socket set ($20-50) with 1/4-inch or 3/8-inch drive covers virtually every vehicle. Before starting, search your year/make/model plus “battery terminal size” to confirm specs.
Why 6-point sockets beat adjustable wrenches: Crescent wrenches slip on corroded bolts and can touch both the positive terminal and car metal simultaneously—creating a dangerous short. Six-point sockets grip all six sides evenly, preventing slipping and stripped fasteners. If you only have an adjustable wrench, use extreme care.
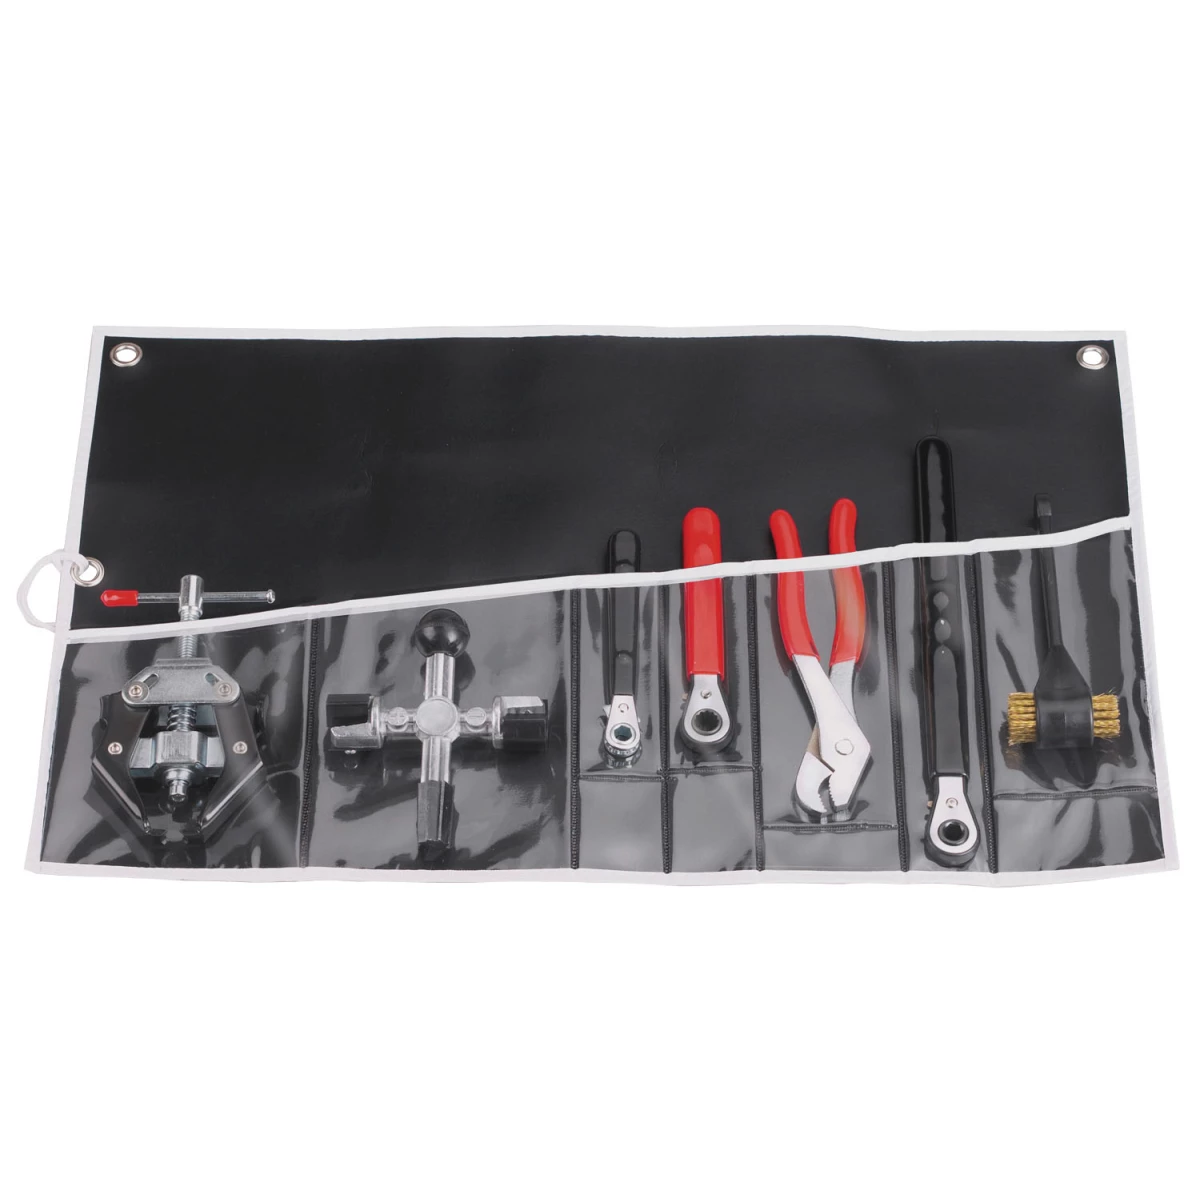
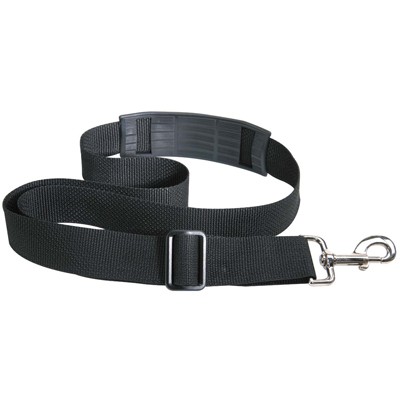
Safety gear: Safety glasses (for acid residue when cleaning), nitrile gloves, long sleeves, and closed-toe shoes protect against common hazards. Add a wire brush, baking soda solution for spills, and a battery carrying strap ($10) for safe lifting. A flashlight is helpful for working under the hood.
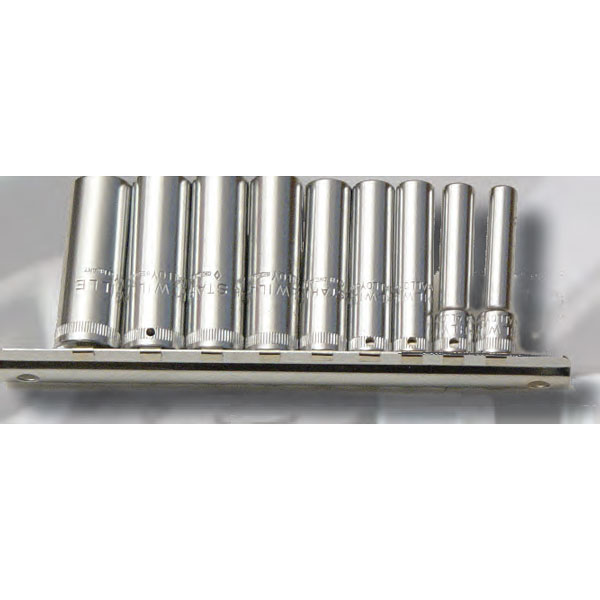
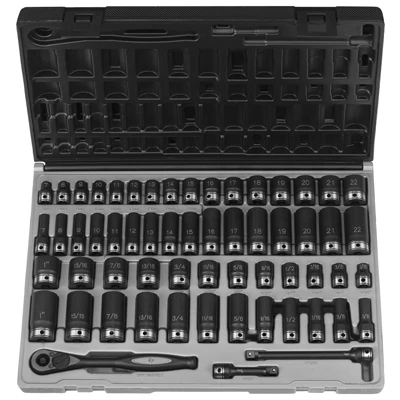
3/8 In Dr 12-Pt Std/Deep Fractional & Metric Duo-Socket Set - 59
Mfg: Grey Pneumatic
Part #: 81259CRD
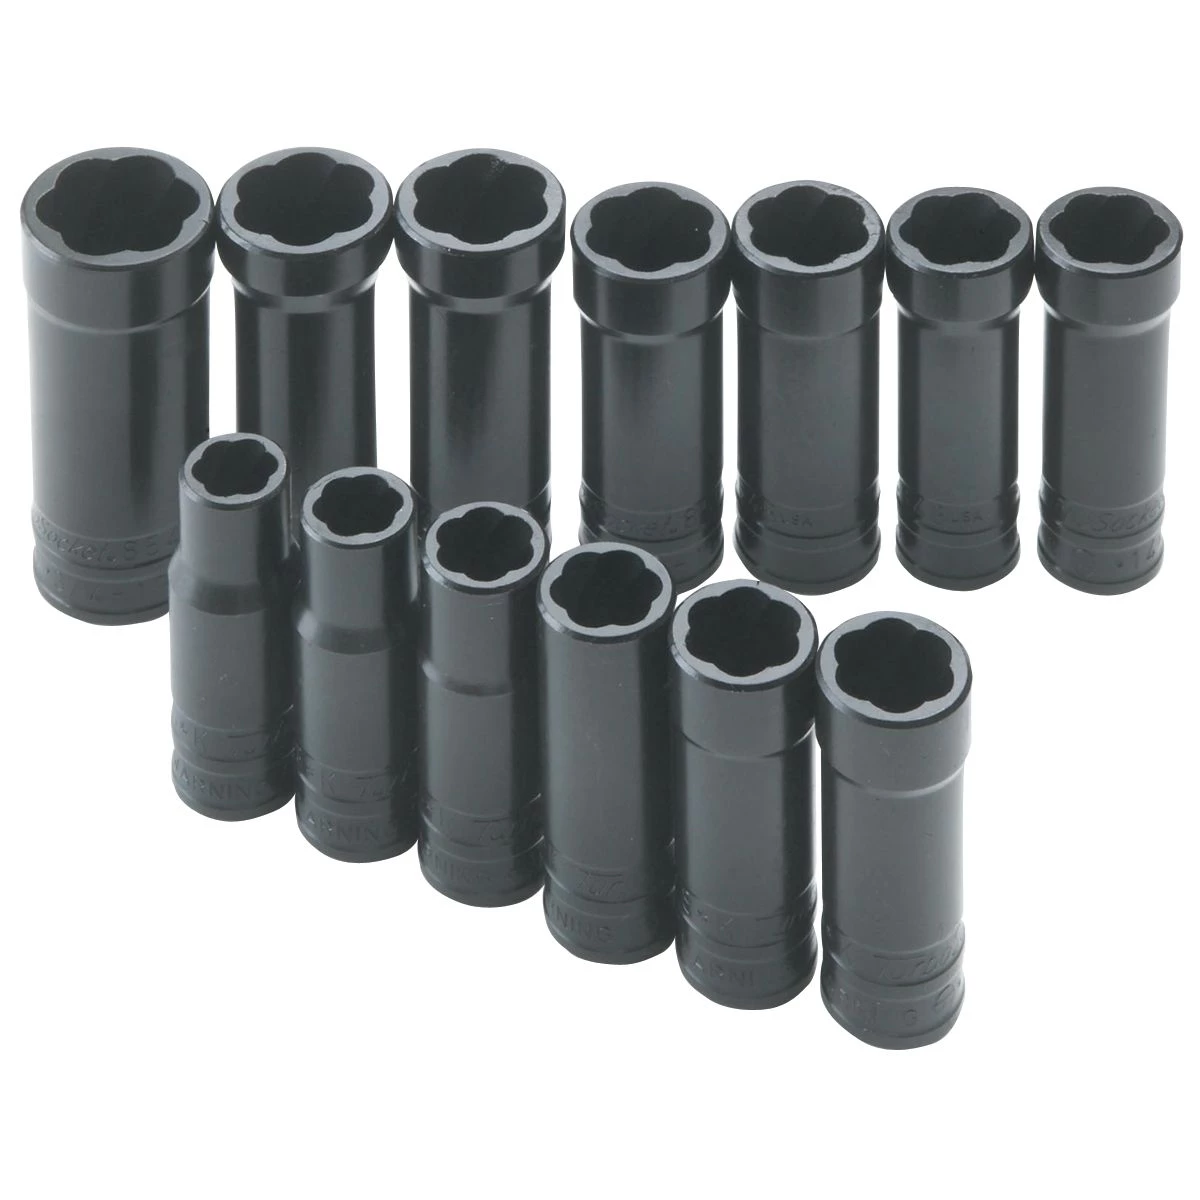
3/8 In Dr Fractional / Metric Deep TurboSocketr Set - 13-Pc
Mfg: SK Hand Tool
Part #: 833
Safety First: Disconnect Sequence
Most DIY mistakes happen here. The disconnect order prevents shorts that damage electronics or start fires.
Negative terminal first: Always disconnect negative (ground) before positive. The negative connects to your car’s chassis, meaning the entire metal body is the negative circuit. If you disconnect positive first while negative stays connected, your wrench can short between the positive terminal and car metal—this bypasses safety fuses and pulls hundreds of amps in seconds. Result: welded tools, burned hands, or fire. Disconnecting negative first breaks the ground connection, eliminating short-circuit risk.
After disconnecting negative: The positive terminal remains “hot” relative to ground. Your body won’t complete a circuit (shoes insulate you), but metal tools will if they touch both terminals and metal. Work carefully around the positive. Some mechanics place cloth over nearby metal for extra protection. Never lay tools across the battery where they might bridge terminals.
Before starting: Park the car (or put in gear for manual transmissions), turn off the ignition and all accessories. Remove rings and watches—they cause serious shorts. When reconnecting (covered later), reverse the sequence: positive first, then negative, so the final spark-prone connection happens at grounded negative, away from hydrogen vents.
Step-by-Step Battery Removal
Remove the hold-down clamp: Most batteries use metal brackets or bars to prevent movement. Top-mount bars need a long socket to reach the J-bolt underneath. Bottom-mount clamps attach below the battery (accessible after terminal disconnection). Side-mount brackets bolt to the tray. Remove fasteners before lifting—forcing a battery out with the clamp attached cracks the case or damages the tray. Keep bolts safe for the new battery.
Lifting safely: Standard batteries weigh 30-45 pounds; trucks can hit 60+ pounds. A battery carrying strap ($10) makes this easier and safer. Without one, grab opposite corners at the base—never the terminals, which snap off. Lift with your legs, not your back, and keep the battery level to prevent acid leaks. If you drop it, step back—don’t catch it.
Before installing the new battery: Clean the tray with baking soda solution and a brush, then dry completely.
Vehicle-specific complications: Some cars make battery access difficult. European cars (BMW, Audi) hide batteries in trunks or under rear seats. Some Chrysler minivans require removing the driver’s front tire. Check your owner’s manual or forums for your specific car. Some newer vehicles need battery registration using a scan tool after replacement (especially German cars). Research ahead to avoid check engine lights or charging problems.
Installation and Reconnection
Terminal order (positive first, negative last): Verify the new battery’s terminals match the old one. Reversed terminals prevent proper cable routing. Put the new battery in the tray, reinstall the hold-down bracket, then connect: positive terminal first, then negative. This reverses the removal sequence and ensures the final spark-prone connection happens at grounded negative, away from vents.
Tighten firmly but not excessively (10-15 ft-lbs, achievable with firm hand pressure). Overtightening cracks lead posts.
Terminal cleaning: Before connecting, inspect cable ends for white, blue, or green crusty corrosion that blocks electricity. Clean with a wire brush or dedicated battery terminal cleaner ($5). For heavy corrosion, spray baking soda solution (1 tablespoon per cup water), scrub, rinse, and dry. Apply dielectric grease to the outside of connections after installing (not contact surfaces) to prevent future corrosion.
Software resets: Your clock and radio presets may reset—that’s normal. Rough idle for the first few starts is also normal as the engine computer relearns settings. Some cars require power window recalibration (roll down fully for 2 seconds, then up fully for 2 seconds). Certain European brands need battery registration via scan tool. Check forums for your specific car model.
Money-Saving Tips
Core charge returns: New batteries usually offer $10-20 back when you return the old one, pushing proper recycling. Return old batteries to where you bought the new one or any auto parts shop. Never throw a battery in the trash—it’s illegal in all 50 states due to lead and acid content.
Free installation: AutoZone, O’Reilly Auto Parts, and Advance Auto Parts offer free installation when you buy from them (5-10 minutes for standard locations). This beats dealer labor costs ($100-150). Catch: free installation only covers standard locations. Batteries requiring trim removal, trunk/seat placement, or scan tool work may cost extra.
DIY vs. professional help: DIY makes sense if your battery is easy to reach, you have basic tools, and you’re comfortable with safety steps. Use professional help or free parts store installation if your battery is hard to access, you lack tools, your car needs scan work, you’re unsure about safety procedures, or you lack help lifting.
Tool Comparison: What Works Best
| Tool Type | Pros | Cons | Best Use Case |
|---|---|---|---|
| 6-Point Socket Set | Maximum grip, stops rounding, works with extensions, works with torque wrench | Needs a ratchet, costs more than basic wrenches | Best overall for DIY and professional work |
| Combination Wrench (Box End) | Compact, no ratchet needed, grips all six sides, inexpensive | Limited swing space in tight areas, must remove completely to reposition | Good for accessible batteries without a socket set |
| Adjustable Crescent Wrench | Fits any size, usually in toolbox, works for other jobs | Slips easily, rounds fasteners, grips only two sides, shifts under pressure | Emergency-only—use extreme care |
| Battery Terminal Puller | Removes stuck clamps safely, cheap ($5-10), protects cables | Only removes the clamp—you still need a wrench or socket | For badly corroded terminals paired with a socket or wrench |
Pre-Replacement Checklist
- ✓ Battery group size confirmed (check owner’s manual or old battery label)
- ✓ Right CCA rating for your climate and engine
- ✓ Terminal layout verified (positive on left or right)
- ✓ Tools ready: 10mm and 13mm sockets, ratchet, extensions
- ✓ Safety gear: glasses, gloves, baking soda solution
- ✓ Memory saver installed (if needed) or radio code saved
- ✓ Car off, in Park, all accessories off
- ✓ Jewelry and watches removed
- ✓ Battery hold-down type identified
- ✓ Help or battery strap available for lifting
- ✓ Plan to recycle old battery
Frequently Asked Questions
Can I use a crescent wrench instead of a socket set?
Technically yes, but don’t. Crescent wrenches grip only two sides and slip easily on corroded bolts, rounding nuts and creating dangerous shorts. If it’s all you have, be extremely careful and seriously consider buying an inexpensive socket set ($20-30) for future jobs.
What battery size and CCA rating do I need?
Battery sizes use “group size” codes (Group 35, 48, 65) specifying physical dimensions and terminal location. Your car needs the exact group size to fit the tray. Check your owner’s manual, old battery label, or use the sizing tool at any auto parts store. CCA (cold cranking amps) measures cold-weather starting power. A four-cylinder might need 400-500 CCA; a V8 could need 700-850 CCA. Pick a battery matching or beating your original rating, especially in cold climates. Parts store lookups for your year/make/model show compatible batteries.
Is my battery dead or just discharged?
A discharged battery has low voltage but recharges and holds charge. A dead battery has failed cells and won’t hold charge. Most auto parts stores test batteries free—they check voltage under load and assess condition. Repeated failures after jump-starts suggest a power drain, failing alternator, or insufficient charging from short trips. Batteries lasting 3-5 years old that won’t accept charges need replacement.
Do I need to reset anything after changing the battery?
Most cars auto-reset basics, but manually set your clock and radio presets. Some require power window recalibration. Rough idle for the first few starts is normal while the engine relearns. European brands (BMW, Mercedes-Benz, Audi) need battery registration via scan tool. Check forums for your specific car—owners usually post required steps. Many auto parts stores do free scan tool work.
What should I do if terminal nuts are completely rounded?
Try a slightly smaller SAE socket for a tighter grip. If that fails, use locking pliers clamped tight on the nut (carefully avoid touching the opposite terminal). Last resort: cut the cable clamp with a hacksaw, then replace the terminal end ($3-5, crimp or bolt onto the wire). Before cutting, spray penetrating oil and soak 15-30 minutes to free corroded threads.
Can I change the battery with the engine running?
Never. Disconnecting a battery while the engine runs creates voltage spikes exceeding 100 volts, instantly destroying the engine computer, radio, gauges, and other electronics—costing thousands to fix. Always shut off the engine and all accessories before battery work.
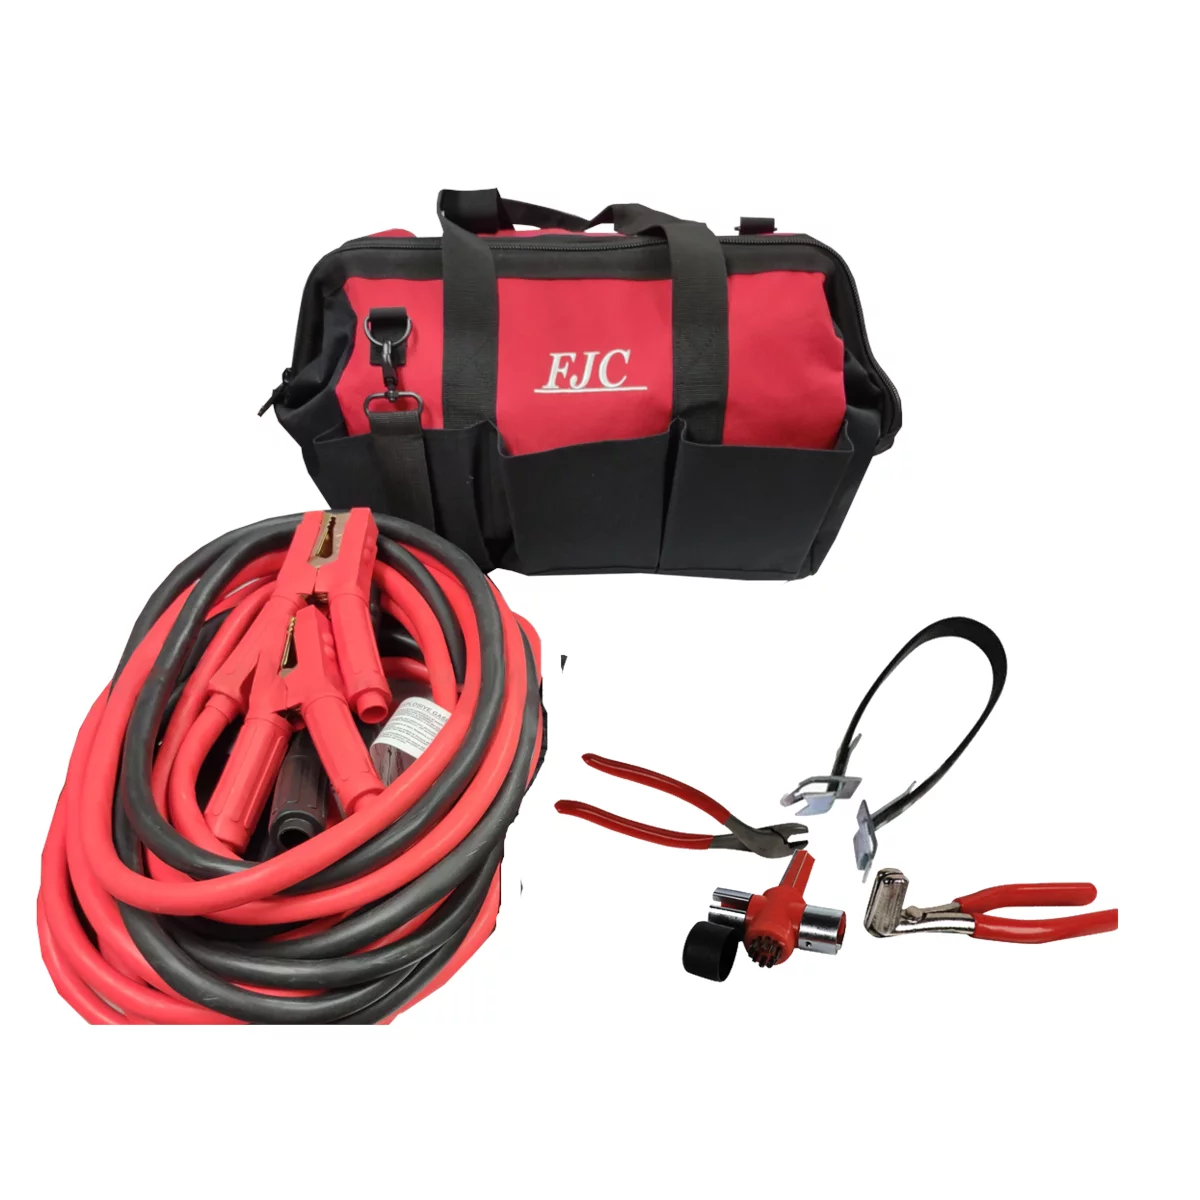
Booster Cable Set - 2/0 GA., Tool Bag, and Battery Tools
Mfg: Alemite
Part #: 45265PROMOB
For the tools in this guide, browse Battery Service Tools at Tool Source.

The Toolsource Technical Team blends decades of real-world automotive service experience with up-to-date technical research. Our writers collaborate with professional mechanics, shop owners, and diagnostic specialists to deliver practical, workshop-ready guidance you can trust.


Follow us on social media