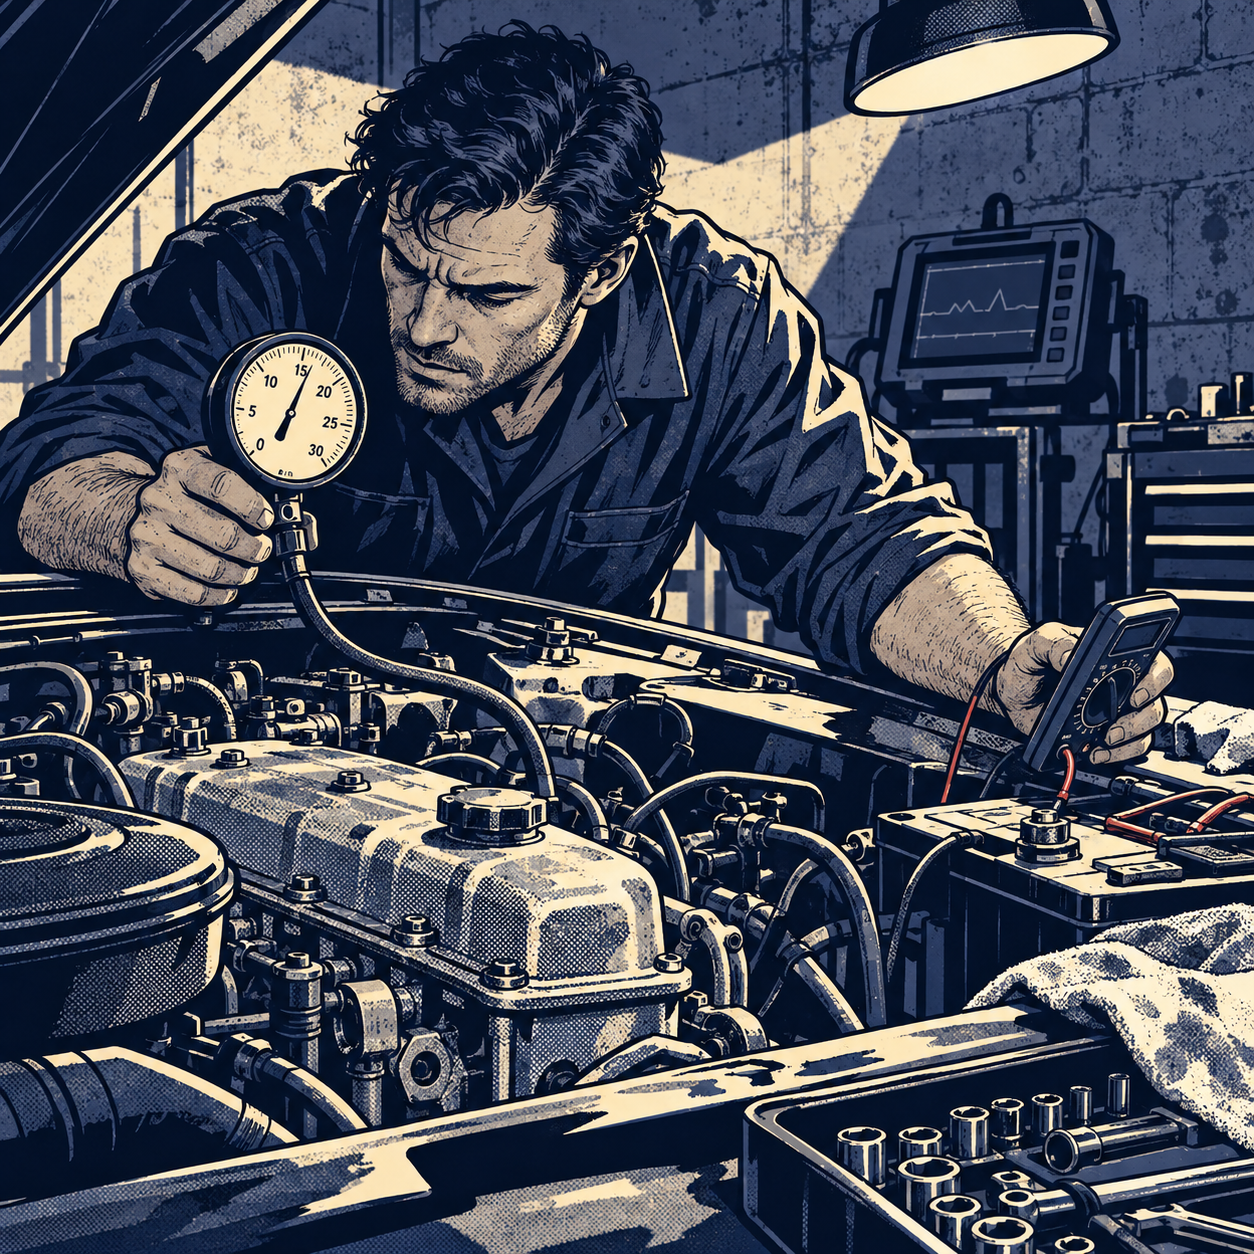
A truck sitting at a shop for nearly two years, a customer who bought his own technician a Power Probe just to get the wiring checked, and a final repair that took less than an hour once it reached someone who started from scratch — this kind of story circulates constantly among techs, and it’s rarely an outlier. Misdiagnosis isn’t a rare screwup by a bad apprentice; it’s a structural problem built from training gaps, flat-rate pay that punishes diagnostic time, and a growing habit of throwing parts at a problem instead of isolating the cause. This post breaks down why it keeps happening and gives you a practical, repeatable process for starting a diagnosis clean — whether the car just rolled in or it’s already been “fixed” twice by someone else.
Why Misdiagnosis Keeps Happening
Three things compound to create bad diagnoses: undertrained techs, pay structures that punish thorough diagnostic work, and a culture that rewards speed over accuracy.
- Training gaps. Most techs learn on the job, not through structured instruction. Fundamentals like reading a vacuum gauge, understanding CAN network basics, or tracing a resistive circuit get skipped because nobody taught them in the first place — not because the tech is lazy.
- Flat-rate math discourages real diagnostic time. A shop quoting half an hour for a problem that needs two hours of methodical testing all but guarantees a guess instead of a diagnosis. Techs who get paid only when the fix works have every incentive to skip steps and move to the next ticket.
- “Parts cannon” culture. Swapping a coil, then a plug, then an injector on a misfire — without ever pulling a code definition or hooking up a scope — is faster to start but almost always slower (and more expensive) in the end. It feels like progress because parts are moving, but it isn’t diagnosis.
Start From Zero: Don’t Inherit Someone Else’s Assumptions
When a vehicle shows up with a paper trail — a PCM in hand, a list of parts already replaced, three other shops’ invoices — the instinct is to pick up where the last guy left off. Don’t. Treat the previous diagnosis as a hypothesis, not a fact, and verify everything from the ground up:
- Pull all stored and pending codes yourself, and read the full freeze-frame data, not just the code number.
- Ask the customer when the symptom actually started — not what the last shop told them it was. A vibration that began right after an axle replacement is a different diagnosis than a vibration that’s “just always been there.”
- Physically inspect anything that was already replaced. Cheap aftermarket parts (axles with the wrong joint style, off-brand sensors, etc.) cause symptoms that look identical to the original failure.
- Don’t assume a part is bad just because it was swapped once already — re-test it as if it had never been touched.
A plugged catalytic converter, a bad ground on a battery post, a stuck fuel level sender — these are the kinds of root causes that get missed for months when nobody goes back to basics. In one case, a truck that sat at another shop for nearly two years because a replacement PCM was thrown at a no-start problem turned out to have a plugged bank 2 converter — a fix that took under an hour once someone started the diagnosis over instead of trusting the parts trail.


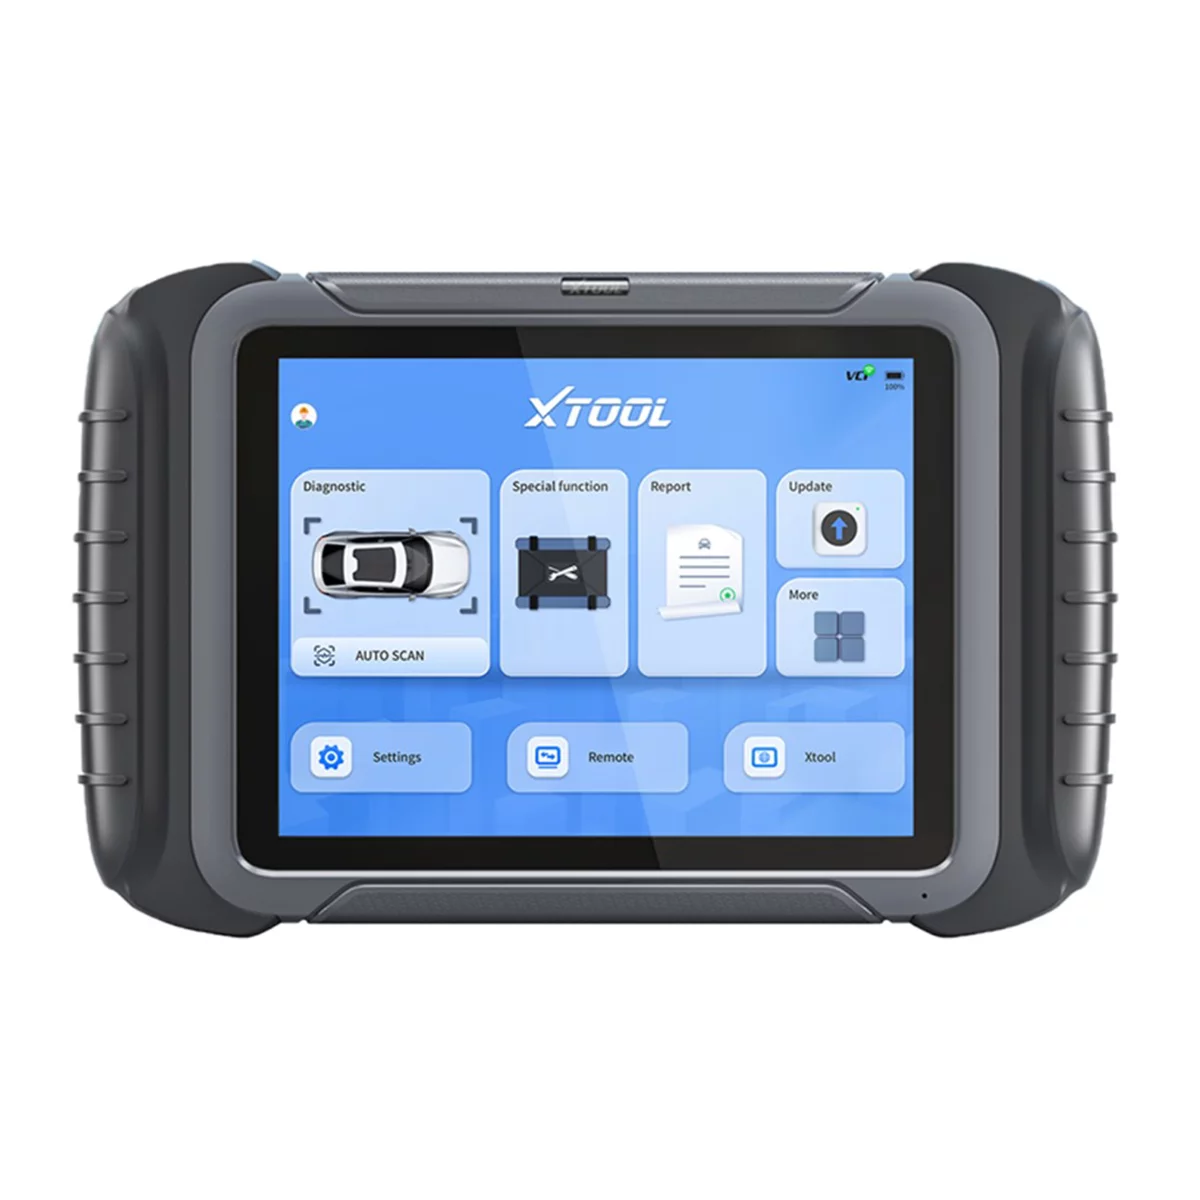
2002 Monitor Elite Deluxe OBD2 Scan Tool Kit
Mfg: OTC Tools and Equipment
Part #: 3354
Use Old-School Diagnostic Tools Before Reaching for a Scan Tool
Scan tools tell you what code set, not necessarily why. Basic mechanical and electrical tests still catch things a scanner alone will miss:
- Vacuum gauge: Still one of the fastest ways to rule in or out a huge range of engine mechanical issues on a misfire or rough-idle complaint before chasing ignition or fuel components.
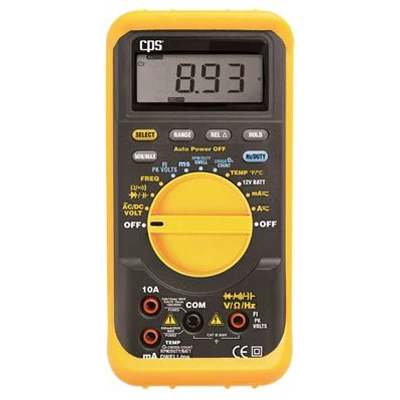
- Multimeter on grounds and power feeds: A corroded battery post or a cracked ground plate can produce resistance readings that look like a module fault. Check actual voltage drop under load, not just continuity.
- Fuel pressure and fuel level verification: Don’t assume the high-pressure pump is the problem just because it’s the one that’s easy to get to — check the low-pressure side and the actual fuel level/sender operation too.
- Physical inspection of recently replaced parts: Confirm OEM-spec parts were actually used, especially on axles, sensors, and electrical connectors where joint style or pin-out can differ from aftermarket equivalents.
Repair vs. Replace: Make the Call Deliberately, Not by Default
Lifter and cam failures, head gasket jobs, and other deep engine repairs raise a real business question: repair the specific failure or replace the whole assembly? Both are legitimate calls, but they should be made on purpose, not out of an inability to diagnose deeper:
- Factor in mileage, the likelihood of adjacent component failure (a scored cam lobe discovered mid-lifter-job turns a $2,000 repair into a $9,000 one), and whether the shop is comfortable warrantying internal work.
- If choosing to repair rather than replace, address root causes at the same time — for example, replacing an oil pump alongside lifters if oil pressure contributed to the original failure, not just the parts that obviously failed.
- Be transparent with the customer about the trade-off: a lower-cost targeted repair carries more risk of a comeback than a full replacement, and that risk should be priced and communicated, not hidden.
Protect the Diagnosis: Confirm the Fix Before the Car Leaves
A diagnosis isn’t done when the part is installed — it’s done when the complaint is verified gone under the same conditions that originally produced it.
- Test drive under the same conditions the customer described (cold start, highway speed, specific RPM range, etc.) rather than just confirming the engine starts and no warning light is on.
- Clear codes and watch for a return, not just a one-time check after the repair.
- Document what was tested and ruled out, not just what was replaced — this protects you if the vehicle comes back and also builds a record for the next tech if it ends up somewhere else.
- If a diagnosis turns out wrong, own it quickly. A shop that absorbs the cost of a bad call rather than passing it to the customer builds the kind of reputation that turns other shops’ failures into your repeat business.
Quick Checklist: Starting a Diagnosis From Scratch
- Pull codes and freeze-frame data yourself — don’t rely on the previous shop’s notes
- Get the actual timeline of when the symptom started from the customer
- Re-verify any previously replaced part instead of assuming it’s good
- Check grounds and voltage drop under load, not just continuity
- Run a vacuum gauge test on misfire/rough-idle complaints before swapping ignition or fuel parts
- Confirm fuel delivery on both low- and high-pressure sides where applicable
- Decide repair-vs-replace deliberately, factoring in adjacent failure risk
- Test drive under the original failure conditions before calling the job done
FAQs
Why do so many vehicles get misdiagnosed even after visiting multiple shops?
Each shop often picks up where the last one’s paper trail left off instead of re-verifying basics. Codes get read but not fully interpreted, and recently replaced parts are assumed good rather than tested.
Is a vacuum gauge still worth using with modern OBD2 scan tools available?
Yes. A scan tool shows you codes and live data streams, but a vacuum gauge gives a fast mechanical health check — valve timing, ring condition, exhaust restriction — that a code reader won’t directly flag.
Why would a shop replace an engine instead of repairing a specific failure like bad lifters?
Cost, speed, and warranty risk. A full replacement avoids the chance that a targeted repair misses an adjacent failure (like a scored cam) that shows up again a few months later on the shop’s dime.
How can a shop avoid getting shafted on diagnostic time under flat rate pay?
Quote and bill diagnostic time separately from repair time, and set customer expectations up front that diagnosis on an intermittent or long-standing issue takes real hours — not a flat half-hour minimum.
What’s the biggest red flag that a previous shop’s diagnosis should be distrusted?
Parts were replaced but the symptom persisted, and nobody can explain why the part was chosen in the first place beyond “it’s a common issue on these.” That’s a sign of pattern-matching instead of actual diagnosis.
Should a shop always redo a full diagnosis on a vehicle with recent repair history?
Yes, for any unresolved complaint. Treat the previous repairs as unverified until you’ve confirmed the parts, connections, and specs yourself — don’t assume the last shop’s conclusion was correct just because parts were installed.
Recommended Diagnostic Tools
Proper diagnosis requires the right equipment. Whether you’re pulling codes and freeze-frame data, checking voltage drop under load, or running a vacuum gauge test, having quality automotive diagnostic tools on hand is the foundation of accurate repairs that stick.
- OBD2 scan tools for reading codes, freeze-frame, and live data streams
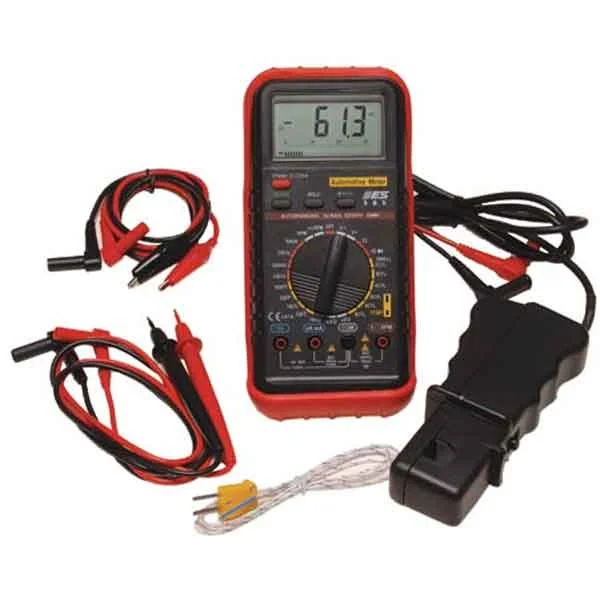
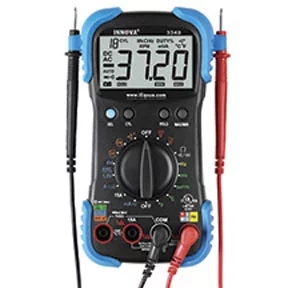
- Digital multimeters for voltage drop and ground resistance testing
- Vacuum gauges and fuel pressure testers for mechanical system checks

The Toolsource Technical Team blends decades of real-world automotive service experience with up-to-date technical research. Our writers collaborate with professional mechanics, shop owners, and diagnostic specialists to deliver practical, workshop-ready guidance you can trust.


Follow us on social media