
A dead battery is one of the most common reasons for vehicle no-start conditions. Learning to test an auto battery with a multimeter gives you real diagnostic confidence. A quality digital multimeter costs under $50 and provides accurate voltage readings for batteries, alternators, and charging systems. This guide covers complete testing from basic voltage checks to advanced alternator diagnostics.
Why Testing Battery Voltage Matters
Battery voltage testing cuts through the guesswork. A fully charged 12-volt automotive battery should read 12.6-12.8 volts at rest, while anything below 12.4 volts means the battery is losing capacity. However, resting voltage tells only part of the story. Batteries can show acceptable open-circuit voltage yet fail completely under starter cranking.
Open-circuit vs load testing
Open-circuit voltage measures battery state of charge with nothing drawing from it. A healthy battery stays above 12.6V after sitting unplugged for several hours. Load testing applies actual current draw like engine starting, so you see if the battery delivers power when needed. During load testing, voltage shouldn’t drop below 9.6 volts. Sulfated batteries charge to acceptable voltage but collapse under load. Your multimeter can test this by measuring voltage during actual engine cranking.
When to test your battery
Test during every oil change, before winter, and anytime you notice slow cranking or dimming headlights. Most batteries last 3-5 years, but heat and deep discharges speed up failure. Test immediately if you hear clicking when starting, see flickering dashboard lights, or if your battery is over three years old. For fleet vehicles, monthly voltage checks catch weak batteries before they cause downtime.
Step-by-Step Multimeter Battery Testing
Setting up your multimeter
Turn the dial to DC voltage mode (usually marked “V⎓” or “VDC”). Use the 20V range or auto-ranging mode. Connect the red probe to positive and black probe to COM (common). Always connect black to the battery’s negative and red to positive. Keep probe tips clean and press them firmly against battery terminals. Clean any white, blue, or green corrosion with a wire brush and baking soda before testing.
Testing resting voltage
Let the battery sit without charging or discharging for 2-4 hours (overnight is better). Touch the red probe to positive and black to negative. Use this guide:
- 12.6-12.8V: Fully charged, healthy battery
- 12.4-12.6V: 75-90% charged, acceptable
- 12.2-12.4V: 50-75% charged, needs recharging
- 12.0-12.2V: 25-50% charged, probably failing
- Below 12.0V: Dead or severely sulfated, replace
These ranges apply to flooded lead-acid and AGM batteries. Temperature affects readings—cold batteries read lower.
Load testing
Measure resting voltage, then have someone crank the engine while you keep probes connected. Voltage should stay above 9.6 volts. If it drops to 9.0V or lower, the battery is failing. If testing alone, turn on high beam headlights, rear defroster, heater blower on high, and windshield wipers simultaneously (pulls about 20-30 amps). Check voltage after 30 seconds—it should stay above 12.2V.
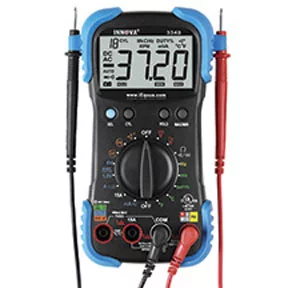
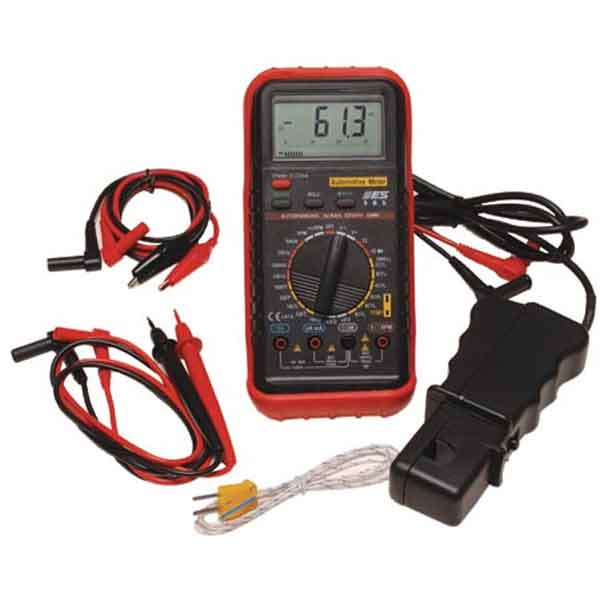
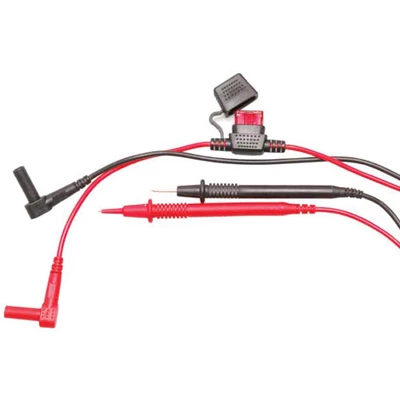
Automotive Digital Multimeter Test Leads with Fuse Protection
Mfg: Electronic Specialties
Part #: 134
Diagnosing Alternator Problems
Alternators cause many so-called battery failures. A weak alternator drains even good batteries, while overcharging cooks the battery.
Detecting AC ripple from failing diodes
Alternators convert AC to DC using diodes. Failed diodes cause AC “ripple” through DC output, damaging batteries. Switch your multimeter to AC voltage mode (V~) and measure across battery terminals with engine running at 1500-2000 RPM. You should see less than 0.5V AC. Anything above 0.5V means diodes are failing and the alternator needs replacement.
Testing charging voltage
Start the engine at idle and measure voltage in DC mode. You should see 13.8-14.4 volts. Rev to 2000 RPM—voltage should stay in that range. Turn on headlights, A/C, and radio; voltage shouldn’t drop below 13.5V. Compare voltage at battery terminals versus the alternator’s output wire. More than 0.5V difference indicates resistance in the charging circuit (usually corroded connections or small wiring).
Identifying overcharging and parasitic drain
Charging voltage above 14.8V is overcharging and damages batteries. Failed voltage regulators usually cause this. To test parasitic drain, switch to DC current (amps) mode and connect the multimeter in series between the battery negative terminal and cable with everything off. Modern vehicles normally draw 25-50 milliamps. Over 100mA will drain your battery overnight. Pull fuses one at a time while watching the meter to find the problem circuit.
Common Battery Testing Mistakes
Open-circuit readings can be misleading
Don’t trust open-circuit voltage alone without load testing. Sulfated batteries charge to normal voltage because surface charge hides internal damage. Batteries with shorted cells might read 10.5V but fail under cranking load. Always combine resting voltage readings with load tests or observation during actual cranking. Batteries tested right after charging show inflated voltage from surface charge that fades over hours.
Terminal corrosion and connection errors
Corroded terminals create false low readings. Always clean terminals before testing. Measure at the terminal itself, not the cable clamp. Loose battery connections cause electrical problems that look like battery or alternator failure. Use proper ring terminals and battery clamps instead of alligator clips, which corrode over time.
Testing solar and auxiliary batteries
Solar charge controllers actively manage voltage. Test directly at battery terminals, not at controller output. With MPPT controllers, voltage bounces as the controller fine-tunes solar output. Disconnect solar panels or test at night for resting voltage. Deep cycle batteries should hold 12.6V or higher when fully charged and need 14.4-14.8V during bulk charging.
Professional Diagnostics vs DIY Testing
When multimeter testing is sufficient
For most electrical system diagnosis, a multimeter covers about 80% of battery and alternator work: testing charging system voltage, finding AC ripple, measuring parasitic draw, and spotting dead cells. If your multimeter shows resting voltage above 12.6V, charging voltage 13.8-14.4V, AC ripple below 0.5V, and voltage holding above 9.6V during cranking, your electrical system is working properly.
When you need professional help
Get professional load testing if batteries show borderline readings (12.4-12.5V). Auto parts stores often load test for free. Complex electrical issues involving CAN bus errors, module failures, or multiple warning lights need professional scan tools. Modern vehicles use multiplexed communication networks where voltage reading alone can’t identify module failures. AGM batteries replacing flooded lead-acid in newer vehicles need different charging voltages. Always swap AGM for AGM and flooded for flooded unless the manufacturer says otherwise. Modern vehicles with CAN bus systems need battery registration after replacement, which requires professional scan tools.
| Testing Method | Cost | Information | Best Use |
|---|---|---|---|
| Digital Multimeter | $20-$100 | Voltage, AC ripple, current draw | General diagnosis, DIY maintenance |
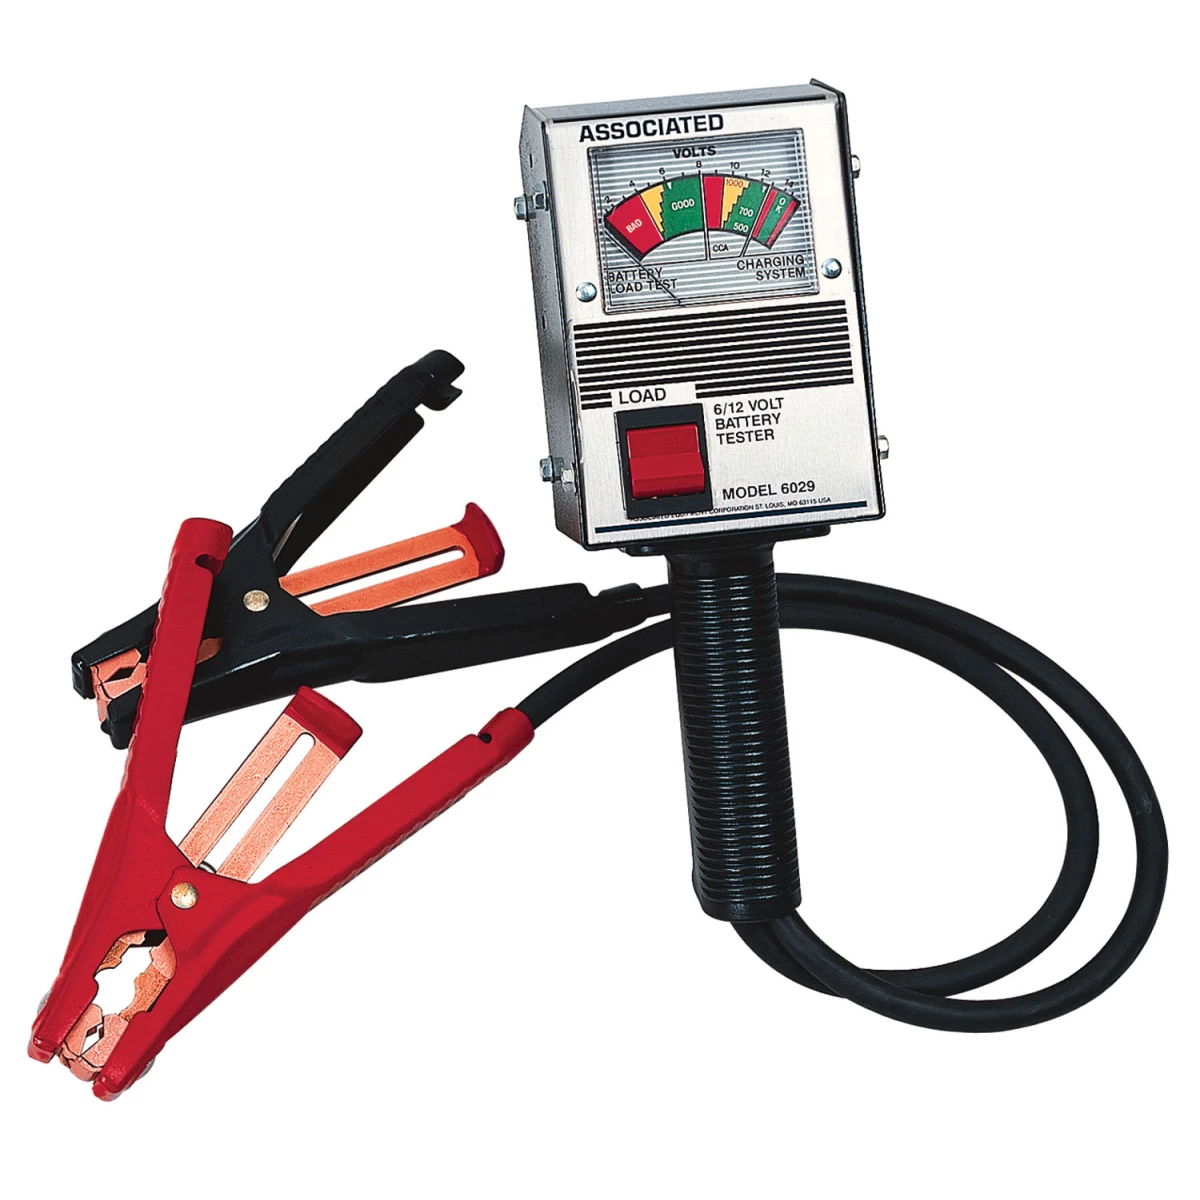
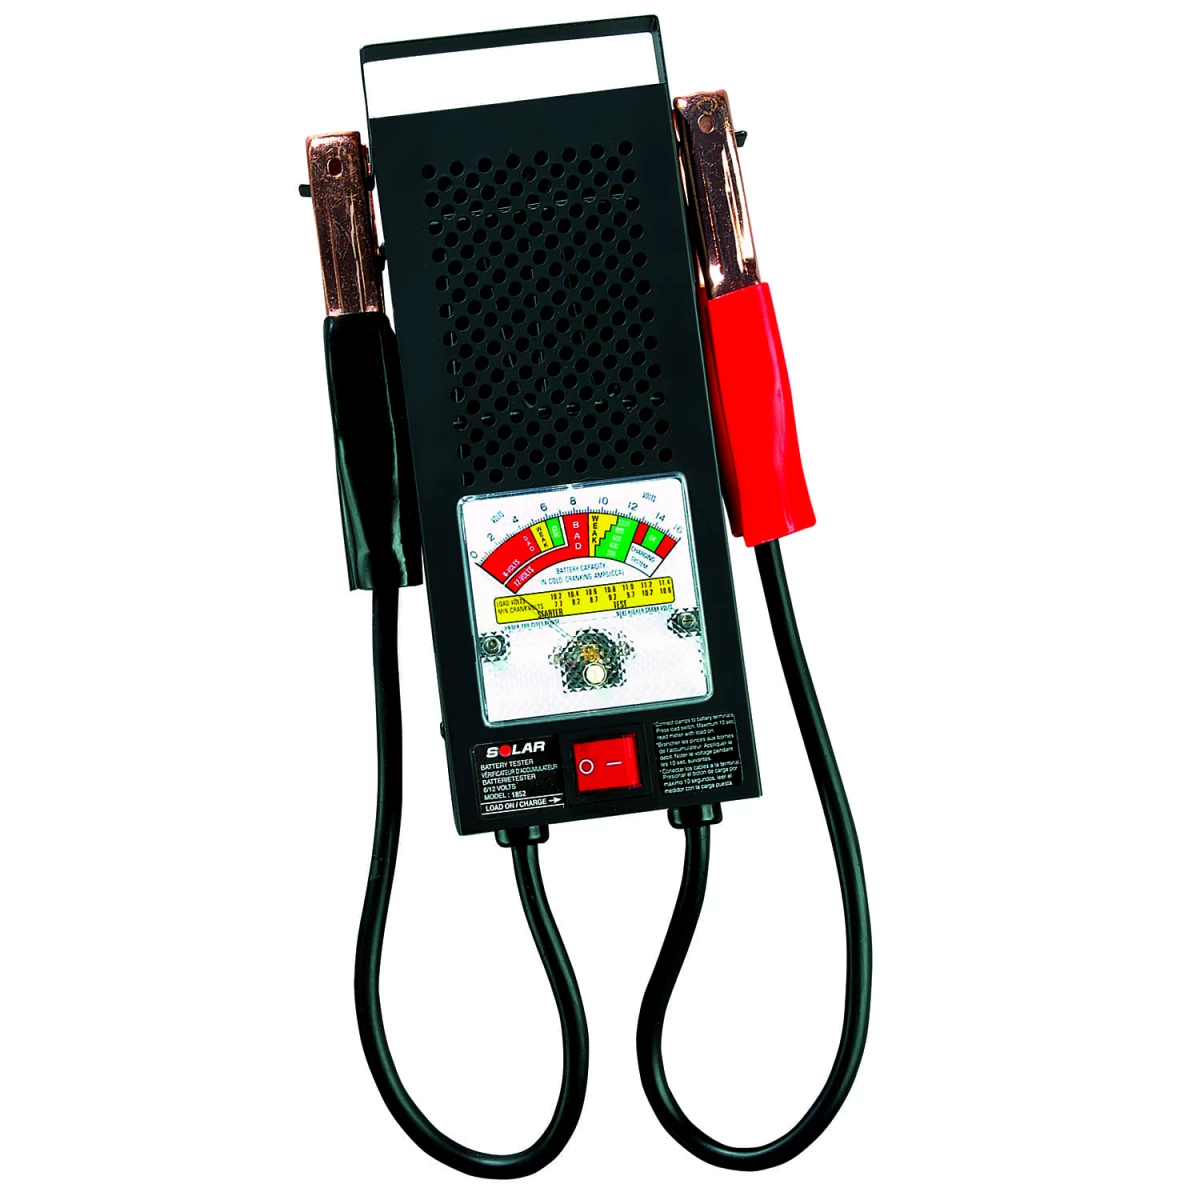
| Carbon Pile Load Tester | $150-$400 | True load capacity, CCA verification | Definitive battery testing, warranty docs |
| Electronic Battery Analyzer | $200-$800 | CCA estimation, internal resistance | Quick testing, parts store use |
| Professional Scan Tool | $3,000-$8,000 | Battery registration, CAN bus data | Complex diagnosis, European vehicles |
Battery Testing Checklist
- Clean battery terminals and ensure tight connections
- Set multimeter to DC voltage mode (20V range)
- Measure resting voltage after 2-4 hours (should be 12.6V+)
- Observe voltage during cranking (should stay above 9.6V)
- Test charging voltage at idle and 2000 RPM (should be 13.8-14.4V)
- Check for AC ripple (should be below 0.5V)
- Test voltage under electrical loads (should hold above 12.2V)
- Compare battery terminals vs alternator output (less than 0.5V difference)
- Measure parasitic draw (should be below 100mA)
- Document all readings for future comparison
- Consider professional load testing for borderline results (12.4-12.5V)
- Verify battery type (AGM vs flooded) before replacement

FAQ: Battery Testing with Multimeters
What voltage should a healthy car battery read?
A healthy 12-volt car battery should read 12.6-12.8 volts at rest (after several hours). When the engine is running, charging voltage should be 13.8-14.4 volts. During cranking, voltage shouldn’t drop below 9.6 volts. Readings below 12.4V indicate discharge or capacity loss. Charging voltage outside 13.8-14.4V signals alternator or regulator problems.
Can a multimeter detect a bad alternator?
Yes. Test charging voltage (should be 13.8-14.4V with engine running). Switch to AC voltage mode to find failing diodes, which show as AC ripple above 0.5V. Test voltage under electrical load to verify alternator current capacity. Compare battery terminal voltage versus alternator output terminal voltage—more than 0.5V difference indicates charging circuit resistance.
How do I test a solar charge controller battery?
Measure voltage directly at battery terminals, not at controller output. Disconnect solar panels or test at night for resting voltage without active charging. A fully charged deep cycle battery should read 12.6V+ at rest. During charging, voltage climbs to the controller’s bulk charging setpoint (usually 14.4-14.8V for lead-acid). Check your controller’s manual for proper voltage setpoints, since lithium batteries use different charging voltages than lead-acid.
Why does my battery show good voltage but won’t start the car?
Batteries can read acceptable open-circuit voltage (12.4V+) yet fail under cranking load due to sulfation, worn plates, or internal resistance. Open-circuit voltage only measures chemical potential, not the ability to deliver high current. When testing during actual cranking and voltage drops below 9.6V, the battery can’t deliver needed current. Load testing—either during real cranking or with a dedicated load tester—is critical for accurate diagnosis. Fresh surface charge makes recently charged batteries look better until that charge fades over hours.
What’s the difference between testing AGM and flooded batteries?
AGM and flooded lead-acid batteries use the same voltage ranges: 12.6-12.8V when fully charged and 13.8-14.4V charging voltage. AGM batteries hate overcharging (never exceed 14.8V), while flooded batteries handle more voltage. AGM discharges slower and holds voltage better under load. Avoid testing AGM with heavy-amperage carbon pile load testers for extended periods, as it can damage the mat material. Electronic conductance testers work better for AGM.
How often should I test my battery?
Test during every oil change (every 3,000-7,500 miles) as routine maintenance. Also test before winter, before long trips, when noticing slow cranking, and when batteries reach three years old. Fleet vehicles need monthly checks. For solar and off-grid banks, test weekly to catch charging problems. Keep notes of readings over time—gradual voltage drop indicates when replacement is needed.

The Toolsource Technical Team blends decades of real-world automotive service experience with up-to-date technical research. Our writers collaborate with professional mechanics, shop owners, and diagnostic specialists to deliver practical, workshop-ready guidance you can trust.


Follow us on social media