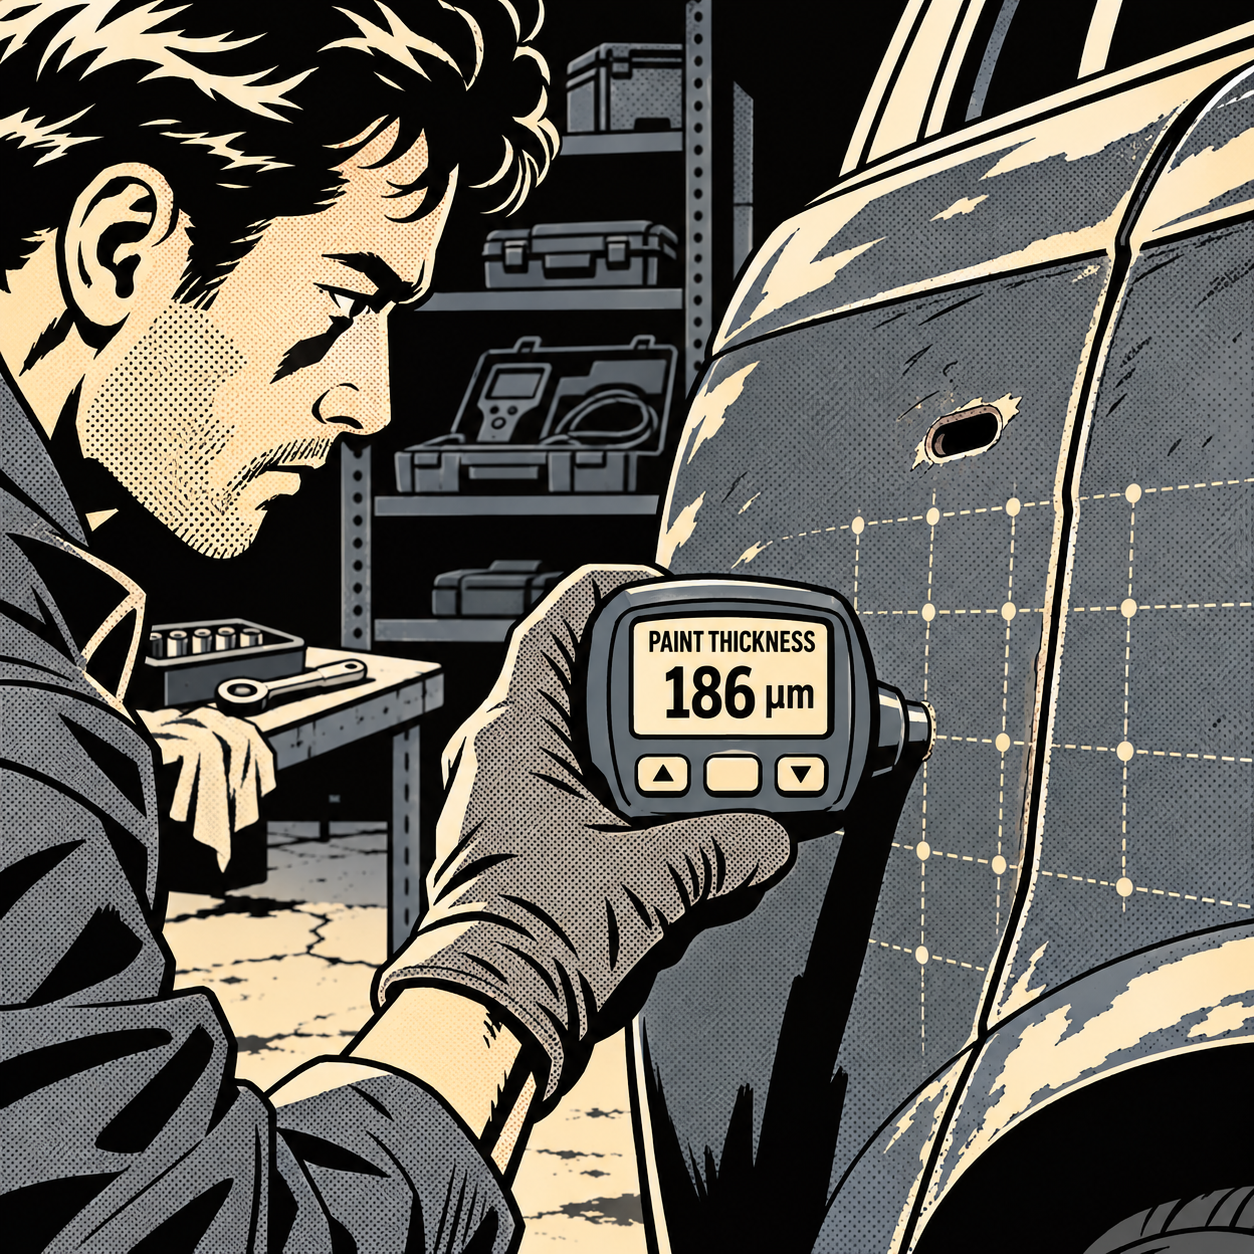
A customer rolls in with a vague complaint: a trim panel that doesn’t quite sit right, a screw head that looks slightly off-center, or a sliver of exposed paint near a fastener that shouldn’t be visible. None of these are dramatic on their own, but together they’re often the first visible clues of prior bodywork — a repair that was done quickly, done poorly, or done without telling the next owner. Chasing down whether a panel’s history matches its appearance is a routine part of collision diagnostics, pre-purchase inspections, and warranty disputes, and it’s a skill that separates technicians who guess from technicians who can back up a finding with evidence. This guide walks through a practical inspection sequence for panel fasteners, seam sealer, and paint, along with the tools that make the difference between “it looks off” and “here’s proof it was repaired.”
Start With the Fasteners, Not the Paint
Paint damage draws the eye first, but fastener position is actually the more reliable tell. Factory assembly uses jigs and consistent torque specs, which means screw and bolt holes line up with predictable spacing and sit centered in their mounting points. When a panel has been removed and reinstalled — whether for a dent repair, a bumper replacement, or just sloppy service work — fastener holes frequently show elongation, off-center seating, or a slight lateral shift as the installer fought the panel back into alignment by hand.
Pull the fastener and look at the hole itself before you look at anything else. An elongated or oval hole where a round one belongs is a strong indicator the panel has been off the car at least once. Compare the screw’s seating position against a factory-undisturbed fastener on the opposite side of the vehicle — asymmetry between left and right is one of the most reliable signals you’ll find, because factory tolerances are tight and symmetrical by design.
Read the Paint Around the Fastener
Exposed or missing paint immediately adjacent to a screw or clip is rarely random. In most cases it means one of three things: the panel was pried or levered during removal and chipped the clear coat at the fastener edge, the panel was repainted and the sprayer masked imperfectly around the hardware, or corrosion has started at a point where moisture got behind a disturbed seal. Each of these points to a different root cause, so don’t stop at “paint is missing” — characterize it.
Chipped clear coat from prying usually has sharp, mechanical edges and sits right at the hole’s rim. Overspray boundary lines from a repaint look different: a soft masking edge, sometimes with a faint ridge where tape was pulled, slightly offset from the hardware itself. Corrosion-related paint loss has a duller, pitted texture and often spreads outward rather than staying tight to the hole. Get a strong raking light across the area — a slim LED inspection light held at a low angle will throw shadow across texture differences that flat overhead shop lighting hides completely.


Check Seam Sealer and Bonding Lines for Consistency
Factory seam sealer is applied by robotic bead in a consistent width, texture, and profile along every seam on a given model. Aftermarket or repair-shop sealant almost never matches that profile exactly — it tends to be wider or narrower in spots, show tool marks from a caulking gun or spreader, or have a slightly different sheen once cured. If a seam looks “almost right but not quite,” run a plastic trim tool gently along the bead to check for consistent adhesion; sealant that’s failing or was poorly applied will often separate from one side of the seam with light pressure, while a sound factory bead won’t budge.
Also check for sealant that’s been painted over versus sealant that paint has pooled into — factory sequence is typically body, then sealer, then paint in specific zones, and a shop doing a partial repair will sometimes apply sealer after painting, leaving a visible color mismatch or a sealer bead sitting on top of fully cured paint rather than blended into it.
Confirm Findings With a Paint Thickness Gauge
Visual inspection builds a theory; a paint thickness gauge confirms it. Factory paint systems (e-coat, primer, base, clear) fall within a well-documented thickness range for most manufacturers, typically in the 80–150 micron range depending on the brand and panel. A respray adds material, so readings noticeably higher than the surrounding panels — especially a jump of 50+ microns on one panel while the rest of the car reads consistently — is strong physical evidence of prior refinishing, independent of what the paint looks like to the eye.
Take readings in a grid pattern across the suspect panel and at least two adjacent, presumably untouched panels for comparison. Record every reading, not just the outliers — a complete data set is what holds up when a customer or insurer pushes back on your conclusion. Magnetic gauges work fine on steel panels; aluminum and composite panels (common on performance cars) require an eddy-current or combination gauge, so confirm panel material before you trust a reading.
Cross-Reference Panel Gaps and Alignment
Once fastener, paint, and sealer evidence point the same direction, close the loop with a panel gap check. Use a gap and flush gauge at multiple points along each seam bordering the suspect panel and compare against the opposite side of the vehicle or published factory tolerances where available. A gap that widens or narrows unevenly along its length, or a flush measurement that’s off by more than a millimeter or two compared to the mirrored panel, confirms the panel was reset by hand rather than returned to its jig-built position.
This step matters most when you need to document findings for an insurance claim, a dispute over undisclosed accident history, or a warranty decision — gap and flush numbers are objective, repeatable, and much harder to argue with than “it looked off to me.”
Technician Checklist: Panel Anomaly Inspection
- Inspect fastener holes for elongation or off-center seating; compare left/right symmetry
- Characterize any missing/exposed paint — mechanical chip, overspray edge, or corrosion?
- Check seam sealer bead width, texture, and adhesion at the edges
- Take a grid of paint thickness readings on the suspect panel and two known-good reference panels
- Confirm panel material (steel vs. aluminum/composite) before trusting gauge readings
- Measure panel gap and flush at multiple points and compare against the mirrored side
- Photograph and log every measurement, not just the ones that support your theory
None of these checks are definitive in isolation. A single odd screw hole could just be a manufacturing tolerance quirk; a single high paint reading could be a factory touch-up from the assembly line. The diagnosis gets solid when multiple independent indicators — fastener position, paint texture, sealer consistency, thickness readings, and panel gap — all point the same direction. That convergence is what you want in your notes before telling a customer their car has undisclosed repair history.
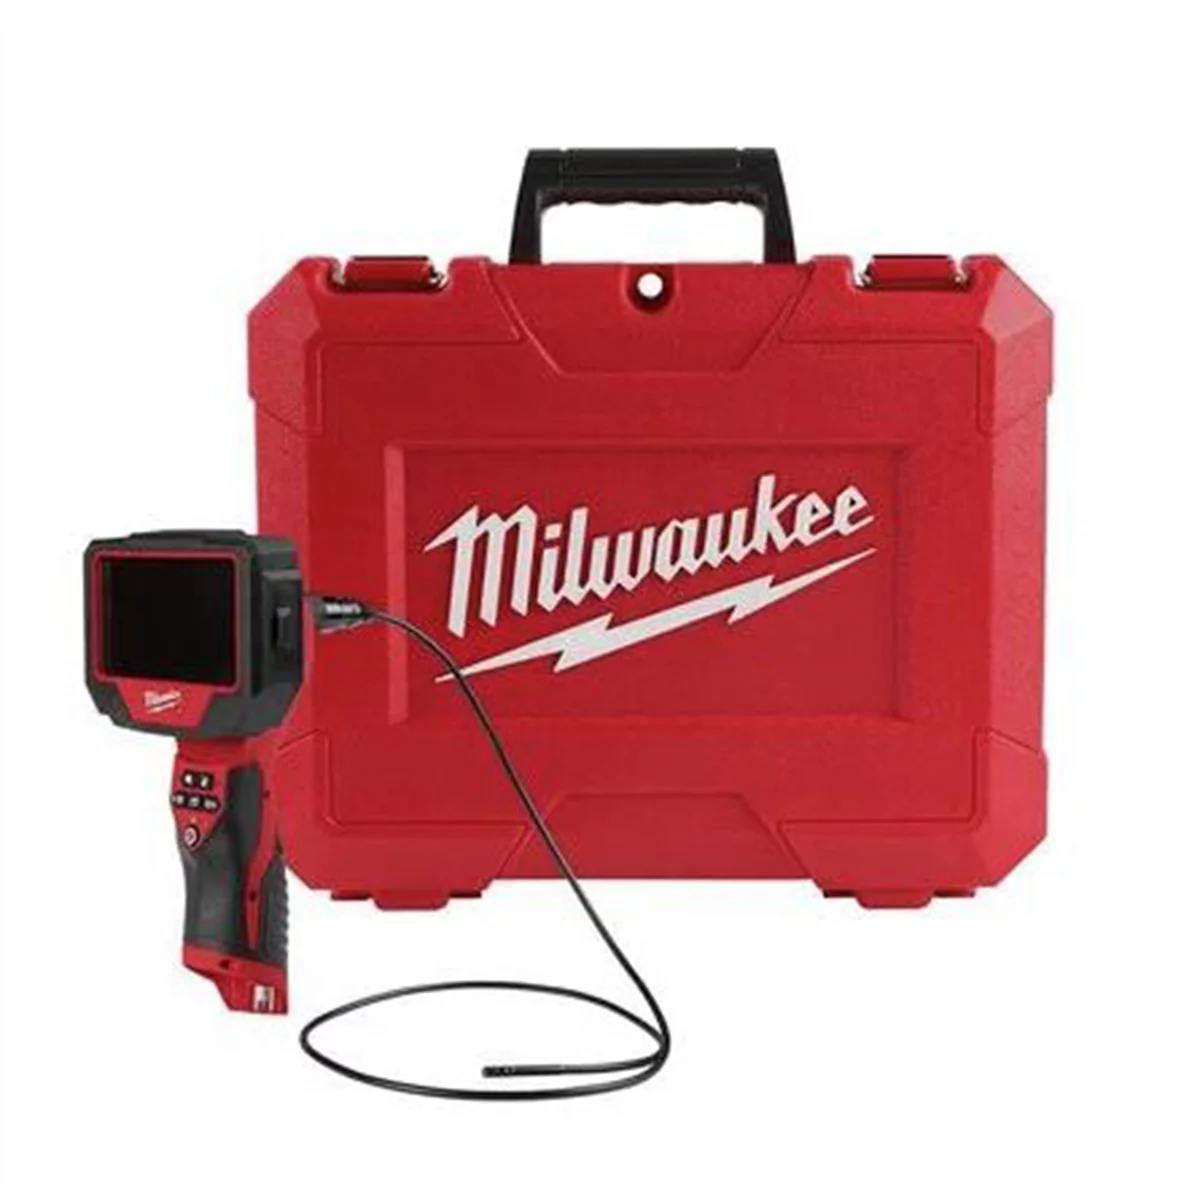
Milwaukee Tool M12 Auto Technician Borescope with 2.0 Starter Ki
Mfg: Milwaukee Electric Tools
Part #: TECHBORESCOPEKIT

Frequently Asked Questions
Can I diagnose accident history from photos alone?
Photos can flag candidates for further inspection — asymmetric fasteners or paint edges are visible in good lighting — but confirming the finding requires hands-on checks like gauge readings and gap measurement. Treat photo review as triage, not a verdict.
What’s a normal paint thickness variance between panels on an unrepaired car?
Most factory panels on the same vehicle read within about 10–15 microns of each other. Variance beyond that, especially isolated to a single panel, warrants a closer look rather than an automatic “repainted” conclusion — bumpers and plastic panels often read differently than steel by design.
Does a magnetic paint gauge work on every panel?
No. Magnetic gauges only work reliably on ferrous steel. Aluminum hoods, doors, and many performance-car body panels need an eddy-current gauge, and composite or plastic panels need a different measurement approach entirely or should be excluded from thickness comparisons.
Is missing paint near a fastener always a sign of prior repair?
Not always — factory assembly can occasionally leave light witness marks at torque points. But combined with an elongated hole, an uneven gap, or a thickness anomaly, it becomes part of a pattern worth documenting rather than a standalone concern.
How do I tell factory seam sealer from a repair shop’s sealant?
Factory sealer has a consistent, machine-applied bead profile across the whole seam. Shop-applied sealant usually shows tool marks, inconsistent width, or a texture/sheen mismatch once cured. Running a trim tool along the bead can also reveal adhesion differences.
What should go in my documentation if I suspect undisclosed accident repair?
Photos of fastener holes and paint anomalies, a full grid of paint thickness readings (including reference panels), gap and flush measurements, and written notes on sealer condition. Complete, consistent documentation protects you and gives the customer or insurer something concrete to act on.
Recommended Tools for Panel Inspection
Documenting repair history requires reliable measurement. Find everything you need in our Paint & Body tools selection.
- Paint thickness gauges for steel, aluminum, and composite panels
- Gap and flush gauges for panel alignment verification
- LED inspection lights for detailed surface examination

The Toolsource Technical Team blends decades of real-world automotive service experience with up-to-date technical research. Our writers collaborate with professional mechanics, shop owners, and diagnostic specialists to deliver practical, workshop-ready guidance you can trust.


Follow us on social media