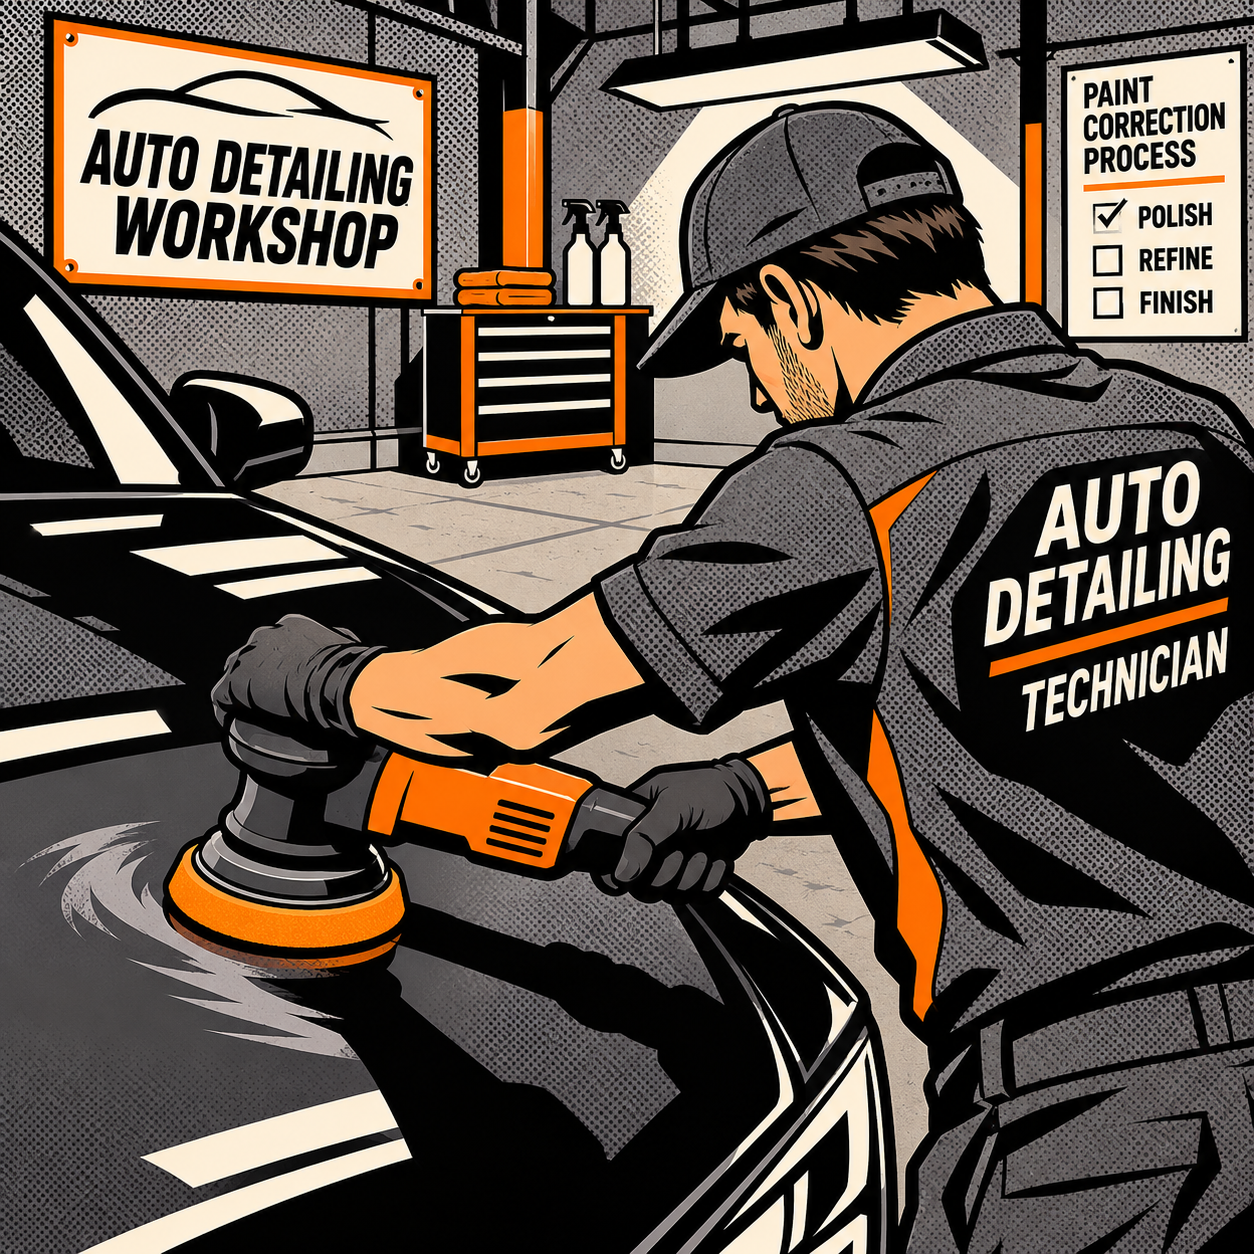
Black paint is the great equalizer in a detail shop — it rewards good technique and exposes everything else. Swirls, holograms, uneven pad pressure, and rushed edge work that might hide on a silver or gray car show up immediately under direct sun or a swirl-finder light on black. Technicians who get consistent results on black paint tend to follow the same playbook: work the easy flat panels first to build rhythm, then slow down and get deliberate on body lines, channels, and anything near an edge. This piece breaks down the practical steps — pad and polish selection, rotary versus DA technique, how to handle the tight spots around the hood and trim, and when a one-step correction needs a finishing pass to actually look finished.
Why Black Paint Punishes Shortcuts
Black (and dark metallic) paint has very little to hide behind. There’s no texture or fleck pattern to break up light reflection the way there is on a lighter color, so any micro-marring left behind by a compound or an aggressive pad reads as haze or “buffer trails” the moment the car sits in the sun. This is why a single-stage correction — one cutting/polishing step meant to knock down defects quickly — often leaves a car looking dramatically better than it started, but still short of a true finished look. The car can go from looking like it was keyed all over to looking clean at a glance, while still carrying fine marring that only shows up in direct light.
The practical takeaway: on black paint, budget time (or price the job) for a refinement pass, even if it’s quick. A few extra minutes with a finishing polish on a soft foam pad after the main cutting stage removes the haze that a single compounding step leaves behind, and it’s often the difference between a job the customer is happy with and one that gets them a repeat customer.
Reaching Awkward Channels, Body Lines, and Edges
Every hood has a channel near the cowl, and every car has body lines, window channels, and trim edges that a standard backing plate can’t reach flat. There’s no shortcut tool that solves this — it comes down to pad size selection and body positioning:
- Switch to a smaller pad (3-inch or mini polisher) for channels, mirrors, door handles, and tight body lines. Trying to force a 6-inch pad into a 2-inch channel just means you’re buffing with the pad’s edge, which is where uneven cutting happens.
- Reposition your own body, not just the tool. Awkward angles on the car usually mean an awkward angle for your arm — rotate your stance, lower your shoulder, or work from the opposite side of the car to get the pad flat against the panel instead of tilted.
- On a rotary, always work the pad so it rotates into an edge, never off it. If the pad’s rotation is carrying it off a body line or the edge of a panel, it will dig in and leave a burn mark or a line of increased correction right at that edge. Approach edges so the spin direction pushes the pad back toward the panel.
- Finish channels and edges by hand with a foam applicator and the same polish you used on the machine, so the chemical correction is at least consistent even where mechanical access is limited.

899SP Double Sided Snap Pad, 8 in Dia, Foam Pad, Black
Mfg: Buff And Shine
Part #: 899SP


Matching Pads and Polish to the Paint Condition
Pad and polish selection should follow the severity of the defects, not a fixed house system. For production work — jobs where time matters and the goal is removing the majority of visible defects — a medium cutting polish on an orange (medium-cut) foam pad for the first two or three passes, followed by a lighter polish on a black (finishing) pad for another two or three passes, clears the large majority of swirls and holograms while leaving a clean finish. That combination is fast enough to be sustainable as a daily workflow and still produces a finish most customers will be thrilled with.
For paint that’s heavily swirled — the kind that looks like it’s been scrubbed with a dish rag for years — don’t chase perfection on the first pass. Clear coat has a finite thickness, and chasing every last defect on badly neglected paint means removing more material than necessary. A hood covered in rock chips and years of wash-induced swirls is a case where “better” is the right goal, not “flawless.” Correct it to a clean, glossy, low-swirl state and stop there, rather than running repeated heavy-cut passes trying to erase every mark at the cost of clear coat life.
Rotary vs. DA Technique: Speed and Pressure
Both rotary and dual-action (DA) polishers can produce excellent results on black paint, but they behave differently and reward different habits:
Rotary polishers cut faster and are less forgiving. Speed in the 2-4 (on a typical 1-6 dial) range is a reasonable starting point for most correction work — fast enough to work efficiently, slow enough to keep control and avoid generating excess heat. Pressure should be light to moderate; let the pad and polish do the cutting rather than leaning into the panel. Because a rotary spins in one direction, pad walking and edge burns are real risks, which is why edge-approach direction matters so much (see the previous section).
DA polishers are more forgiving on edges and body lines because the random-orbital action doesn’t have a single “into the edge” direction the way a rotary does. This makes a DA the more approachable tool for channels, mirrors, and other tight spots, and it’s a common choice for finishing/jeweling passes across an entire panel because it’s harder to create holograms with it. The tradeoff is cut speed — a DA generally needs more passes or a more aggressive pad/polish combo to match a rotary’s correction speed on heavily swirled paint.
Whichever tool you’re running, uniformity across a panel matters more than raw cut speed. A panel that’s 90% corrected with a visible transition line near the edges will draw the eye more than a panel that’s evenly 75% corrected. Keep pad speed and dwell time consistent as you move across a panel, and blend passes so there’s no sharp boundary where you started or stopped.
The Jeweling Step: Going From “Good” to Show-Car Finish
There’s a meaningful gap between “defects are removed” and “the paint looks like glass.” Closing that gap is what a dedicated jeweling or finishing polish does — an ultra-fine polish with little to no cutting ability, run on the softest foam pad available, meant purely to remove the micro-marring left behind by the correction stage and maximize gloss and reflection clarity. This step is most noticeable on soft, dark factory paint (a common complaint on certain Honda black finishes, for example) where the clear coat is easy to mark but also capable of an exceptional finish once it’s properly refined.
Jeweling is a time investment, not a production-line step — it’s the kind of pass that turns a solid correction into a car-show-level finish. Whether it’s worth it depends on the job: a detail-package or show-prep car justifies the extra 30-60 minutes; a volume correction job usually doesn’t. What does matter on every job, including production work, is at least one light finishing pass with a dedicated finishing polish and the softest pad in the lineup — it’s a relatively small time cost that noticeably reduces leftover haze.
Correction Workflow Checklist
- Inspect paint hardness and defect severity before choosing a pad/polish combo — don’t default to the same system for every car.
- Work large flat panels first, then slow down for body lines, channels, and trim with a smaller pad.
- On rotary, always rotate the pad into edges, never off them.
- Match pad speed (2-4 range) and pressure to maintain control, not maximum cut.
- Keep passes and dwell time uniform across each panel to avoid visible transition lines.
- On heavily chipped or thin clear coat, correct toward “clean and glossy,” not “flawless.”
- Finish with a dedicated fine/jeweling polish on a soft pad to remove correction-stage haze.
- Inspect finished panels under direct light or a swirl-finder lamp before calling the job done.

Frequently Asked Questions
Why does black paint show swirls so much more than other colors?
Black has no fleck or metallic texture to scatter light and mask micro-scratches, so every bit of marring reflects directly back at the viewer. The same level of swirling that’s barely visible on silver or gray paint is obvious on black under the right lighting.
Is a one-step correction enough for black paint?
It depends on the defect level and the client’s expectations. A single-stage compound/polish combo can remove the majority of visible defects and dramatically improve the look of the car, but it often leaves fine haze behind on black paint. A short finishing pass afterward closes that gap without adding much time to the job.
What’s the right polisher speed for correction work?
For most rotary correction work, a speed setting around 2-4 (on a standard dial) balances cutting efficiency with control. Going faster increases heat and the risk of marring; going too slow makes the polish break down less effectively and wastes time.
How do I avoid burning the edges of body lines and trim?
On a rotary, always orient the pad so its spin direction pushes it back toward the panel at an edge, never off of it. Using a smaller pad for tight areas and switching to a DA polisher for channels and body lines also reduces the risk, since a DA doesn’t have the same single-direction edge risk a rotary does.
Should I always chase 100% defect removal?
No. On paint with thin clear coat, heavy rock chip damage, or a long history of neglect, prioritize an even, glossy, low-swirl result over total defect removal. Repeated aggressive passes trying to erase every last mark can remove more clear coat than is safe.
What’s the difference between a cutting pad/polish and a jeweling or finishing polish?
Cutting combinations (medium pad plus a cutting polish or compound) are designed to remove material and level out scratches and swirls. Jeweling or finishing polishes have little to no abrasive cut and are designed to remove the fine haze left by the cutting stage, maximizing clarity and gloss rather than correcting defects.
Get the Right Tools for Paint Correction
Achieving a flawless finish on black paint requires the right equipment and supplies. Our Paint & Body category stocks the polishers, pads, compounds, and finishing polishes you need to complete each stage of the correction process.
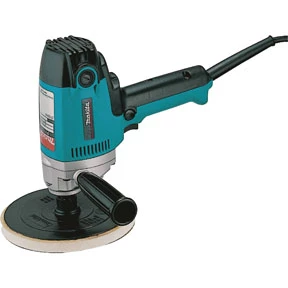
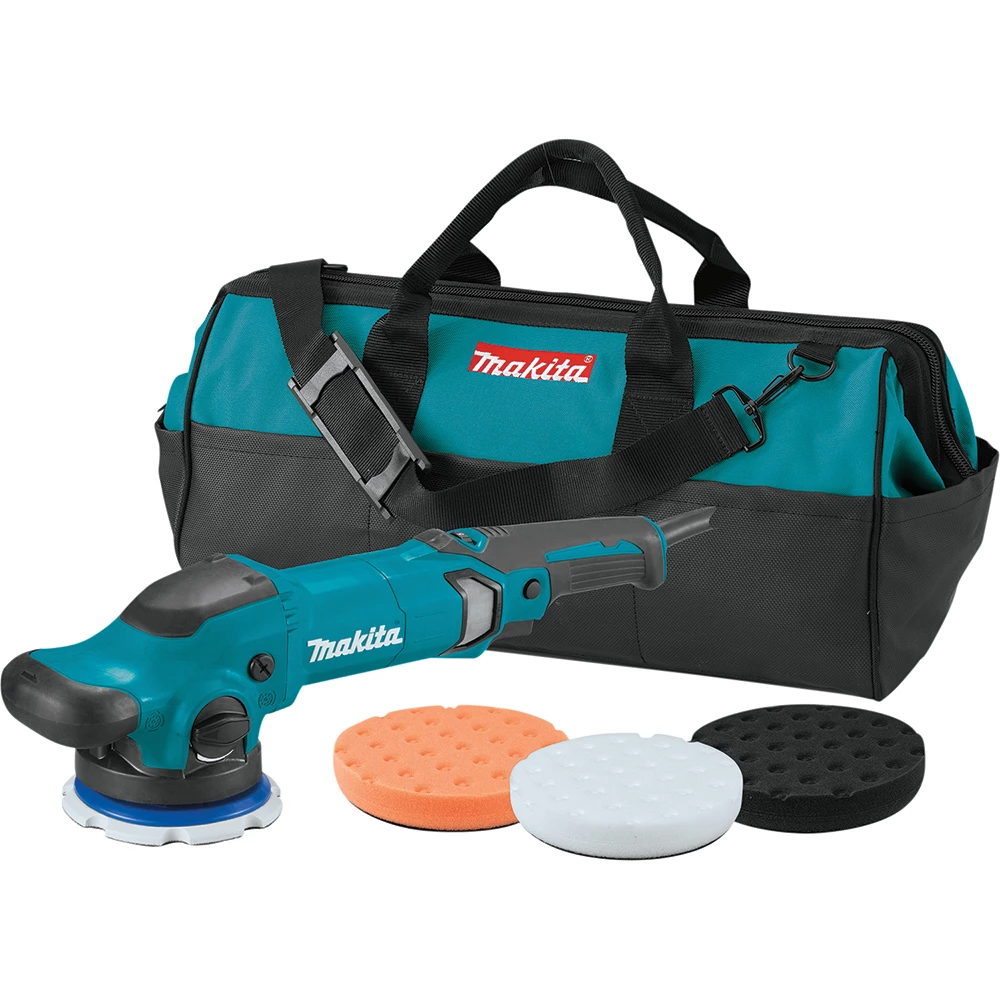
- Rotary and dual-action polishers with variable speed controls.
- Foam pads in multiple grades — cutting, medium, and finishing pads.
- Cutting compounds and fine finishing polishes designed for black and dark paint.

The Toolsource Technical Team blends decades of real-world automotive service experience with up-to-date technical research. Our writers collaborate with professional mechanics, shop owners, and diagnostic specialists to deliver practical, workshop-ready guidance you can trust.


Follow us on social media