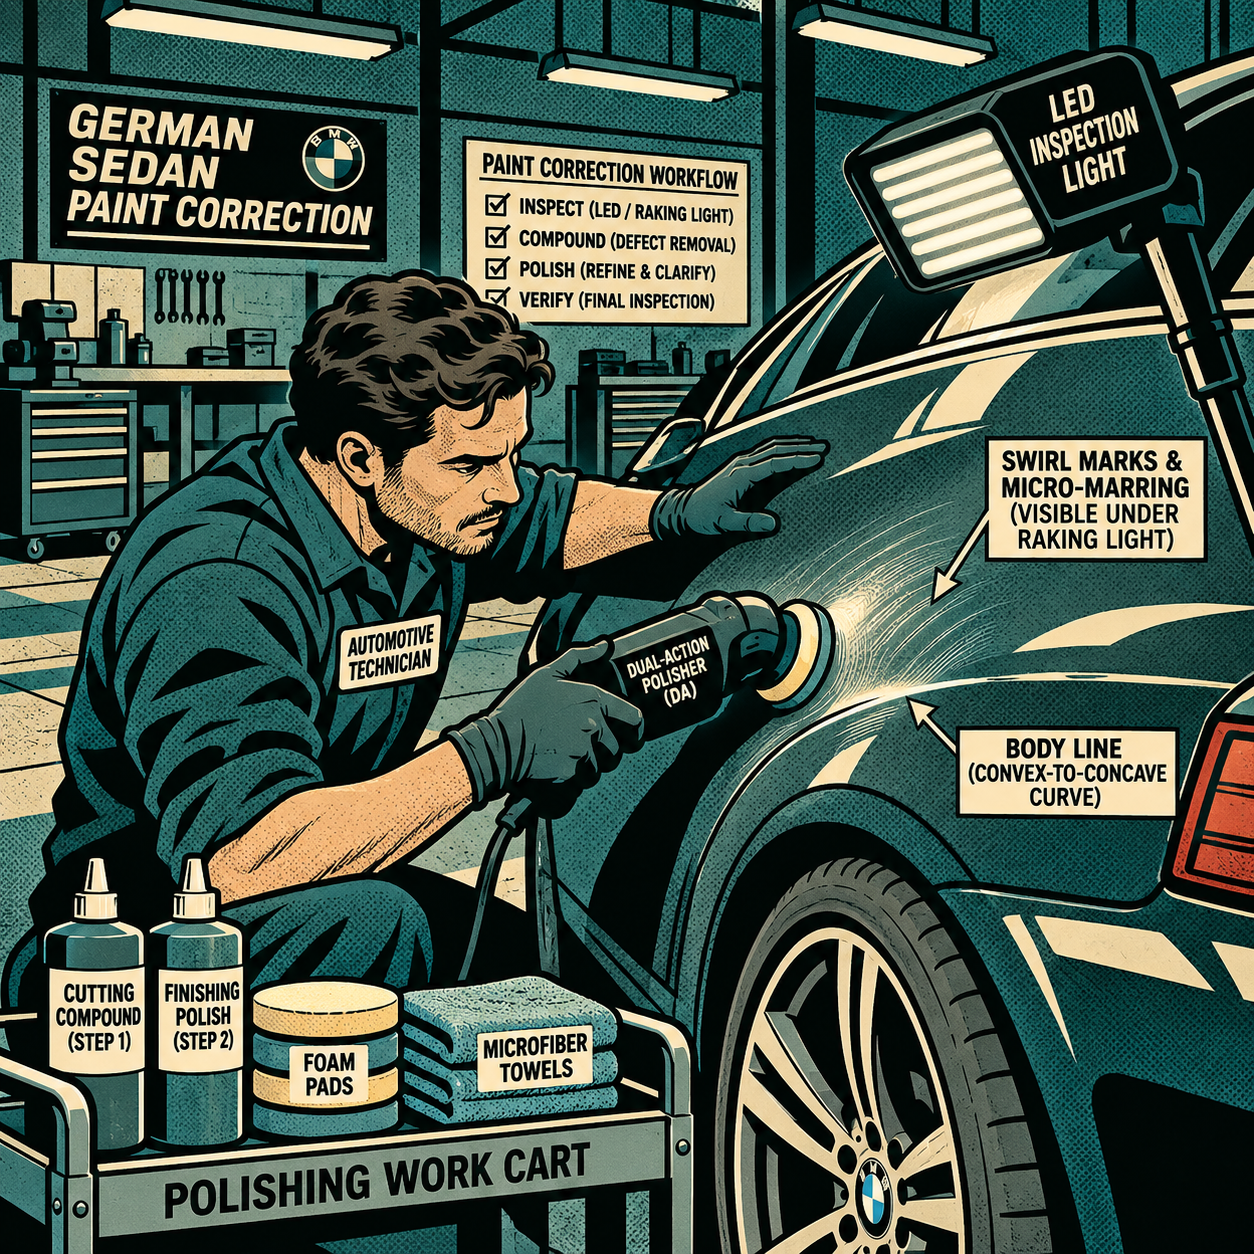
Stepping up from daily-driver sedans to a high-end German vehicle changes very little about the chemistry of paint correction, but it changes everything about your margin for error. The clear coat is often thinner over sharper body lines, the curves are tighter and more complex, and the owner’s expectations are higher. Technicians who’ve done the jump consistently report the same thing: the nerves are normal, the fundamentals still apply, and the vehicles reward good technique more than any other segment of the market. This guide walks through how to approach one of these jobs methodically, from assessment to final wipe-down, so confidence replaces hesitation.
Why German Clear Coats Behave Differently
Most German OEMs (BMW, Mercedes-Benz, Audi, Porsche) use harder, more UV-stable clear coats than many mass-market brands, but “harder” doesn’t mean “forgiving.” Hard clear coats resist scratching but also resist correction—they need more mechanical energy or a more aggressive abrasive to level defects, and they tend to show haze or micro-marring more readily under direct light because the surface reflects so cleanly once it’s been machine-polished. This is also why these cars respond so well to proper polishing: once you cut through the defect layer and refine it, the clarity and depth of reflection is noticeably better than on a typical daily driver. The takeaway for technicians is simple—don’t assume your usual compound-and-pad combo from daily cars will behave the same way. Always re-establish your process on test panels before working a full vehicle.
Inspect Before You Touch a Pad to the Paint
Every job starts with inspection, not polishing. Wash and decontaminate the panel first (clay bar or chemical decon), then dry it completely. Defects hide under residual grime and water spots, and you cannot plan a correction strategy around what you can’t see clearly.
- Use a bright LED inspection light or swirl-finder light at a low angle across each panel.
- Run a hand over the paint (or use paint thickness gauge if available) to check for previous repairs, resprays, or thin spots—especially around quarter panels, bumpers, and anywhere body work may have occurred.
- Photograph every panel before starting. This protects you if pre-existing damage (stone chips, prior touch-up paint, clear coat failure) is later questioned, and it documents your before/after result for your own portfolio.
- Tape off trim, badges, rubber seals, and plastic cladding. German vehicles often have tightly fitted trim pieces that are easy to catch with a pad edge.
This is also the point where you decide your correction level: a one-step polish for light swirls and oxidation, or a two-step (compound then polish) for deeper scratching, water spot etching, or heavy oxidation. Don’t default to the most aggressive option just because the car is expensive—match the step to the defect.
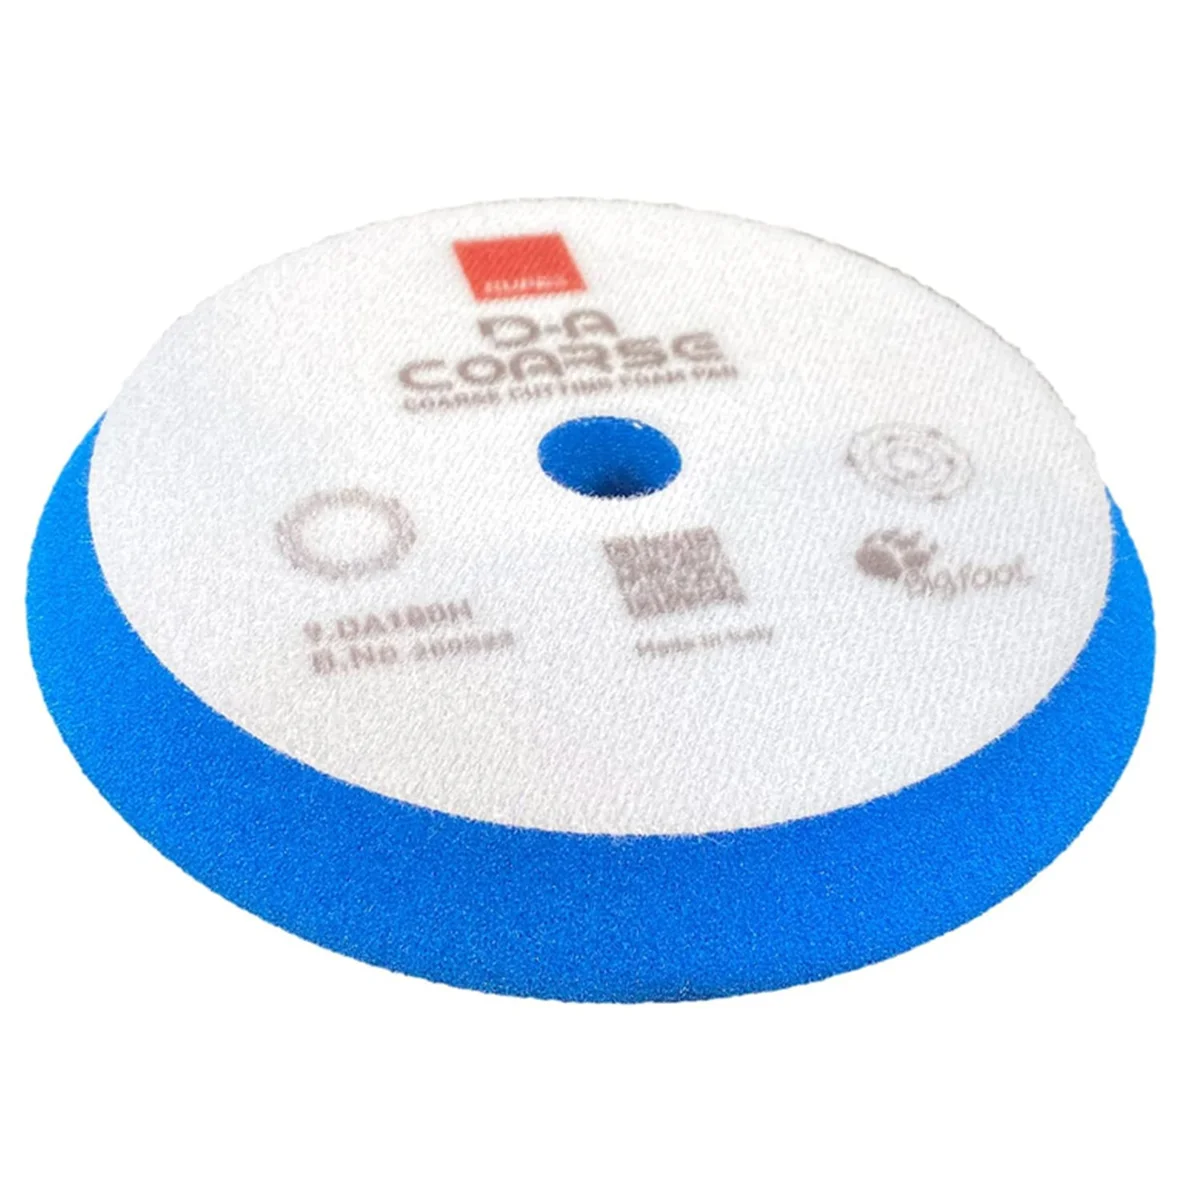
Rupes VELCRO POLISHING FOAM DA COARSE HIGH PERFORMANCE 150/1
Mfg: Rupes Tools
Part #: 9-DA180H

Motor Guard BP-2027 7" Buffing Pad Holder Vibration-Free
Mfg: Motor Guard
Part #: BP-2027
Find the Right Compound, Polish, and Pad Combination
Because hard clear coats cut more slowly, many technicians find they need either a more aggressive cutting compound or a slightly firmer pad than they’d use on a softer-coated vehicle, followed by a dedicated finishing polish to remove any haze the cutting stage leaves behind. There’s no universal recipe—compound/pad/machine speed interact—so the test-spot method matters more here than on forgiving paint.
{{PRODUCT_SEARCH_1}}
Work a 2×2 ft test section on a low-visibility panel (rear quarter or door) before committing to the whole car. Check the result under your inspection light at multiple angles, not just straight-on, since hard clear coats can look flawless head-on and still show haze at a raking angle.
Technique for Curves, Quarter Panels, and Tight Body Lines
This is where most technicians new to European curves get caught off guard. Rear quarter panels on German vehicles frequently combine a convex curve with a concave crease, sometimes within a few inches, and the body lines are sharper than on rounder, more economy-oriented designs. A pad that sits flat and even on a Camry’s door skin will rock or dig in on a BMW’s quarter panel if you’re not adjusting your angle and pressure continuously.
- Use a smaller pad (4–5 inch) for compound curves and body lines instead of forcing a 6-inch pad to conform—you’ll get more even contact and less risk of burning an edge.
- Slow your arm speed on curves. Rushing is what causes pad hop and uneven cut, not the curve itself.
- Work in overlapping sections and keep the pad flat to the surface at all times—let the panel’s shape dictate your wrist angle, not the other way around.
- Keep extra attention near character lines and body creases, where clear coat is often thinner from factory sanding/buffing during manufacturing—these areas burn through faster than flat panels.
- Back off machine speed near edges, badges, and trim lines. Edges heat up faster and have less paint margin for error.
If a particular curve isn’t cooperating with machine polishing, it’s reasonable to finish that section by hand with a foam applicator and finishing polish rather than fighting the geometry with a rotary or DA polisher.
Workflow Discipline: How to Build Confidence Panel by Panel
Confidence on high-end vehicles comes from process, not bravado. Technicians who’ve successfully taken on cars they were initially nervous about describe the same pattern: start on the least visible panel, confirm the combo works, and only then move to the panels the owner will scrutinize most (hood, door tops, trunk lid).
- Work one panel completely—compound, polish, wipe, inspect—before moving to the next, rather than compounding the whole car and polishing afterward. This limits how much surface stays exposed to dust and re-contamination.
- Wipe down with a dedicated panel wipe or isopropyl alcohol mix between stages so you’re inspecting actual paint, not polish residue or fillers that can mask remaining defects.
- Keep pads clean and swap or clean them frequently—loaded pads lose cutting ability and can introduce new marring on hard clear coats faster than on soft ones.
- Control your environment: avoid direct sun and keep panel temperature reasonable. Hard clear coats combined with a hot panel accelerate product flash time and make it easy to overwork an area.
Document the Work
Before/after photography isn’t just for marketing—it’s part of the job on higher-end vehicles. Shoot each panel before starting, shoot the 50/50 test spot result, and shoot the final finish in consistent lighting (ideally the same inspection light you used to find the defects). This protects you from disputes, gives you a portfolio-quality record, and on a technical level helps you verify your own work by comparing stages side by side rather than relying on memory.
{{PRODUCT_SEARCH_2}}
Pre-Job Checklist
- Wash and fully decontaminate before inspection
- Inspect every panel under raking light; photograph before state
- Tape off trim, badges, and plastic cladding
- Run a test spot to confirm compound/pad/polish combo
- Match correction level (one-step vs. two-step) to actual defect severity
- Use smaller pads and slower arm speed on curves and body lines
- Wipe and inspect each panel before moving to the next
- Photograph final result in consistent lighting

FAQs
Do German clear coats really need different products than other cars?
Not always different products, but often a different combination. Harder clear coats typically need more cutting power to level defects and a dedicated finishing step to remove haze, so re-test your usual combo rather than assuming it transfers directly.
Why do rear quarter panels feel harder to polish than doors or hoods?
Quarter panels often combine convex and concave curves in a tight space, and the body lines are sharper. A smaller pad, slower arm speed, and constant wrist-angle adjustment handle this better than forcing a larger pad to conform.
Is it normal to feel nervous working on an expensive vehicle for the first time?
Yes, and most experienced detailers say that’s appropriate caution, not a sign you’re unqualified. The fix is process discipline—test spots, starting on low-visibility panels, and inspecting under proper lighting—not just working faster or more aggressively.
How do I know if I’m using too aggressive a compound?
If a test spot shows marring, hazing, or holograms under raking light that weren’t there before, or if the panel is heating up quickly, drop to a less aggressive pad/compound combination and re-test.
Should I always do a full two-step correction on a high-end car?
No. Match the correction level to the actual defect severity found during inspection. Light swirls and mild oxidation may only need a one-step polish; using a compound when it isn’t needed adds unnecessary risk and removes more clear coat than the defect requires.
What’s the biggest risk area for burn-through on these vehicles?
Character lines, body creases, and edges near trim or badges, where clear coat is typically thinner from factory finishing. Reduce machine speed and dwell time in these zones.
Stock Your Compounds, Polishes & Pads
The compound-and-pad combination you choose directly impacts your ability to execute the correction plan you’ve outlined in inspection. Building a kit with options for both aggressive and finishing stages lets you match your approach to the clear coat and defect severity you’re working with. Our Paint & Body selection includes cutting compounds, finishing polishes, and pads in multiple materials and sizes.
- Cutting compounds and finishing polishes suitable for hard clear coats
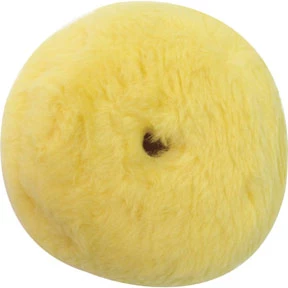
- Foam, microfiber, and wool pads in 4–6 inch sizes for various panel geometries
- Inspection lighting and wiping tools to support your test-spot and documentation workflow

The Toolsource Technical Team blends decades of real-world automotive service experience with up-to-date technical research. Our writers collaborate with professional mechanics, shop owners, and diagnostic specialists to deliver practical, workshop-ready guidance you can trust.


Follow us on social media