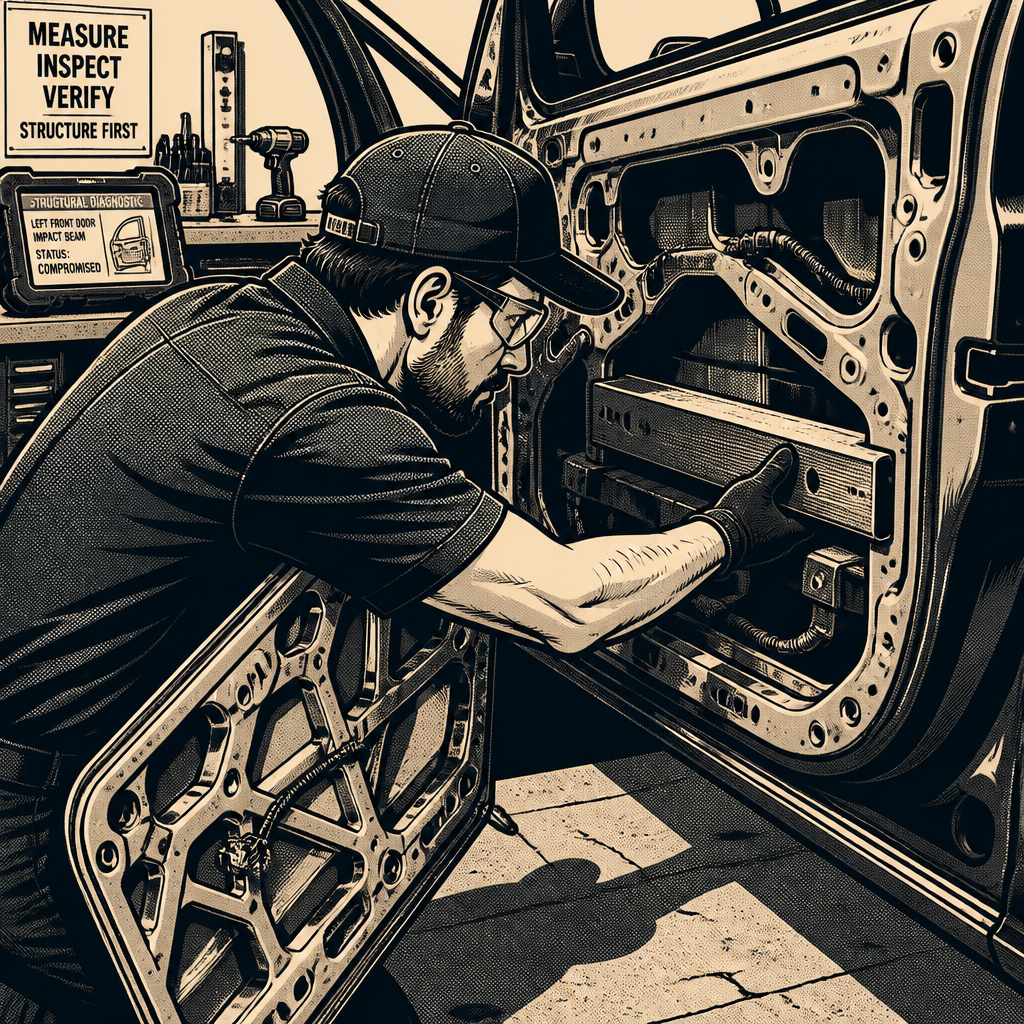
A door skin gash from a sideswipe or a parking lot mishap almost always looks worse — and sometimes deceptively better — than it actually is. What reads as a single cosmetic scrape can hide impact-beam damage, a bent wheel, or a compromised pillar, while what looks catastrophic can sometimes be limited to a door and a quarter panel section. The difference between a $1,200 repair and a $6,000 one usually comes down to how thoroughly the vehicle gets scoped before anyone touches a grinder or writes an estimate. Here’s a practical walkthrough for techs assessing and repairing this type of damage, based on the kind of real-world calls body shops make every day.
Start With a Full Walkaround, Not Just the Obvious Gouge
The visible scratch or gouge is the headline, but it’s rarely the whole story. Before quoting anything, walk the full length of the impact path — front fender or door edge back through the rear quarter panel — and check for secondary damage that’s easy to miss under shop lighting:
Run a hand along the beltline and rocker for ripples that don’t show up visually. Open and close the door several times to feel for binding, which points to a bent door frame or damaged hinge, not just skin damage. Check the wheel and tire on the impacted side for curb rash, bent rim flanges, or a wheel that’s been pushed back in the arch — a classic sign of suspension or control arm contact that a body estimate alone won’t catch. If the vehicle was hit hard enough to gouge sheet metal, always pull the wheel or at minimum check for uneven tire wear and toe before returning it to the customer.
Also check the door jamb and B-pillar area for creased paint or stress lines. A door that absorbed the hit can transfer force into the pillar even when the pillar itself looks untouched from three feet away.
Decide: Repair, Skin, or Replace the Door
Once you know what you’re dealing with, the door itself is usually the biggest line item. Three paths, in order of increasing cost and quality:
Repair the existing door. Shallow gouges and dents without a crease through the door’s structural ribs can sometimes be pulled, filled, and blocked — but only if the door still closes true and the impact beam behind the skin isn’t bent. If in doubt, don’t guess; pull the interior door panel and inspect the beam directly.
Replace the door skin. A skin swap saves the cost of a full new door and its hardware (glass, regulator, speaker, wiring), but it’s labor-intensive and only worth it when the door frame, hinges, and beam are all sound.
Replace the whole door. If the impact beam is bent, the frame is tweaked, or the hinge points are damaged, a new or quality used door is the only way to guarantee proper fit and function. A used door pulled from a salvage yard in the correct color can cut material cost significantly, but always inspect it in person or get clear photos of the impact beam and hinge condition before committing — a “clean” used door with hidden prior damage just moves the problem downstream.
Product tip: techs doing their own initial pull-and-assess work before sending panels out often reach for a compact PDR kit to test whether shallow dents will respond before committing to a skin or full panel replacement.
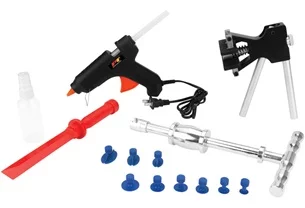
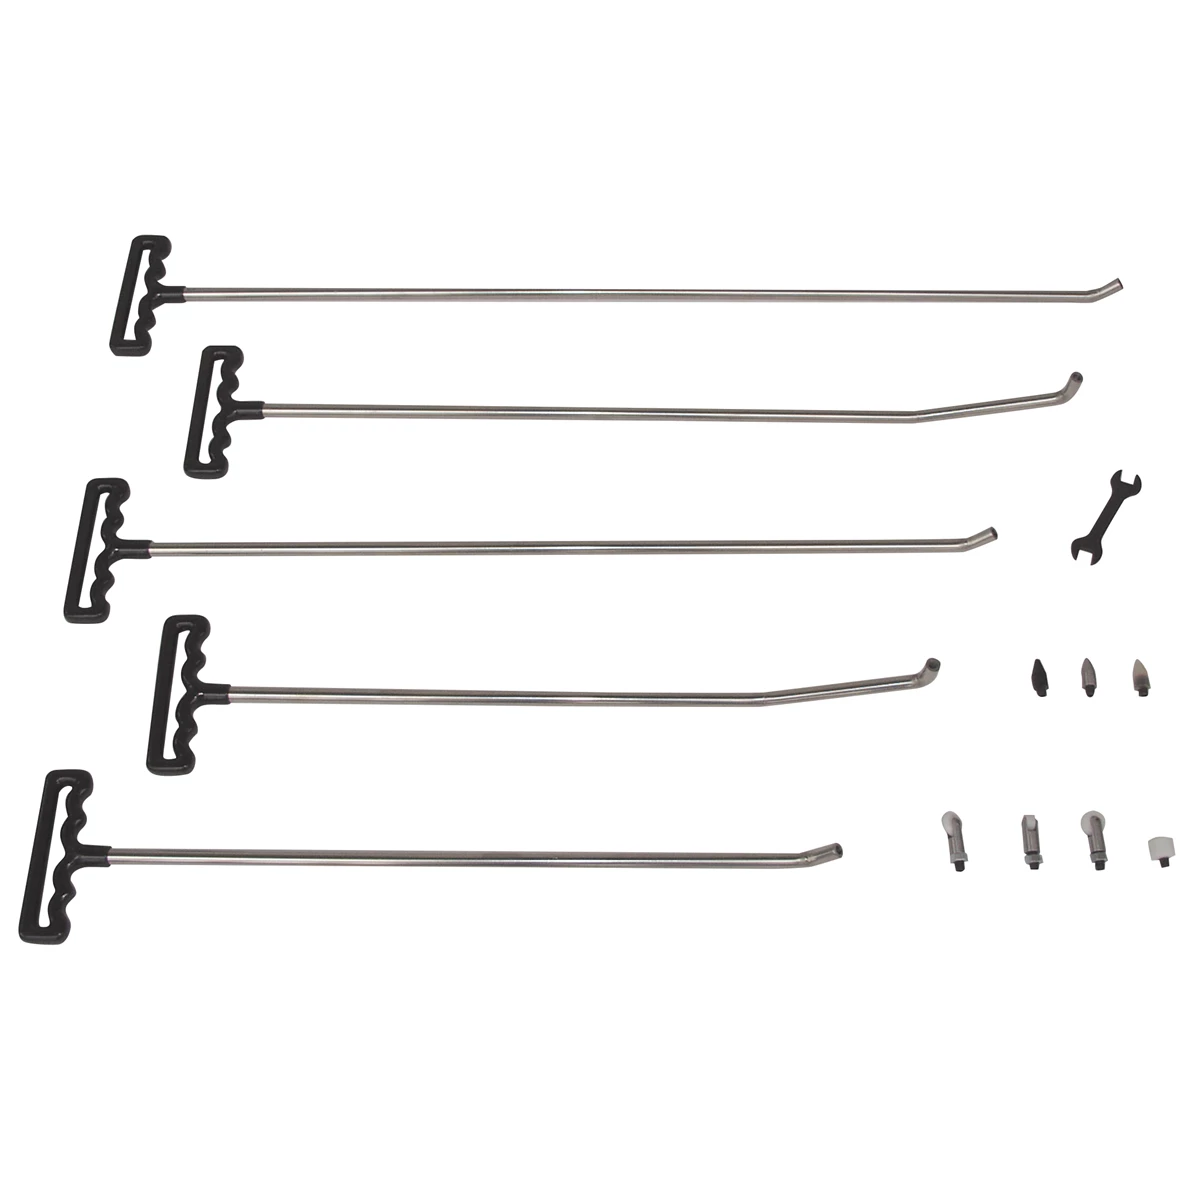
Roller Rod Paintless Dent Removal Kit
Mfg: Lock Technology LTI by Milton
Part #: LT825D
Quarter Panel, Dogleg, and Wheel Checks
Damage that wraps around the rear door frequently continues into the quarter panel and the dogleg (the vertical structural section behind the rear door, ahead of the wheel arch). This area is repairable more often than shops assume, but it requires care:
Metal-finish and section the dogleg rather than replacing the full quarter panel when the damage is localized — full quarter replacement is a major structural job that should be reserved for cases where the panel is torn, creased through multiple ribs, or rusted from age. Check wheel arch clearance after any repair in this area; a pushed-in arch will rub the tire under full steering lock or suspension travel, which won’t show up on a static inspection. If the wheel itself was struck, check for rim cracks (especially on aluminum wheels), bent barrels, and out-of-round conditions with the wheel off the vehicle, not just by eye while mounted.
Blending Adjacent Panels for a Color Match
Even a perfect repair looks wrong if the paint doesn’t match, and factory paint fades and ages unevenly across a vehicle’s life. Standard practice on side-impact work:
Blend at least one panel forward and one panel aft of the repaired area — typically the front door and the roof edge or C-pillar if the damage centers on the rear door and quarter panel. Roof panels frequently need a blend as well when quarter panel work runs up to the drip rail, since color and gloss differences are highly visible on a horizontal surface under direct light. Always pull a spray-out card in the booth before committing to the full panel; factory tint variance between build batches is common enough that even a correct paint code can read slightly off without a test blend. Feather the clear coat well beyond the blend edge and wet-sand it flat before final buff to avoid a visible ring where old and new clear meet.
Confirm There’s No Hidden Structural Damage
Before closing out any side-impact repair, rule out damage that affects safety systems, not just appearance:
Inspect the B-pillar and rocker panel for creases or paint cracking, which indicate the impact transferred into the vehicle’s structure. Check that side curtain airbag wiring and sensors near the pillar and door are undamaged and properly seated if the door or pillar area was opened up for repair. Verify door latch and side-impact beam function meets factory spec — a door that closes but doesn’t latch correctly under load is a safety issue, not a cosmetic one. If the vehicle has door-mounted blind spot or proximity sensors, recalibrate or at minimum function-test them after any door or mirror work in the area.
Product tip: for shops doing their own panel alignment and blend work in-house, a good digital paint depth gauge and a basic collision estimating reference pay for themselves quickly by catching hidden filler or prior repairs before you quote a job.
Insurance Claim or Out-of-Pocket: What to Tell the Customer
Techs get asked this constantly, and while the financial decision is the customer’s, they usually don’t know the actual repair scope until you tell them. A few things worth passing along:
Give a written estimate range before they decide, not a verbal guess — door, quarter panel, wheel, and blend work on a modern vehicle regularly lands between $2,500 and $6,000+, well above what most people assume from looking at a scrape. If the damage involves a comparable-generation vehicle with cosmetic-only damage but expensive parts (alloy wheels, complex trim, ADAS sensors), flag that insurers may total the car rather than repair it — that changes the customer’s calculus entirely. Remind customers that a claim, even one where they’re not at fault, can still affect renewal pricing depending on their insurer and state; that’s a conversation between them and their agent, not something a shop should promise either way. Document everything with photos before disassembly — it protects the shop and gives the customer’s insurer a clear record if the claim gets contested later.
Quick Pre-Estimate Checklist
- Walk the full impact path for secondary ripples, not just the primary gouge
- Open/close the door to check for binding, frame damage, or hinge issues
- Pull the interior panel and inspect the impact beam before deciding repair vs. replace
- Check wheel, tire, and arch clearance on the impacted side
- Inspect the dogleg and quarter panel for sectioning candidacy vs. full replacement
- Plan blend panels (forward and aft) and pull a spray-out card before painting
- Confirm pillar, latch, and airbag sensor integrity before closing out the job


FAQs
Can a door skin actually be repaired instead of replaced?
Yes, if the gouge doesn’t cross a structural rib line and the impact beam behind it is straight. Pull the interior panel to check the beam directly — don’t assess from the outside alone.
Is a used door from a salvage yard a reliable option?
Often, yes, and it can cut parts cost substantially. Inspect the impact beam, hinge mounts, and frame in person or via detailed photos first, since color-matched used doors can carry hidden prior damage.
How many panels typically need to be blended after a quarter panel or door repair?
Plan for at least one panel on either side of the repair, plus the roof edge if the quarter panel work runs up to the drip rail. Fewer blends risk a visible mismatch.
Does this kind of damage always total the car?
Not usually if it’s cosmetic, but total-loss risk goes up fast on newer vehicles with alloy wheels, complex trim, or ADAS sensors in the damaged area, since parts and calibration costs stack quickly against the vehicle’s value.
Should the wheel always come off for inspection after a side impact?
If the impact was hard enough to gouge the door or quarter panel, yes — check the wheel off the car for cracks, bent flanges, and out-of-round conditions rather than relying on a visual check while mounted.
What’s the biggest thing shops miss on these estimates?
Structural and mechanical damage hiding behind cosmetic damage — bent impact beams, pushed wheel arches, and pillar stress that don’t show up until the panel is opened up or the vehicle is put on a lift.
Recommended Paint & Body Supplies
Assessing and repairing side-impact door and quarter panel damage requires proper primers, fillers, sanding materials, and finishing supplies. Browse our Paint & Body selection to stock your shop with tools and materials for quality body work and paint prep.
- Primers, fillers, and body repair compounds
- Sanding, buffing, and surface preparation materials
- Paint mixing supplies and blend testing tools

The Toolsource Technical Team blends decades of real-world automotive service experience with up-to-date technical research. Our writers collaborate with professional mechanics, shop owners, and diagnostic specialists to deliver practical, workshop-ready guidance you can trust.


Follow us on social media