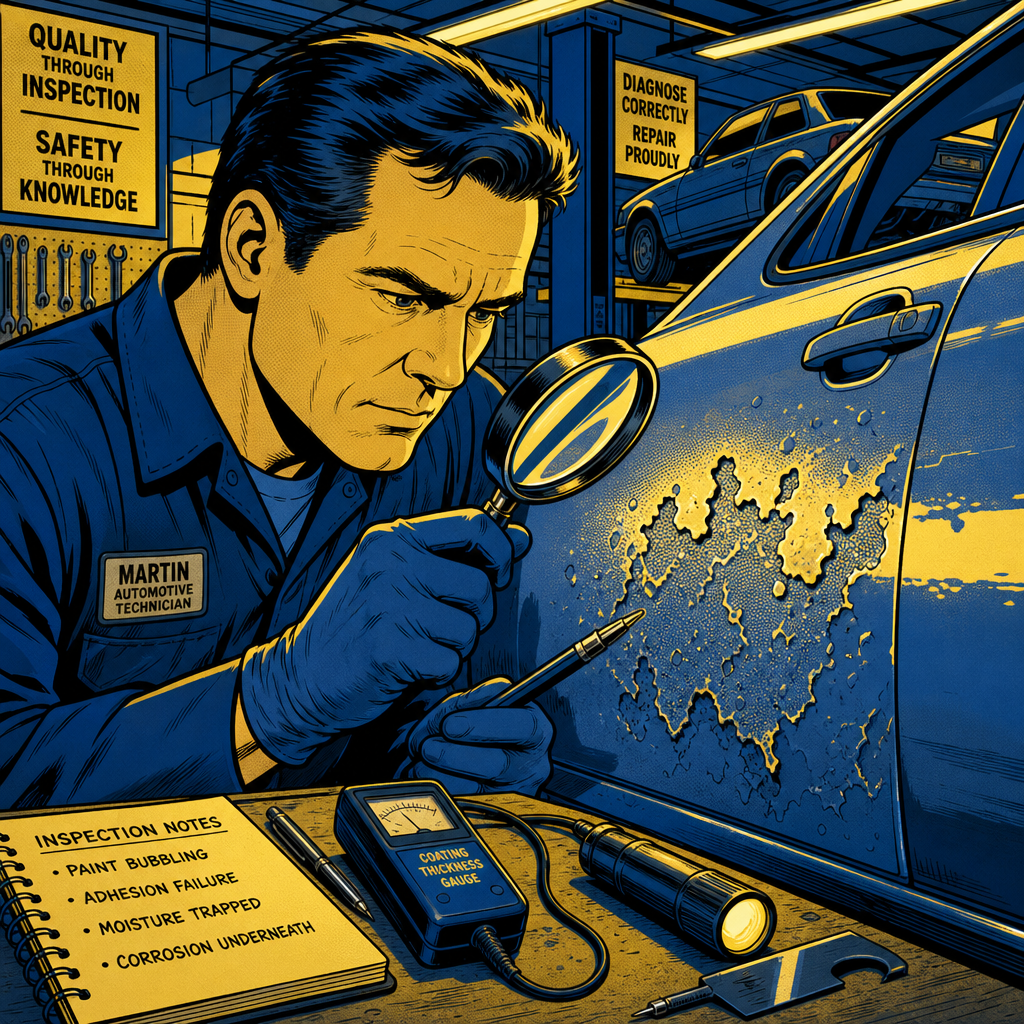
When a customer rolls in with unusual paint bubbling and peeling on a door panel—especially on a relatively new vehicle—you’re almost certainly looking at a failed previous repair rather than a factory defect. The swirling, circular pattern of paint failure with exposed primer underneath is a telltale signature of bodywork that was rushed, improperly prepared, or executed with incompatible materials. This type of failure doesn’t happen overnight and often indicates multiple underlying issues: inadequate surface preparation, improper primer selection, insufficient cure times, or excessive filler application. For technicians, properly diagnosing these failures means understanding what went wrong in the original repair and communicating the scope of work needed to fix it correctly.
Identifying Previous Body Repairs Through Paint Analysis
The first step in diagnosing paint bubbling is determining whether the panel has been previously repaired. Even on vehicles with clean history reports, undisclosed collision repairs are surprisingly common. Dealerships can legally repair transport damage, lot damage, or even factory defects below certain dollar thresholds without disclosure to buyers. This means a “brand new” vehicle may have already been through a body shop before the first sale.
Start your visual inspection by examining the paint surface under good lighting. Look for texture inconsistencies, slight color variations, or orange peel patterns that differ from adjacent panels. The bubbling pattern itself provides clues: circular or swirling patterns typically indicate localized heating (from welding, improper paint curing, or heat gun use), while linear bubbling often follows bodylines where filler was applied. In the affected area, you’ll usually see white or gray primer beneath the lifted paint—if it’s pure white primer on a GM vehicle that originally came in gray or darker colors, that’s a dead giveaway of aftermarket work, since GM doesn’t use white primer on those factory finishes.
Check the backside of any loose paint chips you can safely remove. Factory paint includes an e-coat layer that appears as a distinctive greenish-tan color when viewed from behind. If you see this e-coat, the failure occurred in a factory-applied layer or its preparation. If the paint backing shows any other color or no e-coat at all, you’re definitely looking at a repaint. This simple test takes seconds and provides definitive evidence of previous work.
Using Paint Thickness Gauges for Definitive Assessment
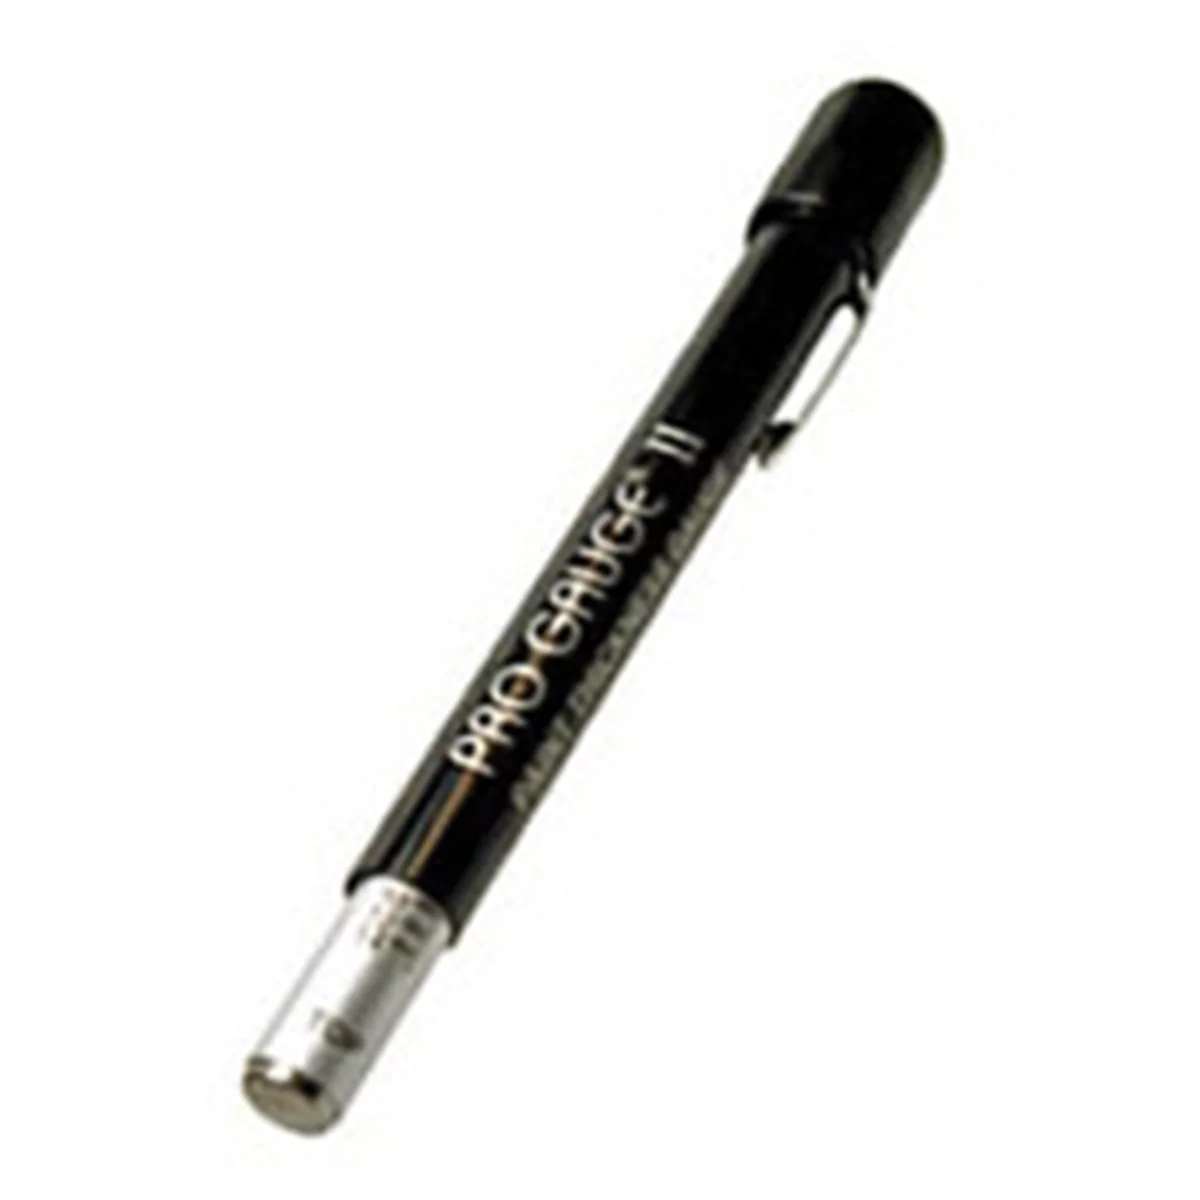

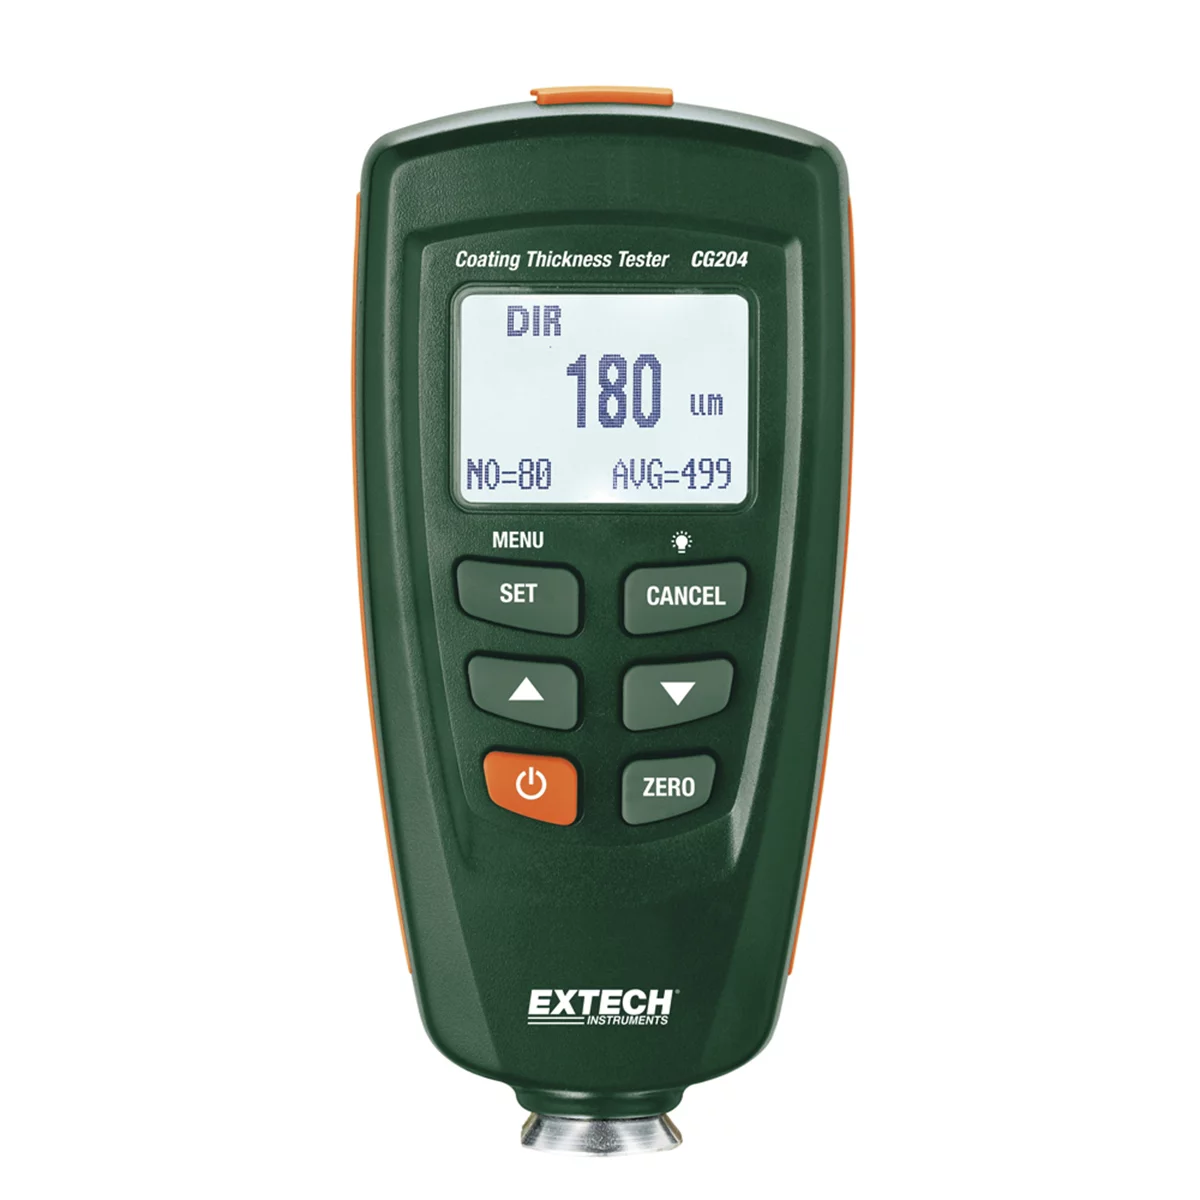
A paint thickness gauge (also called a paint depth gauge or mil gauge) is your most reliable diagnostic tool for confirming previous bodywork. These electronic devices measure the total thickness of paint and filler over the metal substrate, giving you precise readings in mils or microns. Factory paint typically measures between 3-6 mils total thickness depending on the manufacturer. Readings above 8-10 mils almost certainly indicate body filler, additional paint layers, or both.
Take systematic measurements across the suspected panel and compare them to adjacent, undamaged panels on the same vehicle. Document readings at multiple points: upper door, mid-panel, lower door, and along all edges. Consistency matters—factory paint shows relatively uniform thickness across a panel, while repaired areas often show dramatic variations. A reading of 15-20 mils in the center of a door panel tapering to 5 mils at the edges clearly maps out where filler was applied.
Don’t limit your inspection to the obviously damaged area. Extend your gauge readings to surrounding panels, the door jamb, and the rocker panel below. Previous collision work often affects multiple panels, and finding repairs on adjacent areas helps you reconstruct what actually happened to the vehicle. This documentation is crucial for warranty claims, insurance assessments, and customer communication. Record your findings with photos showing the gauge display against each measurement location.
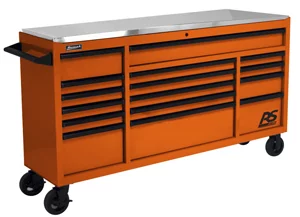
7two inch RS PRO 16-DRWR WRKSTTION W/ SS TOP
Mfg: Homak Tool Storage
Part #: HMRD04072164
ID: 390891
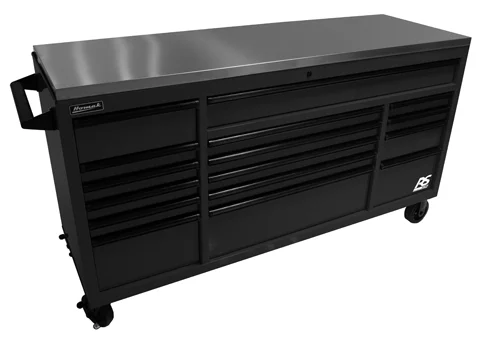
7two inch RS PRO 16-DRWR WRKSTTION W/ SS TOP
Mfg: Homak Tool Storage
Part #: HMBK04072164
ID: 403527
Common Causes of Paint and Primer Failure
Once you’ve confirmed previous bodywork, understanding why it failed helps you plan the correct repair strategy. The most common culprit is inadequate cure time between application stages. Production pressure leads some shops to apply paint over primer that hasn’t fully cured, or worse, over body filler that’s still undergoing chemical reactions. When uncured materials continue to off-gas beneath a sealed paint surface, those trapped gases create the bubbles and lifting you’re seeing. This problem appears weeks or months after the repair as underlying materials continue their curing process.
UV-cure primers have become increasingly popular in production shops because they dramatically reduce cycle times—parts can be ready for paint in minutes rather than hours. However, UV primers fail spectacularly when applied too thick. The UV light can’t penetrate beyond the surface layer, leaving uncured material beneath that never fully hardens. As it continues trying to cure, it shrinks, outgasses, and loses adhesion to both the substrate below and the paint above. The bubble pattern from UV primer failure is often particularly aggressive, with multiple bubbles appearing simultaneously across the repair area.
Another frequent issue is painting directly over bare metal or improperly prepared surfaces without adequate etch primer. Modern automotive paints require proper adhesion promoters on bare metal substrates. Skipping the etch primer step—usually to save time and money—means the paint system has no chemical bond to the metal. It may look fine initially, but environmental exposure, temperature cycling, and humidity intrusion cause rapid delamination. Similarly, contamination between layers from oils, silicones, or cleaning residues prevents proper adhesion and leads to eventual failure.
Excessive body filler application compounds these problems. Some shops apply filler in layers exceeding half an inch thick to avoid the labor of proper metalwork. Thick filler takes longer to cure throughout its depth, traps moisture, flexes differently than surrounding metal, and creates stress points where paint eventually cracks and lifts. Professional body techs know that filler should be the final touch after metalwork brings the panel close to its original contour, not a substitute for proper collision repair technique.
Moisture Intrusion and Environmental Factors
Paint failure doesn’t always indicate poor workmanship—sometimes environmental factors attack even properly executed repairs. Moisture trapped between paint layers acts as a catalyst for failure, especially in door panels where water intrusion from window channels or door seals is common. Water penetrating through existing micro-cracks reaches the primer or filler layer, where it undermines adhesion and accelerates corrosion of the underlying metal. As moisture freezes and thaws through seasonal temperature cycles, it mechanically forces paint layers apart from inside.
Heat exposure accelerates all these failure modes. The swirling pattern often seen in paint bubbling can result from localized heating during repair (from welding operations or aggressive heat gun use during paint drying) or from subsequent environmental exposure. Door panels face direct sunlight in most parking orientations, and dark-colored panels can reach temperatures exceeding 180°F on summer days. These temperature extremes cause differential expansion between paint, primer, filler, and metal—each material expands and contracts at different rates, creating shear forces at the interfaces. Repairs that barely held together under normal conditions fail rapidly under thermal stress.
Inspection Protocol and Documentation Checklist
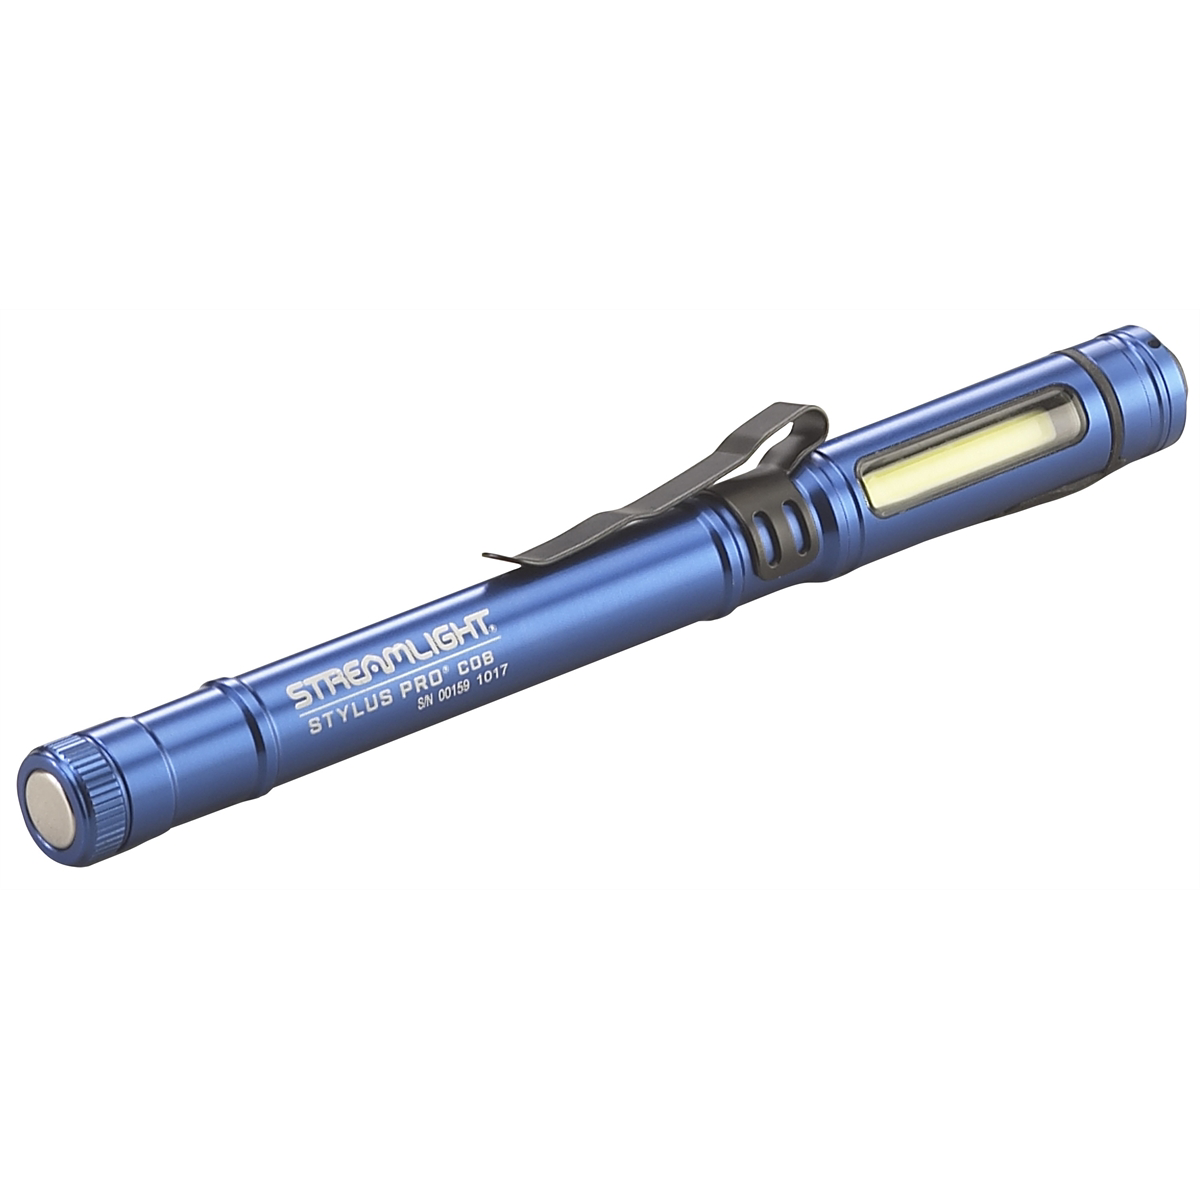
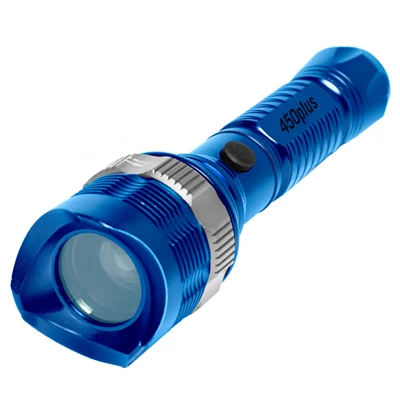
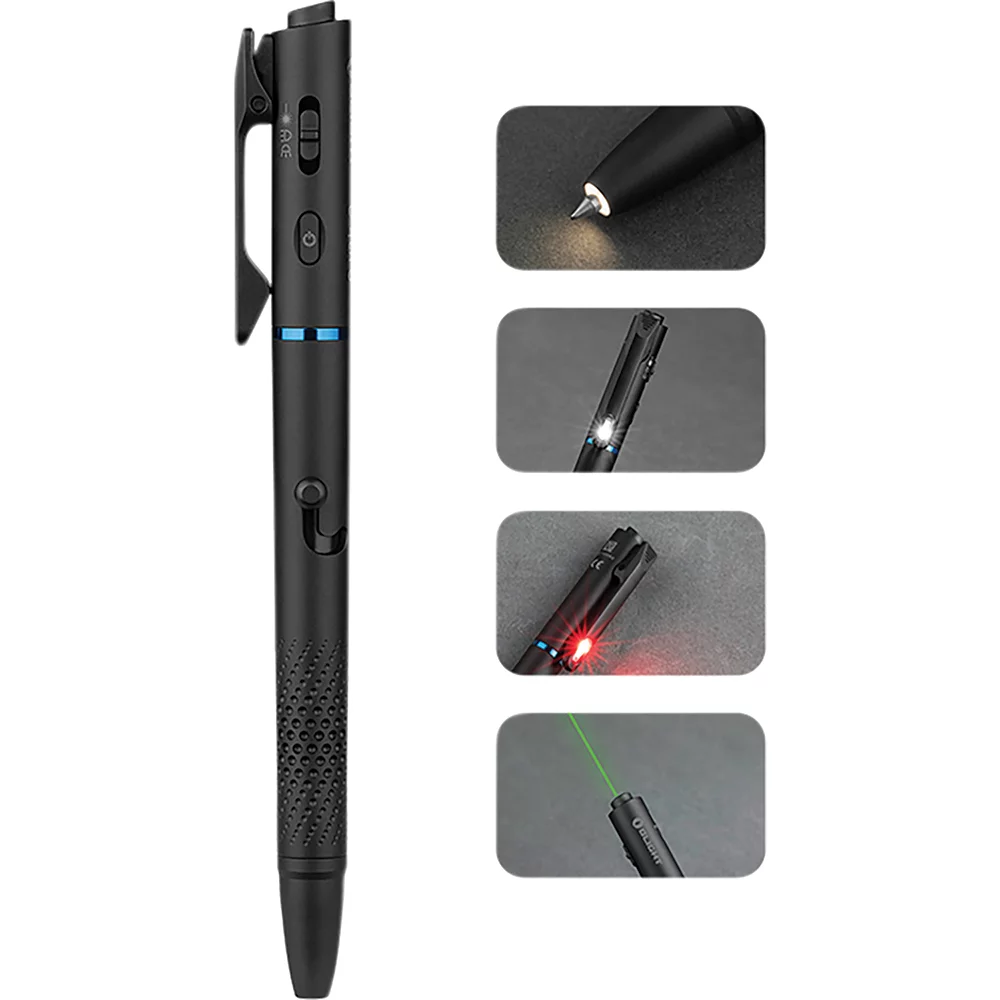
4-in-1 penlight with white/red light, green laser, USB-C cha
Mfg: OLIGHT
Part #: OLOPEN3BK
Establish a systematic approach for every paint failure diagnosis to ensure you don’t miss critical details and to create documentation that supports warranty claims or customer disputes. Start with overall vehicle photography showing the problem in context, then move to detailed close-ups of the affected area. Use consistent lighting and include a scale reference in photos when possible.
Complete Inspection Checklist:
- Photograph affected area from multiple angles with proper lighting
- Measure paint thickness at 8-10 points on affected panel and record readings
- Measure adjacent undamaged panels for baseline comparison
- Inspect and photograph inside of paint chips for e-coat presence
- Check door jambs, edges, and weather stripping for overspray evidence
- Review vehicle history report and service records for collision claims
- Document VIN and check manufacturer warranty system for repair history
- Assess surrounding panels for related damage or repair evidence
- Note any color mismatch, texture differences, or orange peel variations
- Test paint adhesion on bubble edges with tape test if appropriate
For vehicles still under warranty or recently purchased, check the manufacturer’s warranty management system for repair records tied to the VIN. Transport damage, pre-delivery repairs, and factory paint warranties all leave electronic footprints that can confirm or rule out previous work. Don’t rely solely on the customer’s word or the selling dealer’s claims—verify through official channels when possible. This documentation protects you if warranty coverage is denied and provides leverage for customers dealing with dealers who made undisclosed repairs.
Communicating Findings and Repair Scope to Customers
Once you’ve completed your diagnosis, you face the challenging task of explaining to a customer that their relatively new vehicle has hidden previous damage and requires expensive repair. Start with the facts: show them your paint thickness readings compared to factory specifications, explain what the measurements mean in plain language, and walk them through the photographic evidence. Most customers aren’t trying to be difficult—they genuinely didn’t know about previous repairs and feel betrayed by whoever sold them the vehicle.
Be clear about what proper repair entails. The affected area needs to be stripped to bare metal, any body filler removed and metalwork assessed, proper corrosion treatment applied, then the entire paint system rebuilt from etch primer through final clear coat with adequate cure time between stages. Trying to patch over the existing failure by sanding and repainting will only result in repeated failure. Price the job correctly for doing it right—cutting corners to reduce the estimate just sets up another failure that damages your shop’s reputation.
Help customers understand their options for cost recovery. If the vehicle was recently purchased, they may have recourse against the selling dealer, especially if they can prove the dealer knew about the damage. If the vehicle is under factory warranty and you can document that the failure stems from factory or transport damage that was improperly repaired, the manufacturer may cover it. For older vehicles or used car purchases, the customer may be stuck with the cost, but at least they’ll understand why the problem occurred and what’s needed to fix it permanently.

Frequently Asked Questions
Can paint bubbling be caused by anything other than previous body repairs?
While previous bodywork is the most common cause, factory paint defects can occasionally produce similar symptoms, though they’re rare. Bird droppings, tree sap, or chemical contamination that etches through clear coat can also create localized bubbling. However, the circular, swirling pattern with exposed primer typically indicates repair-related failure rather than environmental damage or factory defects.
How long does it typically take for a bad repair to start showing paint failure?
Timeline varies based on what went wrong in the original repair. Repairs with severely inadequate cure times may show bubbling within weeks, while marginal repairs might last 6-12 months before environmental stress triggers visible failure. UV primer applied too thick often fails within 2-4 months. Heat exposure, moisture intrusion, and temperature cycling all accelerate the failure process.
Is there any way to fix paint bubbling without stripping to bare metal?
Not if you want a lasting repair. Attempting to sand and repaint over failed adhesion just traps the same problems under a new surface layer. The underlying cause—whether it’s uncured material, contamination, or inadequate adhesion—will continue to undermine any new paint. Proper repair requires removing all failed material, addressing the root cause, and rebuilding the paint system correctly from the substrate up.
What does a paint thickness gauge reading tell me about body filler depth?
A paint thickness gauge measures total non-metallic thickness over the substrate, including all paint layers and any filler. Factory paint runs 3-6 mils typically, so readings above that indicate additional material. An 8-10 mil reading suggests repaint only, while 15-20+ mils indicates body filler. Readings exceeding 30-40 mils point to excessive filler application—more than a quarter-inch thick in some cases.
Can dealerships legally sell vehicles with undisclosed collision repairs?
Yes, within limits that vary by jurisdiction. Most areas allow dealers to repair transport damage, lot damage, and certain factory defects below threshold amounts (often $1000-3000) without disclosure. This means “brand new” vehicles may have been through body shops before sale. Used vehicles have even fewer disclosure requirements unless the damage meets state-specific definitions of “salvage” or “reconstructed” titles.
Why does paint failure often show a swirling or circular pattern?
The swirling pattern typically indicates localized heating during the repair process or subsequent heat exposure that caused differential expansion. It can result from welding operations, improper heat gun use during paint curing, or concentrated sun exposure on dark panels. As the heated area expands and contracts differently than surrounding material, it creates circular stress patterns that propagate outward from the heat source, causing the paint to lift in that distinctive swirling formation.
Paint & Body Tools for Diagnosis and Repair
Proper diagnosis of paint failure requires the right tools and materials. Our Paint & Body category stocks everything you need to assess and repair paint damage correctly.
- Paint thickness gauges and diagnostic equipment
- Primers, adhesion promoters, and paint system products
- Body filler, sanding supplies, and surface preparation materials
Essential Paint and Body Repair Tools
Addressing paint bubbling and peeling requires the right tools and products to properly diagnose and repair the damage. Our Paint and Body category offers everything you need to restore your vehicle’s finish and prevent future issues.
- Paint Prep and Surface Cleaner Products – Essential for removing contaminants before repair work begins
- Automotive Sanding and Grinding Tools – Professional-grade equipment for removing damaged paint layers
- Primer, Paint, and Protective Coatings – Quality finishing products to ensure lasting results

The Toolsource Technical Team blends decades of real-world automotive service experience with up-to-date technical research. Our writers collaborate with professional mechanics, shop owners, and diagnostic specialists to deliver practical, workshop-ready guidance you can trust.


Follow us on social media