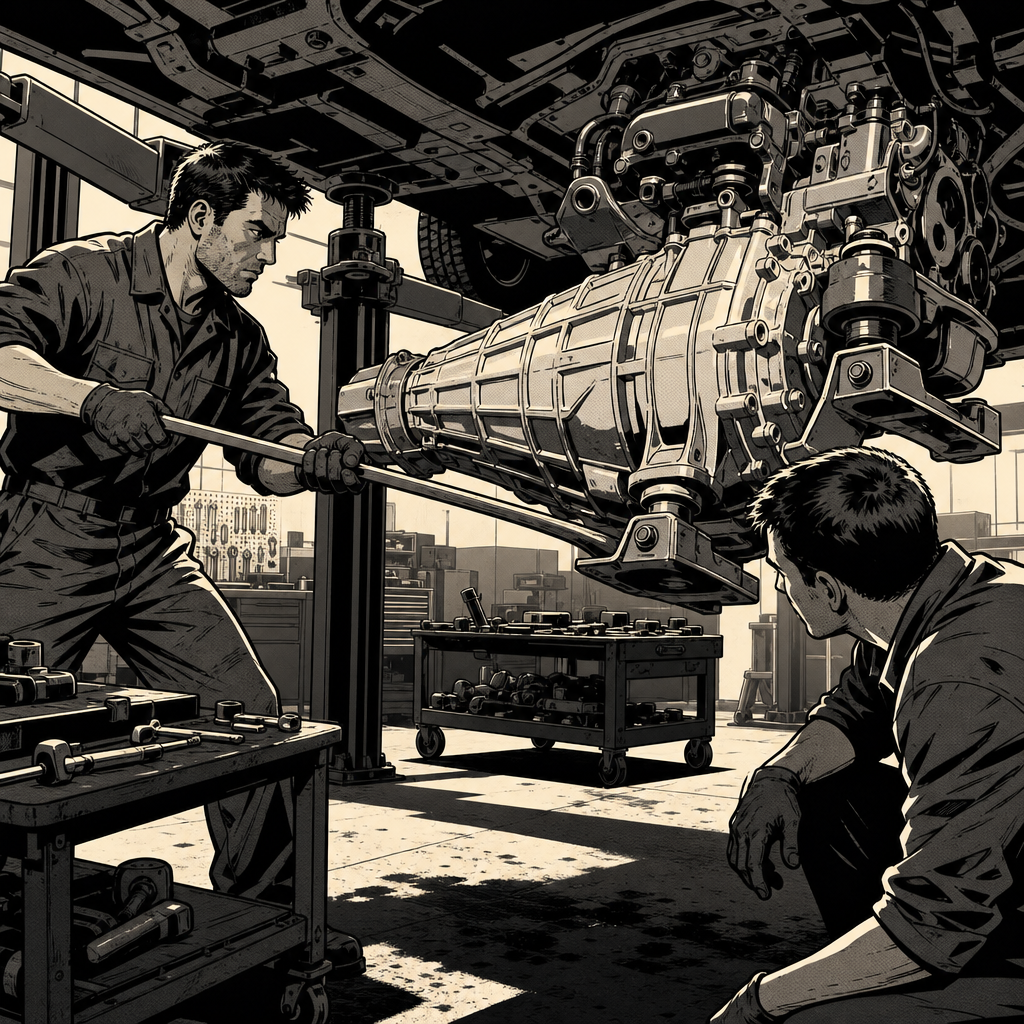
A customer comes back a week or two after a clutch replacement complaining that the shifter now rocks, shakes, or “twitches” under acceleration and load. It’s a common comeback, and the instinct to blame the new clutch is usually wrong. In the vast majority of these cases, the culprit is the powertrain mount system — either mounts that were never fully torqued during reassembly, mounts that were already marginal and finally gave up once a grabbier clutch put real torque through the driveline, or hardware that got backed out and never thread-locked. This guide walks through how to isolate the actual source of movement before you start throwing parts at it.
Why This Happens Right After a Clutch Replacement
Clutch jobs require dropping the transmission, which means every mount touching the engine and gearbox gets loosened, unbolted, or fully removed at some point. On many platforms, the lower transmission mount (sometimes called the dogbone or torque-strut mount) bolts directly to the gearbox case rather than the block, and its entire job is to control fore-aft rocking of the drivetrain under acceleration and deceleration. If that mount is reinstalled loose, cross-threaded, or simply never torqued to spec in the rush to close out the job, the engine and transmission are now free to rock on the remaining mounts.
There’s also a second, less obvious mechanism: a worn clutch masks mount problems by slipping instead of transmitting full torque. Once a new clutch grabs properly, the same torque spike that used to just cause slip now gets transmitted straight into mounts that were already tired. The clutch didn’t cause the problem — it revealed one that was already there. This is exactly the kind of finding that needs to be documented clearly for the customer, because “your new clutch found a preexisting problem” is a hard sell if it isn’t explained well.
Isolating Mounts vs. Linkage vs. Bellhousing Hardware
Before condemning mounts, confirm the movement is actually coming from the drivetrain and not from a shift cable or linkage bushing that got disturbed during reassembly. The distinction matters because the fix and the comeback conversation are completely different.
- Have the customer or a second tech watch the shifter while you rev the engine in neutral, under a load hold (foot on brake, clutch engaged, light throttle in gear), and during a hard takeoff. Movement that correlates with throttle input and engine load points to mounts. Constant looseness or play with no correlation to load points to worn shift linkage bushings or a stretched cable.
- With the vehicle safely supported, use a pry bar between the transmission case and the crossmember or subframe while a second person watches and feels for movement at each mount location. Compare side-to-side and front-to-back travel against a known-good reference if you have one on the lift.
- Visually inspect bellhousing-to-block bolts for witness marks, paint pen marks that have shifted, or bolts that are visibly loose. A bellhousing that isn’t fully seated or torqued will produce exactly this kind of drivetrain shake, and it’s an easy thing to miss when you’re focused on the clutch disc and pressure plate.
If it’s a direct-shift linkage (rod-type, no cables), inspect the shift turret bushings too — worn bushings usually produce constant sloppiness rather than load-dependent rocking, but on higher-mileage cars both problems can be present at once.

1/2 Inch Drive Computorq III Electronic Torque Wrench 300-3000 i
Mfg: CDI Torque Products
Part #: 2503CF3HA

1/2 Inch Drive Dial Torque Wrench - 0-240 Nm
Mfg: CDI Torque Products
Part #: 2403NLDNSS

3/4" Drive Dial Torque Wrench 120-600 ft-lbs(16-80 kg.m)
Mfg: Precision Instruments
Part #: D4F600CFM
Inspecting and Testing Engine and Transmission Mounts
Once you’ve confirmed the movement tracks with engine load, go mount by mount. Most FWD and transverse-engine platforms have three or four mount points: a passenger-side engine mount, a driver-side (transmission) mount, a rear or lower torque-strut mount, and sometimes an upper torque-strut/dogbone mount. RWD platforms typically have two engine mounts and one or two transmission crossmember mounts.
- Visual check: Look for cracked, separated, or oil-soaked rubber, and for hydraulic mounts, check for fluid leakage or a mount that’s visibly sagged compared to its mate on the other side.
- Pry test: With the engine off, pry against each mount and watch for excessive metal-to-metal travel or a mount bracket that moves independently of the rubber/hydraulic element inside it — that indicates the bonding has failed internally even if the rubber looks intact from outside.
- Torque check: Before replacing anything, check that every mount bolt and bracket bolt is actually torqued to spec. This is the single most common miss after a clutch job — a bolt that was hand-started and never finished. Pull the torque spec for the specific mount and verify each fastener.
- Load test: With the mount bolts confirmed tight, have someone apply the brake and put light load on the driveline (clutch engaged, in gear, light throttle) while you watch for engine/trans movement at each mount. Excessive travel at one point isolates the bad mount.
Pay particular attention to the mount that had to be disturbed to drop the transmission — on many platforms that’s the lower/rear mount bolted to the transmission case itself, and it’s the one most likely to have been reinstalled loose or damaged during the R&R.
Checking Shift Linkage and Cables
If the pry and load tests come back clean on the mounts, move to the shifter mechanism itself. Cable-shift systems have bushings at both ends of the cable and at the transmission shift arm that wear over time and can be knocked loose during a transmission removal. Rod-linkage systems have similar wear points at the shift turret and selector shaft. Inspect these bushings for play, and check that any clips or retainers that hold the cable ends in place weren’t left off during reassembly — it happens more often than techs like to admit when a job is rushed.
Reinstallation and Torque Best Practices to Prevent This
Whether you’re the tech fixing the comeback or the one trying to avoid causing it, a few habits eliminate most of these issues:
- Torque every mount bolt to spec with a calibrated wrench as you go — don’t leave “finish tightening” for later in the job when it’s easy to forget.
- Use thread locker on bellhousing and mount hardware where the manufacturer specifies it, especially on bolts that see constant vibration and cyclic load.
- Mark bolts with paint pen after final torque so a comeback inspection can instantly show whether a fastener has moved.
- Inspect mounts for wear while the transmission is out — replacing a marginal mount during the clutch job costs a fraction of what a second teardown costs, and it avoids exactly this kind of comeback.
- Document mount condition on the repair order regardless of whether you replace them, so there’s a clear record if a customer returns later with a mount complaint at higher mileage.
Checklist: Diagnosing Post-Clutch Shifter Movement
- Confirm movement correlates with engine load/throttle, not constant play
- Pry-test each mount with engine off and compare side to side
- Verify torque on every mount bolt and bracket, especially the one removed for trans R&R
- Inspect bellhousing-to-block bolts for proper seating and torque
- Check shift cable/linkage bushings and retaining clips if mounts test good
- Load-test with brake applied and light throttle in gear to isolate the failing mount
- Document findings and mileage on the RO before quoting additional repair

Frequently Asked Questions
Can a bad transmission mount really cause the shifter to move?
Yes. If the mount that controls drivetrain rocking is loose or worn, the entire engine and transmission assembly shifts under load, and that motion transmits directly through the shift linkage or shift rod, making it look like a shifter problem when the root cause is the mount.
Is it normal for this to show up right after a clutch replacement even if the mounts weren’t touched?
It can be. A worn clutch often slips instead of transmitting full torque, which masks a marginal mount. Once a new clutch grabs properly, the same torque now rocks the drivetrain enough to be noticeable, even though the mount itself wasn’t part of the job.
Should the shop that did the clutch job be responsible for fixing this?
If a mount had to be loosened or removed to drop the transmission and it wasn’t retorqued to spec, that’s a comeback the shop should address, ideally with reduced labor since the transmission is already out of position. If the mount was already worn and undocumented before the job, it’s a judgment call based on mileage since the repair and what the original RO shows.
What’s the difference between a mount problem and a linkage problem?
Mount-related movement tracks with engine load and throttle input — it gets worse under acceleration or when holding the car against the brake in gear. Linkage or bushing wear tends to produce a constant sloppy or notchy feel regardless of load, though both can be present together on higher-mileage vehicles.
Can I just retorque the mounts instead of replacing them?
Only if the rubber or hydraulic element is intact and the bracket itself isn’t cracked or separated. If the pry test shows internal movement within the mount even after confirming torque, the mount needs replacement — retorquing a failed mount won’t fix it.
How do I know which specific mount is causing the movement?
Isolate it with a load test: apply the brake, put the car in gear with light throttle, and watch each mount individually while a second person is inside applying load. The mount with the most travel relative to its bracket is the one that’s failed.
Drive Train Tools for Mount Diagnosis and Repair
The diagnostic and repair procedures in this guide require proper tools and fasteners for inspection, removal, and reinstallation. Find what you need in our Drive Train – Transmission Tools selection.
- Torque wrenches and socket sets for fastener verification
- Pry bars and measurement tools for load testing mounts
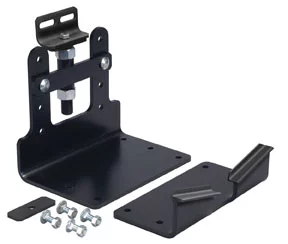
- Mount removal, installation, and retention hardware

The Toolsource Technical Team blends decades of real-world automotive service experience with up-to-date technical research. Our writers collaborate with professional mechanics, shop owners, and diagnostic specialists to deliver practical, workshop-ready guidance you can trust.


Follow us on social media