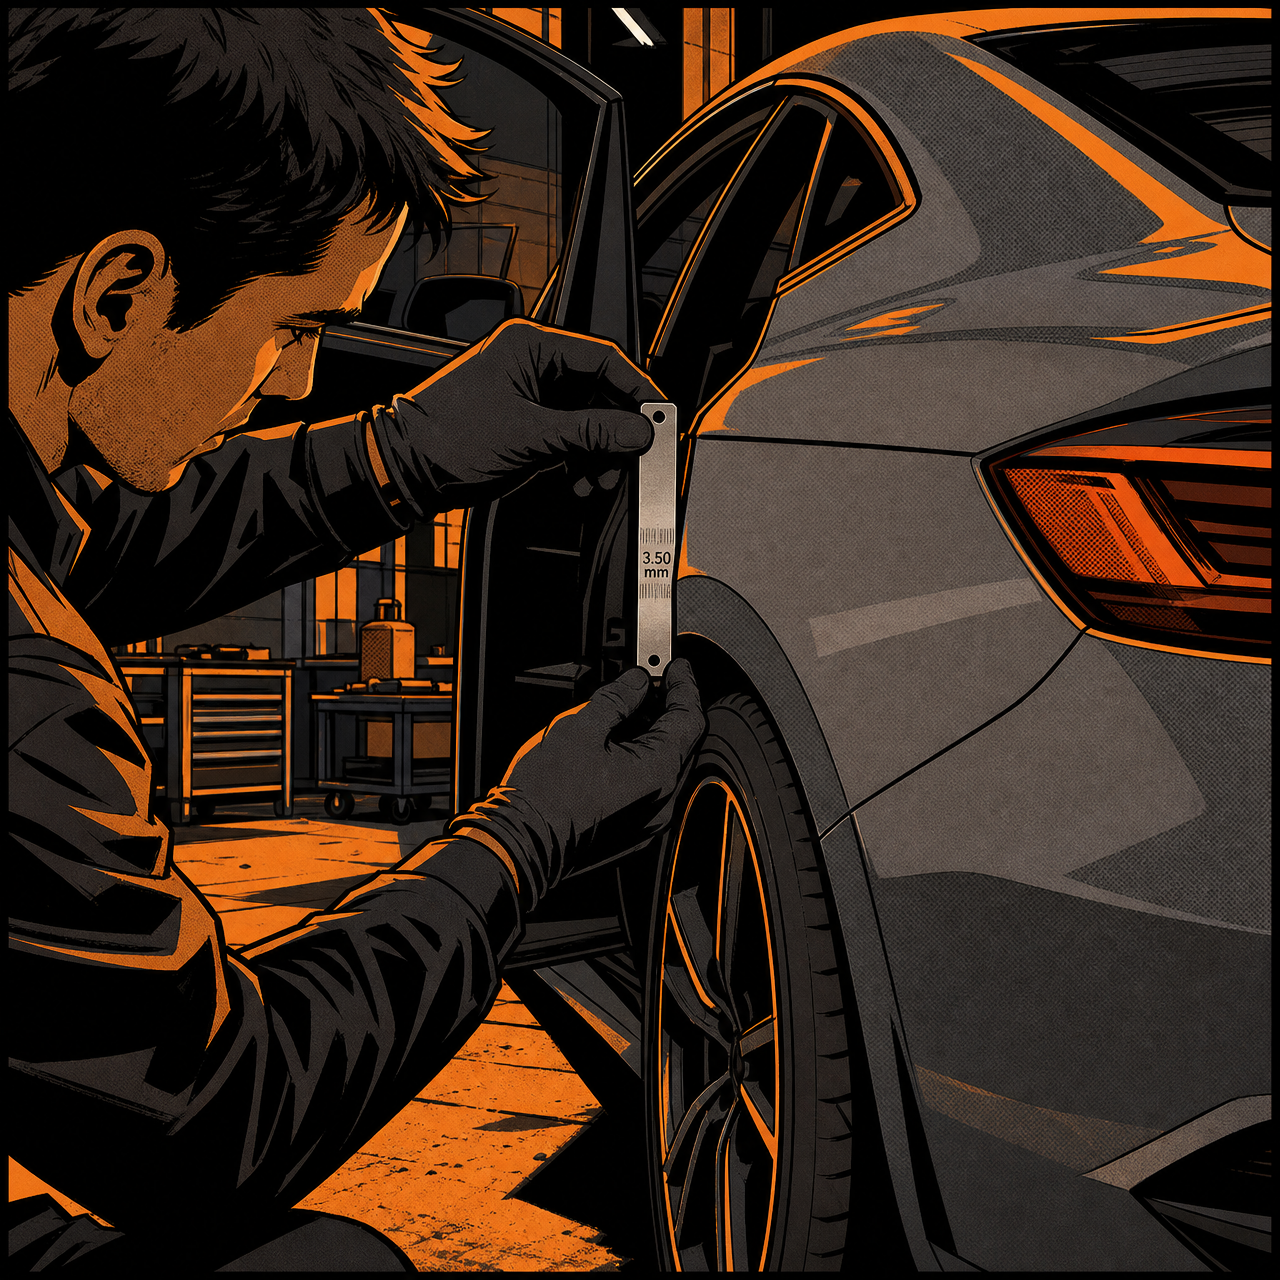
Online reaction to the latest crop of sporty four-door coupes keeps circling back to the same details: rear doors that “disappear” into the bodyline, proportions borrowed from old-school grand tourers, and a running joke about build quality on certain European badges. Those styling choices aren’t just design trivia — they translate directly into new failure points and repair procedures showing up in bays right now. Flush and concealed handles, tight four-door-on-a-coupe-shell panel gaps, and the electrical complexity that comes with premium European trim all demand a different diagnostic approach than a decade-old sedan. This guide walks through the practical steps for handling these vehicles correctly the first time, from handle actuator diagnosis to clutch service on the manual-equipped variants enthusiasts keep asking for.
1. Diagnosing Flush and Concealed Door Handle Mechanisms
Hidden rear handles and flush-mounted front handles aren’t a styling footnote — they’re a motorized or spring-loaded mechanism with their own failure modes. Most systems use a small electric actuator to present the handle on approach (tied to the key fob or a capacitive touch sensor) and a separate mechanical link for the emergency release.
- Start with the manual release. Every flush-handle door has a mechanical backup, usually accessed through a trim pocket, a map pocket, or a small cover near the interior pull. Confirm it works before you start chasing electrical gremlins — a customer complaint of “door won’t open” is sometimes just a dead 12V battery with no backup procedure explained to them.
- Check actuator current draw. A sluggish or silent actuator often draws low or erratic current versus spec. A sub-amp clamp on the actuator feed during a presentation cycle will tell you quickly whether you’re dealing with a seized motor, a worn gear, or a wiring/connector issue in the door jamb loom.
- Inspect the door jamb harness first. These mechanisms live in doors that flex and seal tightly against the body for the “disappearing” look. Repeated door cycles fatigue the accordion-style harness boot faster than on a conventional handle car. Pull the boot and look for chafing before replacing an actuator.
- Don’t skip the module reset. Many systems require a body control module relearn after actuator replacement or battery disconnect, or the handle will sit in a fault-locked position. Check service information for the specific relearn sequence rather than assuming a reconnect will sort it out.
Keep a dedicated small trim-tool set and a low-amp clamp meter on hand for this job — standard pry tools are too wide for the shallow trim clearances flush handles are built into, and you’ll crack a panel trying to force it.
2. Panel Gaps and Alignment on Long-Door Four-Door Coupes
The “coupe silhouette on a four-door shell” trend means rear doors are longer and heavier than a standard sedan’s, and the gaps around them are engineered tighter for the clean look buyers are paying for. That combination is unforgiving when a door sags even slightly.
- Check hinge pin wear early on any vehicle with these long doors — sagging shows up as handle misalignment, wind noise, and water intrusion before it shows up as a visibly crooked door.
- Use a panel gap gauge rather than eyeballing it. On these tighter-tolerance bodies, a 1–2mm deviation is enough to bind a flush handle mechanism or cause a seal leak that an eyeball check will miss.
- When replacing a door skin or hinge, re-torque and re-check alignment in stages — these doors are heavier than they look, and gravity will pull an under-torqued hinge out of spec within a few open/close cycles.


3. Electrical Diagnostics on Premium European Imports
Reliability jokes aside, the real-world pattern on these platforms is usually grounding and connector-related rather than catastrophic component failure. Before condemning a module, work the basics:
- Verify battery and charging system health first — low-voltage conditions on CAN-heavy platforms cause cascading, hard-to-diagnose faults in body control, infotainment, and handle/door modules simultaneously.
- Check chassis ground points near the doors, trunk, and engine bay. These are common corrosion and resistance points on vehicles that see road salt, and they mimic module failure symptoms.
- Pull full fault code history, not just current codes — intermittent handle, mirror, or lighting faults on these platforms often correlate with a voltage dip event logged elsewhere in the system.
- Use a factory-level or high-coverage aftermarket scan tool with bi-directional control for actuator and module tests; generic OBD-II readers won’t reach body control or comfort modules on most of these platforms.
4. Clutch and Linkage Service on Enthusiast-Spec Manuals
Manual transmissions are a smaller slice of these lineups, but the cars that get one tend to be driven harder by owners who specifically sought it out — meaning more aggressive clutch wear and more linkage complaints than the automatic-equipped majority.
- Bleed the hydraulic clutch circuit with a pressure bleeder rather than relying on pedal pumping; trapped air in these smaller-diameter concentric slave cylinder lines causes a soft pedal that’s easy to misdiagnose as clutch wear.
- Inspect the dual-mass flywheel for play before condemning the clutch disc — excessive rotational free play is a common root cause of chatter and clunk complaints that get blamed on the clutch kit.
- Check shift linkage bushings and cable ends on cable-shift setups; these wear faster on cars driven enthusiastically, producing vague or notchy shifts that mimic synchro wear.
5. Lightweight Body Panels and Repair Material Considerations
To hit the proportions and weight targets buyers associate with this design language, manufacturers increasingly mix aluminum, high-strength steel, and composite panels on the same body. That mix matters for collision and panel repair work:
- Confirm panel material before grinding, welding, or applying heat — aluminum requires dedicated, segregated tools to avoid galvanic contamination, and mixing steel dust into aluminum panel work causes corrosion down the line.
- Use a dedicated aluminum repair station (separate dust extraction, separate clamps and tools) if your shop handles both steel and aluminum body panels.
- Composite and SMC panels on quarter sections or hatches need adhesive bonding procedures, not traditional welding — check OEM repair procedures before assuming a dent-and-paint approach applies.
Quick Shop Checklist: Hidden-Handle, Long-Door Coupes
- Manual door release tested and shown to customer before handing back keys
- Actuator current draw checked against spec, not just “it moves”
- Door jamb harness boot inspected for chafing on high-cycle doors
- Panel gap measured with a gauge, not eyeballed
- Ground points near doors/trunk checked before module replacement
- Panel material confirmed before any grinding or welding near body lines

Topdon Pocket-Size Bluetooth Scan Tool w/Bi-Directional Controls
Mfg: TOPDON
Part #: TSPRO8PK
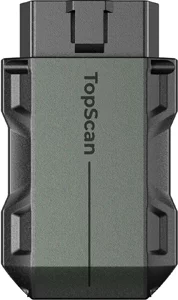
Pocket-Size Bluetooth Scan Tool w/Bi-Directional Controls
Mfg: TOPDON
Part #: TOPSCANPRO
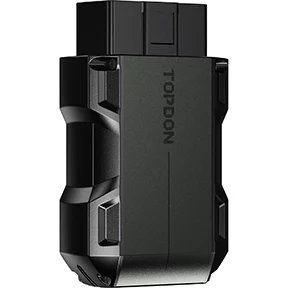
Topdon Pocket-Size Bluetooth Scan Tool w/Bi-Directional Cont
Mfg: TOPDON
Part #: TOPSCANLITE
FAQs
Why does the rear door handle feel stiff or slow to present itself?
This is usually a worn actuator gear, a weak 12V supply, or binding from a slightly misaligned door rather than a dead mechanism. Check battery voltage and current draw before replacing the actuator.
Is there always a mechanical backup for flush handles?
Yes, on virtually every production flush-handle system there’s a manual override, typically hidden under an interior trim cover. Locate and test it as part of any handle diagnosis.
Do these tighter panel gaps make minor collision repair more expensive?
Often yes — tighter tolerances mean less margin for error, so alignment work takes longer and is less forgiving of hinge or mounting wear that would go unnoticed on an older, looser-fitting body.
Can I use a generic OBD-II scanner on body control and door modules?
Generally no. Most comfort and body control modules, including handle actuators, require a scan tool with manufacturer-level coverage and bi-directional controls to run actuator tests and relearns.
What’s the biggest mistake shops make on aluminum-steel mixed bodies?
Using the same tools, grinding wheels, or clamps across both materials. Cross-contamination causes galvanic corrosion that shows up months later as bubbling or pitting near the repair.
Why would a manual-equipped version of the same model see more clutch complaints?
Self-selection — buyers who specifically order a manual in a mostly-automatic lineup tend to drive more aggressively, accelerating clutch and linkage wear relative to the broader fleet.
Recommended Specialty Tools
Servicing these vehicles requires more than a standard toolkit—the diagnostic procedures, panel alignment checks, and electrical testing outlined in this guide call for precision instruments. Browse our Automotive Specialty Tools selection to find the right equipment.
- Panel gap gauges and alignment tools for tight-tolerance four-door coupes
- Diagnostic scan tools with bi-directional control for body and comfort modules
- Precision trim tools and electrical testing equipment for door handle service

The Toolsource Technical Team blends decades of real-world automotive service experience with up-to-date technical research. Our writers collaborate with professional mechanics, shop owners, and diagnostic specialists to deliver practical, workshop-ready guidance you can trust.


Follow us on social media