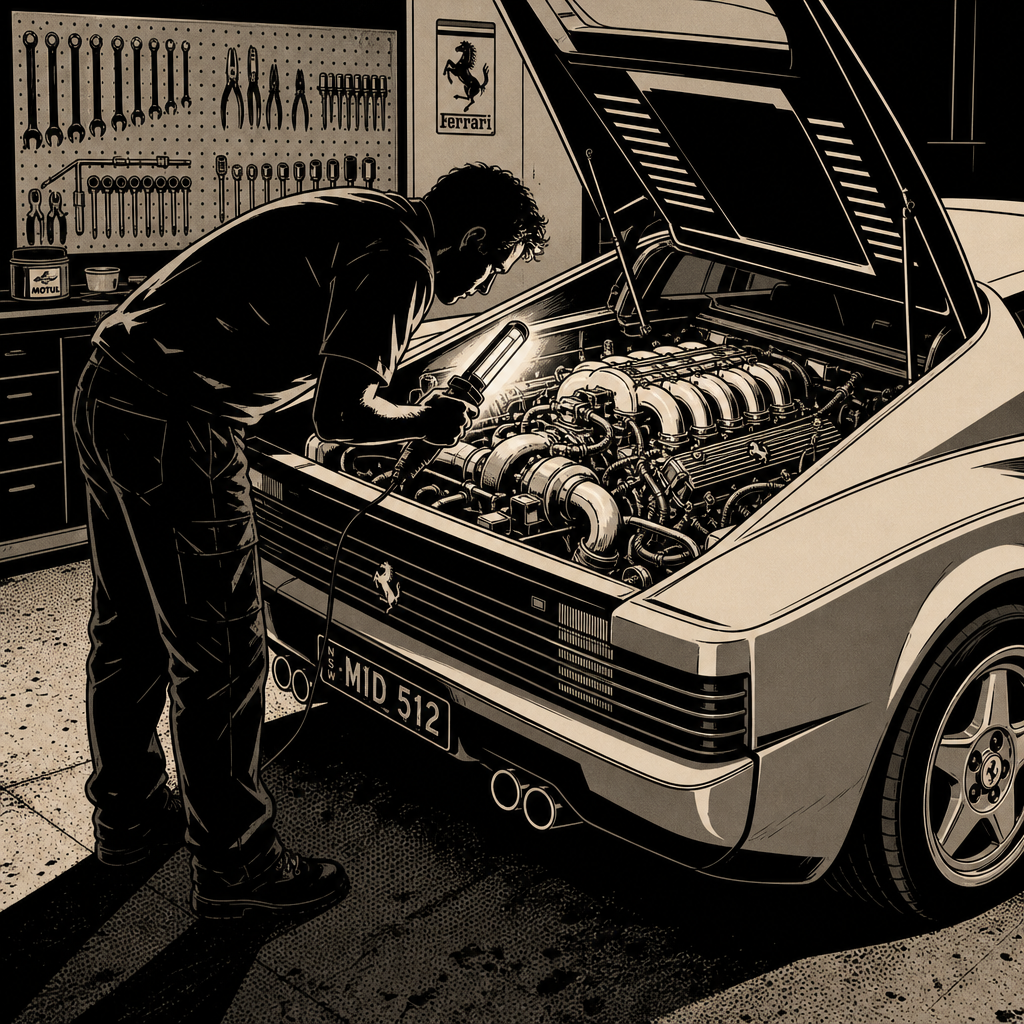
Every shop eventually gets the call: a customer towing in a “Ferrari” that, on closer inspection, is a Toyota MR2 wearing an F355-style fiberglass body kit. It happens more often than most technicians expect — SW20-generation MR2s were popular donor cars for Ferrari replica kits throughout the 1990s and 2000s, and enough of them survive that you’ll eventually have one on the lift. The badges, the rear deck, even the “Ferrari” script on the fender don’t change what’s underneath: a mid-engine, transverse four- or V6-cylinder Toyota platform with its own quirks, weak points, and parts ecosystem. Servicing one correctly starts with confirming what you’re actually looking at, then working around the kit rather than through it. This guide covers the practical steps for intake, verification, and repair on these cars, plus the tools that make the job faster and cleaner.
Confirm the Car Before You Touch It
Don’t take the customer’s word for what’s under the fiberglass — and don’t assume it’s a straightforward MR2 either, since some replica builds involve swapped engines, modified subframes, or relocated components to fit the kit’s proportions. Start every intake with the VIN, not the badge.
- Pull the VIN from the driver’s-side dash plate and door jamb sticker, then run it through a decoder. A genuine SW20 MR2 VIN will decode to Toyota, not Ferrari, regardless of what the fender says.
- Cross-reference the VIN plate against the firewall or frame-stamped VIN if you suspect any history of a salvage title, kit swap, or non-factory rebuild.
- Open the rear hatch/engine cover and photograph the engine bay before doing anything else. This documents the factory 3S-GE/3S-GTE (or later 3S-FE/3S-GE) configuration and protects you if a dispute comes up later about what was — or wasn’t — modified during your visit.
- Check state-specific kit car and replica titling rules if the customer is asking about registration or inspection, since some jurisdictions require the body kit to be disclosed separately from the base vehicle.
A handheld OBD-II scanner that reads manufacturer-specific PIDs is worth running here too — it will confirm the ECU is factory Toyota (or a documented aftermarket swap) rather than something the last owner half-finished. This single step avoids the single most common headache with kit cars: diagnosing a car based on assumptions about what engine or wiring harness is actually installed.
Know the Donor Platform’s Weak Points
Once you’ve confirmed it’s an SW20 (or occasionally an AW11 first-gen) underneath, treat it like any other 25-40 year old Japanese sports car with mid-engine packaging — the body kit is cosmetic, but the mechanical problems are all standard MR2 issues:
- Rust at the rear subframe and rocker panels. These cars were never great about corrosion protection, and a body kit often hides rust until it’s advanced, since fender flares and side skirts block visual inspection of the rocker seams.
- T-top seal failures. Many SW20s were sold with removable T-tops; the weatherstripping dries out and leaks into the cabin and onto the ECU harness routed nearby. Check the carpet and under-dash wiring for water staining on any T-top car regardless of body kit status.
- Timing belt and water pump intervals. The 3S-GTE turbo engines are interference designs — confirm belt service history independently of the kit’s cosmetic condition, since sellers focused on the exterior conversion often neglect drivetrain maintenance records.
- Fuel and coolant lines routed through tight mid-engine bays. Kits that extend the rear bodywork can restrict airflow to the radiator (front-mounted on the MR2, feeding rear-mounted engine coolant lines), so check for heat soak and line chafing that wouldn’t show up on a stock-bodied car.
These are the same failure points a well-kept factory MR2 would show, but a body kit makes them harder to spot during a walk-around inspection, so budget extra diagnostic time versus a stock car.
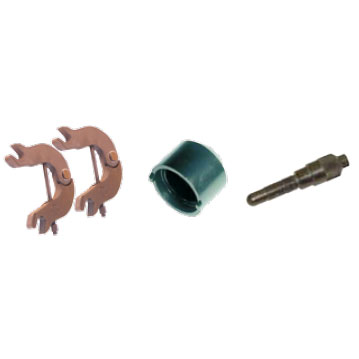
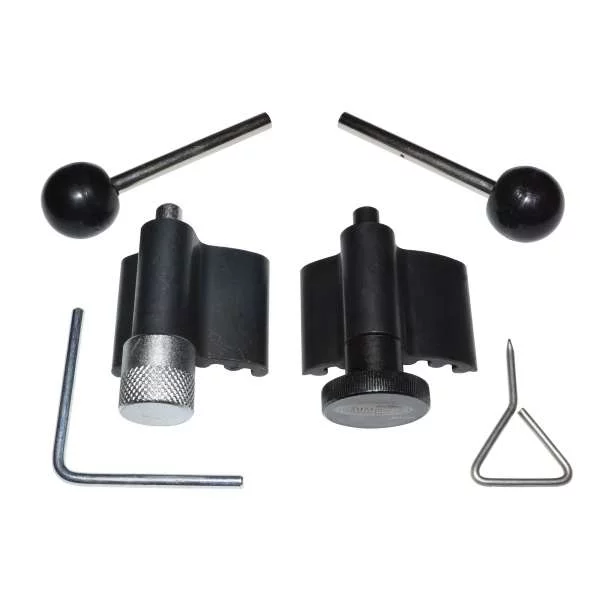
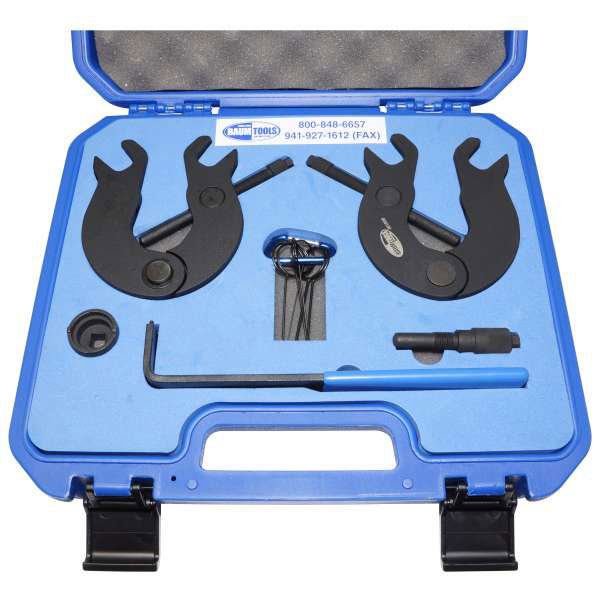
VW/Audi Pumpe Duse Timing Kit * May need T10264 & T10265
Mfg: Baum Tools
Part #: B4840
Removing and Reinstalling Kit Panels Without Damage
Fiberglass and ABS body kit panels are typically bonded and screwed to the factory bumper mounts, and they crack easily if pried with standard trim tools. Before pulling a fender liner, bumper cover, or side skirt for mechanical access underneath:
- Locate factory Toyota fasteners first — most kits are installed over the factory mounting points rather than replacing them, so factory clips and bolts are usually still there under kit-specific trim screws.
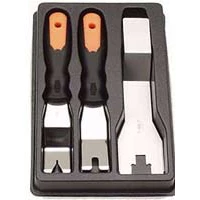
- Use nylon trim panel tools rather than metal pry bars on any fiberglass surface; fiberglass gelcoat chips and spider-cracks under metal tools in a way OEM plastic bumpers don’t.
- Label fasteners by panel and location as you remove them — aftermarket kits rarely use a single fastener size or type throughout, unlike factory trim.
- Check for adhesive-only mounting (double-sided automotive tape or urethane adhesive) on lower skirts and rocker extensions. These need adhesive promoter and correct cure time on reinstall, not just fasteners, or they’ll peel at highway speed.
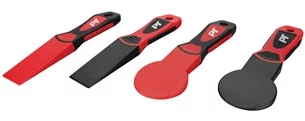
If the badges are the fake Ferrari emblems mentioned in the intake conversation, removing them is a straightforward adhesive-removal job: heat gently with a heat gun to soften the adhesive, work a plastic scraper or fishing line under the edge, and finish with adhesive remover before polishing the panel. Don’t use aggressive solvents on painted fiberglass without testing an inconspicuous spot first — some replica kit paint jobs are far less durable than factory OEM finishes.
Setting Customer Expectations on Parts and Repairs
Customers with a Ferrari-look MR2 sometimes assume Ferrari-level parts pricing or availability, and just as often assume the opposite — that because it’s “just a Toyota,” everything should be cheap and easy to find. Neither is entirely true anymore. SW20 MR2 values have climbed significantly over the past decade, which affects parts sourcing and repair economics:
- Mechanical parts (engine, drivetrain, suspension, electrical) are standard Toyota parts and generally available through normal supply chains, though some trim-specific and interior parts are getting scarce as the platform ages.
- Kit-specific body panels are usually not available through Toyota parts channels at all — if a fender or bumper cover is cracked, you’re sourcing from the kit manufacturer (if still in business) or a fiberglass repair shop, not a dealer parts counter.
- Set expectations up front that a body kit repair estimate and a mechanical repair estimate are two separate conversations, often with different turnaround times.
Checklist: Intake for a Body-Kit MR2
- Decode the VIN and confirm it matches Toyota MR2, not the badge on the car
- Photograph engine bay and confirm engine/ECU match expected configuration
- Inspect rocker panels and rear subframe for rust hidden behind kit skirting
- Check T-top seals and surrounding wiring for water intrusion
- Verify timing belt/water pump service history on 3S-GTE cars
- Document existing kit panel condition and fastener types before any disassembly

Frequently Asked Questions
How can I quickly tell if a “Ferrari” is actually a Toyota MR2 replica?
Check the VIN plate on the dash and door jamb — a decoder will identify it as Toyota regardless of exterior badging. Proportions are another giveaway: replica kits are built over the MR2’s factory wheelbase and greenhouse, so the roofline, door cut lines, and window shapes stay Toyota-spec even when the bumpers and side panels are reshaped.
Does a Ferrari-style body kit affect the car’s mechanical service procedures?
Not the drivetrain or electrical systems — those follow standard SW20 MR2 service procedures. What changes is access: kit bumpers, skirts, and fender flares often need to come off before you can reach factory service points like the radiator, headlight assemblies, or lower control arms.
Are body kit panels covered by any warranty or standard part number?
Generally no. Kit panels are aftermarket fiberglass or ABS pieces from third-party manufacturers, many of which are no longer in business. Treat cracked or damaged kit panels as a custom bodywork repair, not a parts-replacement job.
Why do these cars often have hidden rust that’s worse than it looks?
Wide fender flares and rocker skirts block the visual line to seams and pinch welds that would normally be visible on a stock car, so corrosion can progress further before anyone notices. Always inspect rocker panels and subframe mounts with a flashlight and, if possible, from underneath on a lift rather than relying on a curbside look.
What’s the safest way to remove fake emblems and badges without damaging paint?
Use a heat gun on low setting to soften the adhesive, lift gently with a plastic scraper or thin fishing line, then clean residue with an adhesive remover safe for the panel’s finish. Test any solvent on a hidden spot first, especially on replica kits with less durable paint than factory finishes.
Do body kit MR2s need different insurance or inspection documentation?
That depends on the state or region, but many jurisdictions want the body kit disclosed separately from the base vehicle for registration and inspection purposes. It’s worth advising customers to confirm with their local DMV or equivalent, since undisclosed modifications can complicate claims after an accident.
Shop Paint & Body Tools
Safely removing and repairing fiberglass body kit panels requires the right tools and materials. Our Paint & Body category carries trim removal tools, adhesive removers, and repair supplies designed for this work.
- Nylon trim panel tools for safe fiberglass and ABS removal
- Adhesive removers and prep materials for badge and trim work
- Panel repair and finishing products for cosmetic damage

The Toolsource Technical Team blends decades of real-world automotive service experience with up-to-date technical research. Our writers collaborate with professional mechanics, shop owners, and diagnostic specialists to deliver practical, workshop-ready guidance you can trust.


Follow us on social media