Sun-faded plastic trim, chalky badges, and oxidized exterior buttons are one of the most common cosmetic complaints customers bring to the counter, and they’re also one of the easiest jobs to botch if you reach for the wrong tool first. The plastic hasn’t failed structurally—UV exposure has broken down the surface resin and pulled the pigment’s oils out, leaving a dull, powdery layer on top of otherwise good material. The fix depends entirely on how long you want the result to last and how much time the customer is willing to pay for. Below are the methods that actually hold up in the field, ranked from quickest to most permanent, along with where each one tends to go wrong.
What’s Actually Happening to the Plastic
Oxidation on ABS, polypropylene, and similar trim plastics is a surface-level breakdown caused by prolonged UV exposure. The resin binder degrades faster than the pigment underneath, so you’re left with a chalky, lighter-colored film sitting on top of the original color. That’s why so many “fixes” work at all—you’re either removing that degraded layer, temporarily re-wetting it with oils, or sealing it under a UV-resistant coating. None of these approaches regenerate the plastic itself. Set that expectation with the customer up front: this is surface restoration, not a repair to the material’s chemistry.
Trim closer to the top of the vehicle (mirror caps, roof rails, upper door trim) fades faster because it takes a more direct UV angle. Vertical panels and lower trim tend to hold color longer. If a customer has one badly faded piece, check the rest of the trim on that side of the vehicle—it’s often further along than they’ve noticed.
The Quick, Temporary Fix: Polish and Protectant
For a same-day result with minimal cost, a plastic-safe polish worked in by hand or with a low-speed rotary/DA buffer will bring back noticeable gloss in minutes. Follow immediately with a dedicated plastic/trim protectant—something with UV inhibitors, not just a generic dressing. This step matters more than the polish itself, because polish alone brings oils to the surface temporarily; without a protectant layer, the shine fades back out over days to weeks and the trim can end up looking worse than before, since you’ve stripped whatever protective film was left.
- Work in small sections with a microfiber towel—friction alone lifts a surprising amount of oxidation off badges and buttons.
- Use a foam or wool pad on a rotary or DA if the panel is larger, keeping speed low to avoid heat buildup that can haze the plastic.
- Apply protectant in thin coats and let it cure per label instructions before the vehicle sees rain or a wash.
- Reapply protectant every 4-6 weeks for vehicles that live outdoors, sooner in high-UV climates.
This is the right call for a customer who wants a quick cosmetic win before a sale, a show, or simply doesn’t want to commit to a bigger job yet. Set the expectation that it’s maintenance, not a permanent cure.
[[PRODUCT_SEARCH: plastic trim restorer and UV protectant]]
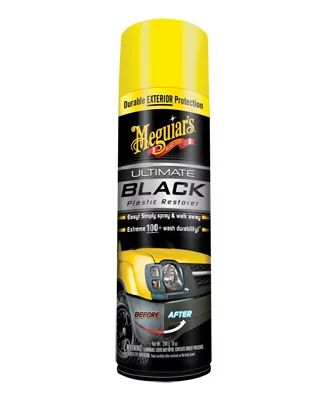
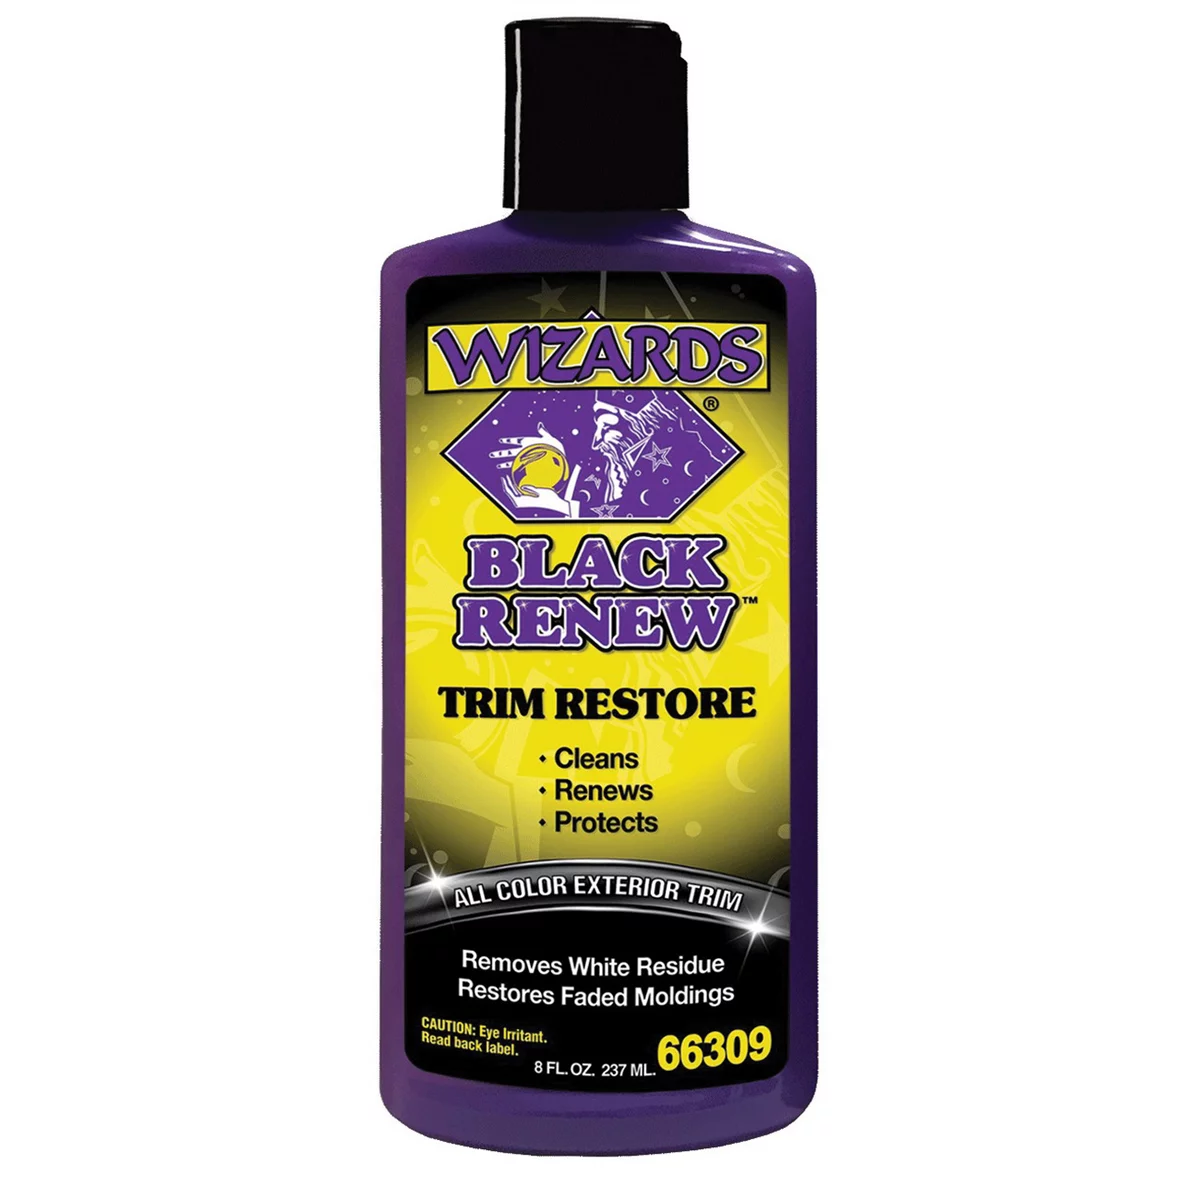
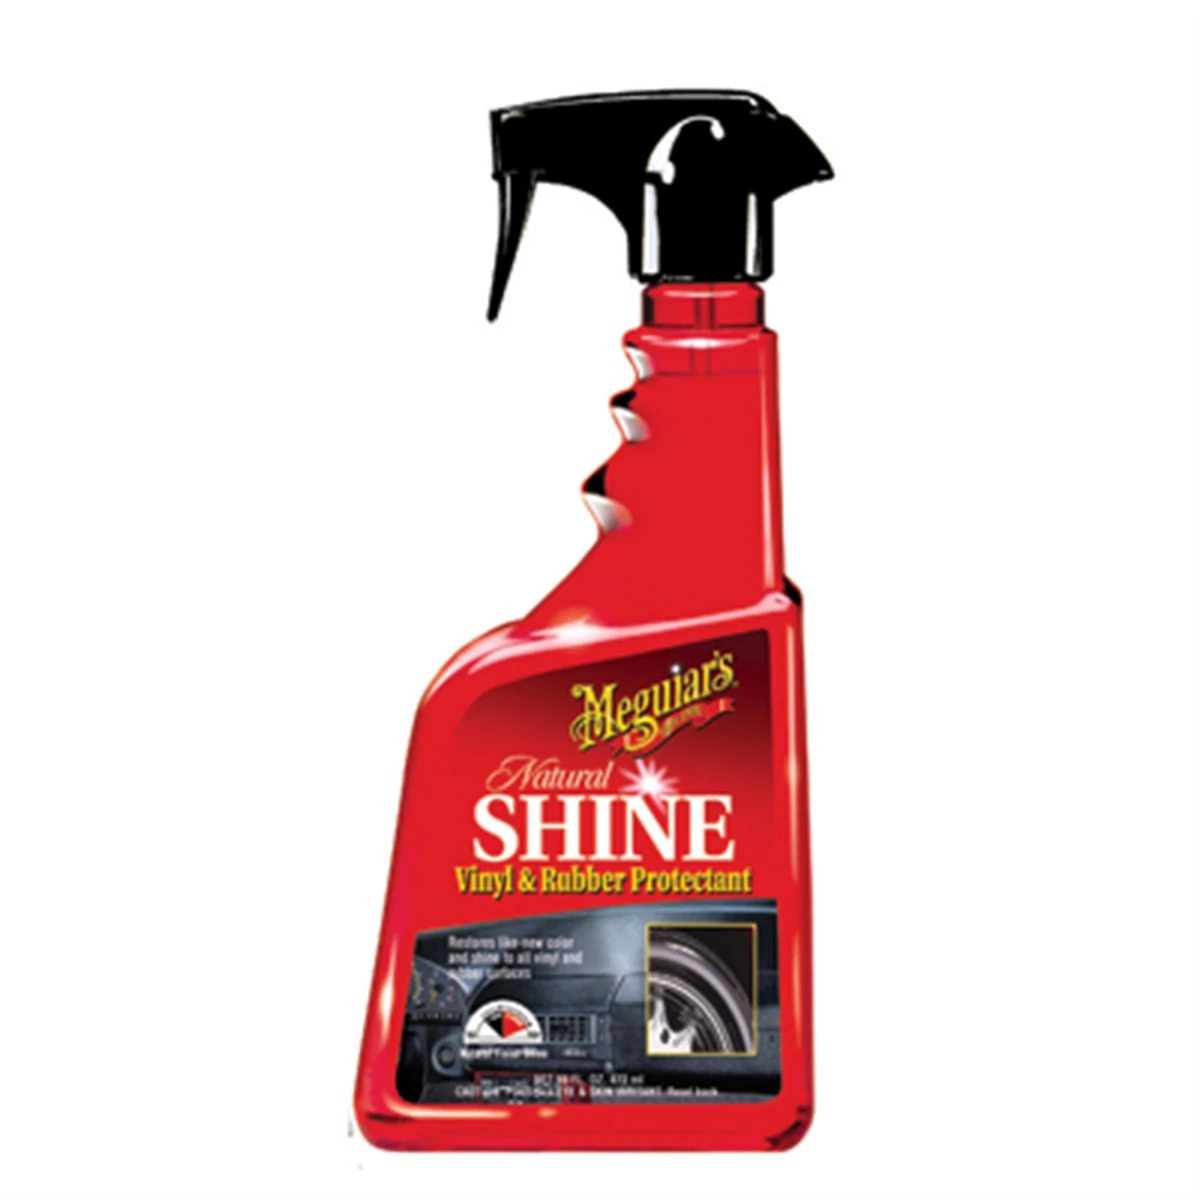
Black Trim Restorer - Wizards Exterior Treatment 8 Oz
Mfg: Wizards Products RJ Star
Part #: 66309
Chemical Restoration: Vapor and Coating Products
A step up from polish-and-protectant is a dedicated chemical trim restorer—ceramic-infused wipes or liquid coatings marketed specifically for faded exterior plastic. These products typically combine a mild solvent that softens the oxidized layer with a UV-resistant resin that cures on top, giving a longer-lasting result than protectant alone (often months rather than weeks). Apply with a clean applicator, work it evenly, and let it flash off fully before closing doors or handling the piece—the solvent fumes are strong enough that pulling the trim piece and letting it cure separately is worth the extra ten minutes, especially for interior pieces.
Acetone vapor is a more aggressive variant of the same idea, used mostly on smaller components like buckles, handles, and badges. Rather than applying acetone directly (which can leave streaks or over-soften spots), some techs vaporize a small amount in a sealed container and let the vapor pass over the part, softening the oxidized surface evenly without the liquid contact. This is a niche technique best reserved for small, removable parts in a ventilated area—not something to freehand on installed exterior trim.
The Heat Method: What It Does and Why It’s Controversial
Applying gentle, even heat—torch or heat gun—to oxidized plastic is a long-standing trick, and it does work: the heat drives the plastic’s natural oils back to the surface, restoring color and gloss almost instantly. It’s the same principle used on faded plastic stadium seating and old sled material. Done correctly, it looks close to factory in seconds.
The catch is “done correctly.” This method has a low margin for error and is genuinely operator-dependent:
- Keep the heat source moving constantly—never hold it stationary on one spot.
- Work from a distance and use short passes; you’re warming the plastic, not cooking it.
- Stop as soon as the color returns. Continued heat past that point causes bubbling, warping, or a permanently dulled/discolored finish.
- Test on a low-visibility area of the same part first if you haven’t run this technique before.
The honest tradeoff: even a perfect heat job is temporary. The oils that resurface will oxidize and migrate out again, sometimes leaving the plastic worse off and more brittle than before—this is the same shortcut used to make trim look good for a quick used-car sale. If you use heat, always follow it with a UV protectant or, better, a clear coat to lock in the result and slow the oils from cooking back out. Skipping that step is the single biggest reason this method gets a bad reputation—the technique isn’t inherently flawed, but doing it without a sealing step guarantees a comeback.
The Permanent Fix: Sand and Clear Coat
For customers who want a lasting result and are willing to pay for a real repair, sanding and clear coating is the only method on this list that doesn’t rely on redistributing degraded material. The process:
- Mask off surrounding panels and remove the trim piece if possible.
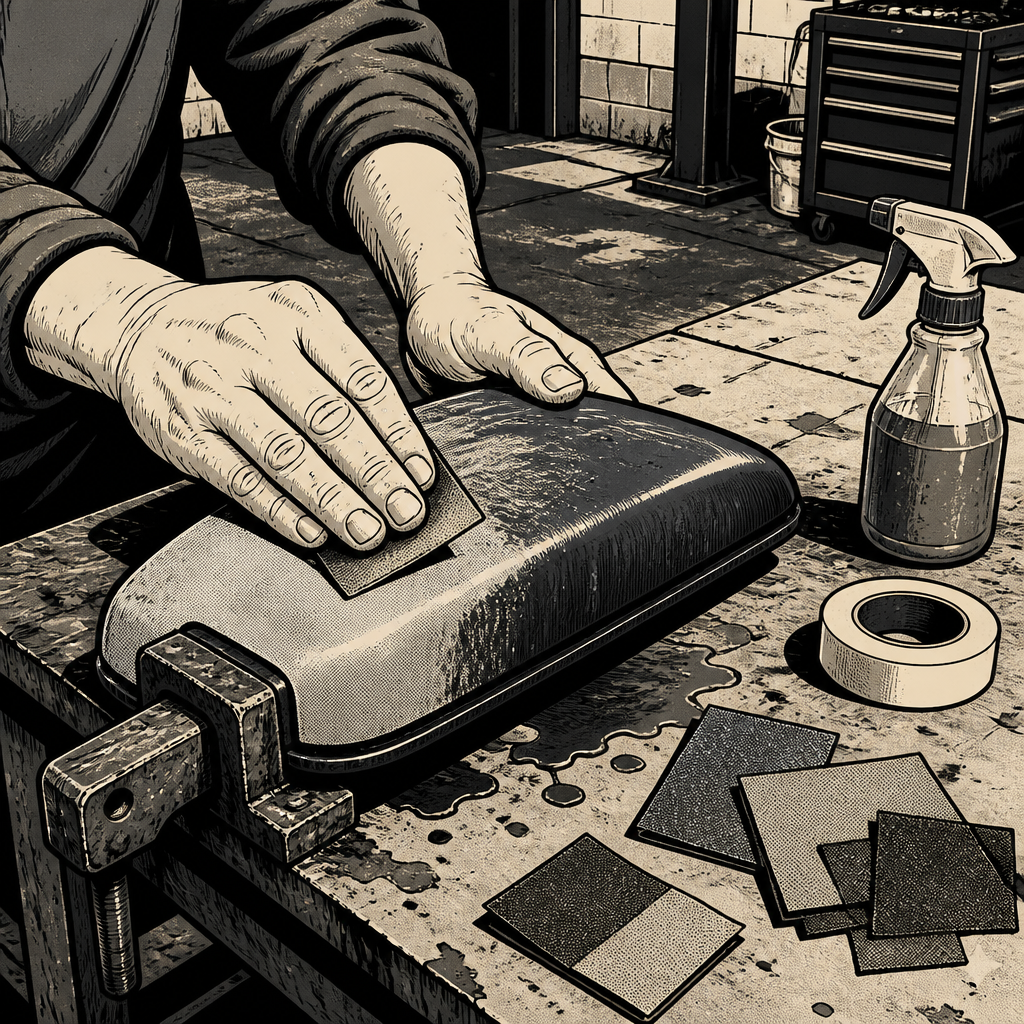
- Wet sand starting with a coarser grit (400-600) to remove the oxidized layer evenly, then step up through finer grits (1000, 1500, 2000) until the surface is uniform and free of scratches.
- Clean thoroughly and let dry completely—any residual moisture will cause coating adhesion issues.
- Apply a UV-resistant clear coat rated for flexible plastic trim, in light coats to avoid runs.
Some techs combine this with a light heat pass before clear coating to even out color first, but if you’re going that route, scuff the surface afterward rather than clear coating directly over a freshly heated, oily surface—adhesion suffers otherwise. Done properly, this approach holds up for years rather than weeks and is the closest thing to a real fix in this list.
Preventing the Fade From Coming Back
Whatever restoration method you use, the customer’s real problem is ongoing UV exposure, and none of the above stops that from happening again. High-quality UV window tint on the interior side reduces UV load on dash and door trim significantly. For exterior trim and badges, a sunshade during long parking stints and routine reapplication of UV protectant are the practical, low-cost habits worth recommending at pickup. Garaging or covering the vehicle when it’s not in use is the single biggest lever for slowing future oxidation, but it’s rarely something customers are willing to commit to—protectant and tint are the realistic recommendations.
[[PRODUCT_SEARCH: automotive UV window tint and sunshade]]
Quick Reference Checklist
- Identify whether the customer wants a temporary cosmetic fix or a permanent repair before choosing a method.
- Start with polish and UV protectant for quick, low-cost results.
- Use chemical trim restorers or acetone vapor for a longer-lasting result on smaller parts.
- If using heat, keep it moving, stop as soon as color returns, and always follow with protectant or clear coat.
- Sand and clear coat for a true, lasting fix—this is the only method that doesn’t rely on temporary oil migration.
- Recommend UV tint, sunshades, and regular protectant reapplication to slow future fading.



Frequently Asked Questions
Will a heat gun or torch permanently fix faded plastic trim?
No. Heat temporarily draws oils to the surface and restores color, but without a sealing step (protectant or clear coat) the effect fades back out over weeks to months, and repeated heating can make the plastic more brittle.
Is it safe to use a torch directly on plastic trim?
It can be done safely with a small, controlled flame kept constantly moving and never held in one spot, but it has a low margin for error. A heat gun on a low setting is more forgiving for technicians without torch experience.
How long does polish-and-protectant last compared to a clear coat job?
Polish and protectant typically need reapplication every 4-6 weeks depending on sun exposure and washing frequency. A properly sanded and clear-coated piece can hold its finish for a few years.
Can badly oxidized trim be saved, or does it need replacement?
Most oxidation is surface-level and restorable with sanding and clear coat. Replacement is usually only necessary if the plastic is cracked, warped, or the color has degraded unevenly beyond what sanding can level out.
Does window tint actually slow down trim fading?
Yes, for interior-facing trim and dash components. High-quality UV-blocking film reduces the UV load reaching interior plastics significantly, though it won’t do anything for exterior-facing badges and trim.
What’s the safest first method to try on a customer’s vehicle?
Polish and UV protectant. It’s reversible, low-risk, and gives you a baseline read on how far gone the plastic is before committing to more aggressive chemical, heat, or sanding methods.
Recommended Paint & Body Supplies
The restoration methods covered in this guide—from quick polish jobs to lasting clear coat repairs—all depend on having the right materials on hand. Our Paint & Body selection includes everything needed to execute any of these approaches.
- Plastic-safe polishes and UV-resistant protectants.
- Dedicated trim restoration products and protective coatings.
- Clear coat systems and sanding supplies for permanent repairs.

The Toolsource Technical Team blends decades of real-world automotive service experience with up-to-date technical research. Our writers collaborate with professional mechanics, shop owners, and diagnostic specialists to deliver practical, workshop-ready guidance you can trust.


Follow us on social media